
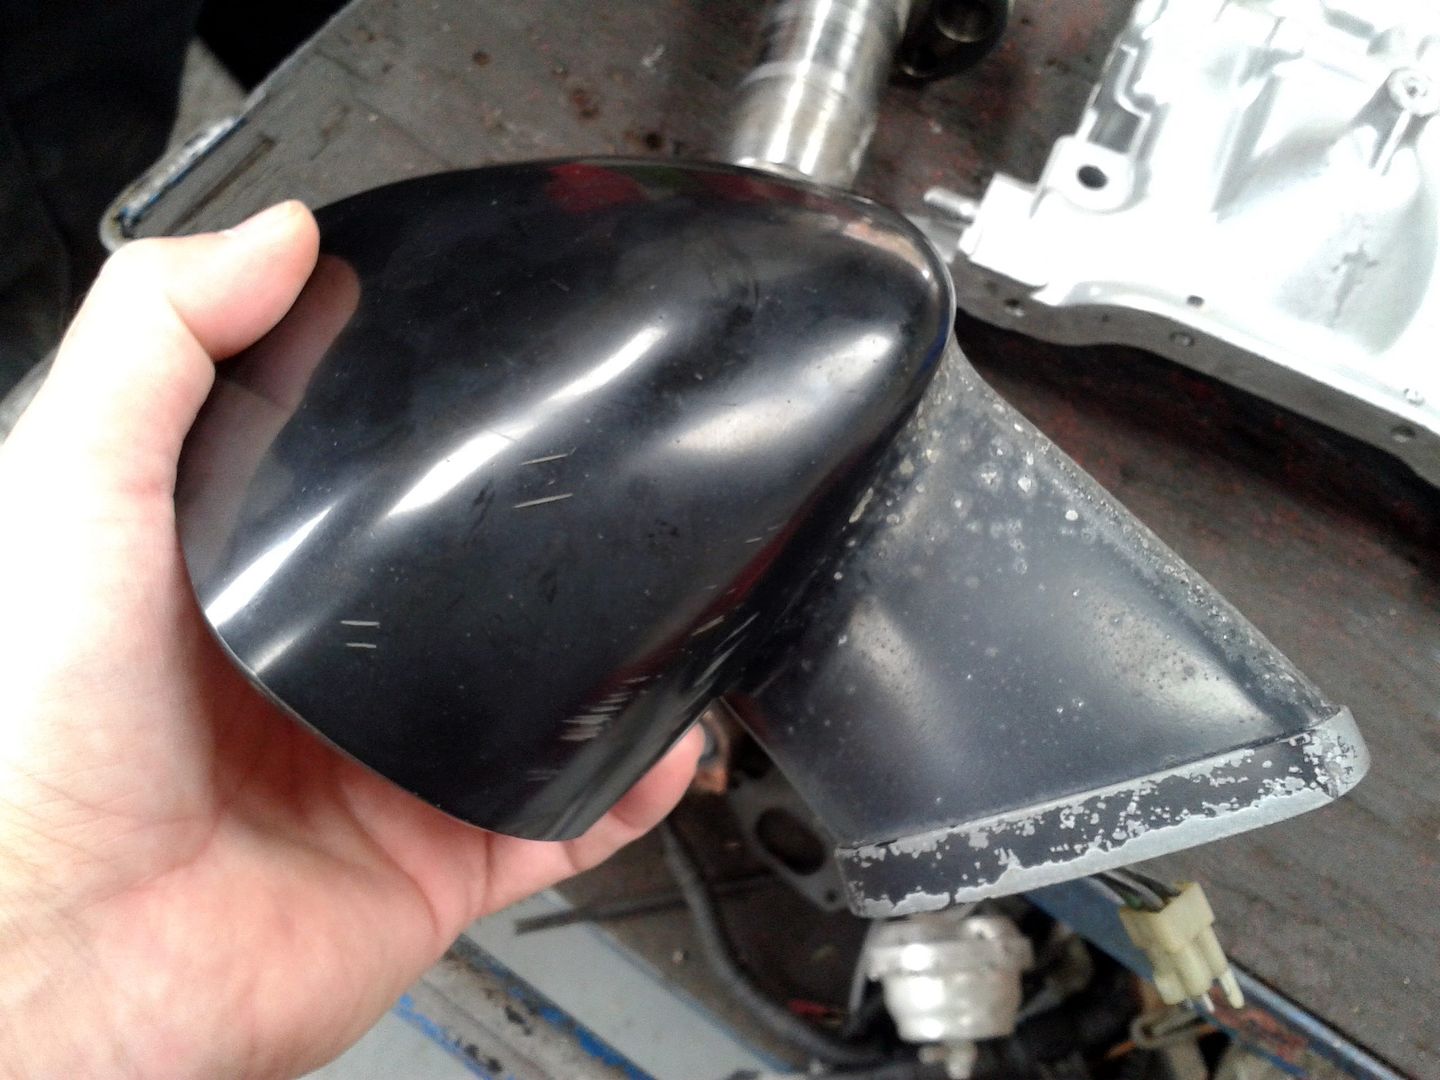
I've been after a pair of these for a while now, NZ/Aus electric door mirrors. They arrived this morning. I'll clean the up before putting them on the car.
These have a plastic mirror surround and aluminium bracket. The aluminium is showing signs of corrosion so I'll sand them back and repaint them. Landed cost was about £90 which seems reasonable given how difficult they are to find.
Project London Bridge
-
ian65

- Admin

- Posts: 6402
- Joined: Wed Mar 30, 2011 12:11 am
- Has thanked: 315 times
- Been thanked: 376 times
Re: Project London Bridge
good score... I paid the same for mine about 4 years ago so that seems to be the landed price for them.... well worth the money I reckon 
1999 Jaguar XJR V8 Supercharged
1992 Peugeot 205 1.9 GTI
2003 Mercedes SLK 200 Kompressor
-
Lucky
- VIP User

- Posts: 2685
- Joined: Mon Nov 07, 2011 8:30 pm
- Location: Worthing, UK
- Been thanked: 5 times
Re: Project London Bridge
The aero mirrors are soooo much nice than the cricket bats. Well worth the price!
-
biznatch
- VIP User
- Posts: 346
- Joined: Mon Aug 26, 2013 3:03 pm
- Location: Hornchurch, Essex
- Been thanked: 4 times
Re: Project London Bridge
I was about to fit the Aus / NZ spec mirrors today but ran into a problem - unless I'm just being a bit thick :|
Basically the screw holes in the door are much wider than the holes in the mirror bracket. On the face of it I could drill new (further apart) holes in the bracket and make it fit but before doing that I thought it best I ask whether anyone else has had the same problem, and what they did to fit them. I don't want to hack into these mirrors unnecessarily.
Any help greatly appreciated.
- Attachments
-
- img20150125_192950.jpg (172.46 KiB) Viewed 10700 times
-
MelloYello

- VIP User
- Posts: 1151
- Joined: Wed Jun 01, 2011 8:42 pm
- Location: London, England.
- Has thanked: 22 times
- Been thanked: 52 times
Re: Project London Bridge
there should be another piece, like a base plate.
The base plate bolts to the door using the original holes in the door, then the arm of the mirror bolts to the base plate, then the mirror bolts to the arm.
The base plate bolts to the door using the original holes in the door, then the arm of the mirror bolts to the base plate, then the mirror bolts to the arm.
-
Lucky
- VIP User
- Posts: 2685
- Joined: Mon Nov 07, 2011 8:30 pm
- Location: Worthing, UK
- Been thanked: 5 times
Re: Project London Bridge
Wot James said ^^
I don't have a very useful photo to hand, this is the best I could find;
I don't have a very useful photo to hand, this is the best I could find;

-
biznatch
- VIP User
- Posts: 346
- Joined: Mon Aug 26, 2013 3:03 pm
- Location: Hornchurch, Essex
- Been thanked: 4 times
Re: Project London Bridge
Thanks guys, that solves the mystery - seems the mirrors are missing the baseplate. I don't like my chances of finding baseplates so it might be time to get inventive.
-
biznatch
- VIP User
- Posts: 346
- Joined: Mon Aug 26, 2013 3:03 pm
- Location: Hornchurch, Essex
- Been thanked: 4 times
Re: Project London Bridge
The recent good weather has meant an increase in activity in the garage. Recently I have fitted the Aus spec mirrors, although i havent wired these up yet. They look much better than the cheap Ebay ones I had fitted.
Also, the uprated fuel pump is installed and working fine.
Lastly, I have fitted a 70A alternator, which is all nice and shiny and looking very purposeful with the dual pulley attached. Swapping the dual pulley from the old alternator to the new caused a bit of head-scratching. I ended up putting the pulley in a bench vice (with rubber hose protecting tbe pulley from the jaws if the vice ) and used an impact wrench the remove the nut securing the pulley.
The engine replacement has been put on hold for now since I'm getting ready to move into a new house (with a much larger garage with power) at the end of the month.
- Attachments
-
- 20150418_175728_resize_20150418_201040.jpg (167.52 KiB) Viewed 10487 times
