Hobbawobba wrote:Cool thread man

TOOL wrote:The same principle applies to a watts link. You can also remove the troublesome watts link and replace it with a panhard rod.
Is a panhard set-up better than the watts then? How so? Would the effort of swapping be worth it? Just curious

Hi, sorry I only just spotted this.
From these guys:
http://www.pbandjracing.com/rear_suspension.html
The purpose of this is to help reduce the extreme over steer inherent in the stock suspension during cornering. One of the biggest factors is the poor geometry, mainly the uppers. Also the watts link design doesn’t help, but short of going to a panhard bar (which is not recommended for the street) or relocating it, there isn’t a whole lot that can be done there. There are many schools of thought on how to correct this, some of which are better than others depending on the application. I’ll throw in my thoughts on some of them.
1. Run very hard springs and/or very stiff sway bar
Pros: Reduces binding by limiting the travel of the suspension arms. Simple to do and thankfully,undo.
Cons: Overall reduced traction; will cause the car to skip over irregularities in the road, still causing oversteer. Suspension will be too stiff, still causing oversteer. Costs $$
2. Panhard bar (correctly constructed with proper geometry, not all of them are)
Pros: Lowers roll center; excellent axle locating; controllable rear steer; eliminates binding caused by the watts link (upper arms in the case of the 3rd link). Best choice for a track only car in my opinion.
Cons: OVERY noisy; can be difficult to install; required regular maintenance (cleaning and lubing); Costs $$
3. 3rd link to replace upper 2 links
Pros: see 2
Cons: see 2
4. Remove the rear sway bar
Pros: Easy to do and undo; softens the rear suspension’s resistance to roll; no cost.
Cons: Does nothing to address the poor geometry of the suspension.
5. Spherical bearings
Pros: Allows much more compliance
Cons: Expensive; requires regular maintenance; noisy
6. Poly bushings
Pros: None (in upper links, Ok in lower links).
Cons: Worst idea going; increases resistance to roll; increases over steer
7. The write up here
Pros: Reduces over steer by allowing more suspension roll compliance; low maintenance; low cost; low noise; relatively simple to do.
Cons: Not as good as a 3 link and good panhard setup
Alright, onto the heart of the matter.
Required materials:
Bearing/axle grease
Nylock nuts, M14x1.5 qty 9, M12x1.5 qty 4
Loctite
First off, you need to properly raise and support the rear of the car. This means a decent jack and jack stands.
Step One
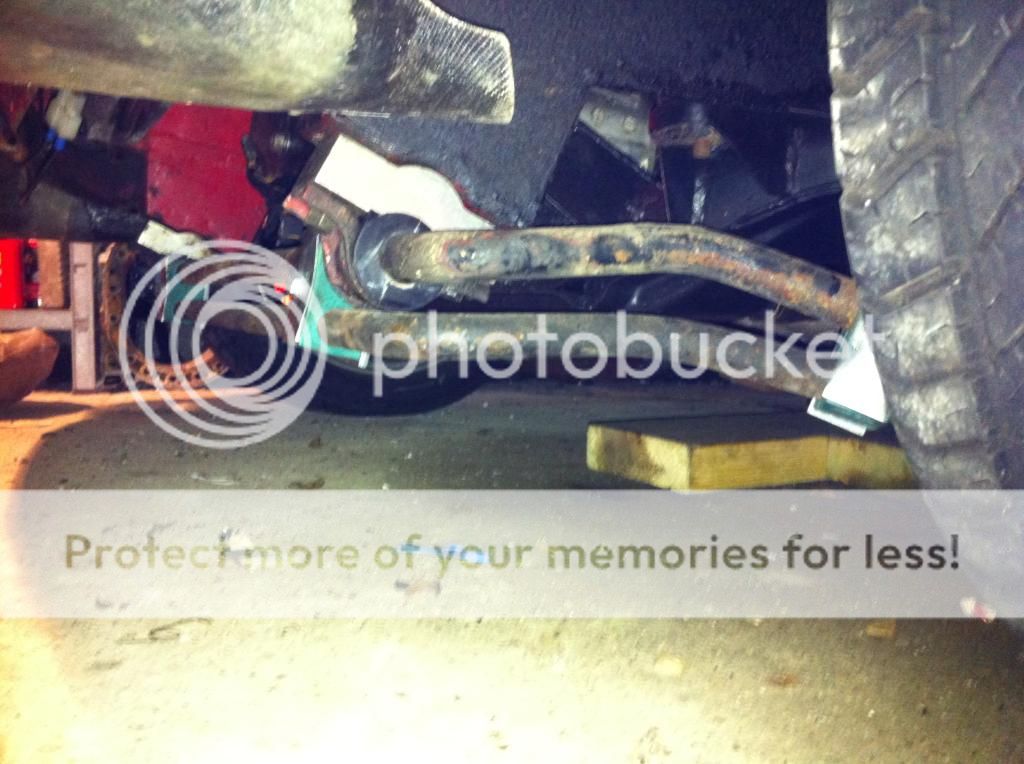
Remove the watts link (once the car is up on jack stands, putting the jack under the pumpkin will make removing and installing this stuff much easier). Check and clean the bolts, boltholes and bushings. Mazda was kind enough to weld tabs on the body mounts to prevent bolt rotation. Check that these are functional and intact. Now lubricate the shanks on the axle stub and center section.
Put the rods back on and use the nylock nuts to secure it. Carefully tighten the nuts until all side play is removed, but still allowing the rod to pivot freely on the studs. THIS more than anything is the key to this mod.
Let’s take a time out to talk about this. I left this until now because it’ll be pretty easy to understand at this point. The original design by Mazda had the center sleeve of the bushings firmly clamped, and any movement of the rod/link had to come from the rubber bushing twisting. What we’re trying to accomplish here is to allow the sleeve/bolt combo to act as a pseudo bearing. So it’s critical to get the nuts correctly tightened. Too tight and your back to where you started. Too loose and you’ll know it when you drive the car for the first time. The slop will cause the car to be very uncontrollable. It needs to be snug enough to remove all end clearance, but free enough to pivot.
Now you can re-install the watts link following the same basic guidelines. The anti-rotation tabs for the watts link bolts need to be functional, otherwise the nuts can work their way loose and the bolts WILL start to saw through the bracket, ovaling out the holes. If you aren’t sure then you’ll need to secure the bolts from rotating. This can be the toughest part of the mod. A tack weld or 2 on the bolt head to the bracket should work. Of course, this makes it tough to disassemble it in the future, but I don’t have a better answer to this. If you come up with an idea, let me know and I’ll try it and update this. As an added safety, there’s enough threads left to put the old nuts back on with some loctite and snug them against the nylocks to lock them in place. Of course, this does not address the bolt rotation problem.
Are you getting the hang of this yet? GOOD! That’ll save my typing fingers. Simply follow these guidelines on the lower links, and on the upper links, do the same thing but with a twist (a little bushing humor, sorry!)
We’re going to modify the upper links’ bushings before we re-install them. Since they will still want to twist when the suspension rolls (because they are not parallel), the answer is to soften the rubber bushings so they can deflect and twist easier and not cause as much binding. How do we soften the bushings? – By drilling holes around the periphery.
It’s important to modify the bushing equally so you don’t have an asymmetrical resistance to roll. To accomplish this, make a template like the one shown here.
We’re going to modify the upper links’ bushings before we re-install them. Since they will still want to twist when the suspension rolls (because they are not parallel), the answer is to soften the rubber bushings so they can deflect and twist easier and not cause as much binding. How do we soften the bushings? – By drilling holes around the periphery.
You can now use this to mark the bushings for drilling. Using a 1/8 (approx) drill bit, drill the holes through the bushings. A drill press is preferred as it’s easier to get the holes straight, although if you are very careful with a hand drill it should be ok. Use a slow drill speed and a sharp bit, as you want to cut through the rubber, not burn through it.
Re-install and enjoy your new suspension. It will feel different now. You may want to work at rebalancing the front and rear roll rates depending on your spring/shock package.
Cheers!
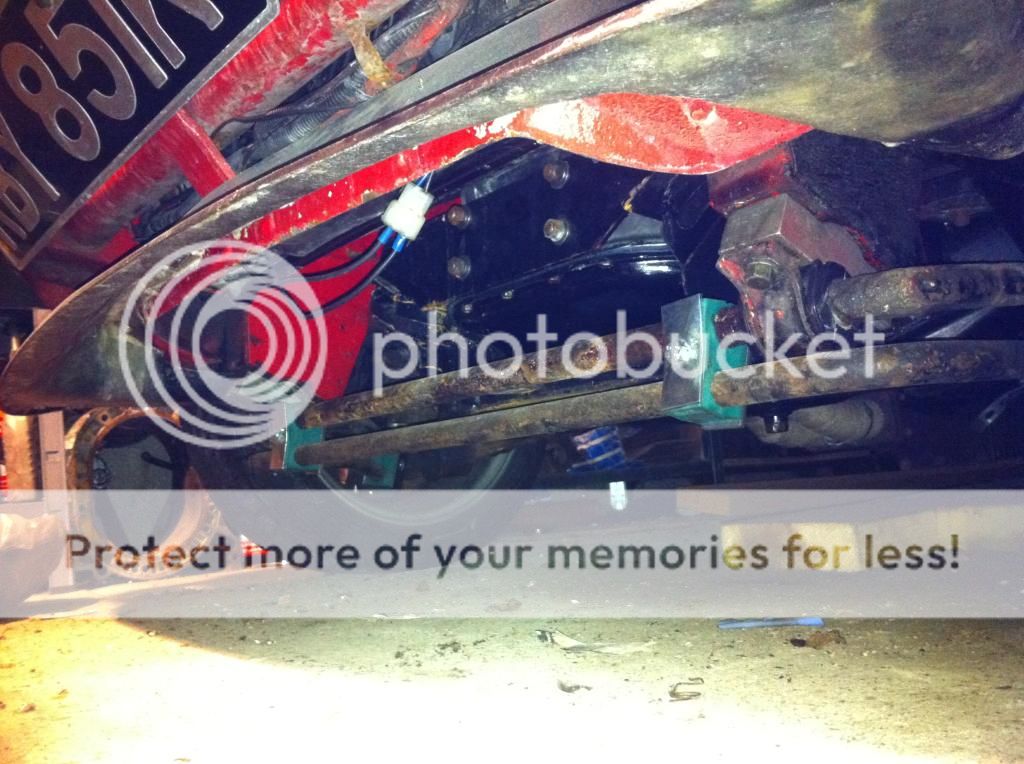
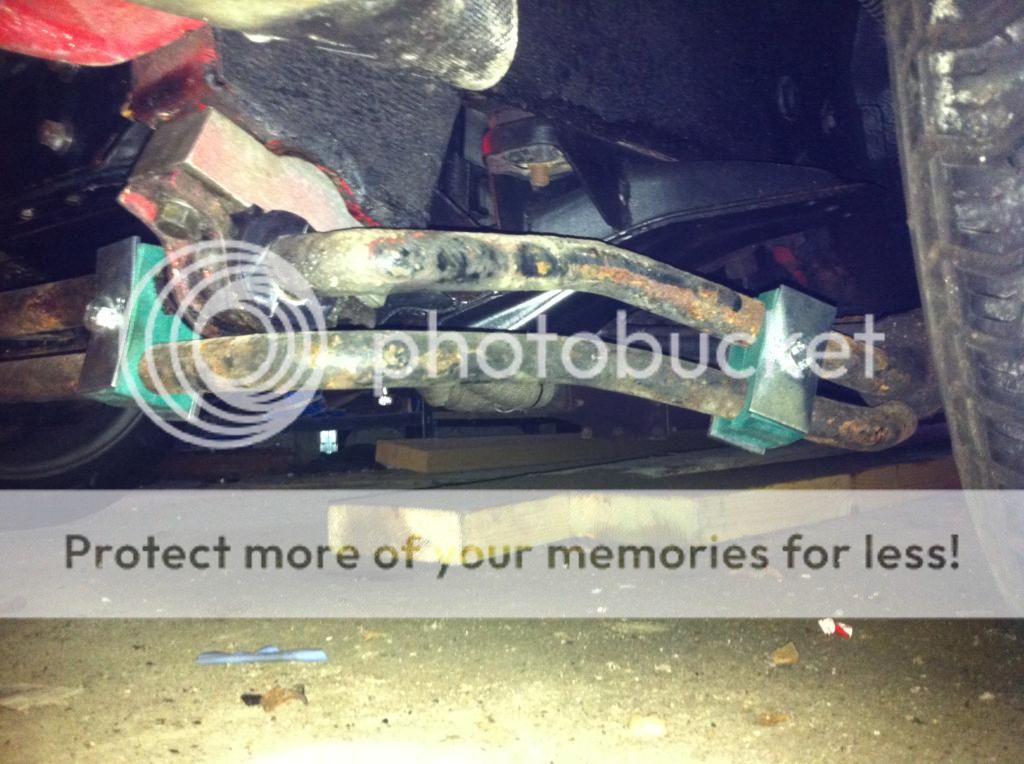
 quote]