Right then, a bit moar update. I've just lost three days of my life to my latest project as well as losing blood and sanity

But was it worth it? Well, you can be the judge of that...
It's Ian's fault, of course because it was he who drew my attention to a certain lot on eBay. I watched it and watched... and eventually blinked before anyone else and caved in. Beth was persuaded this would be an ideal Christmas present (hey, it was a Pagan festival long before the Christians go their claws into it, so I'm reclaiming it for the atheists and the start of November) and we settled on going halves. I emailed the guy with an offer, which was accepted, and two days later got home from work to find this waiting for me;
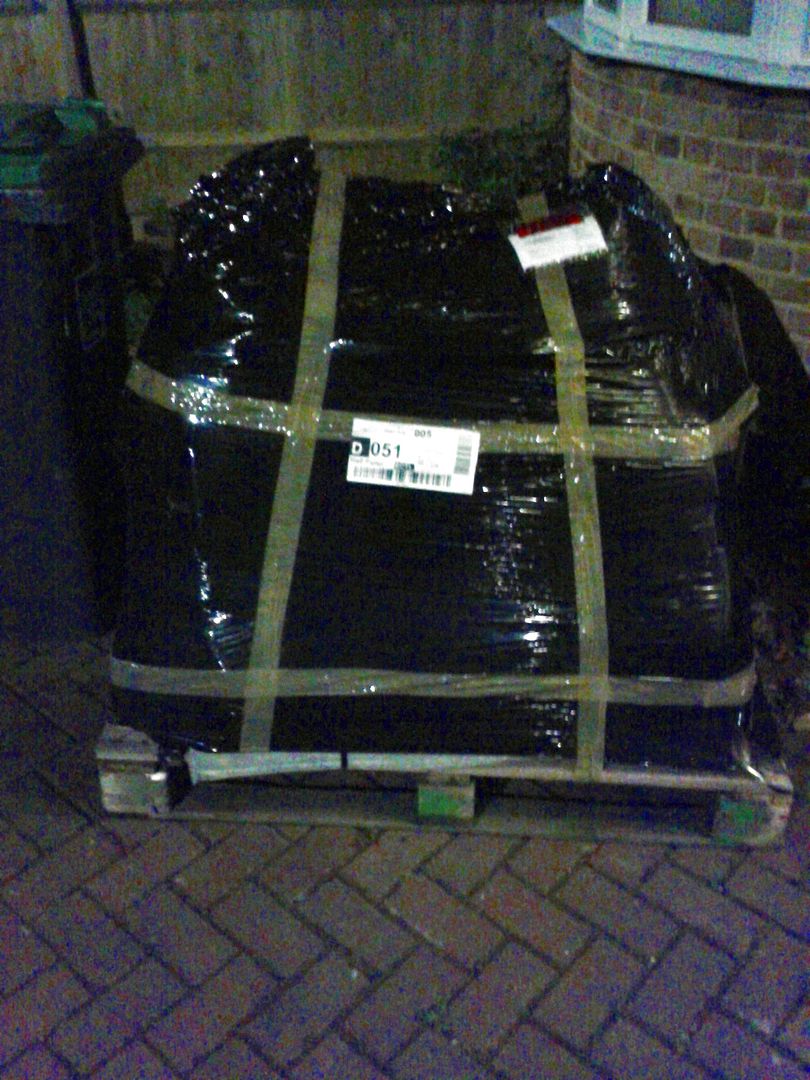
Just what I wanted after a 12-hour day was to unload a pallet in the middle of the night. In the rain. Once I'd humped it all through to the conservatory for temporary storage I was left with this huge pile of stuff;
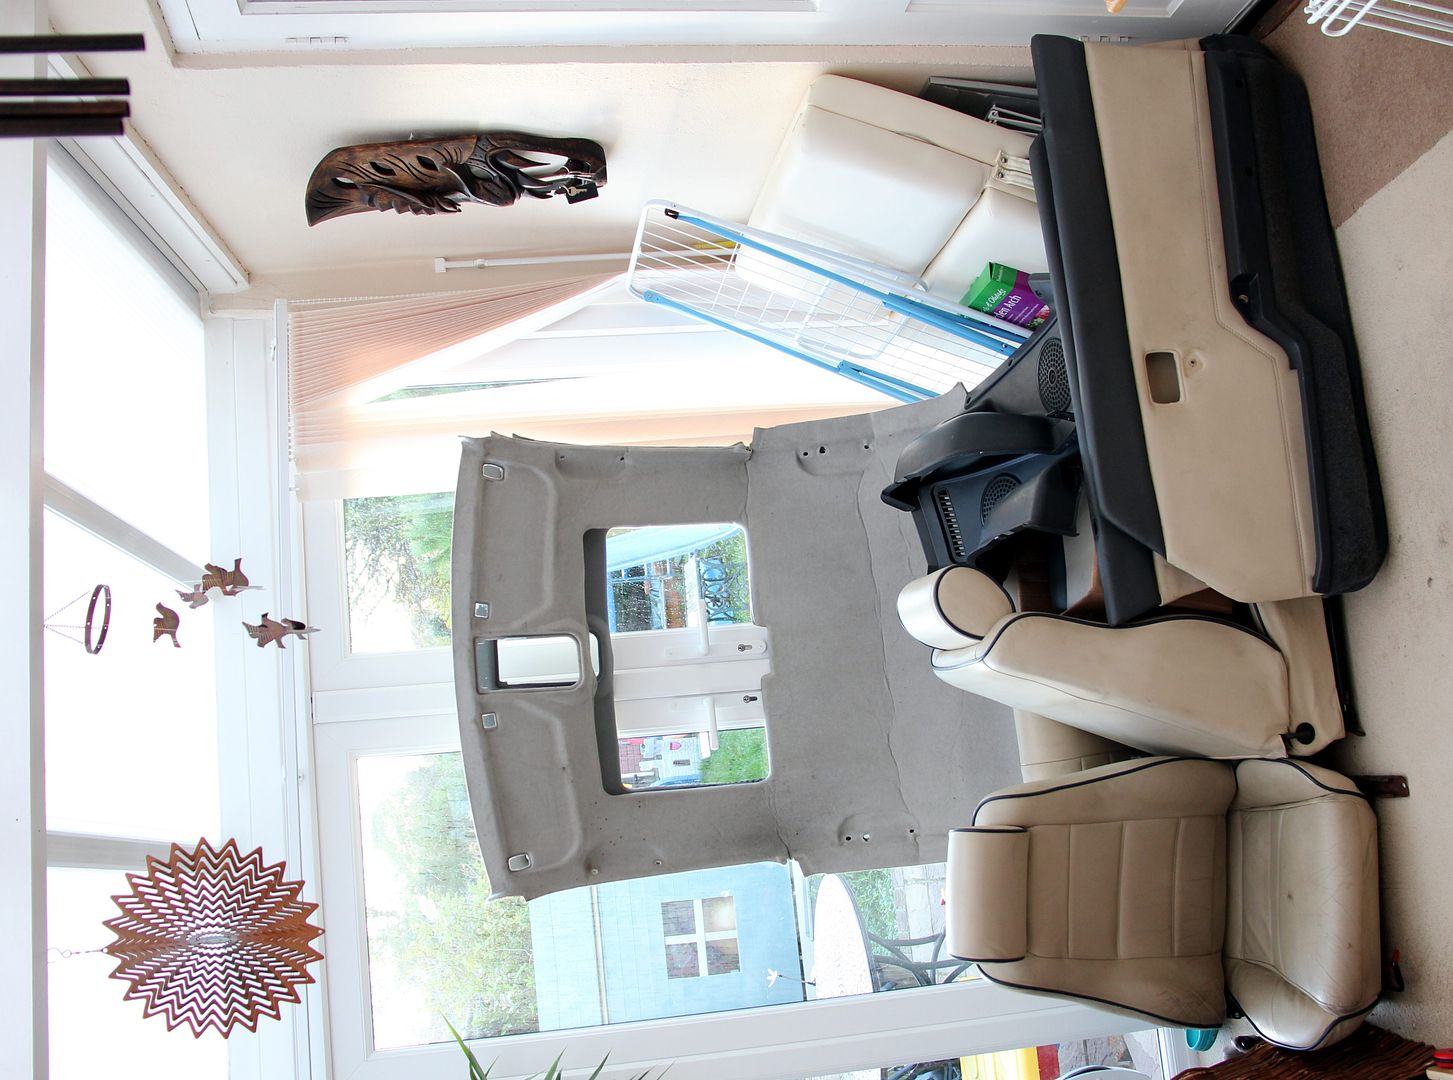
Wow

Never realised how much space an entire leather interior took up before, nor how bloody heavy it was lol. There was literally everything here, even the boot trim panels and nuts bolts and washers. Even came with two headliners, one in pale grey and one in dark. Neither of which I actually needed, but never mind. For the princely sum of 250 of your Earth pounds, plus fifty sheets for the delivery (from Lancashire to Sussex, can't grumble about that!). Let's be honest, you couldn't get a single seat recovered for 250 quid, let alone an entire interior! There was nothing actually
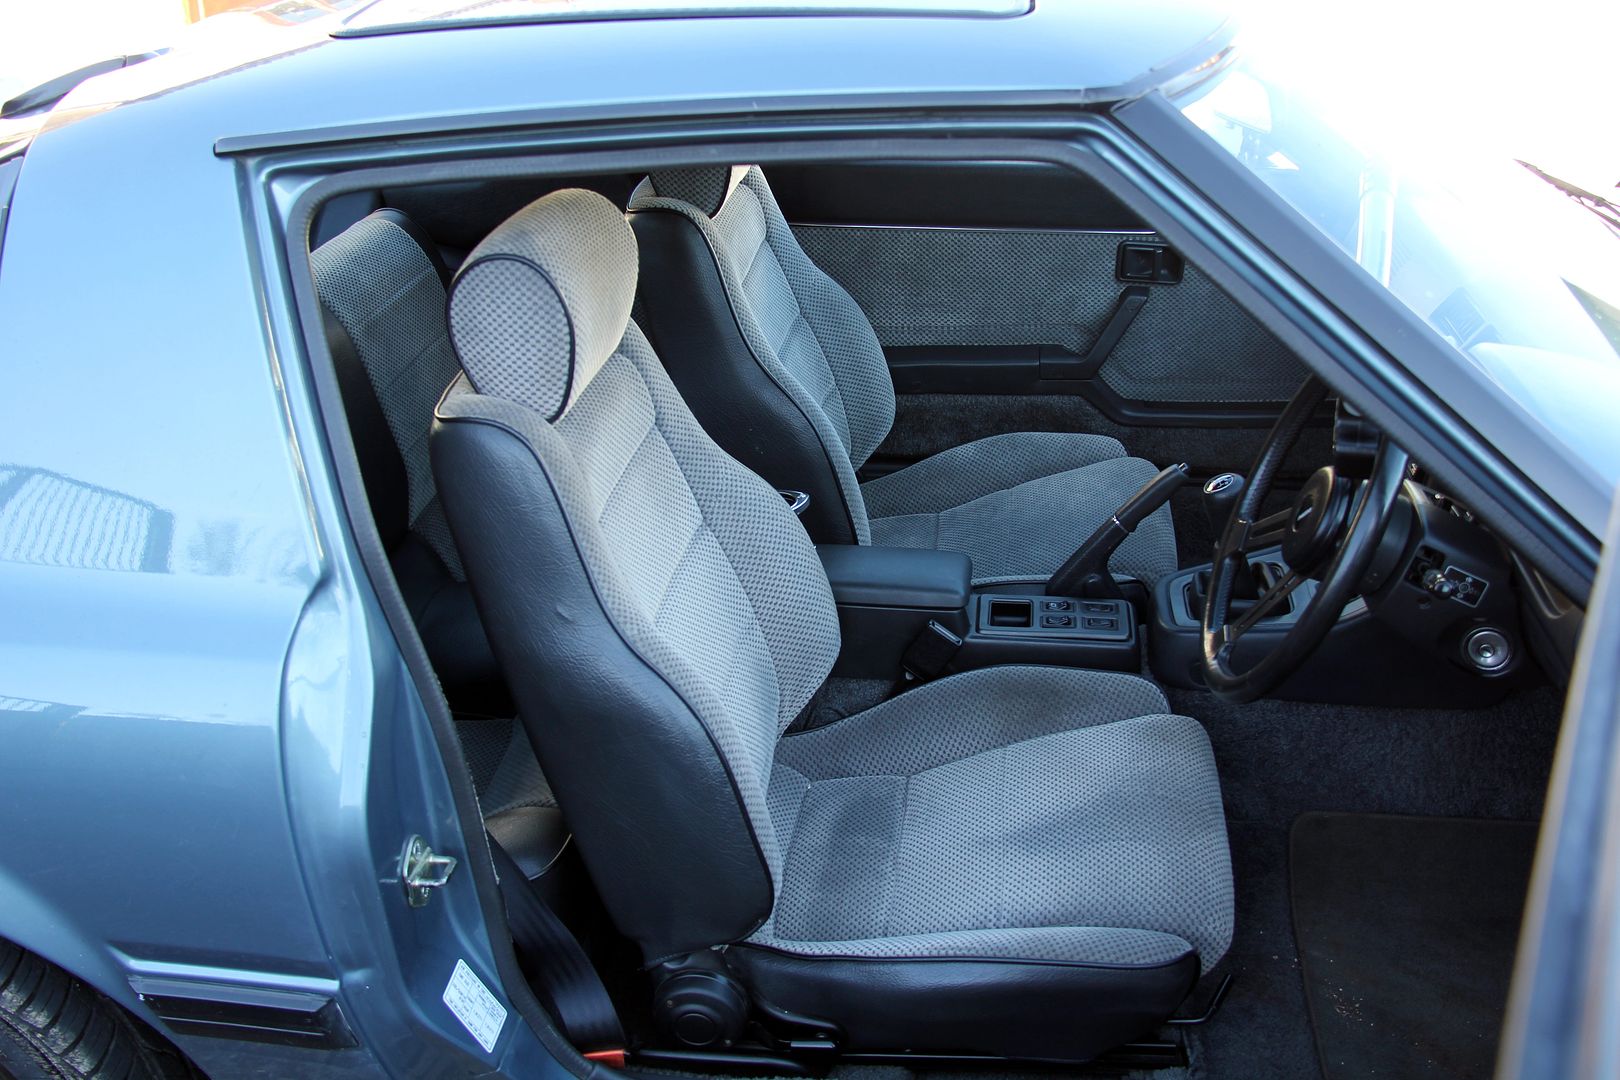
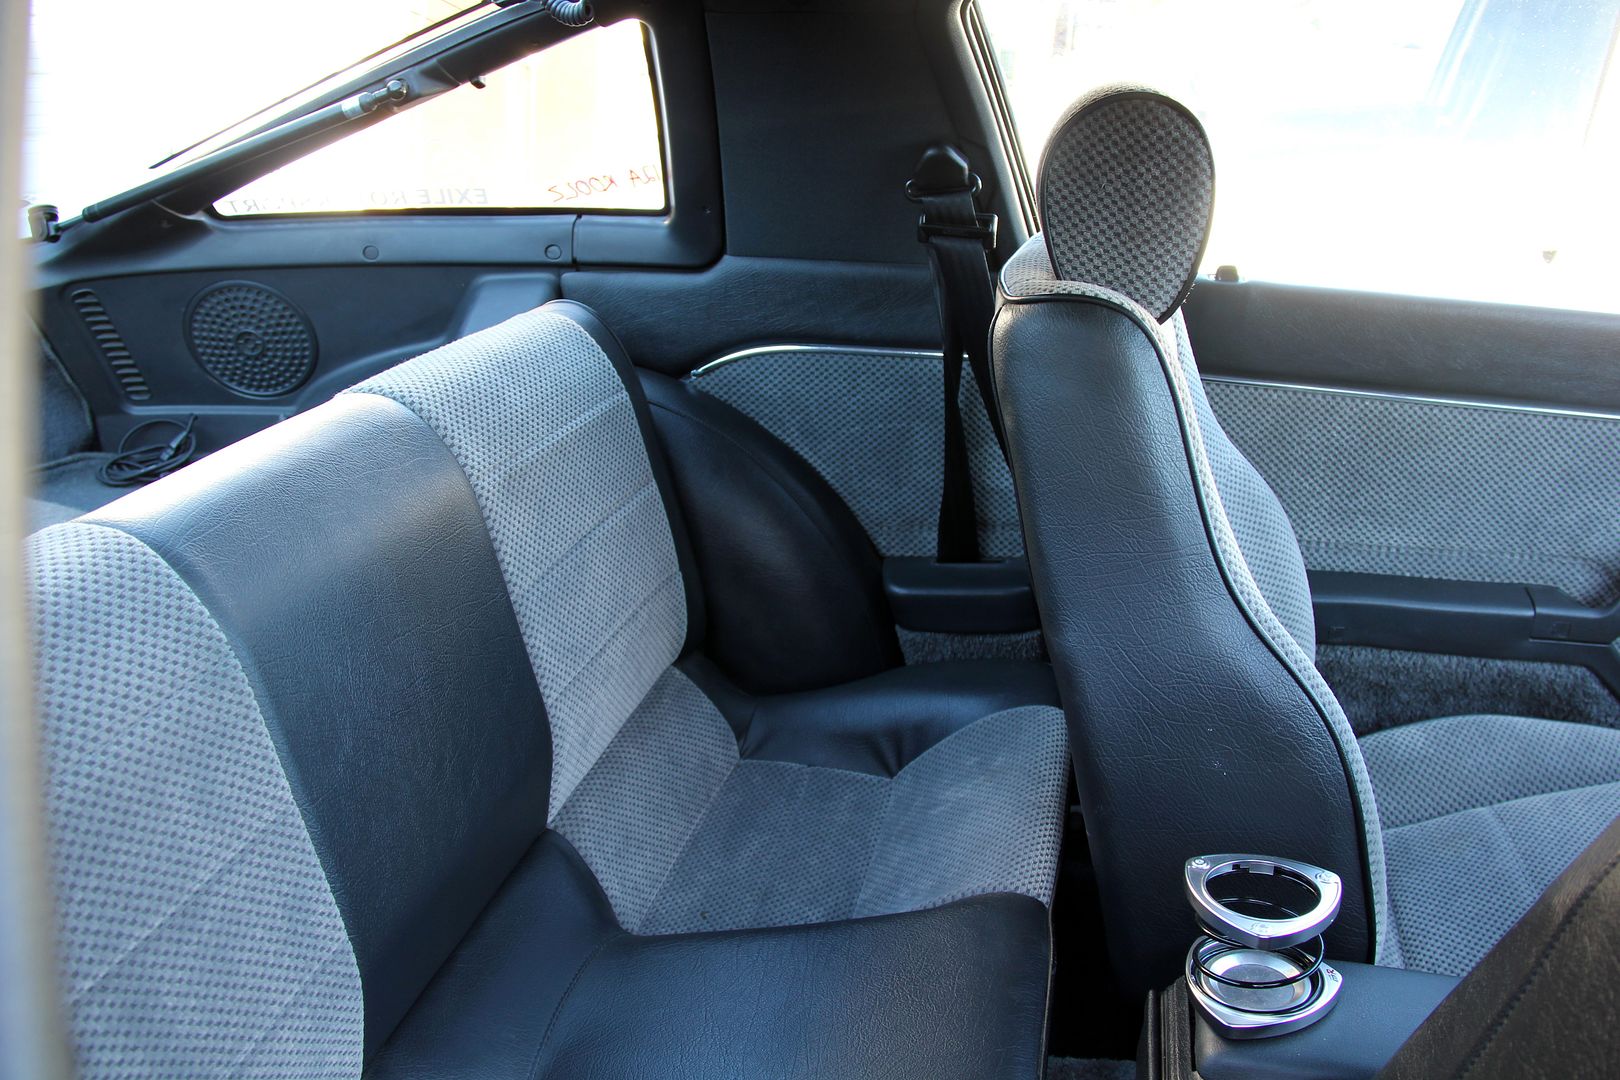
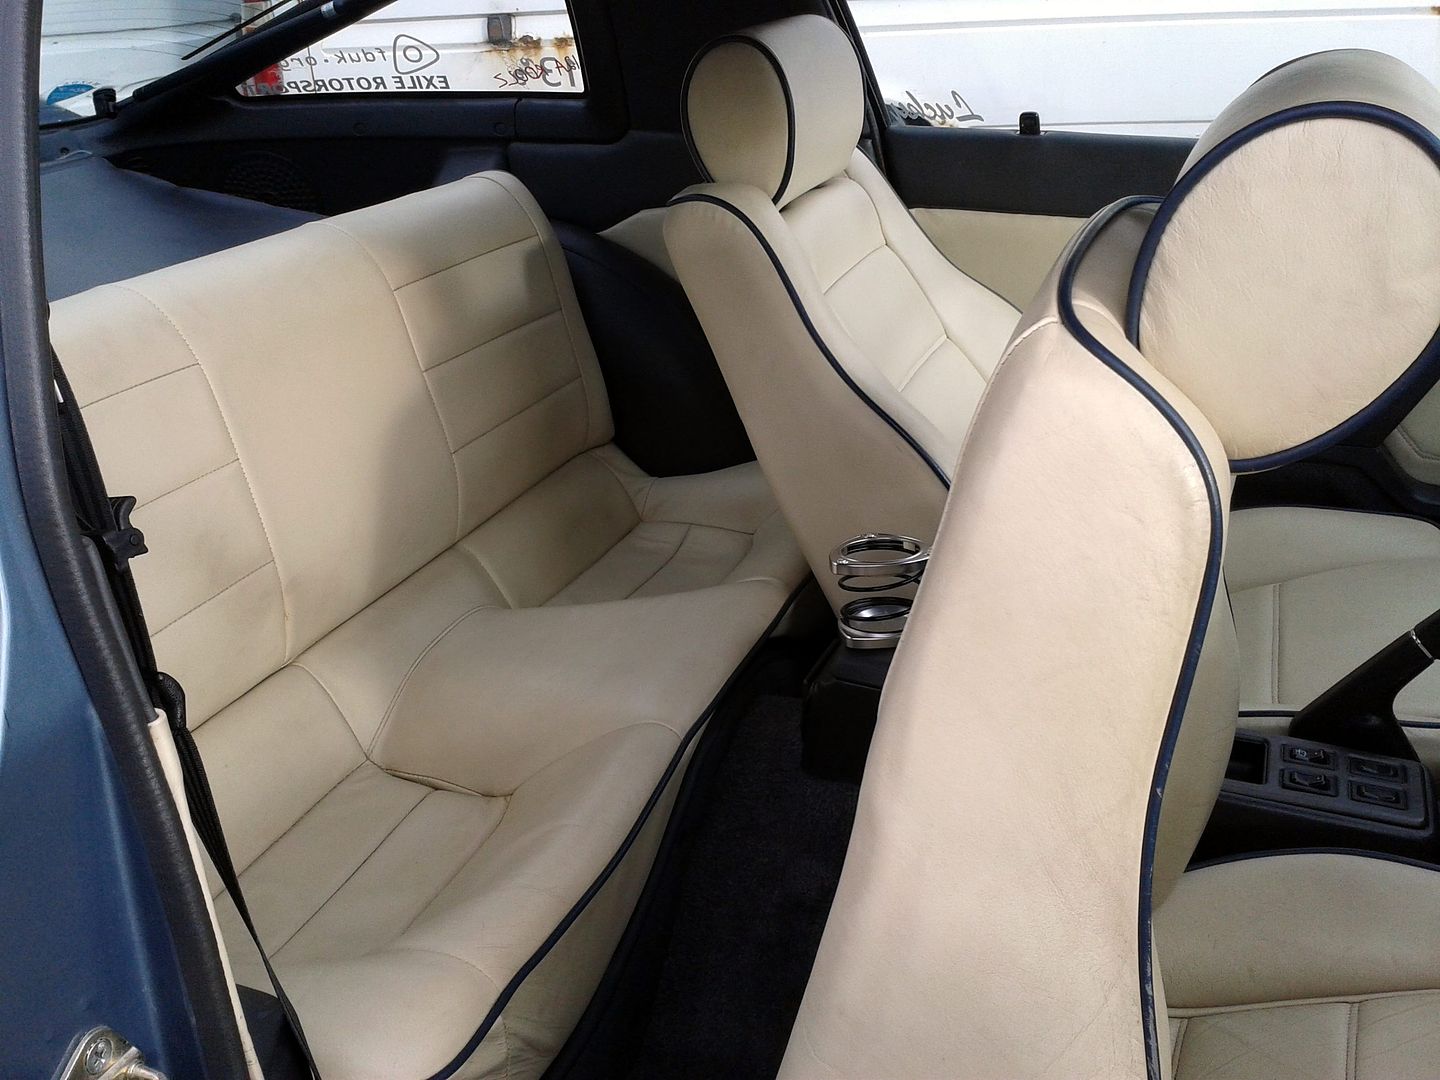
wrong with the interior in my car per se, but it is very much of it's time with the sorta Action Man's head fuzzy finish and the houndstooth checkers. Plus it's probably the gnarliest bit of the whole car, it was quite grubby and stained, like someone had clambered around with oily boots and hands at some point. Especially the rear bench was marked with stains that wouldn't come out. Besides, this one's
leather. So I win

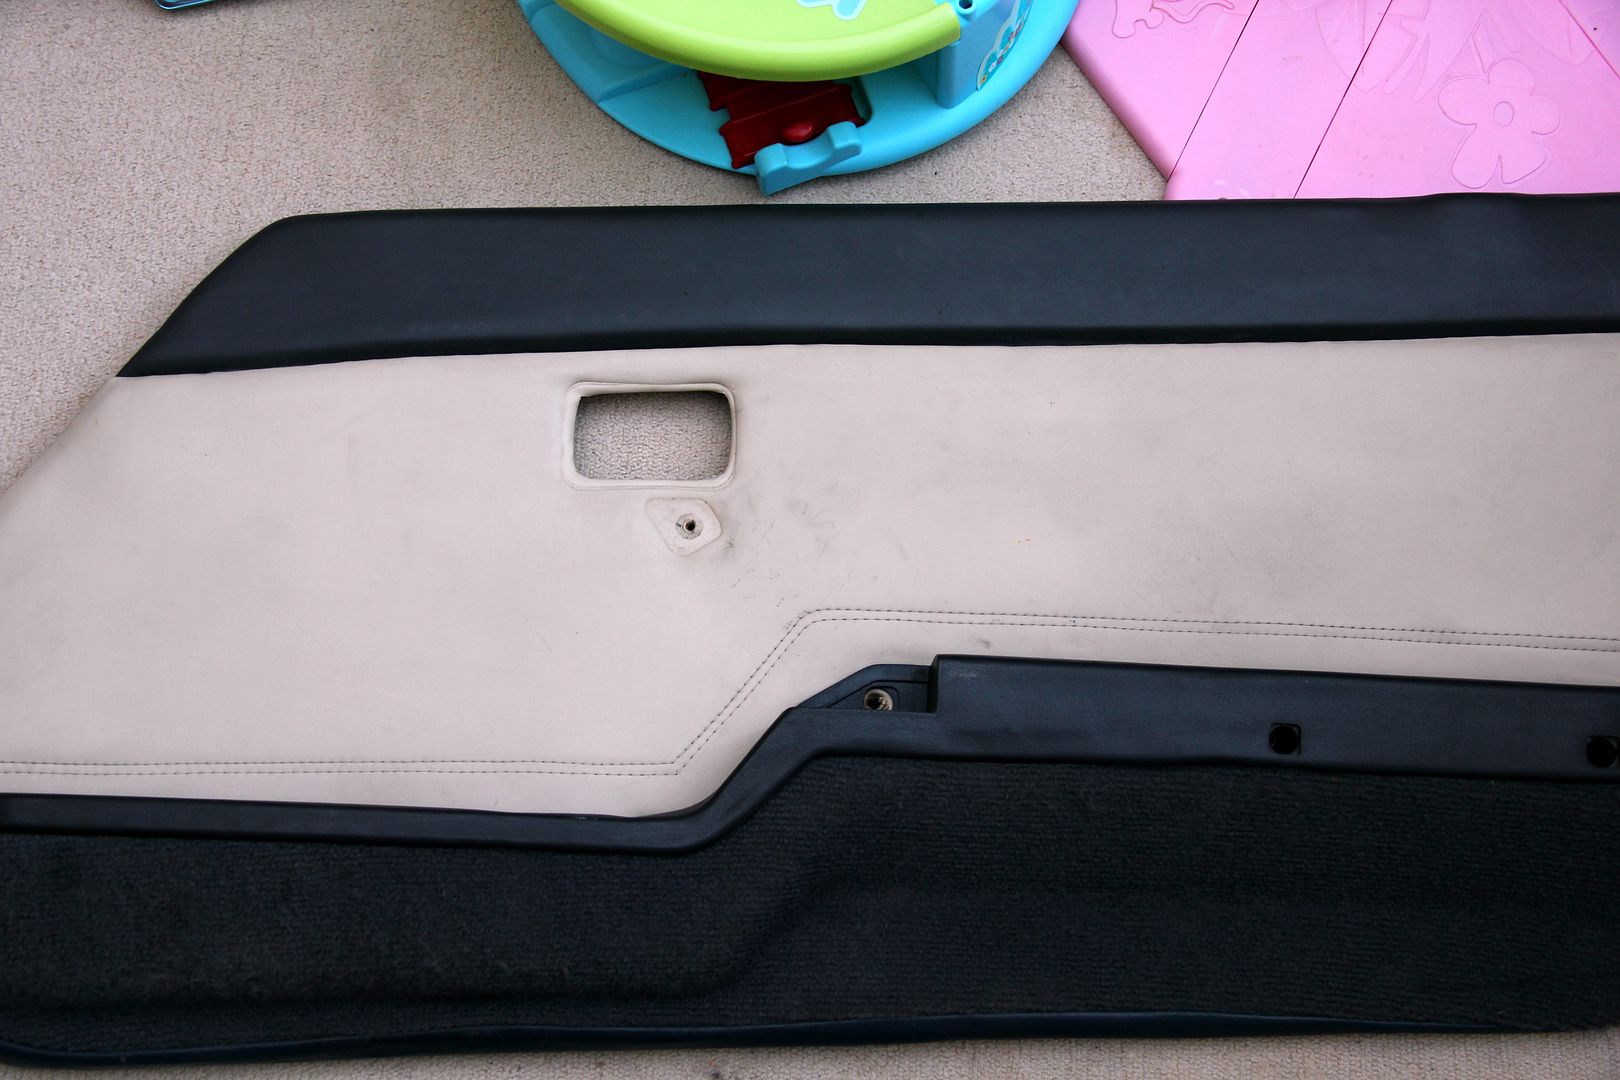
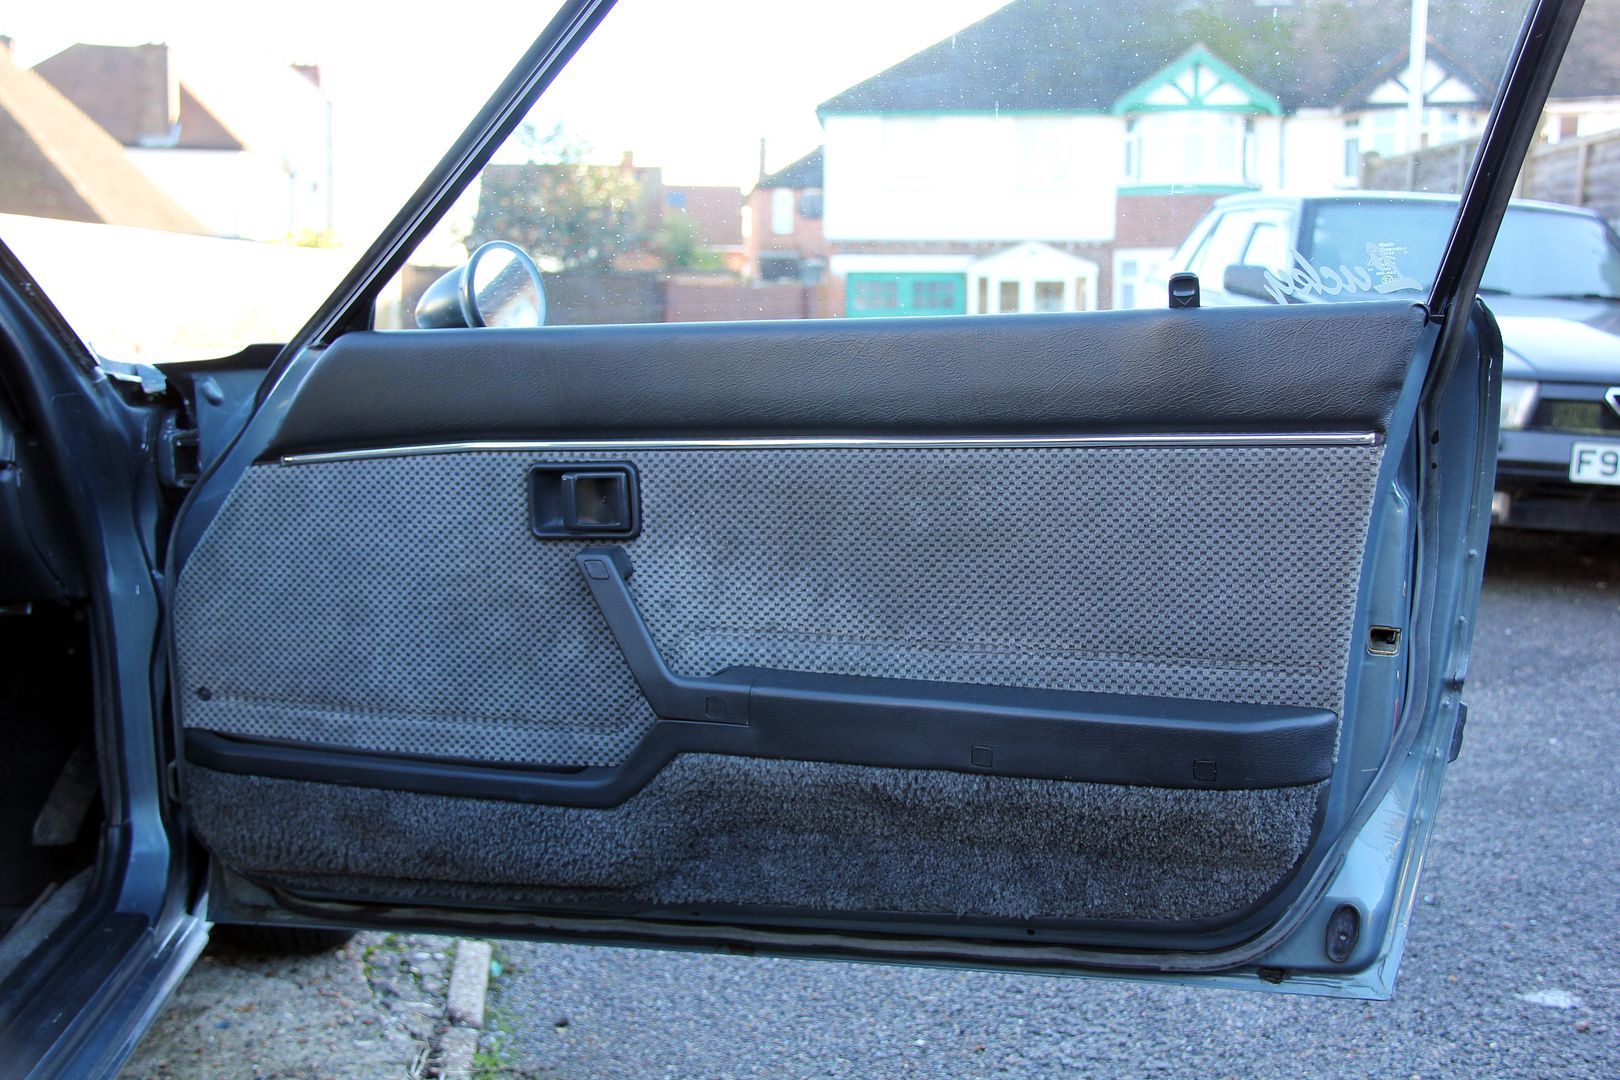
Since it was all now conveniently in the house I spent a couple of evenings in front of the telly with the leather care products scrubbing away. The breaker I got it from was really helpful, and professional but I'm not sure how well they stored it away before sale. The cards especially were filthy and it all needed a good clean and workover with some hide food. The doorcards came up nicely, before;
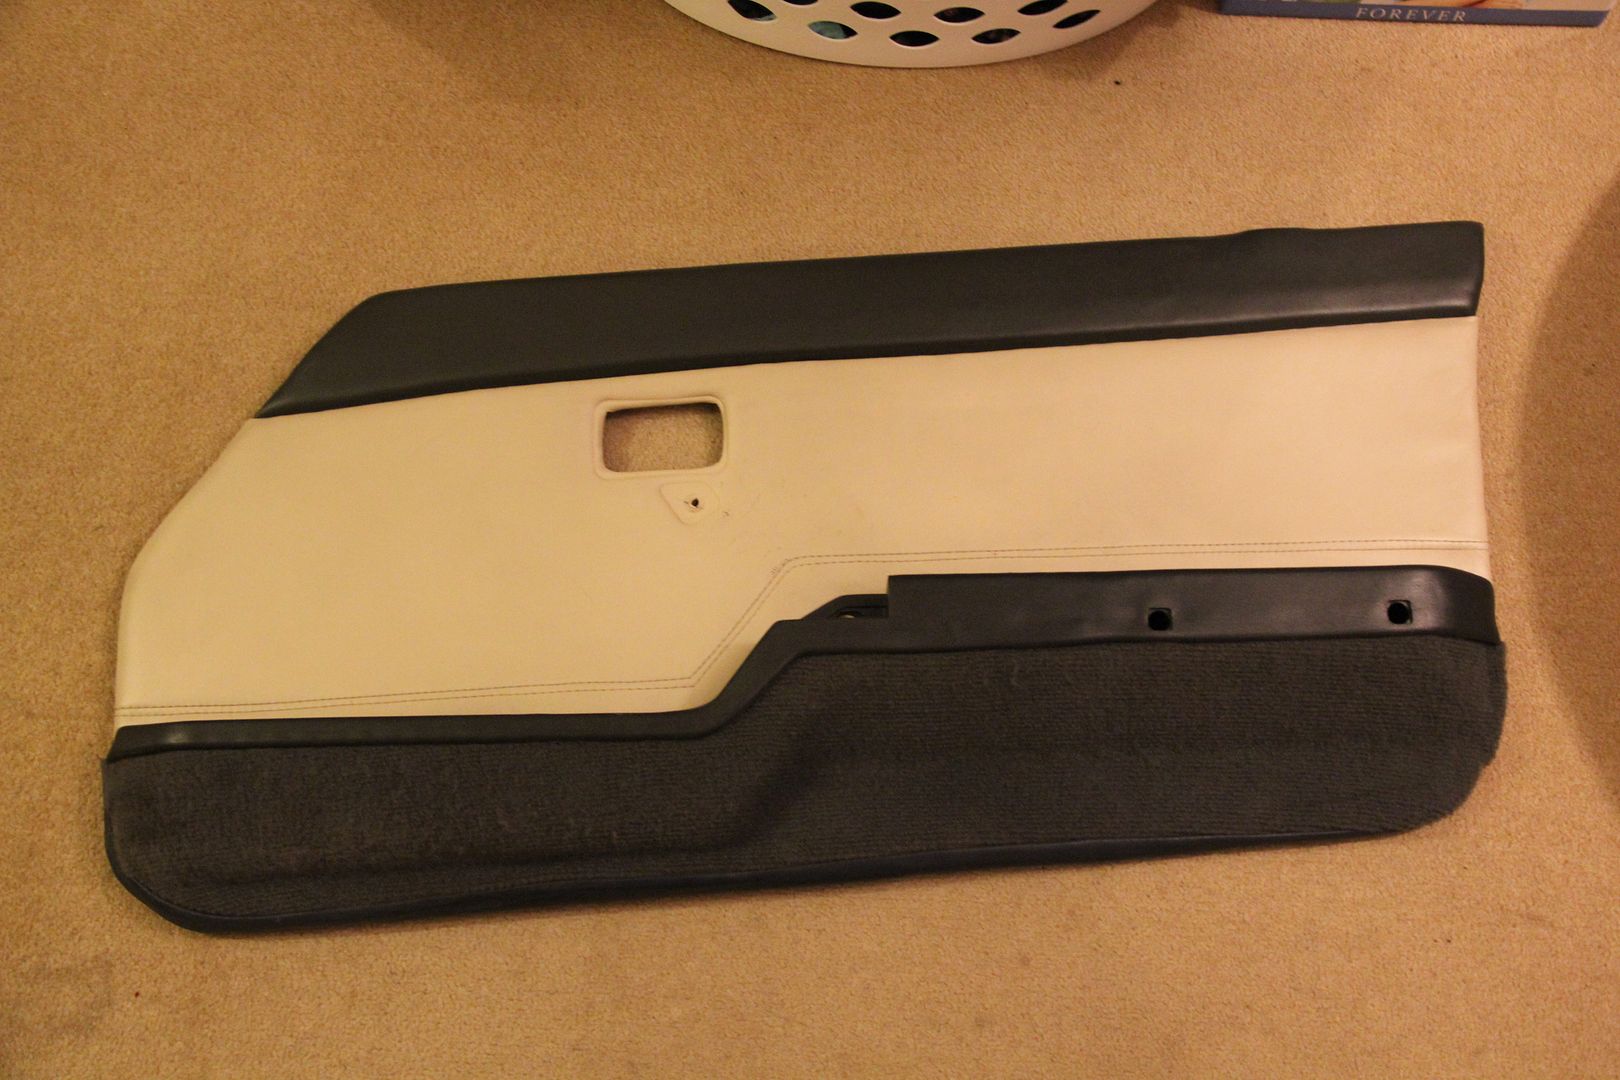
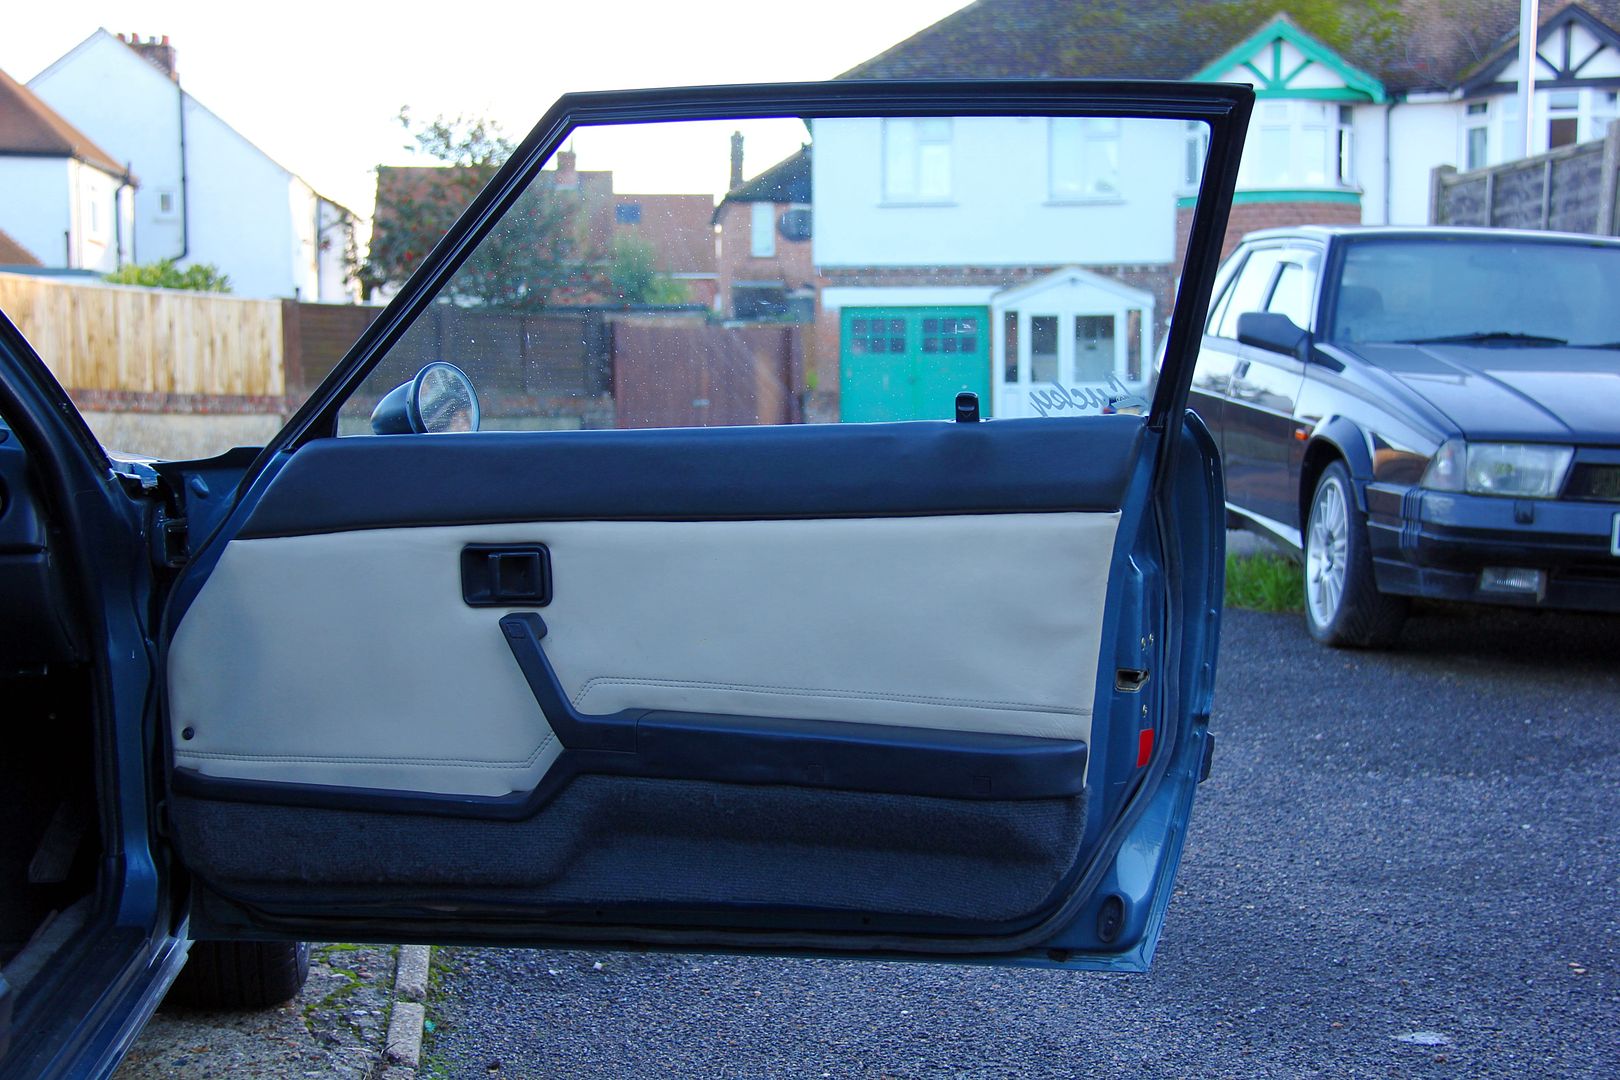
and after, with the grubby marks where years of grabbing the handle had left ingrained scunge now all gone;
The rear cards had some kind of resin or glue that had got onto them whether during storage or in their previous car. It was impossible to get it all off, unfortunately. Leather cleaner and soap got some off but just wasn't aggressive enough to completely eradicate it. I tried some solvents on a bit on the rear of the card, and whilst it did get some more (but not all) of the weird resin stains off, it also mullered the connolising of the leather, so I gave up on that. It's a minor annoyance that's unlikely to be noticed by anyone except me. And all you lot, now I've drawn attention to it lol
Before (filthy!);
After (still with minor resin splats, gnash):
The only other problem with the doorcards was that the drivers' side latch rod guide was mullered on the new card;
but once I took the old one off the car it was a simple matter to drill out the rivet and re-rivet it onto the new card. Not sure how much use it actually is, but since Mazda thought it should be there I guess I'm better off with than without one

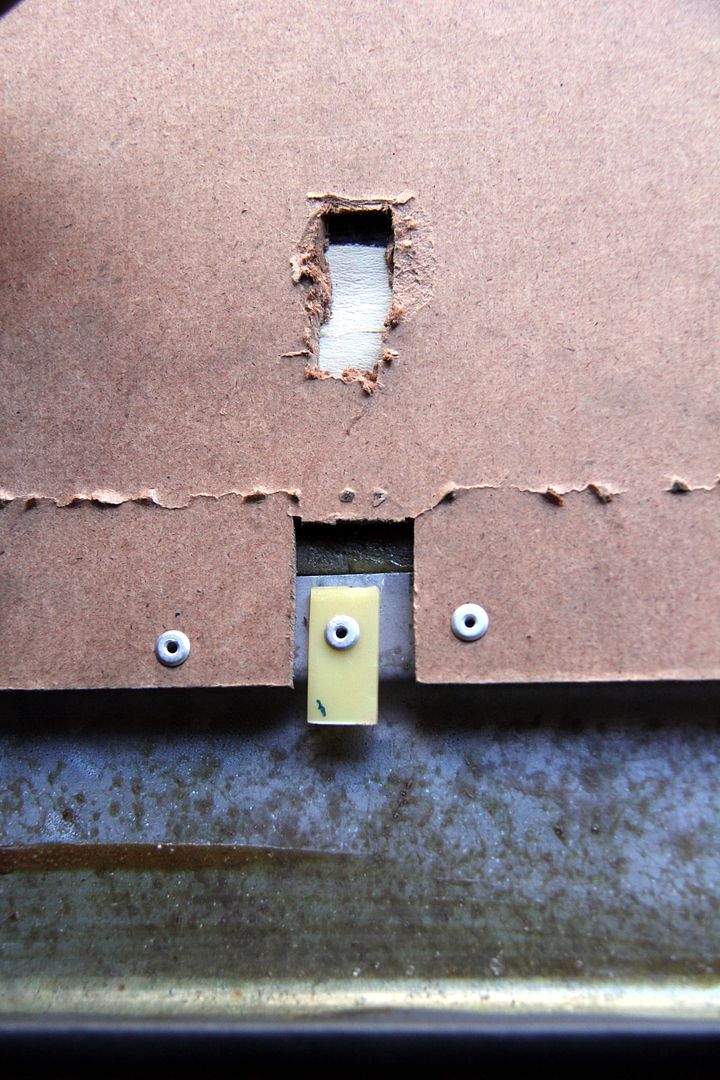
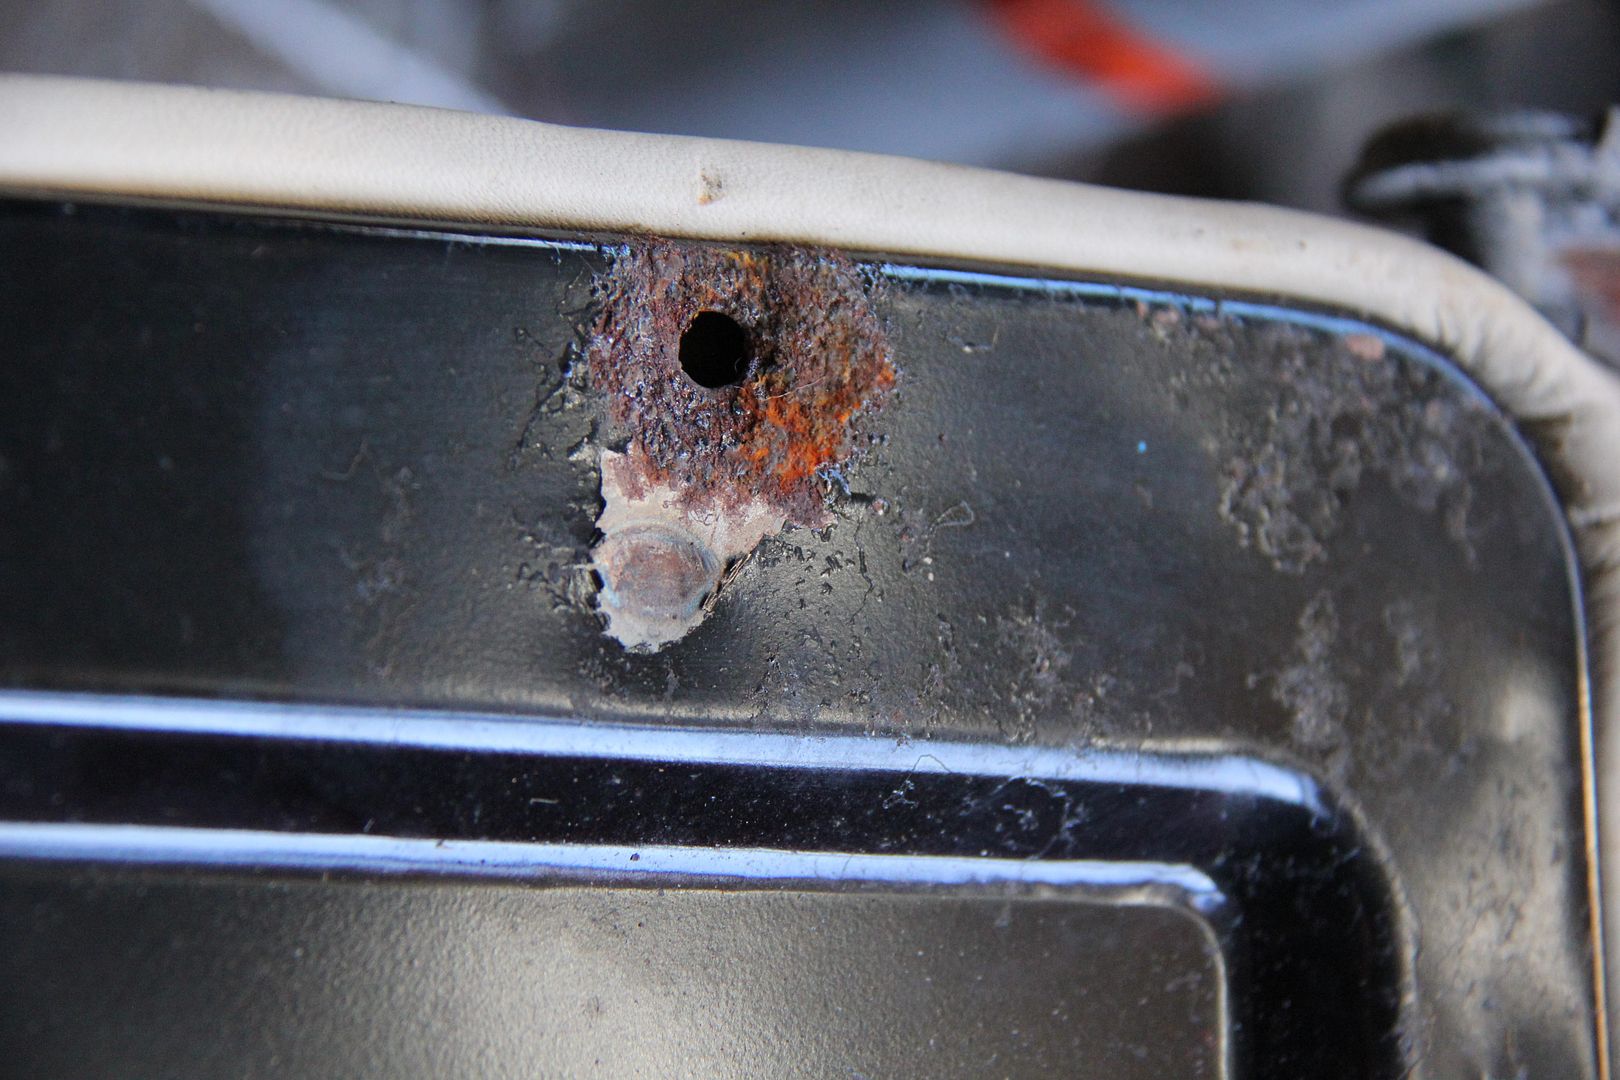
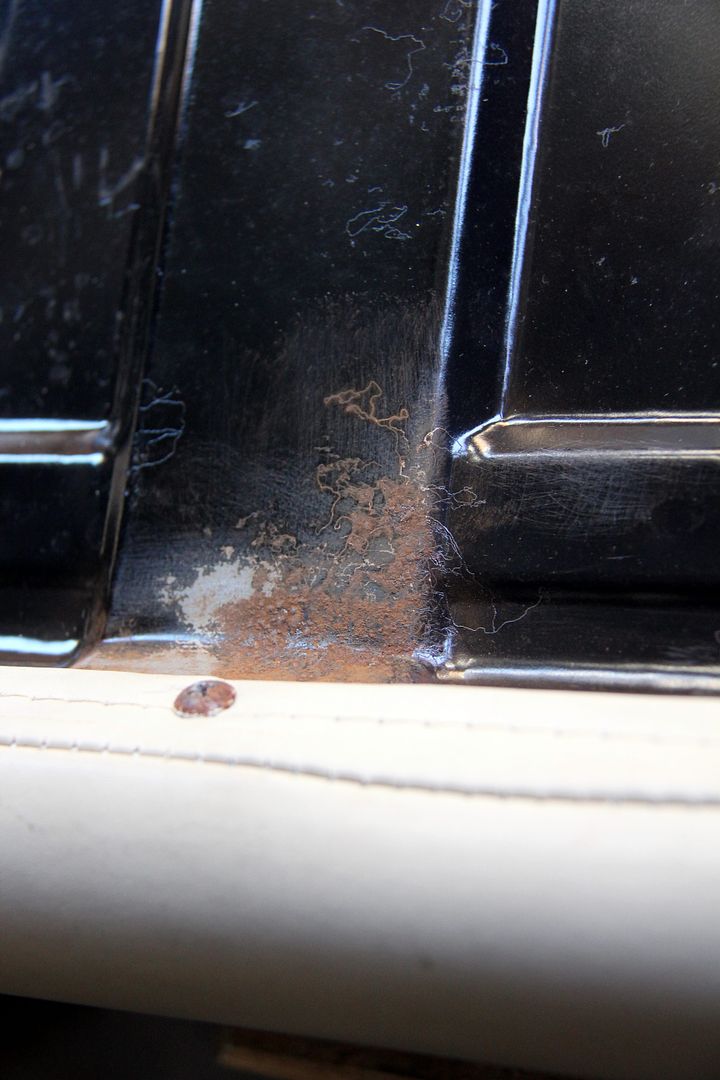
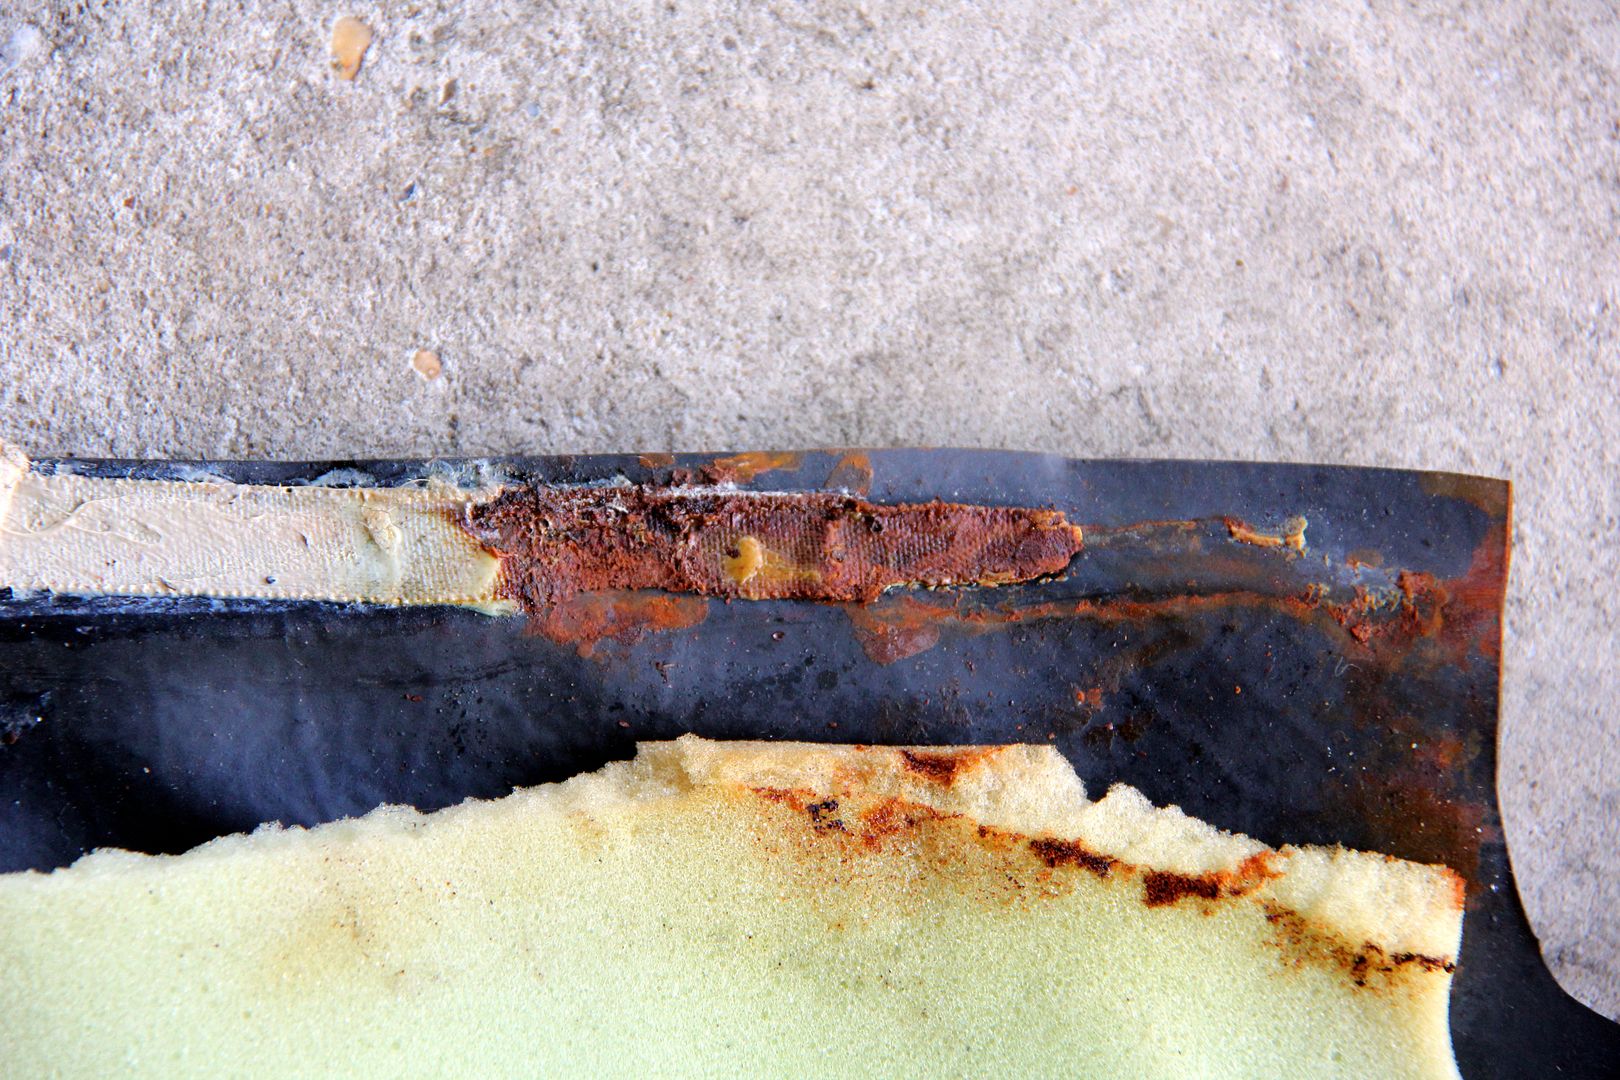
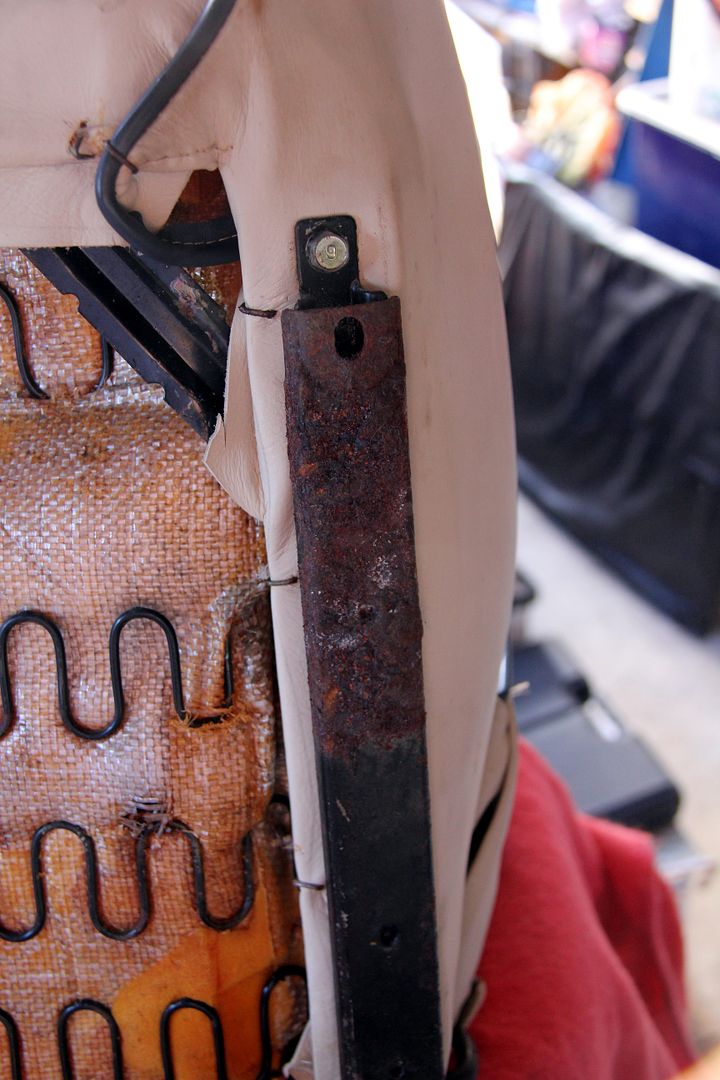
The next problem was found as I was cleaning up the rear seat. Specifically, the metal insert that forms the seat back was in quite poor condition. It was dented in a couple of places, but worse than that there was rust coming through in quite a few spots, especially around the holes where the press-studs hold the boot carpet on and along the top edge;
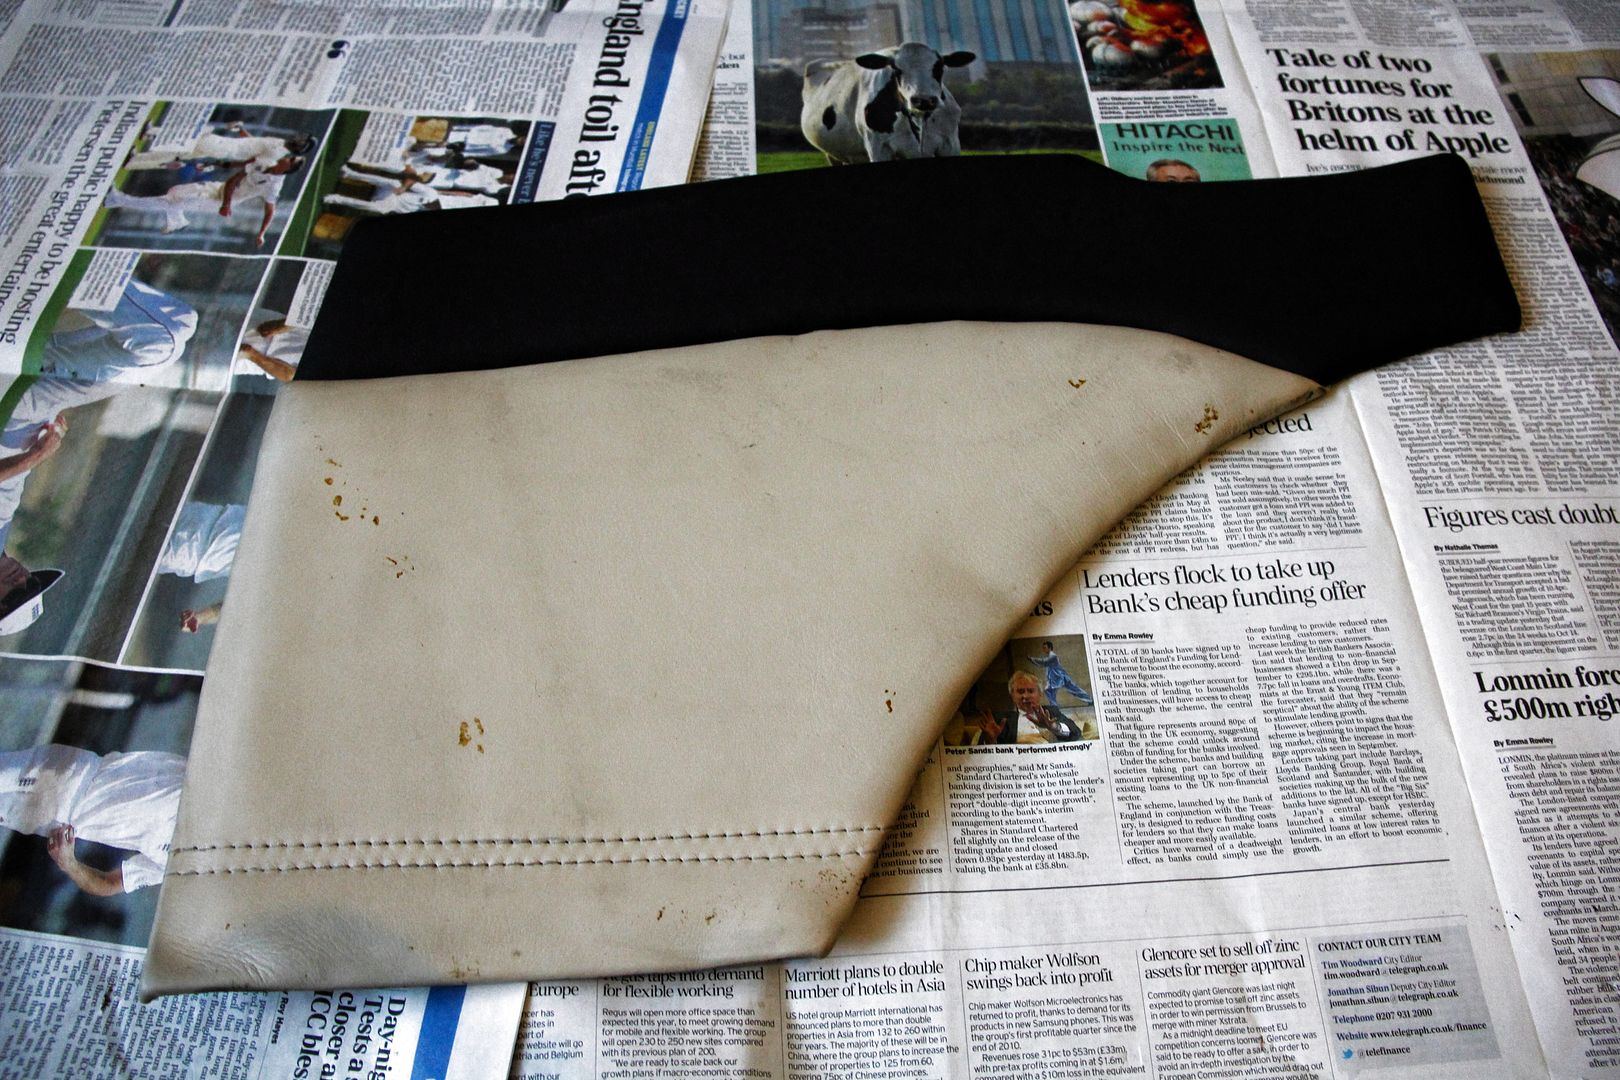
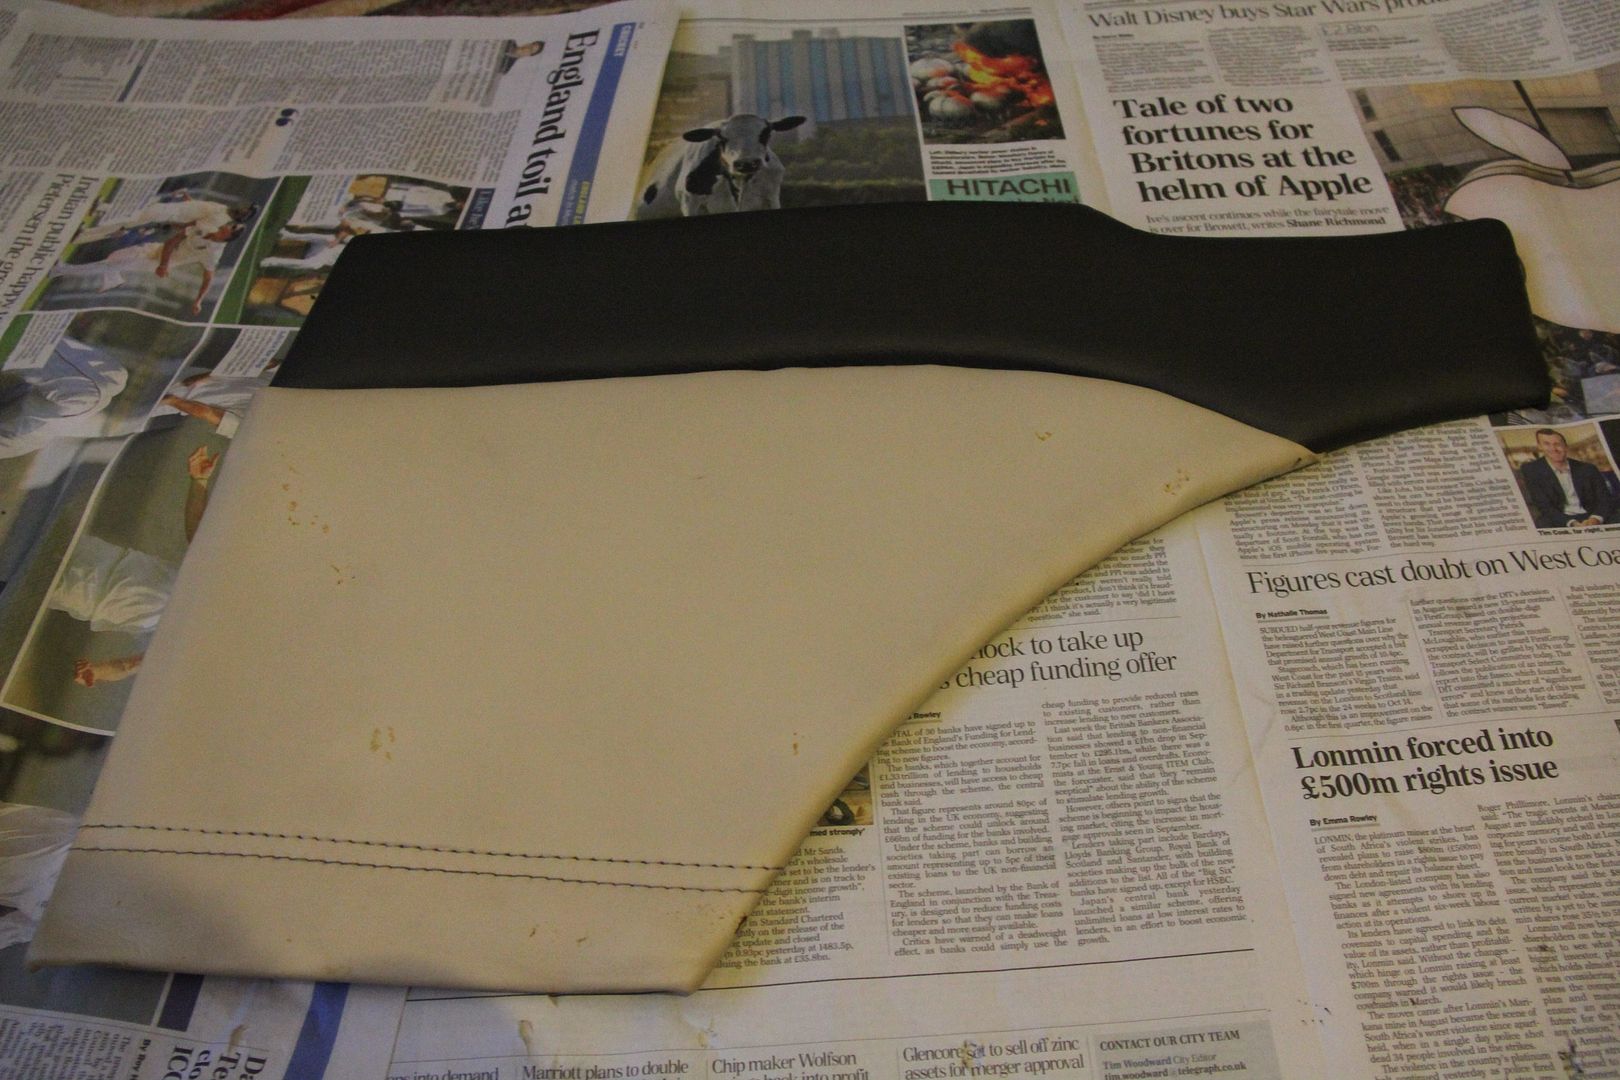
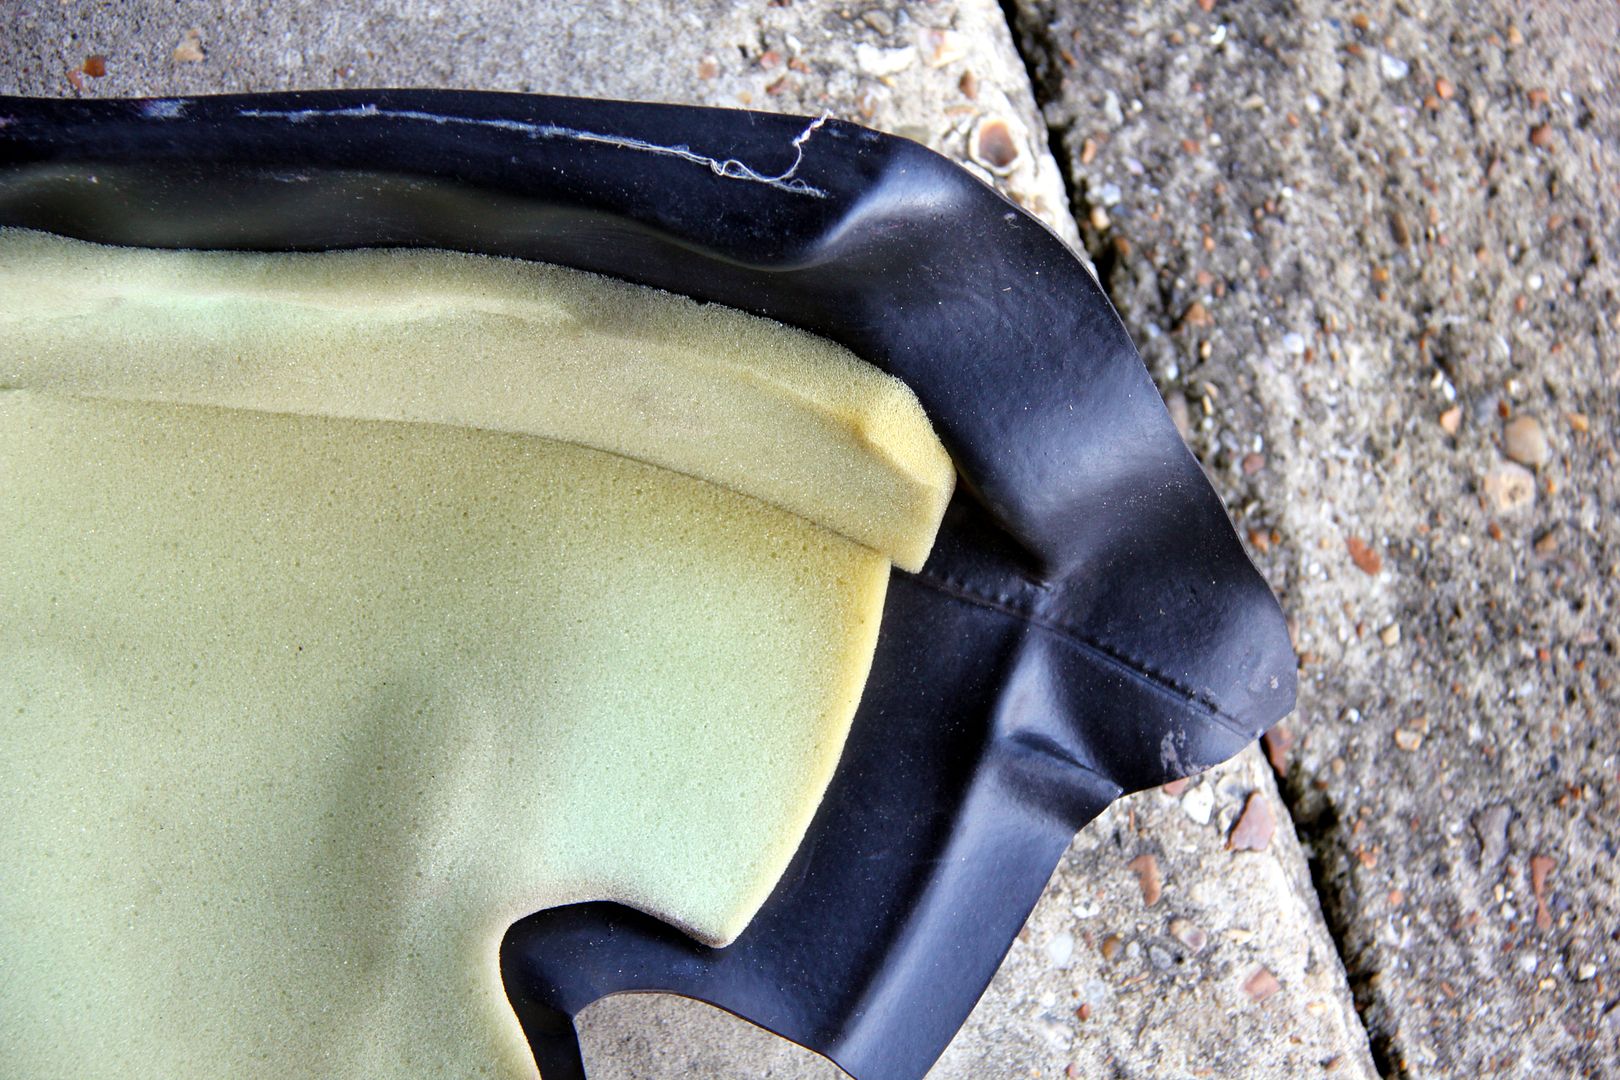
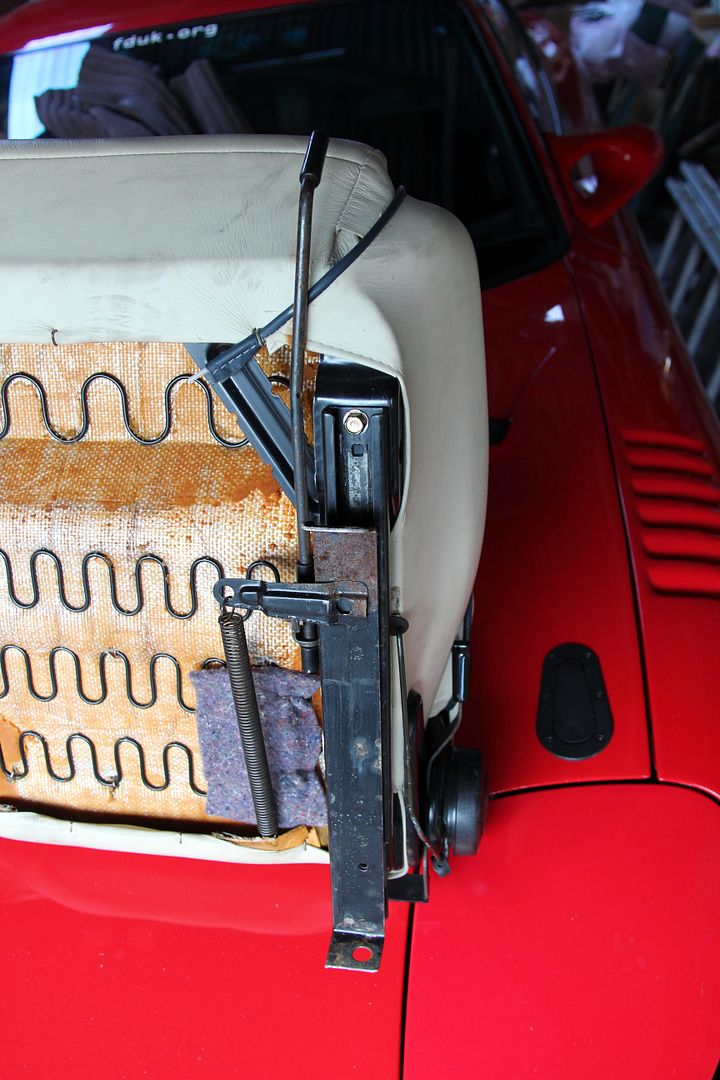
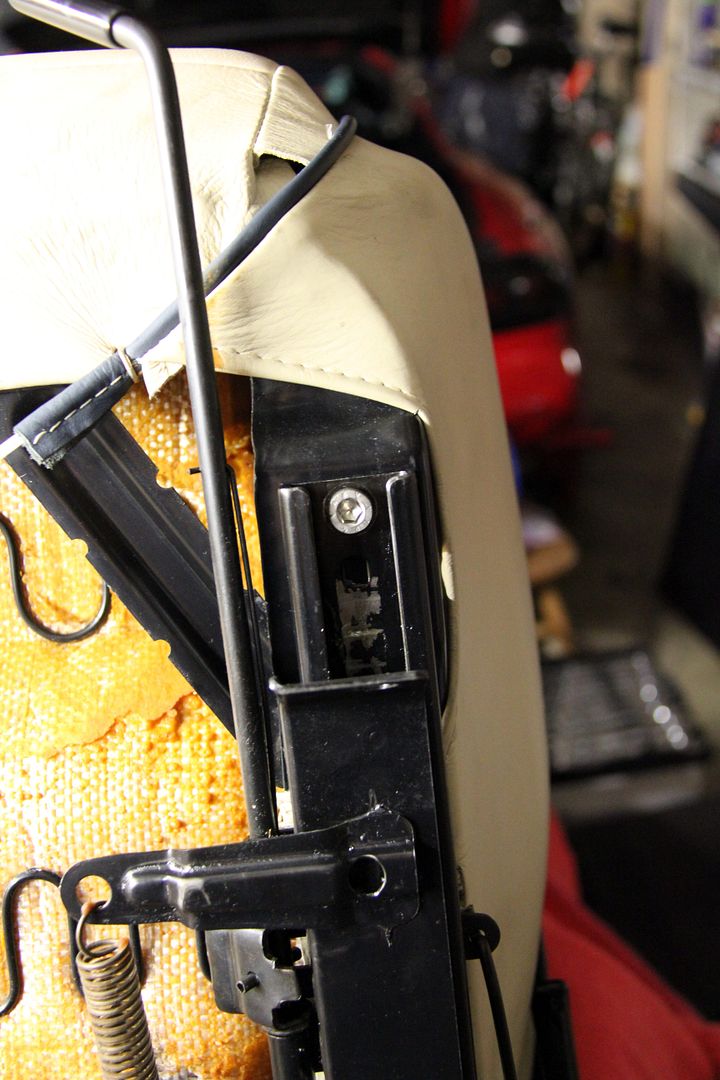
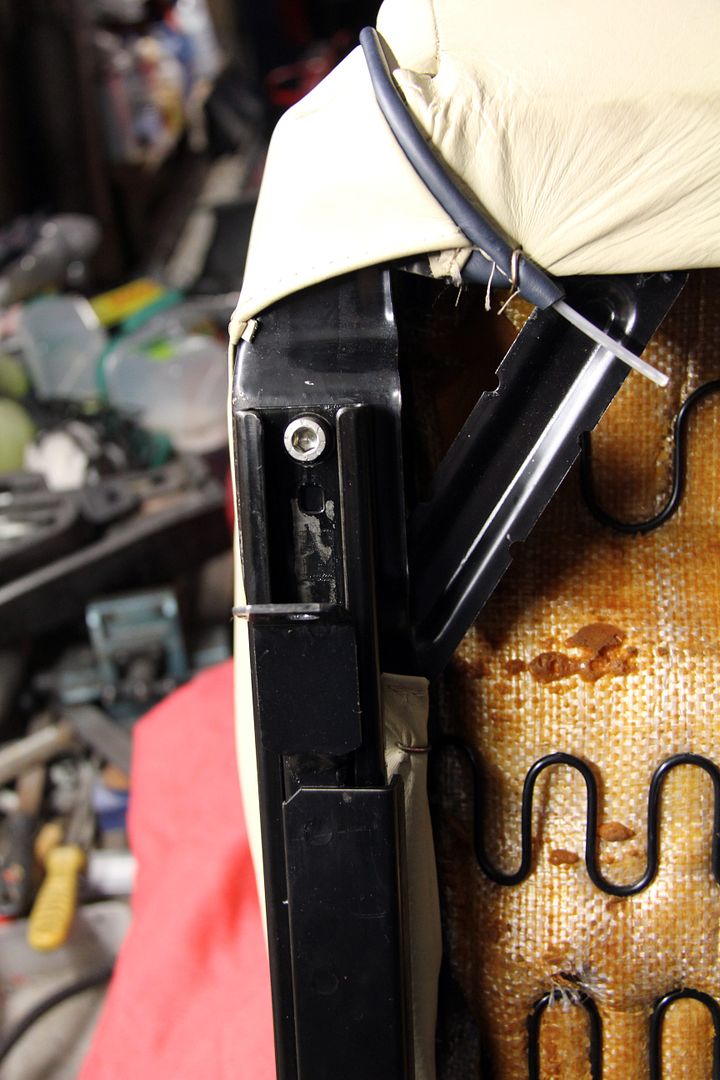
I started to sand back and treat these with rust convertor, but it became clear the leathe covering would have to come off to give me access to do a prope rjob of it without ruining the hide. Once I'd struggled, sweated, and sworn my way through this, I realised it would be a lot easier just to strip the cloth covering off the seat back in the car and swap them over, since that one was in much better nick. This is a bit of a faff, you have to remove the roller-blind mounts, then the trim strip pictured below, then there are a load of screws holding the seat cover on, then it's main force and brute stregth to stretch the cover off the frame

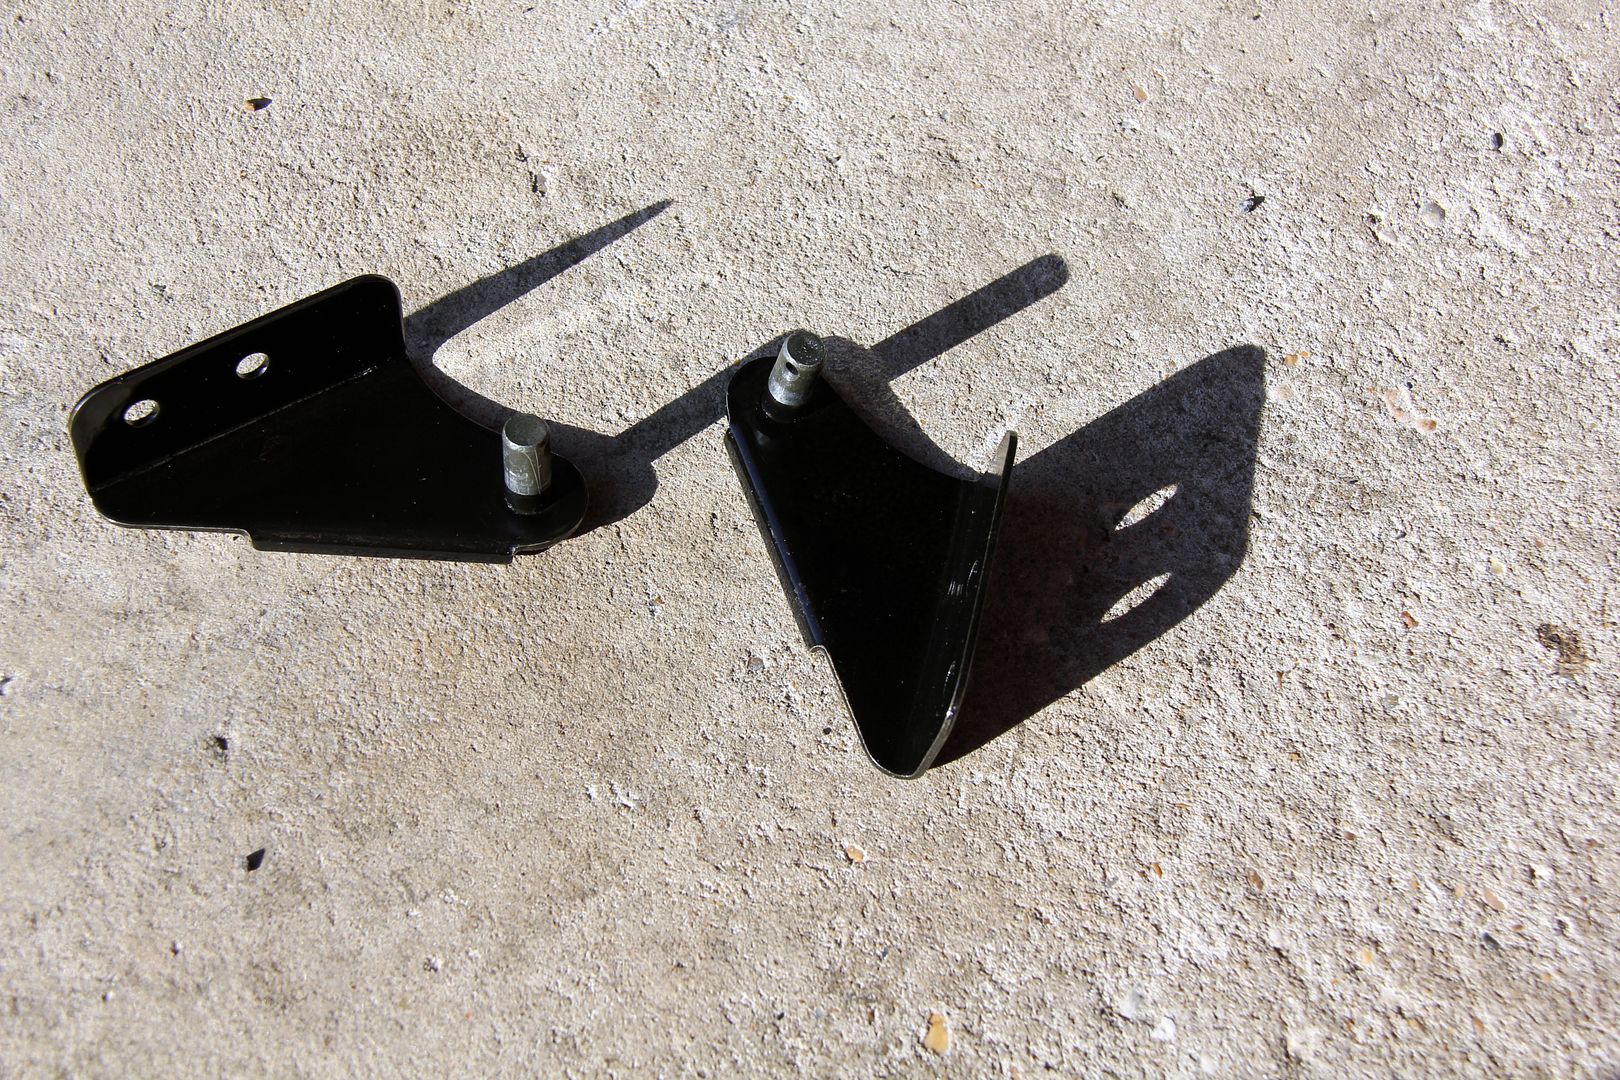
It's fair to say getting the covers of was difficult enough, but getting them back on again is a job worthy of the labours of Sisyphus, and one I fervently hope I never have to do again as long as I live! I'm sanding back and Hammeriting the scruffy seat back so should I ever need it, it won't have dissolved into a rusty mess of rubbish. Hopefully I'll never need it! After such a nightmare job merely having to rust-treat and reclaim the manky brackets for the seatback seemed a minor rest cure;
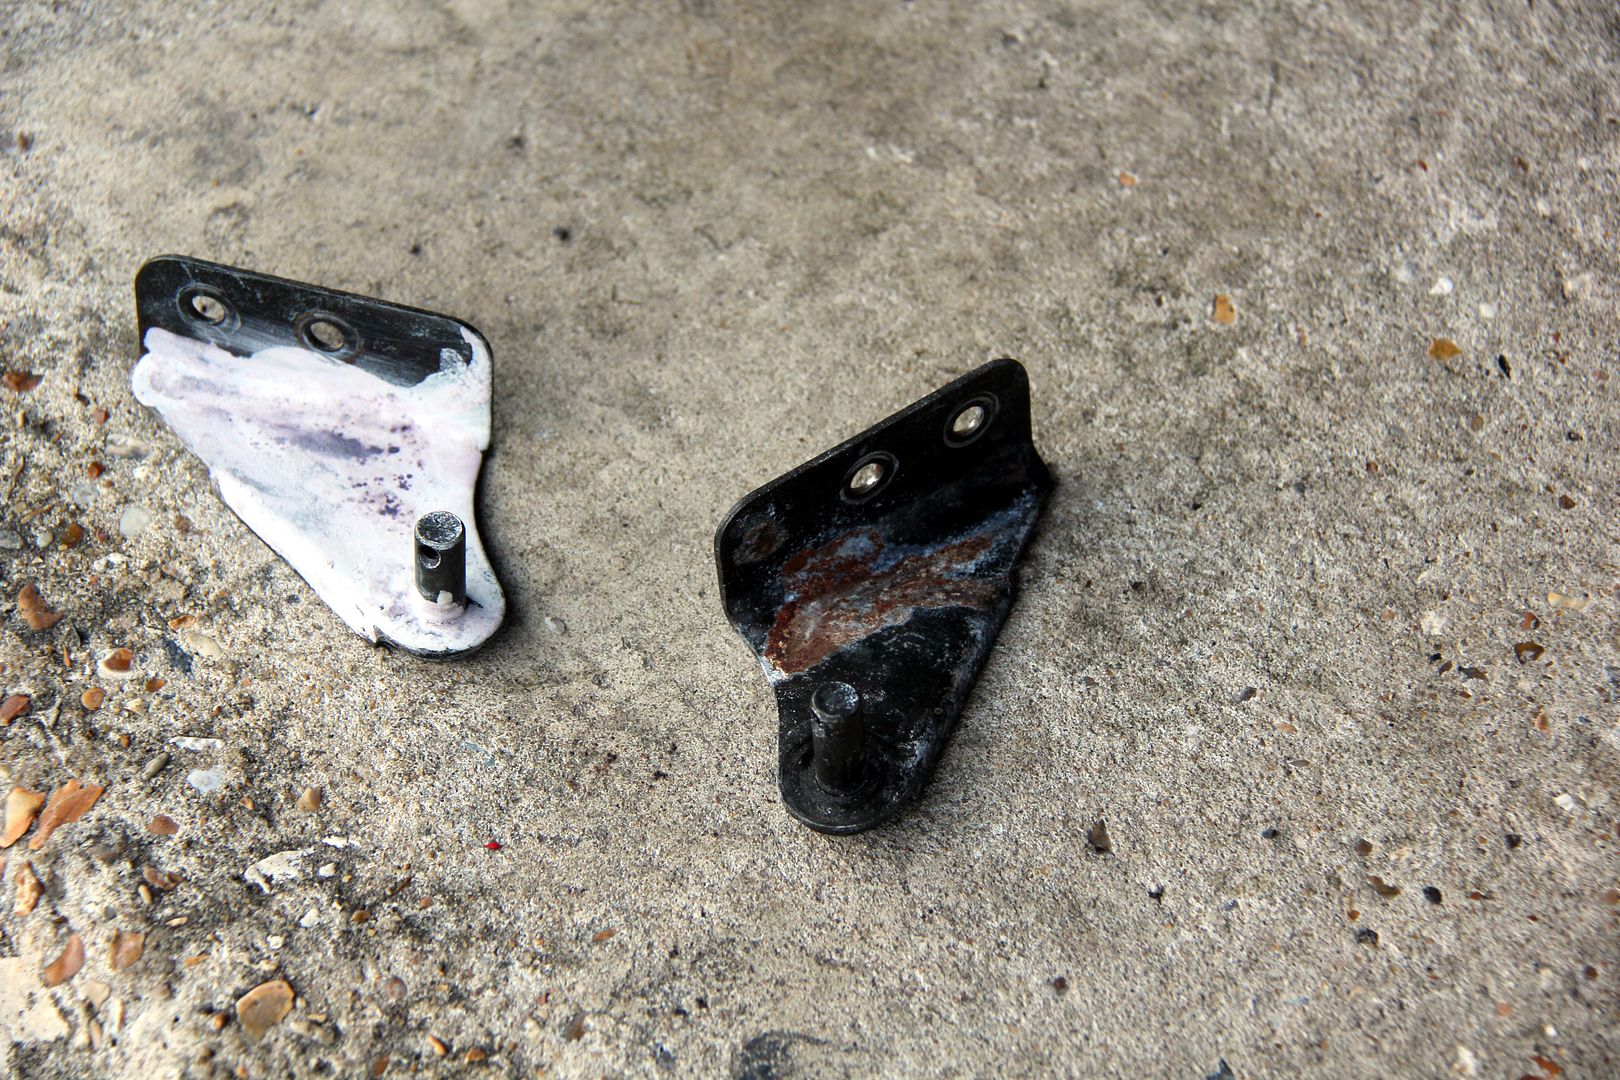
Hammerite may be mostly hateful stuff but it does have its uses!
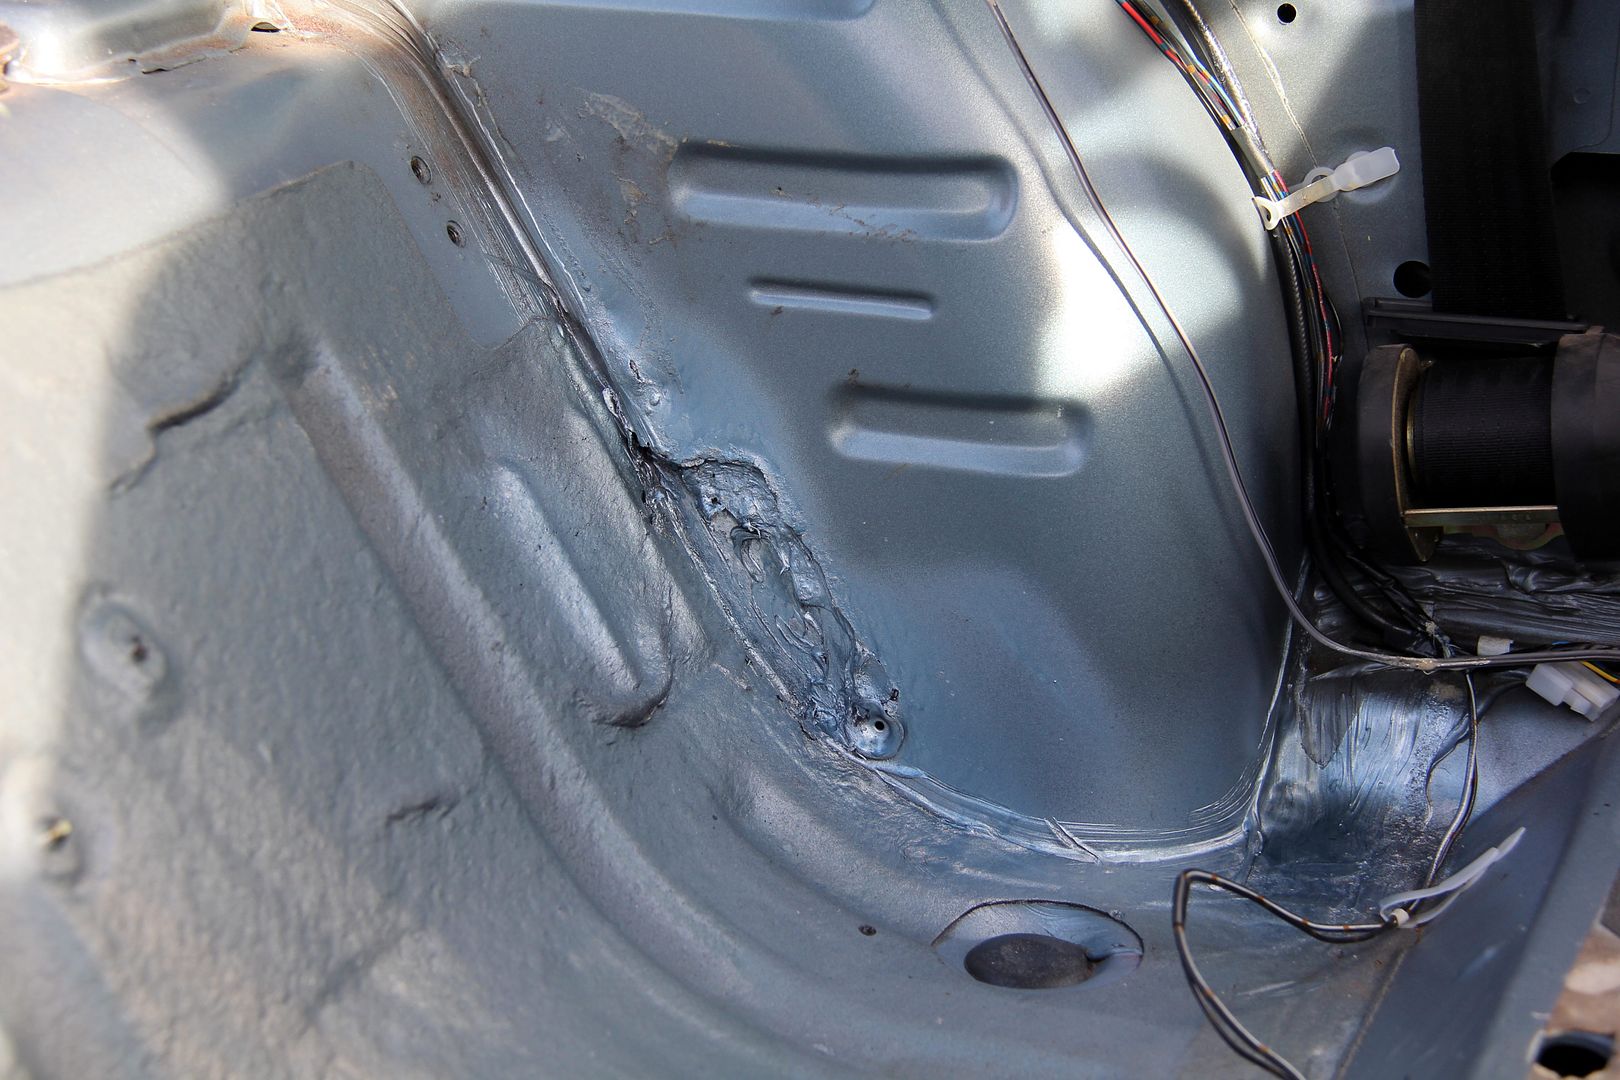
By now the entire rear of the car was stripped out, and as in the way of such things, I was getting apprehensive. It's never a good idea to strip the seats and carpets out of a 28-year-old car unless you're happy to find loads of rust and holes that need remedial action! Fortunately, I wasn't disappointed

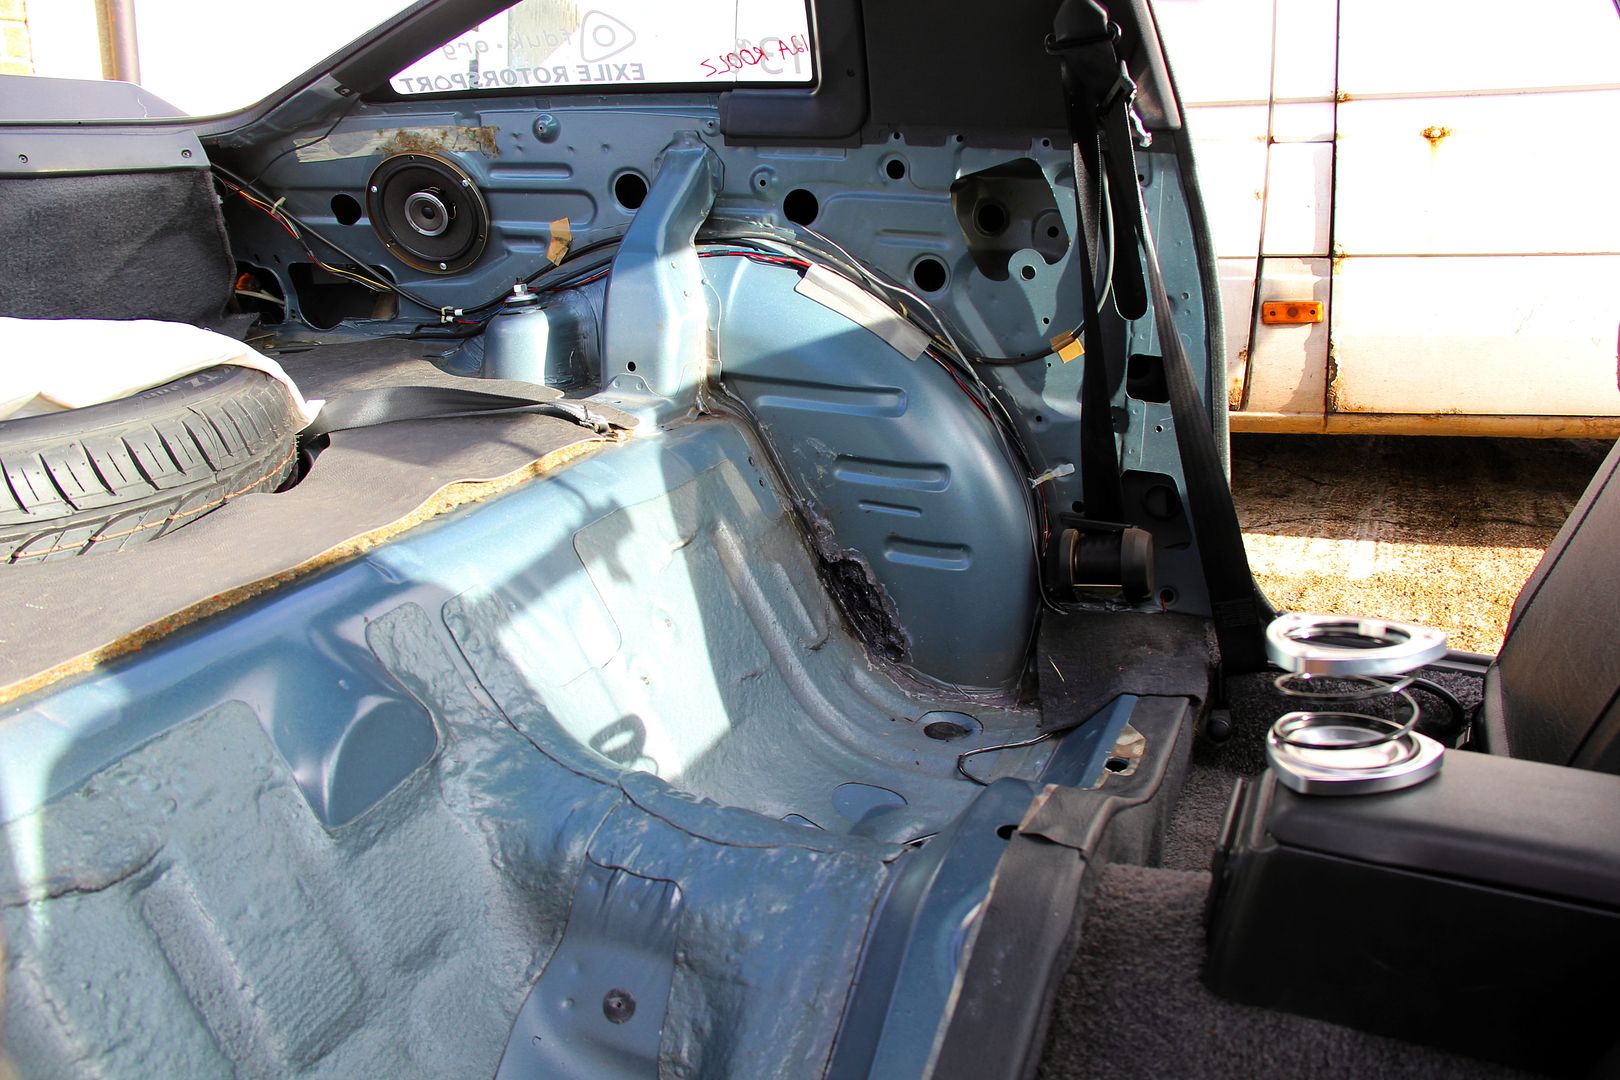
Fortunately, I got off lightly. The seat-pan had done that inevitable FB rotting thing... previously! Phew! Someone had already found it and sorted it out. There was some surface rust starting up again in places, but the rubberised anti-corrosion paint they'd tidied it up with had prevented anything horrible happening. Good fortune I found it early enough to get away with some simple rust treatment of the surface rust;
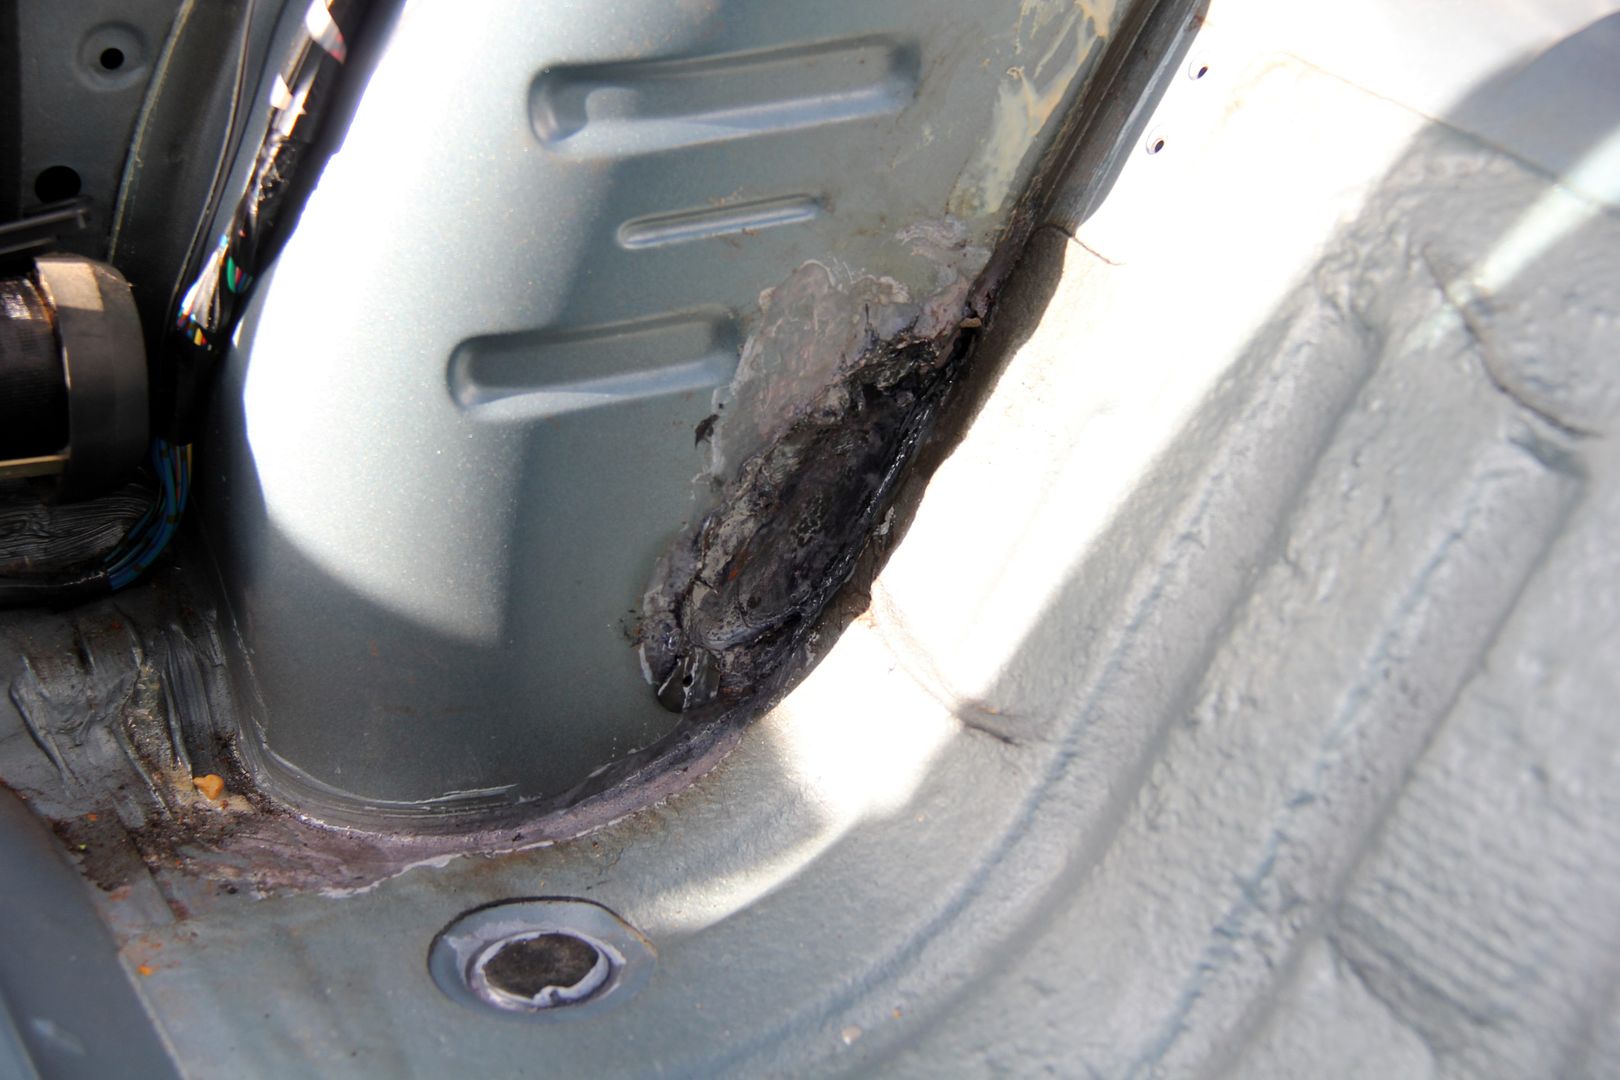
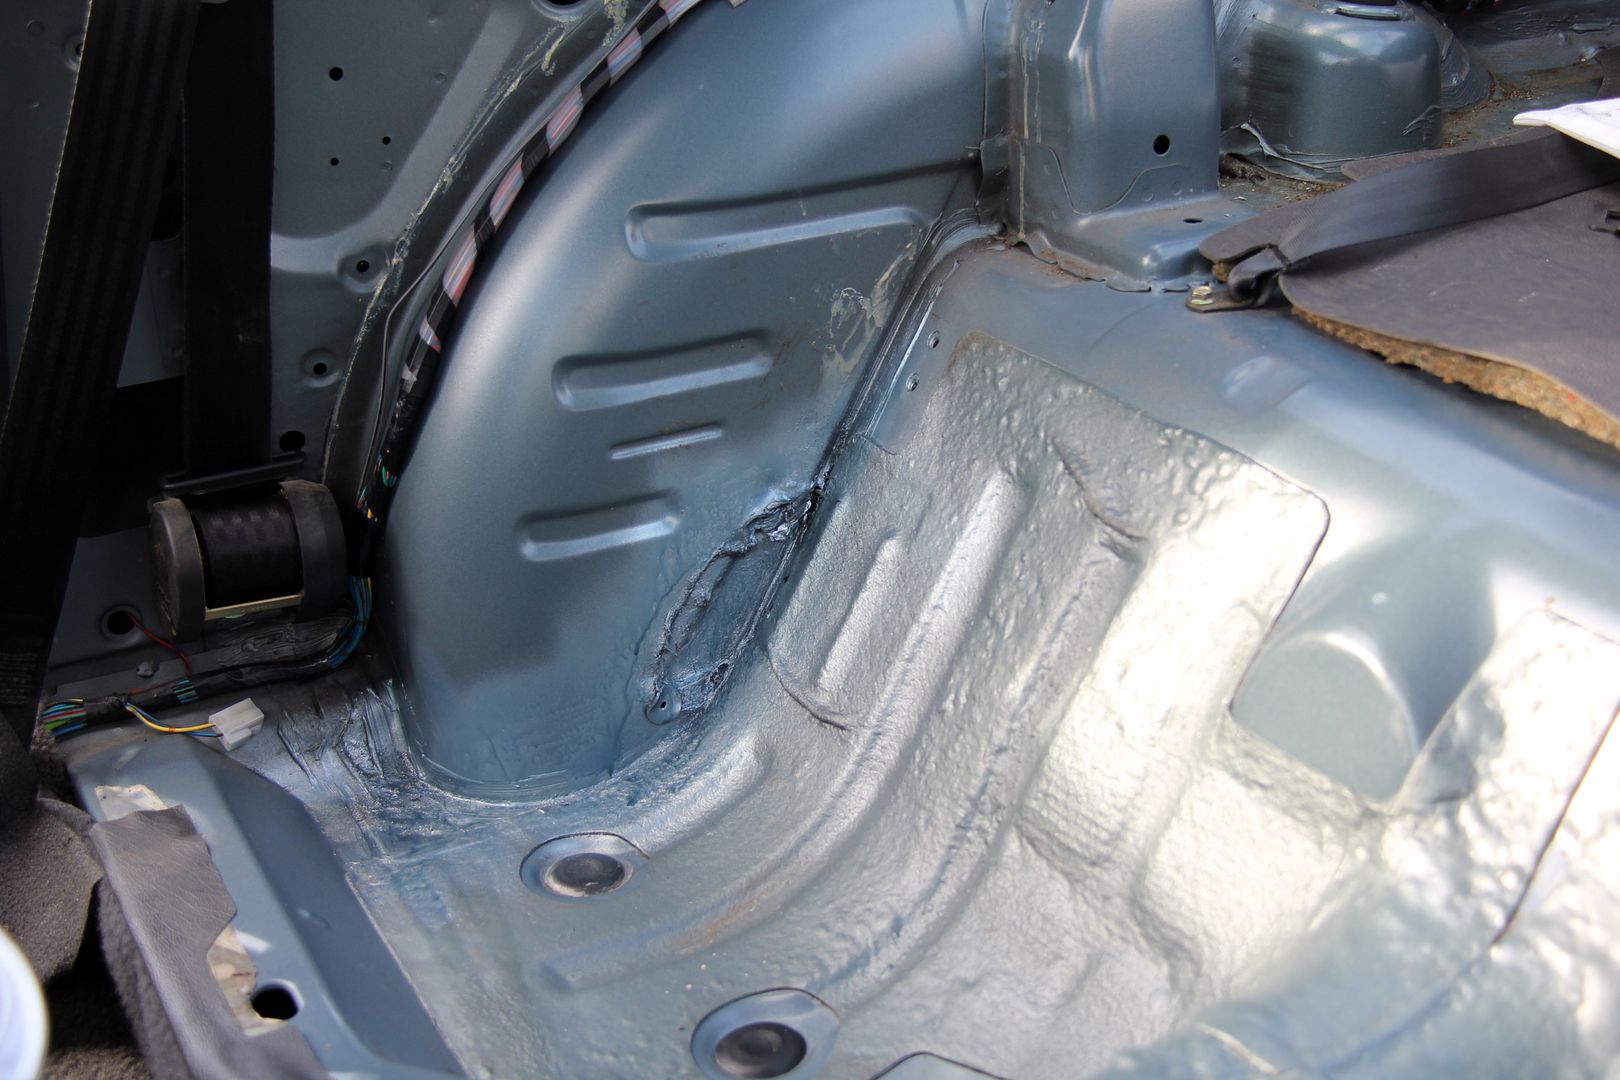
... and once that had gone off and sanded back, a quick blow-over with some (almost) body colour
Doesn't look desparately pretty but it'll do the job for another few years!
Doing a job like this it frequently feels like you're taking two steps back and one forward. If it was just swapping part for part I could have done it in a day, but each bit of trim removed seemed to have some problem that needed redressing. If you're going to strip the entire interior, you may as well put everything right before putting it back together, I figured. With that in mind, the next job was to sort out the weird sorta vinyl bag things that cover the front of the rear wheel arches. These are pretty much held on by the trim panels that surround them (the rear "door"cards, the boot plastics and the odd little boxes that hide the seatbelt mechanisms) but despite this, Mazda saw fit to blight them with some freaky bandage stuff that's covered in glue. It's horrific stuff that's designed to never go off, so you can peel them off and re-apply them. However, it gets everywhere and accumulates all the crap and grime that you tend to find in un-molested corners of car interiors;
Yecchh! Well, I wasn't having that so after much scrubbing with some brake cleaner (smells nicer than paraffin!) I finally manged to get rid of it all
Fortunately, I've got about five rolls of super-strong genuine 3M double-sided tape that came from a skip find so I used the to re-attach the weird bag things, even though as I said they're held more or less captive by the trim all aorund
dunno really why I felt the need to post a pic of sticky tape, but there you go...
Right, moving on to the actual front chairs while the paint was going off in the interior, I found that the seat rails on the new chairs were in pretty poor condition, rusty as hell and quite bent in a couple of places. Dunno whether this was from storage at the breakers, if they got this rusty whilst in an actual car it must have been in a pretty desparate state!
Grim! It actually took application of a mallet to free one of the driver's side runners enough to get to the last mounting bolt
One of the bolts was just hanging in air too, and the hole it should have gone through was mutilated so I needed to break the tap set out and rescue that one
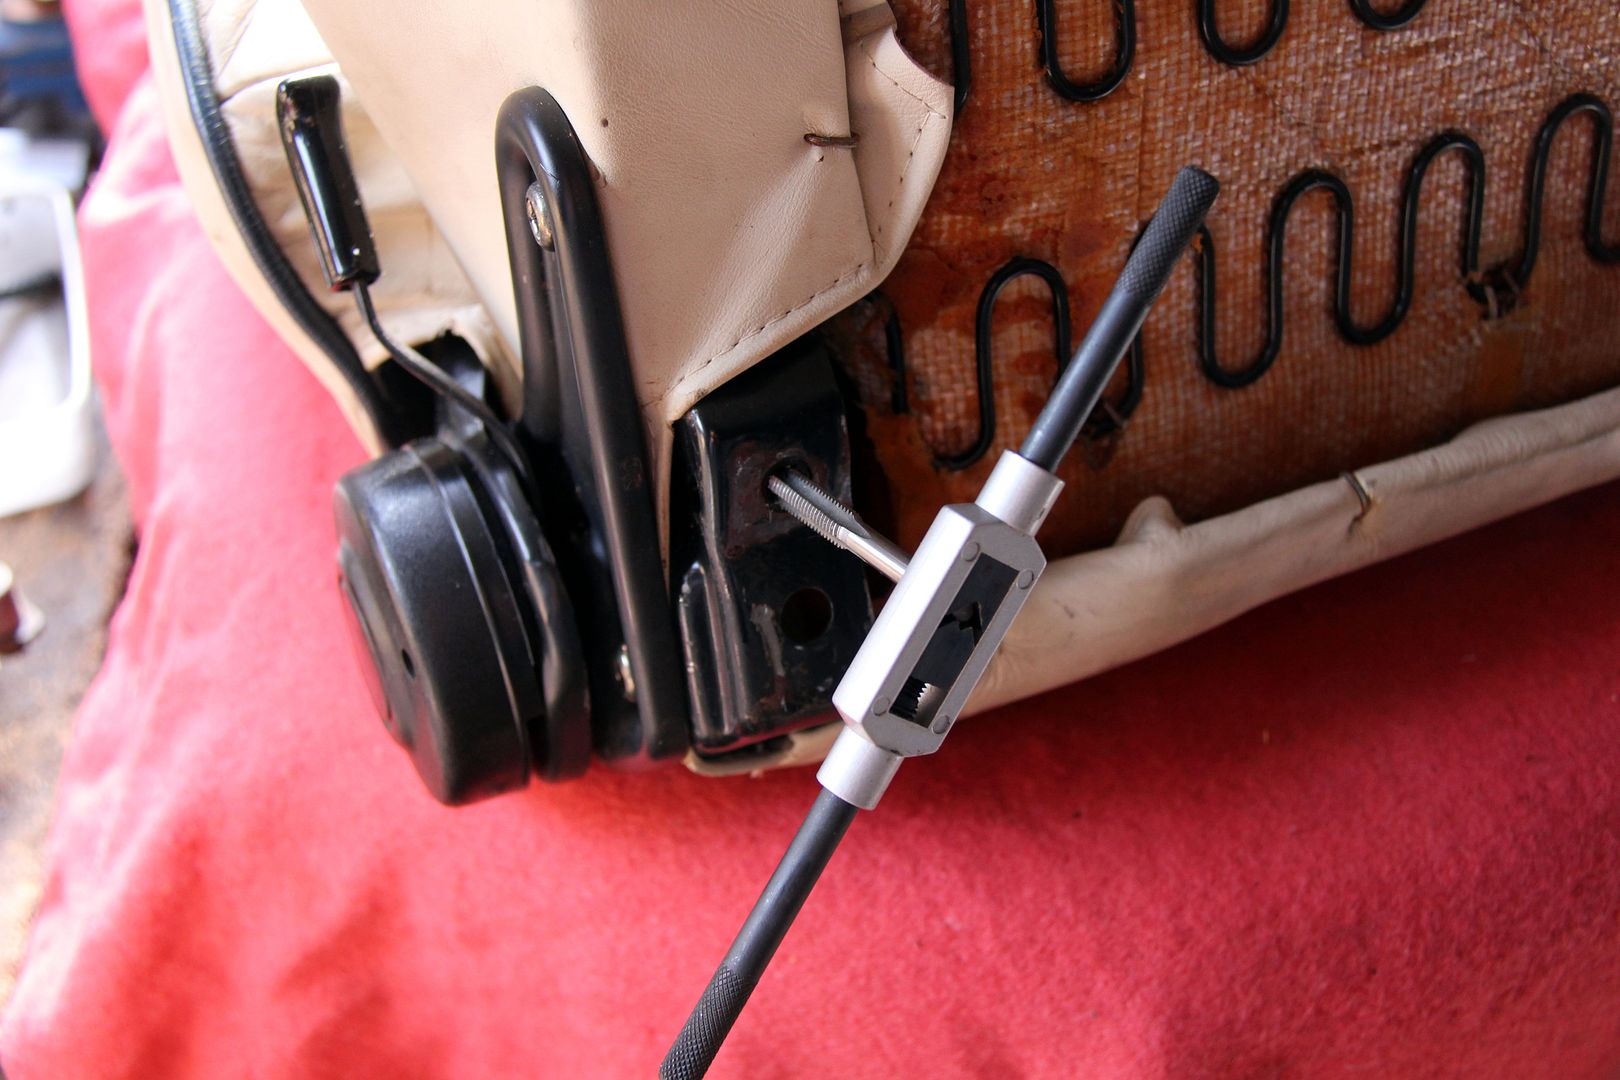
but once that was done, I swapped the rails over from the seats in the car, which were in much more better condition.
The only drama being when the little bearing cage fell out of one and it was like a Chinese puzzle trying to figure out how to get it back in! Still, once they were all re-assembled with nice stainless bolts (and a bit of threadlock) the tipping-point was reached, and after this it was all re-assembly and making the car look better, not worse!
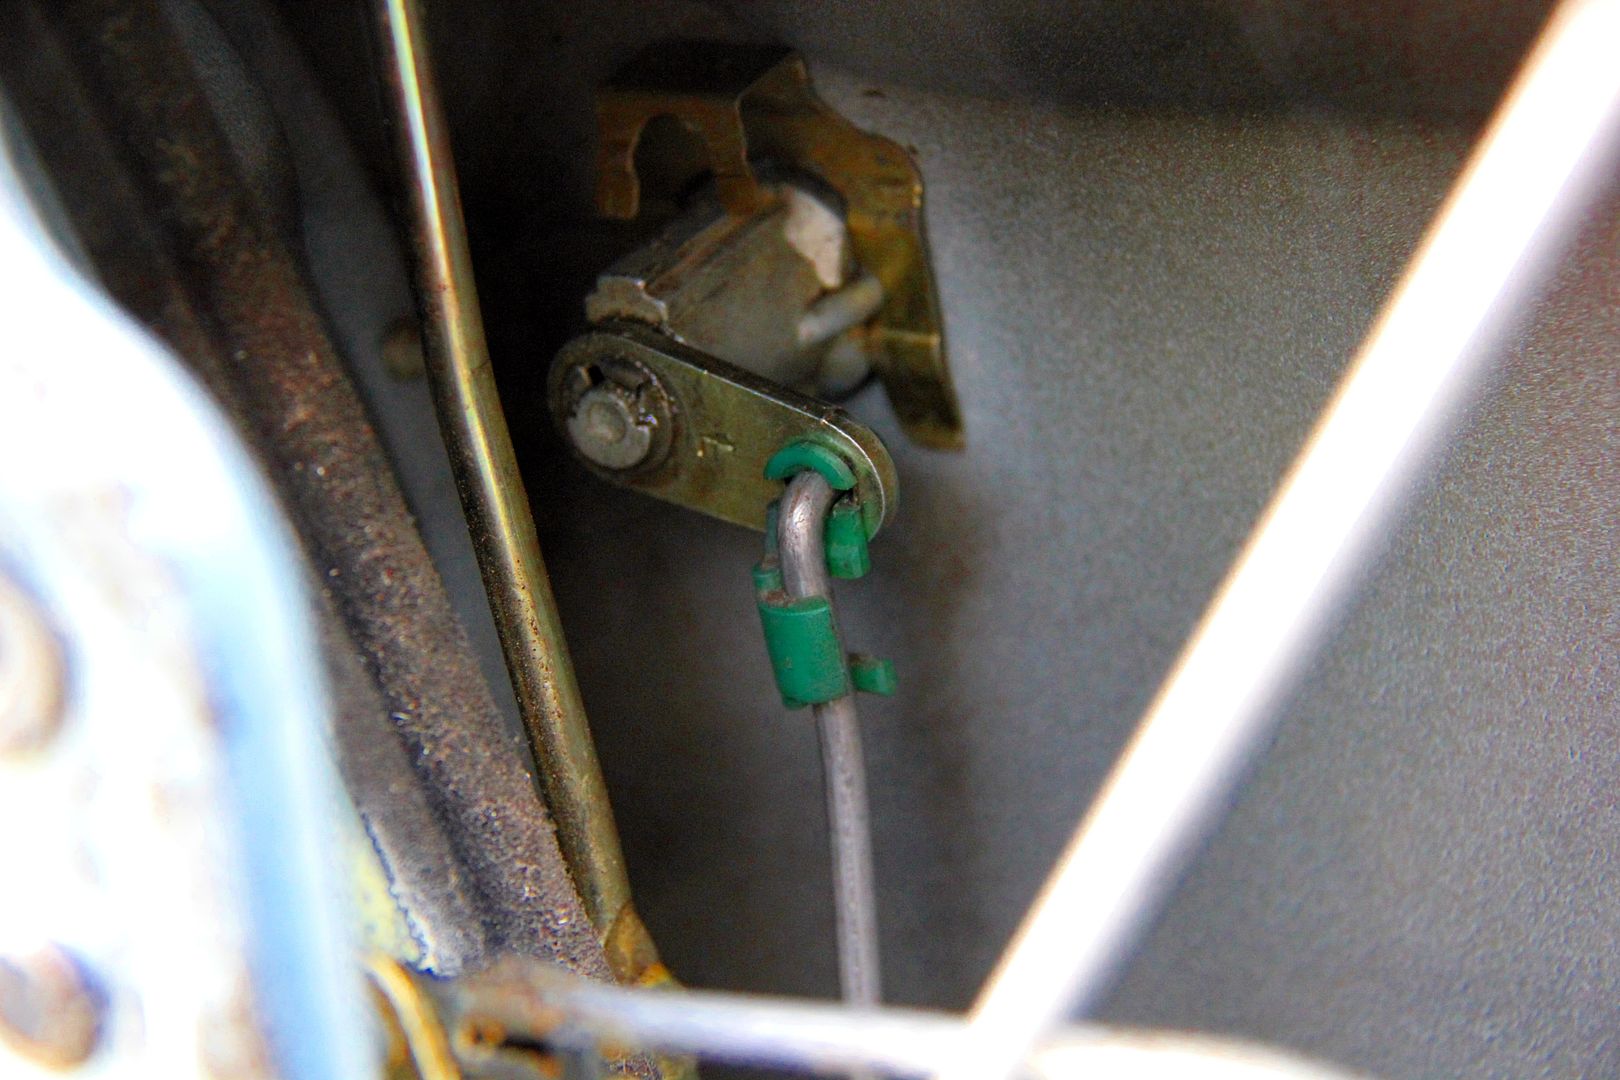
the only tiny bit of fixing left was to replace the little plastic clip that holds the passenger door lock mechanism together. This was generously donated by Marc (cheers dude) to replace the one that had snapped in half and thus let the lock rod flop around. At one point it ended up wedged in the window guide, so the only way to unlock the door was to drop the window about three inches, whereupon the lock would pop open! Not ideal. Ian did try to send me a couple of these widgets but they seem to have been dematerialised by the Post Office.
First thing to go back together was the back seat and boot trim, just cos it seemed easiest to work front to back
It was ideal having two whole interiors to choose from, it meant I could assemble the best bits from each. For example, the cargo cover roller blind thing from the new interior was in better nick than my old one, so that's the one that got used
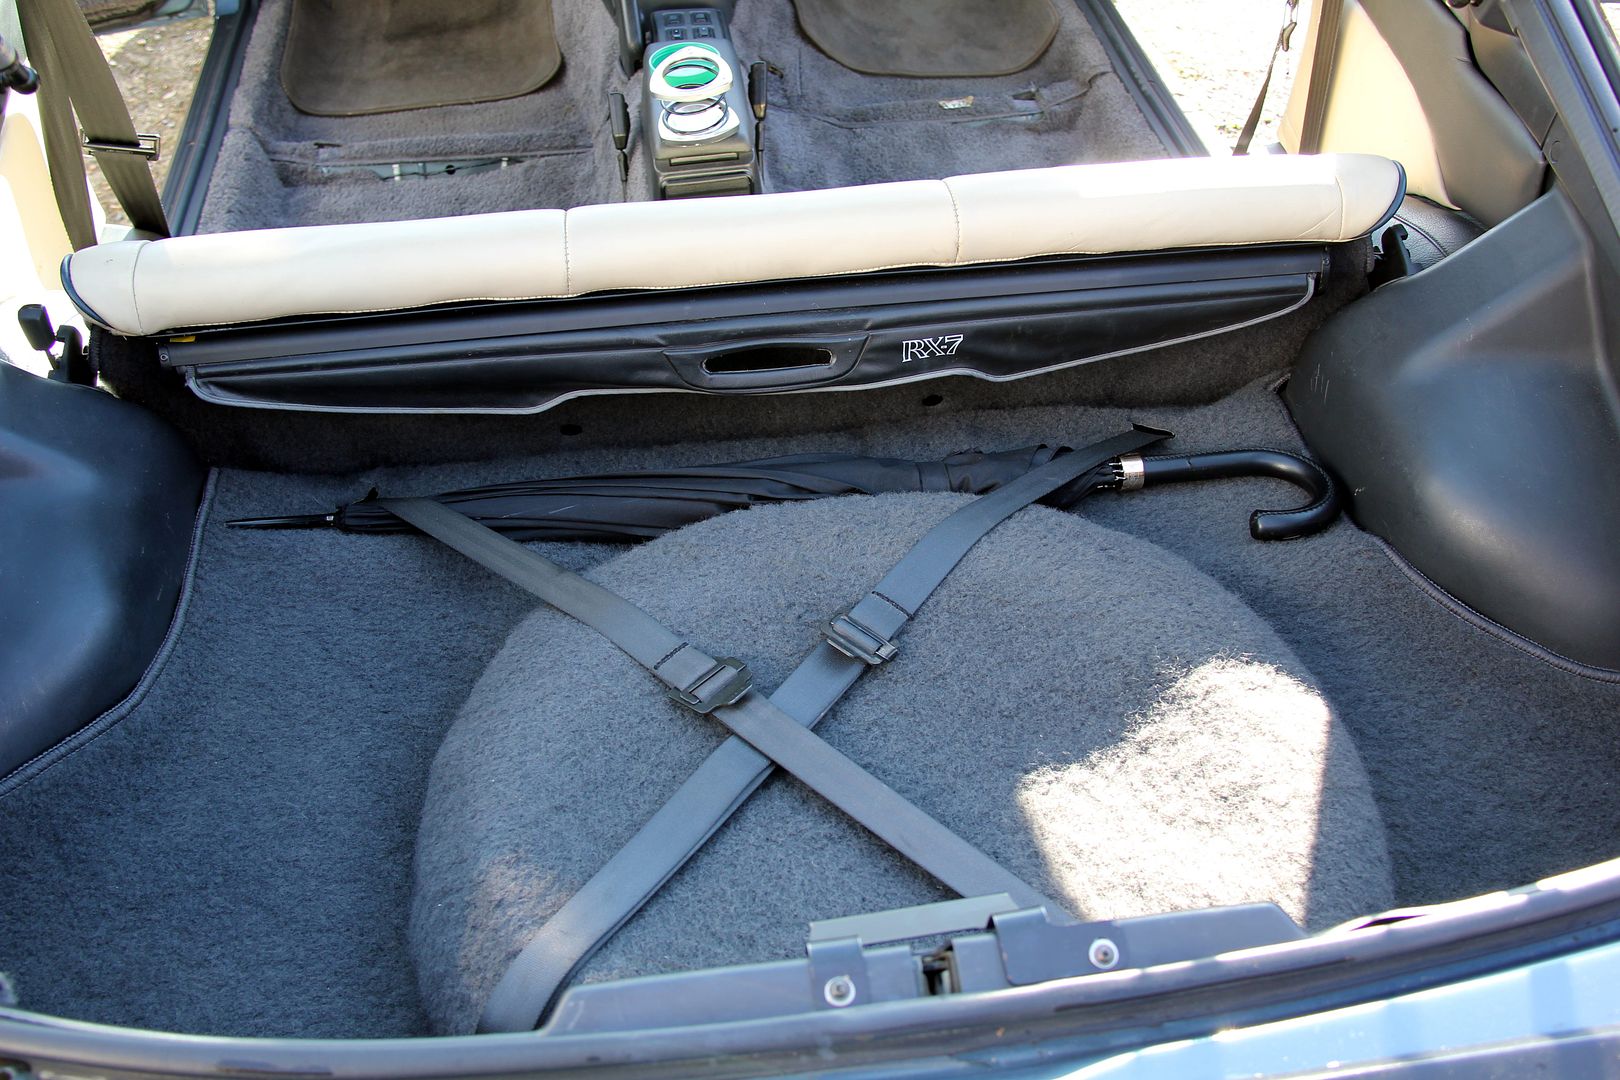
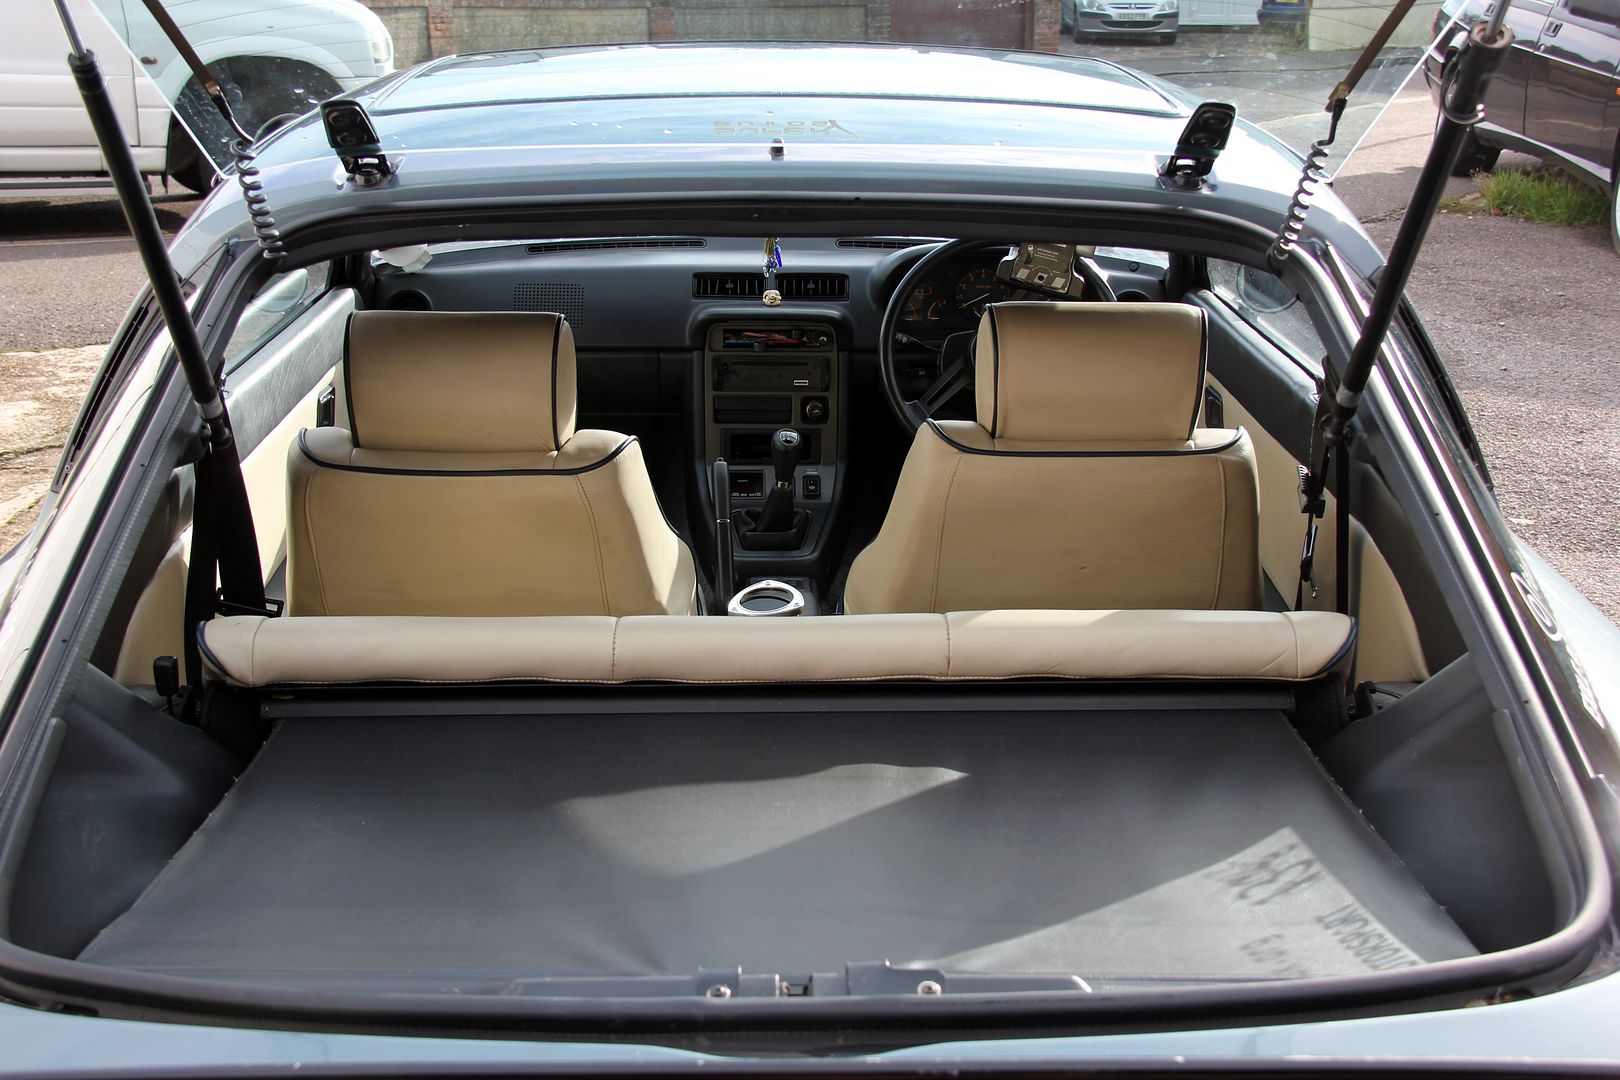
and here it is doing it's job;
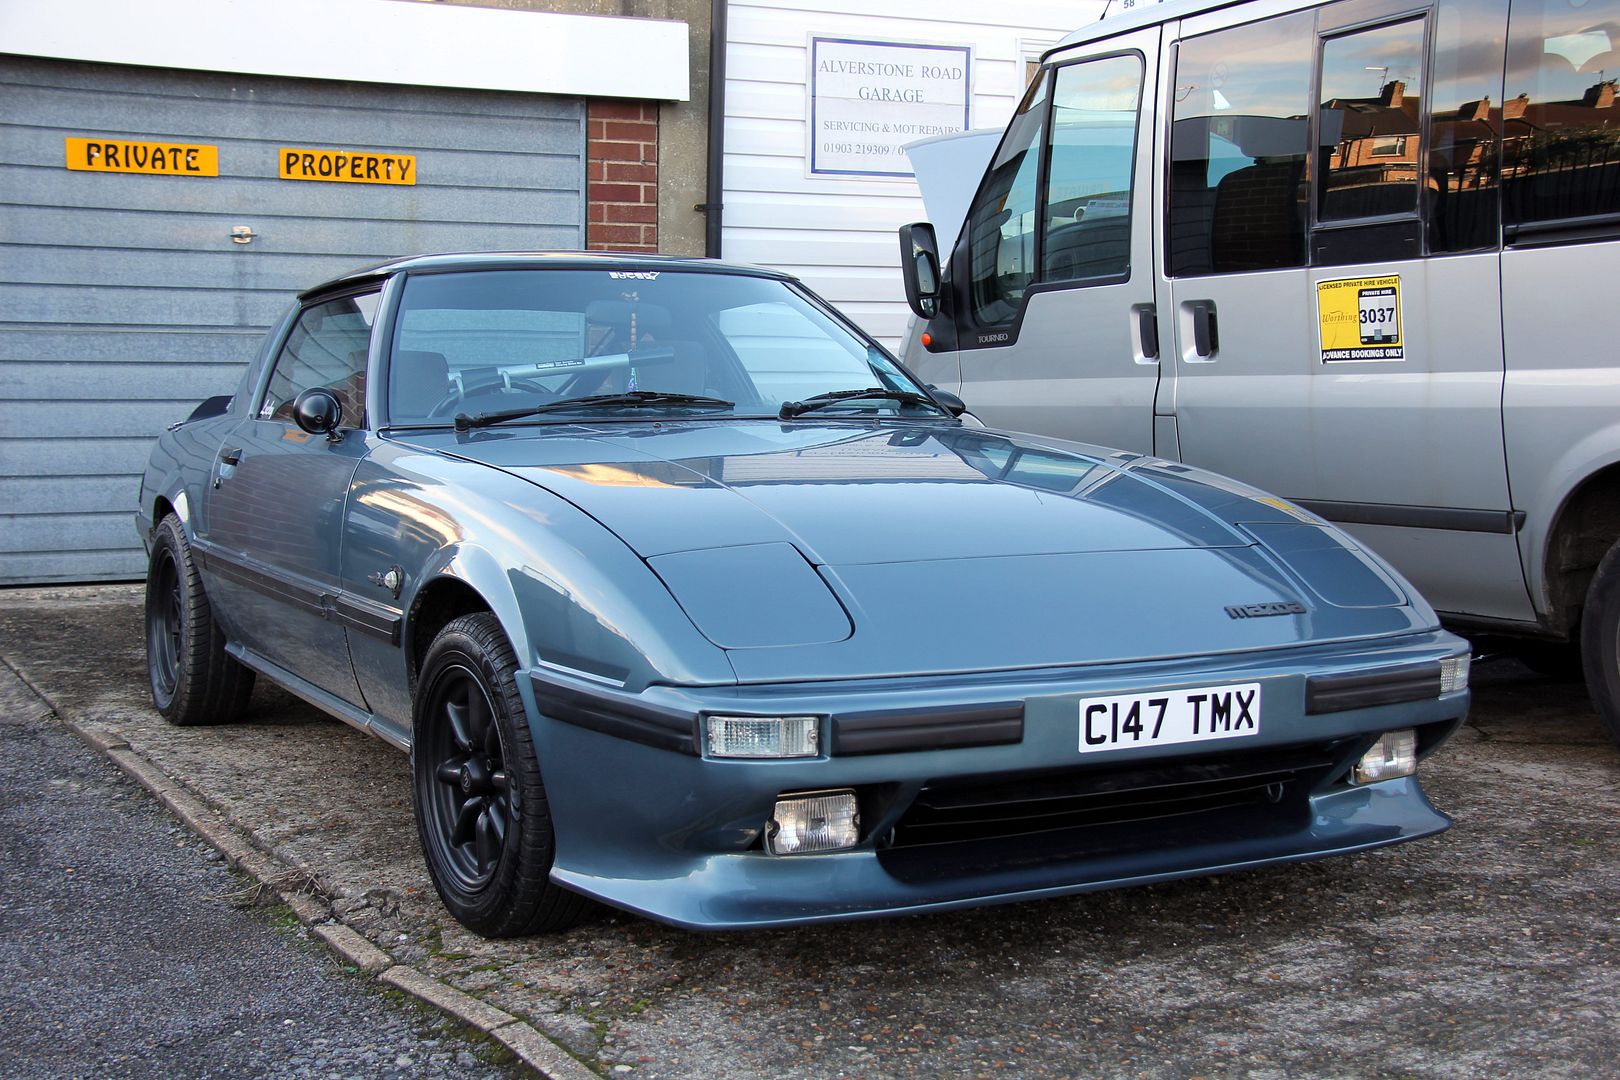
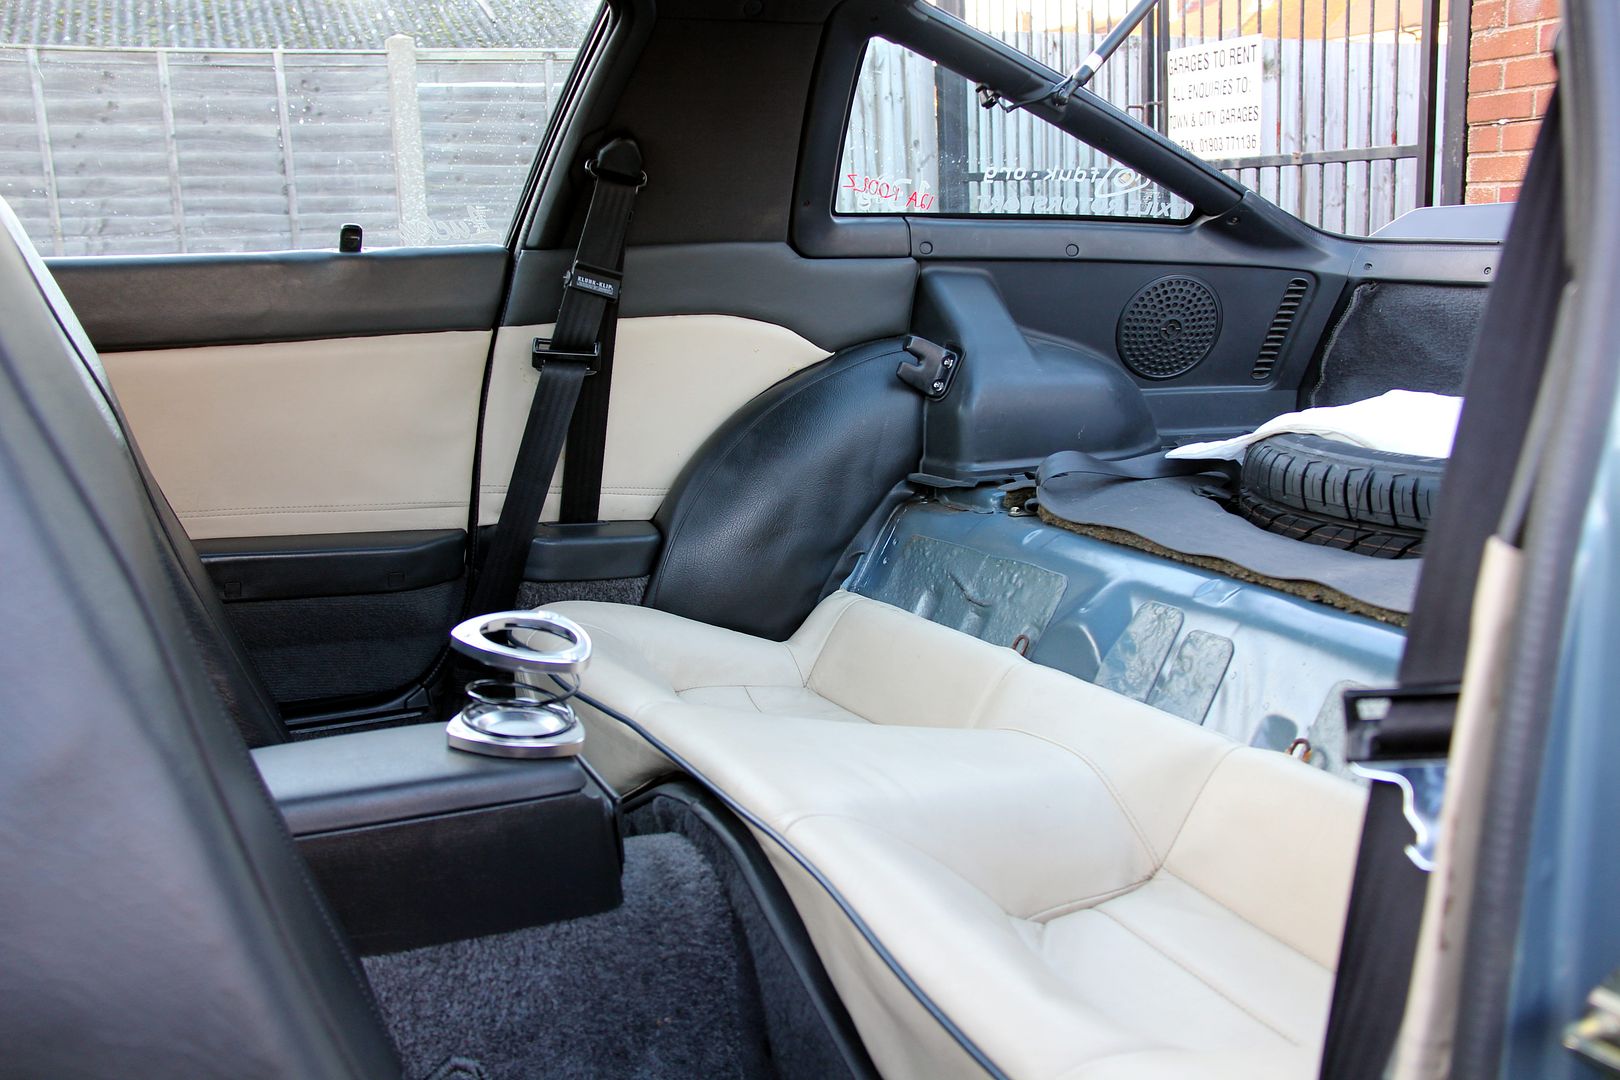
Probably the best way to express the finished article now is to just put up a set of before and afte rpictures and let them do the talking. So here we go.
Doorcards;
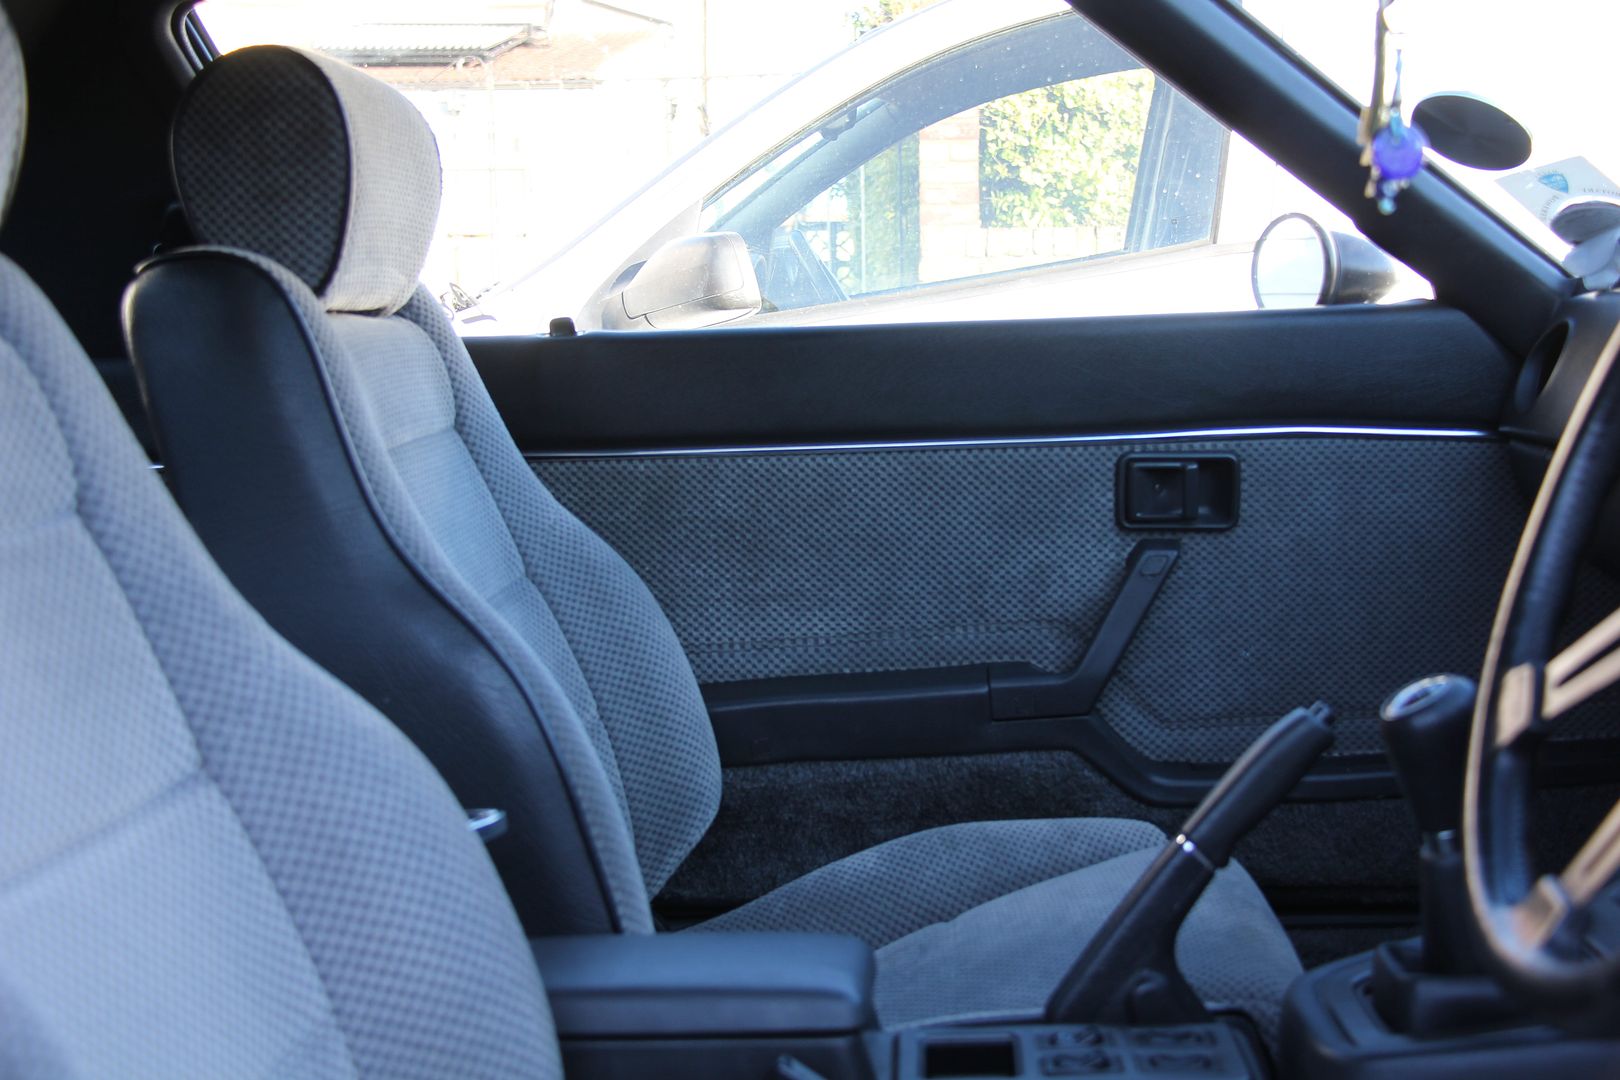
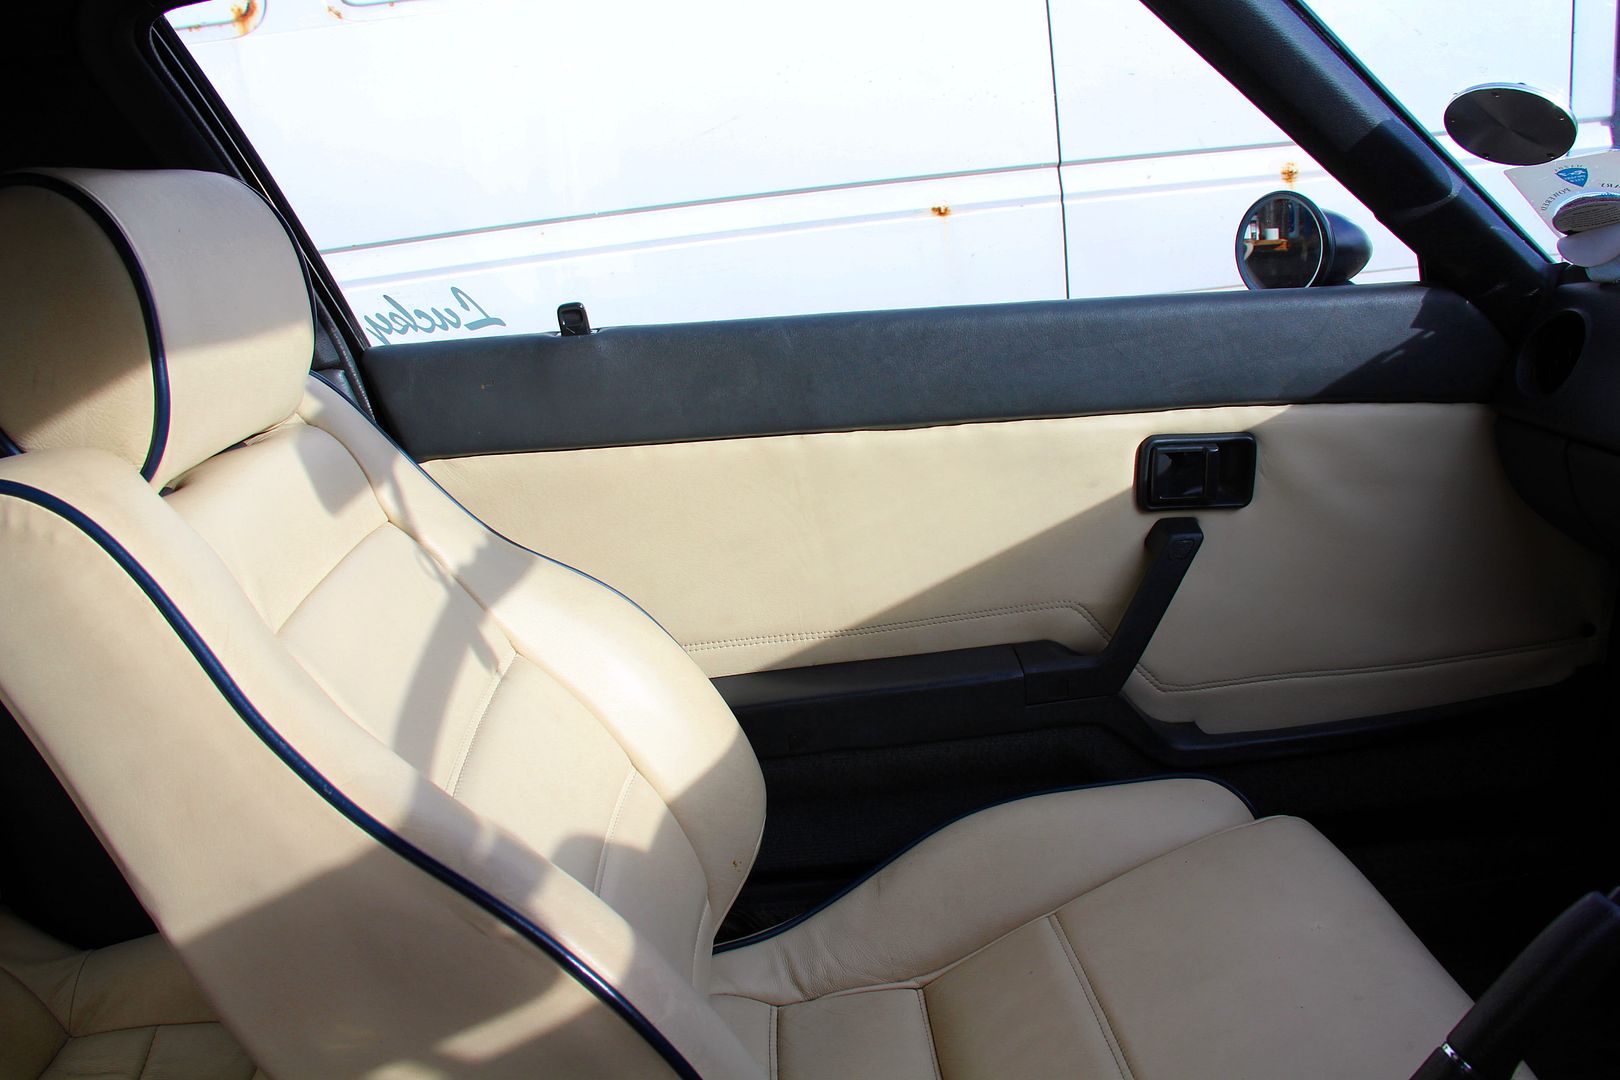
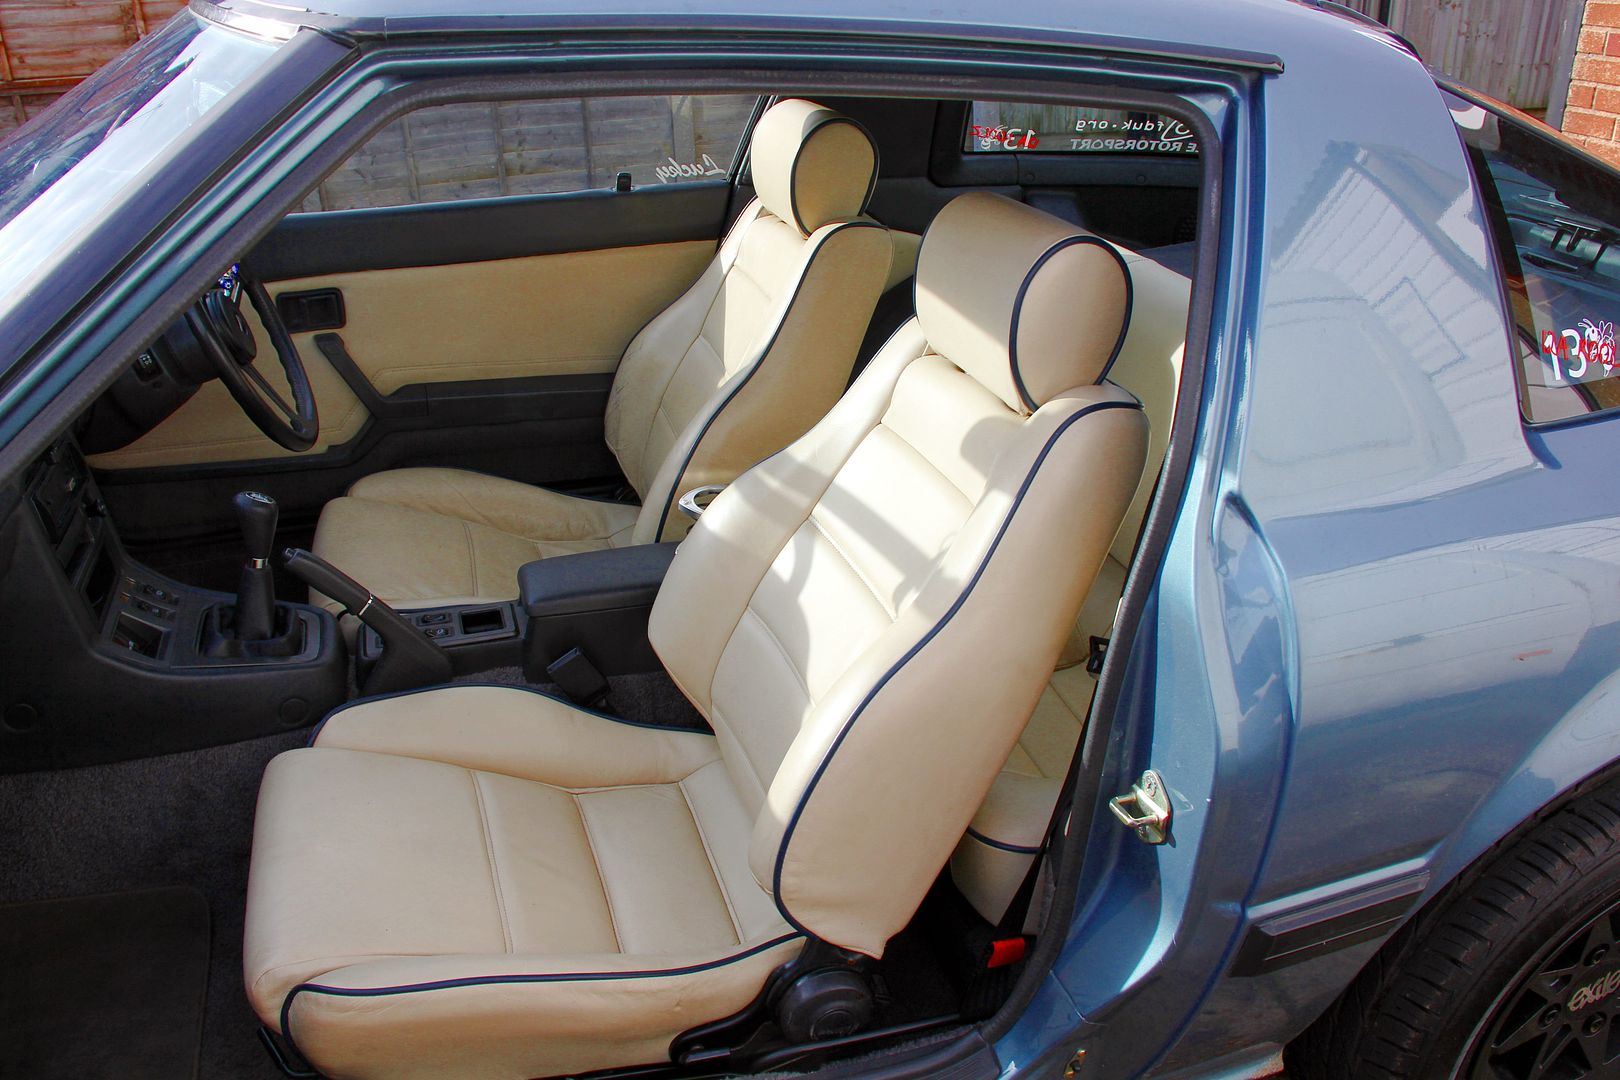
Front seats;

Rear dwarf buckets;
So, worth it? Hell yeah, all day long if you ask me! Despite that it was a serious amount of work and faffing about (and whoever at Mazda decided to hide one of the bolts for the driver's seat rail four inches under the seat needs shooting) I'm well chufed with the end result, I think it looks bloody fantastic. And yeah, it cost me not just sweat and tears but blood as well;

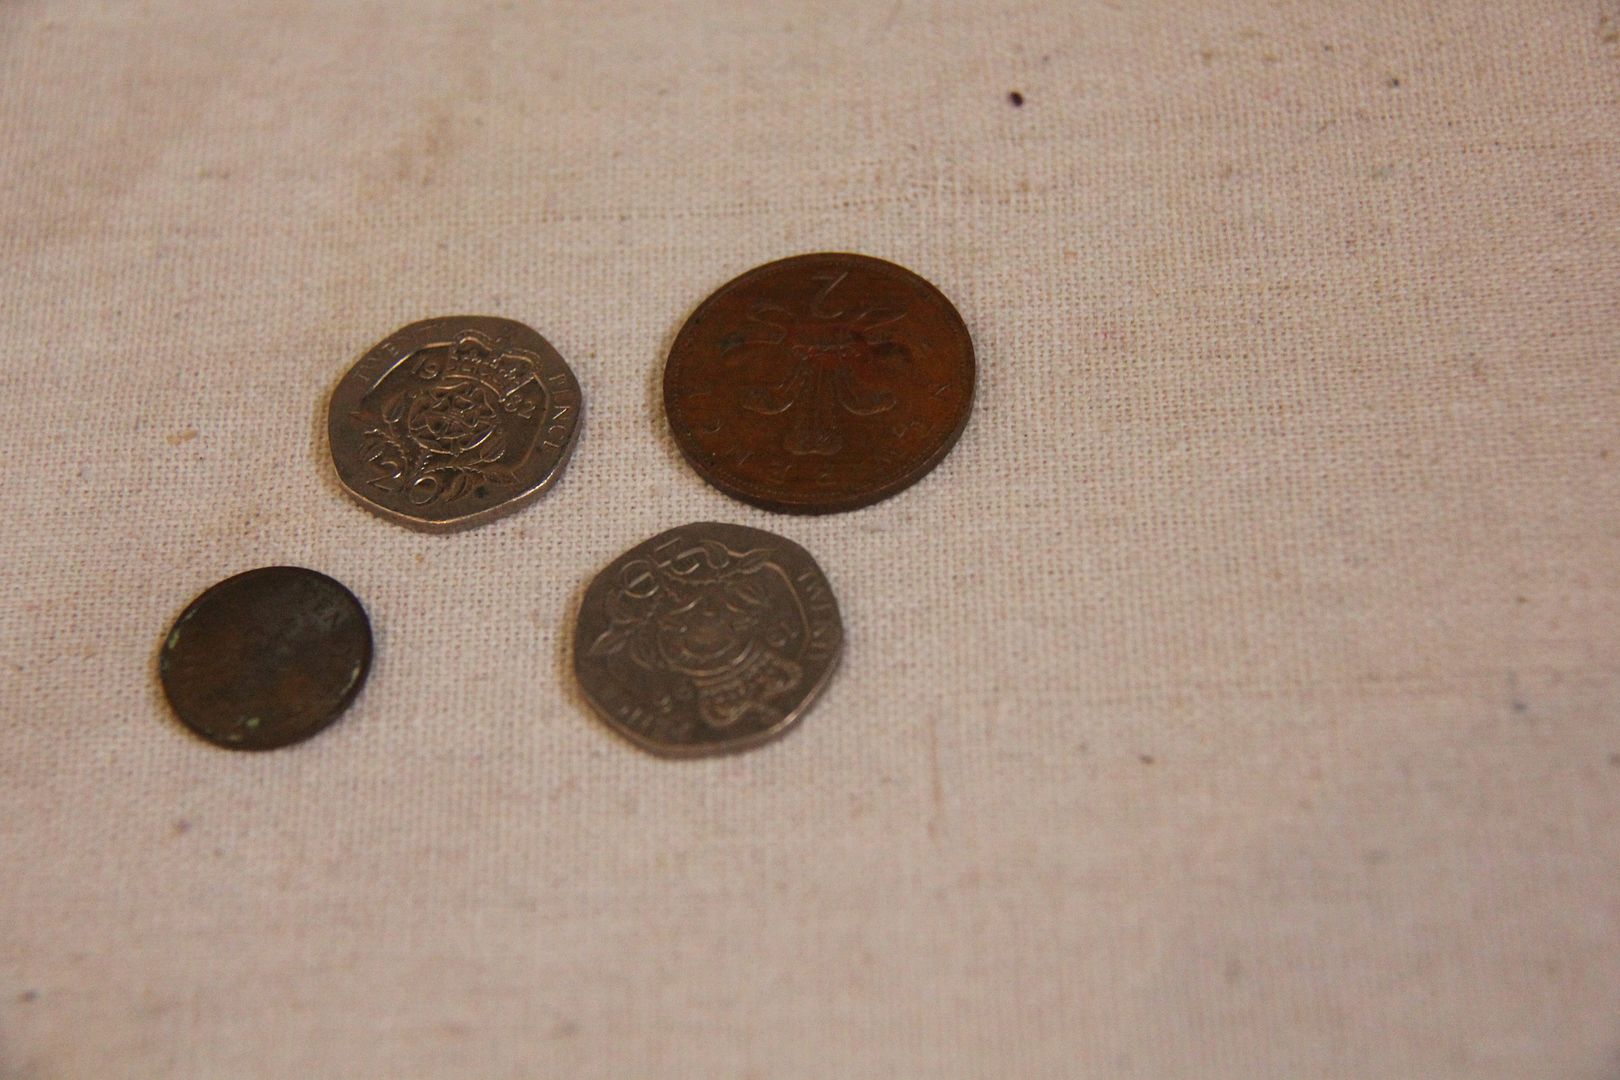
But at least the opportunity to get under all the seats and clean the car top-to-bottom yielded a profit. Forty two and a half New Pence, to be exact