100 mile round trip today and the car ran like a dream.... happy days.... it's what it's all about
Re: 1986 Series 3 Elford Turbo
Posted: Sat Sep 03, 2016 6:31 pm
by ian65
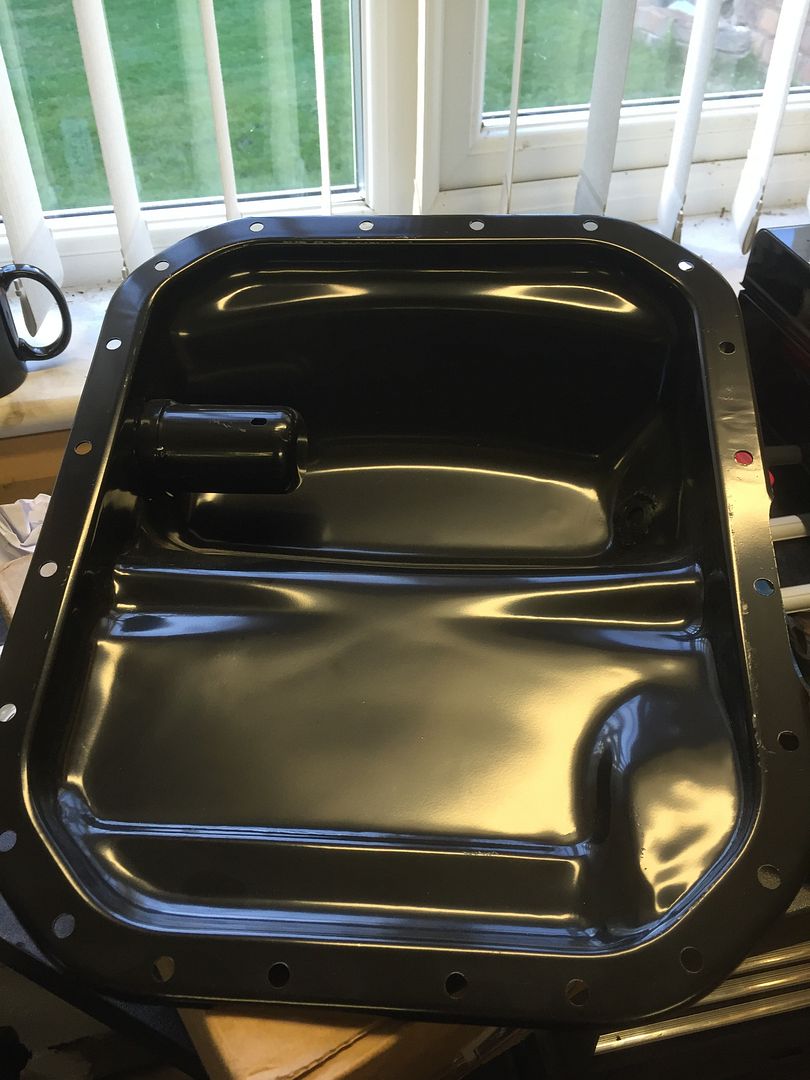
at long last, a couple of weeks ago my GSL-SE oil pan arrived from the US so I can get on with the TII engine...
removed the crank angle sensor...
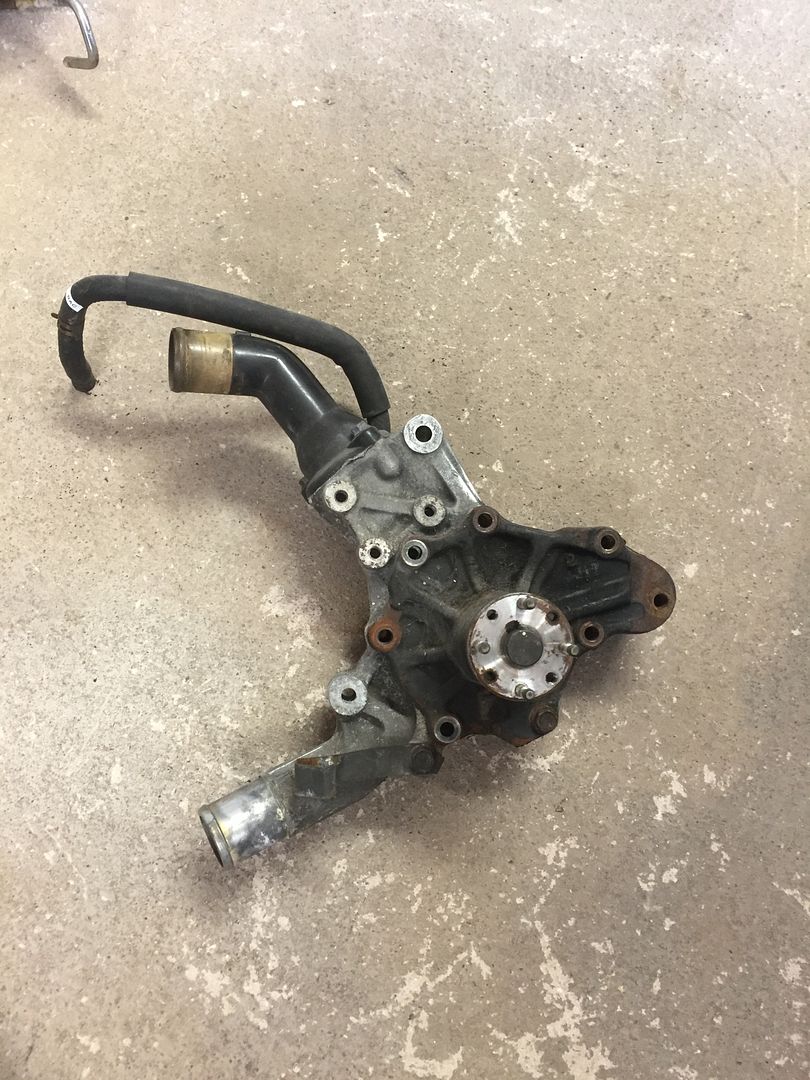
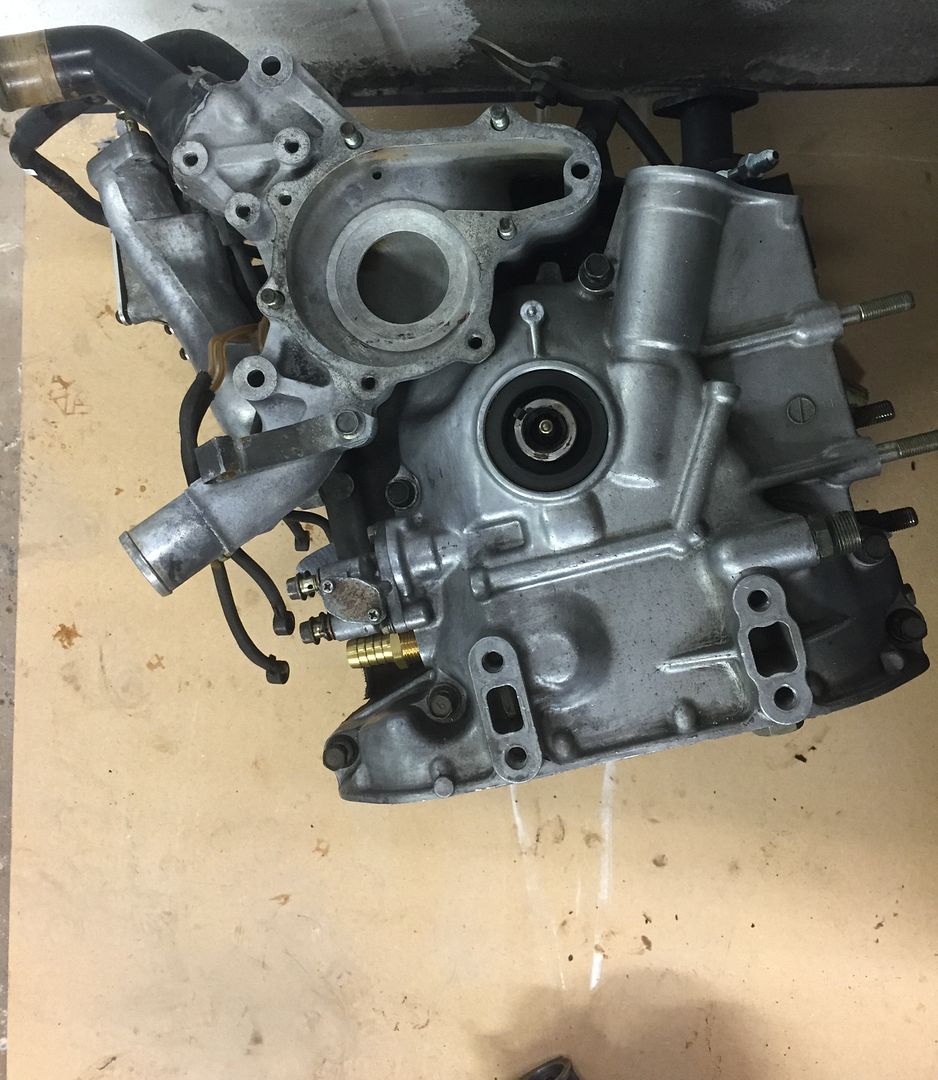
followed by the water pump housing...
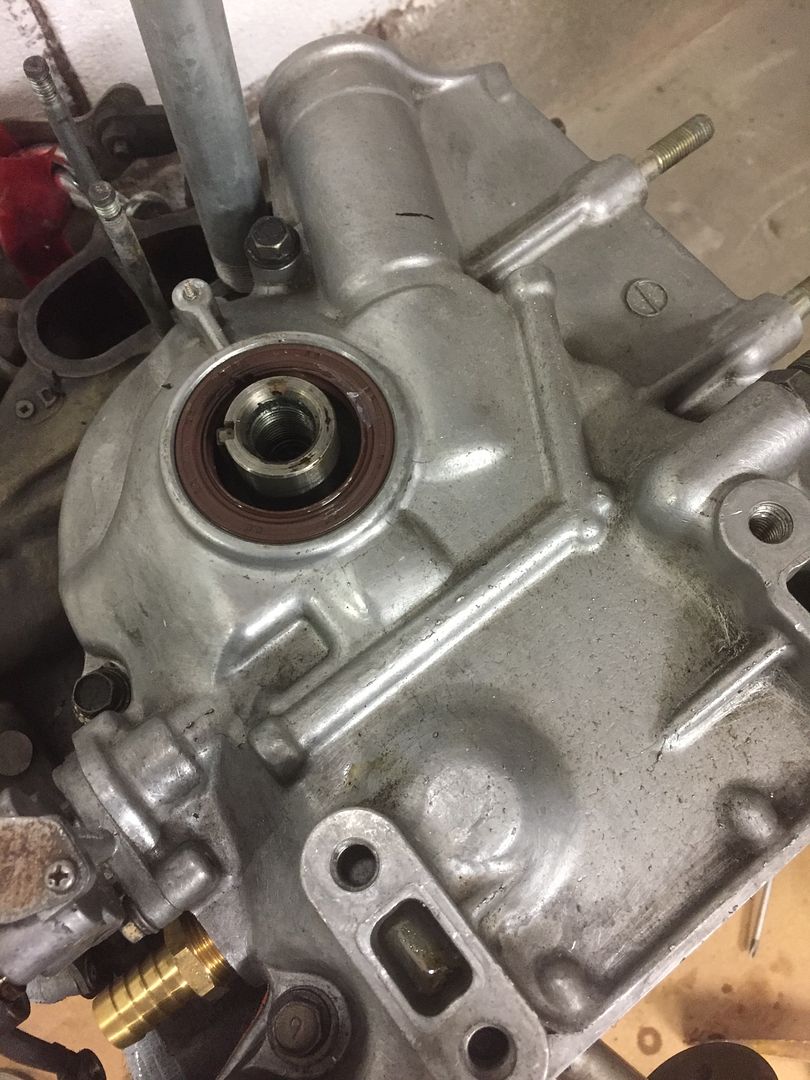
Next job was to remove the front cover to check the type of gasket... I knew which one it should be but they a pretty expensive for what they are and I didn't want to make an assumption then pull the cover and find someone had changed the front plate or something and the gasket wouldn't fit...
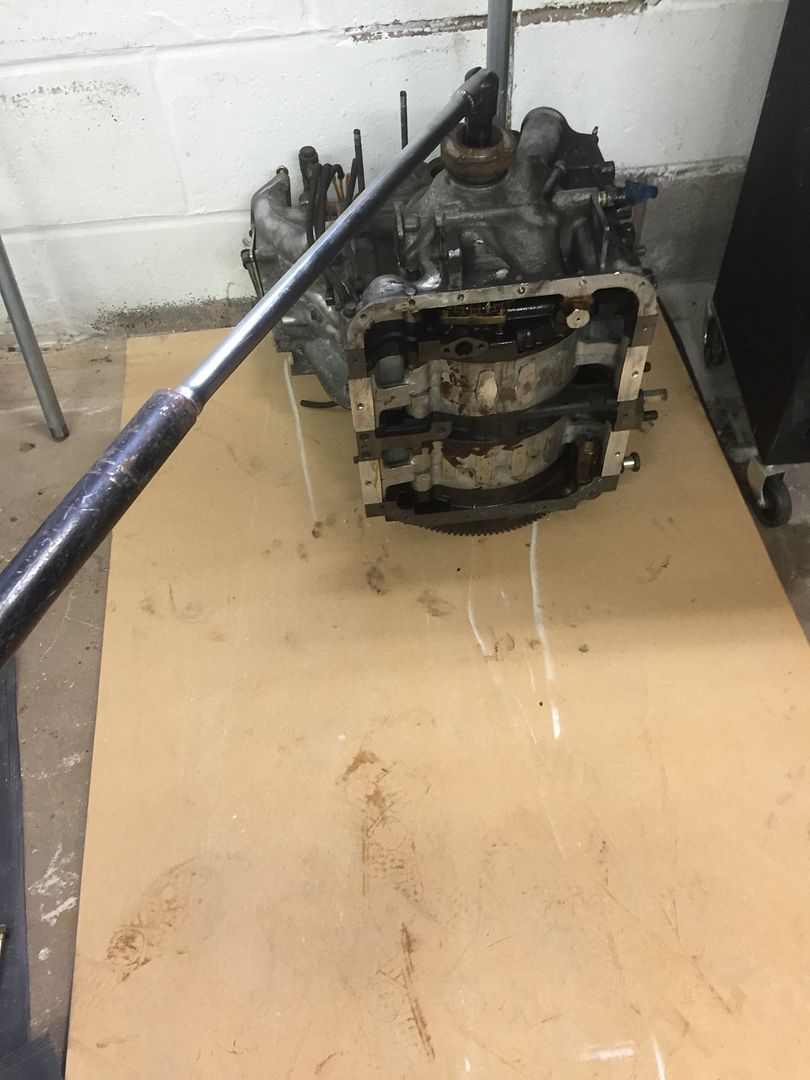
To remove the front cover, I had to get the engine off the stand, lock the fly and get a bar on the front pulley nut...... bloody hell, it was tight.
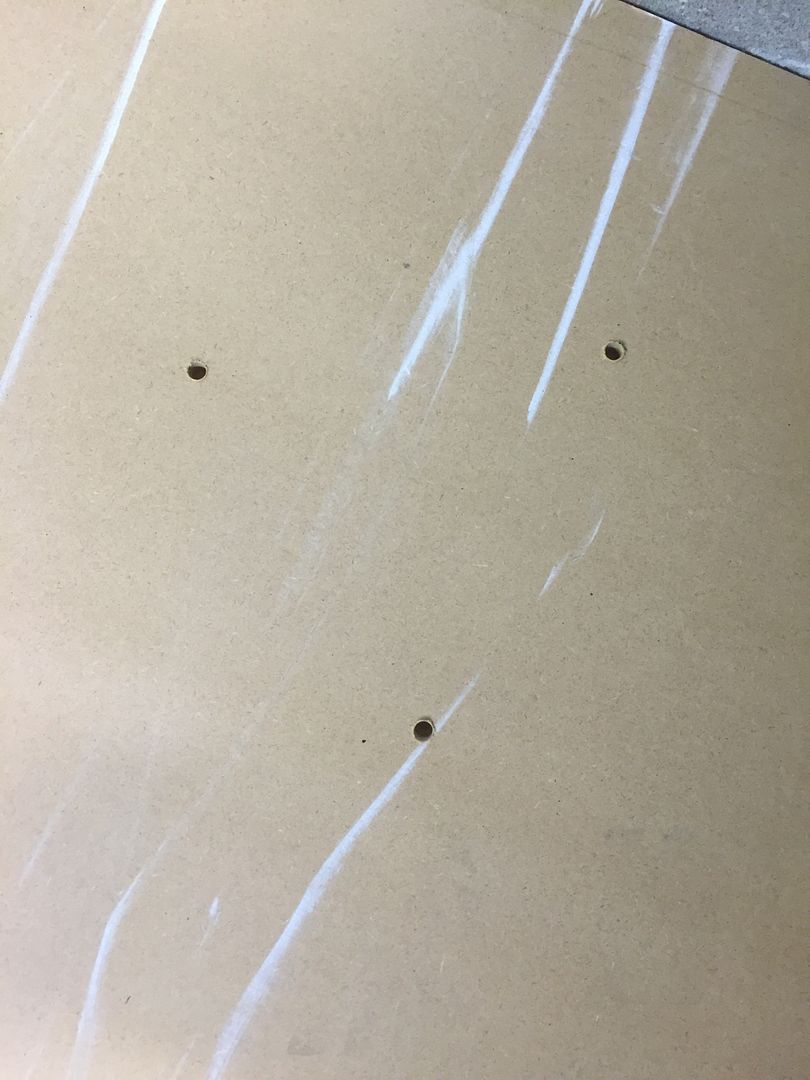
I devised( to my mind) a cunning plan to stop the engine moving whilst I undid the nut... I got a sheet of 25mm mdf and drilled 3 holes in it to match the position of the clutch locating studs on the flywheel.
The engine was then sat on its flywheel ( to stop the bearings dropping out of position) and the studs where located into the holes, stopping the flywheel from turning
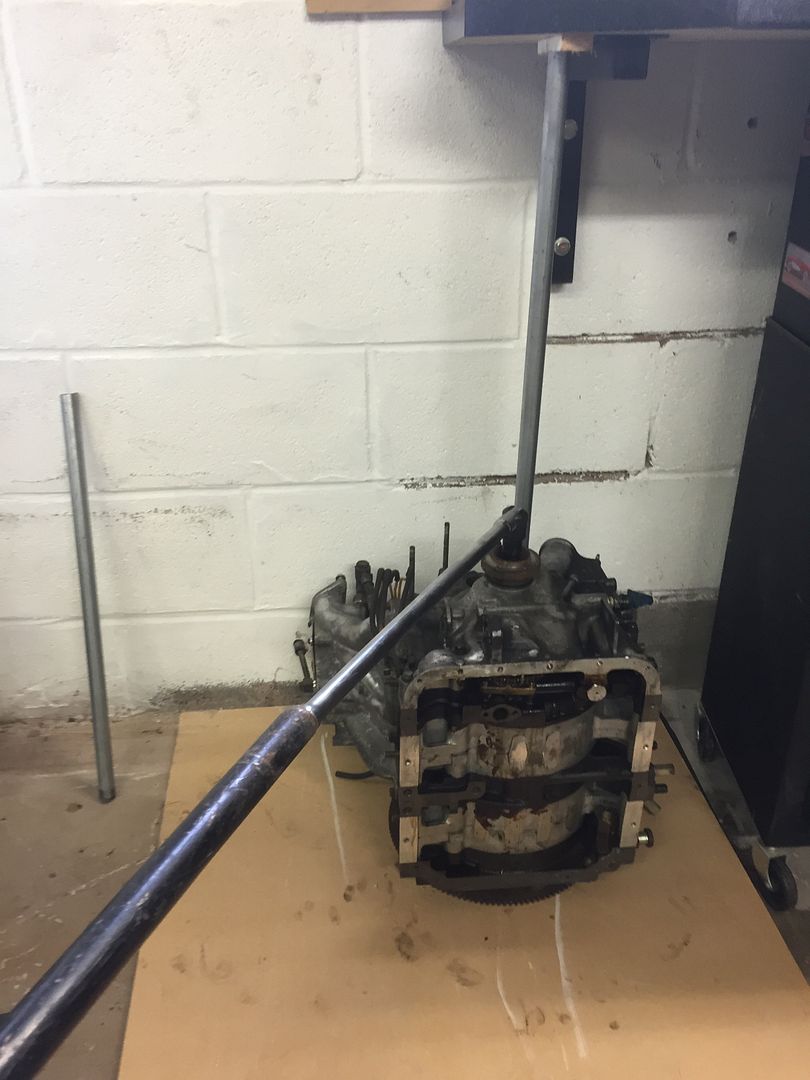
To stop it tipping I wedged the engine down with a piece of steel conduit from a shelf in the garage...
and got my 3ft bar to undo the nut...........................and it wouldn't budge...................................so I put another 3ft tube over the end of the bar and gave it some...
and the b*****d came undone Took some leverage though.
Happy days..... unbolted the front cover to find it's the large hole front cover gasket that I hoped and expected to find there...
.
Re: 1986 Series 3 Elford Turbo
Posted: Sat Sep 03, 2016 6:43 pm
by ian65
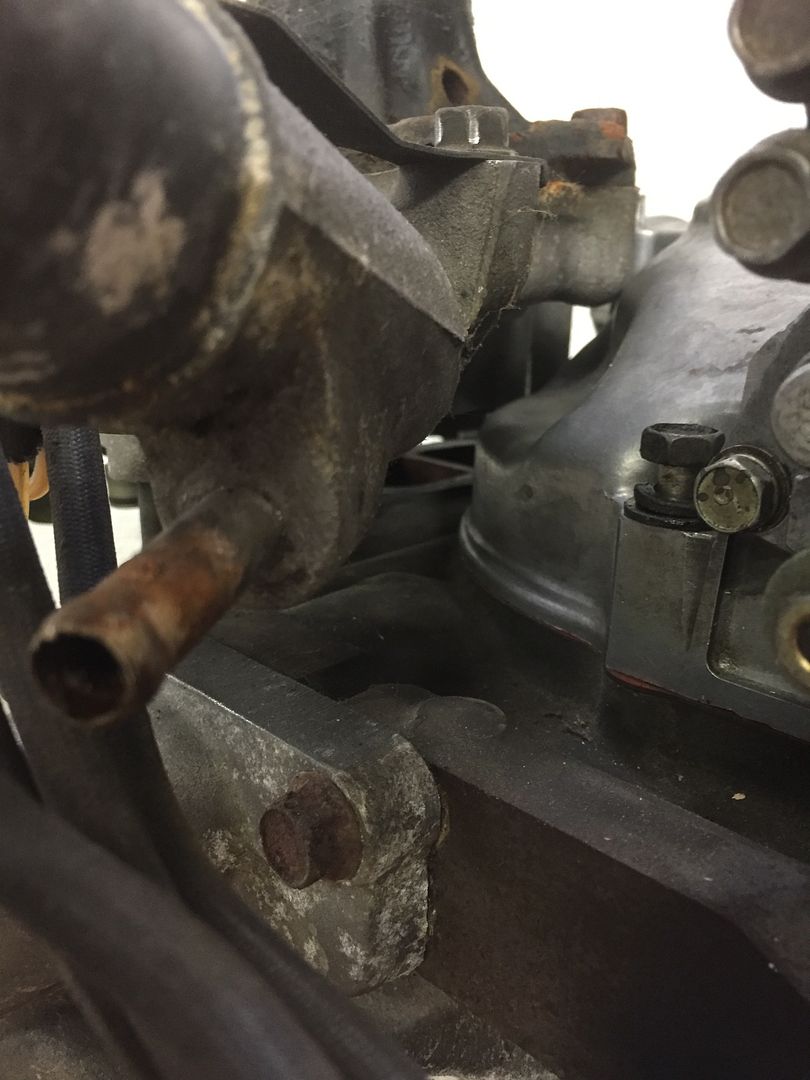
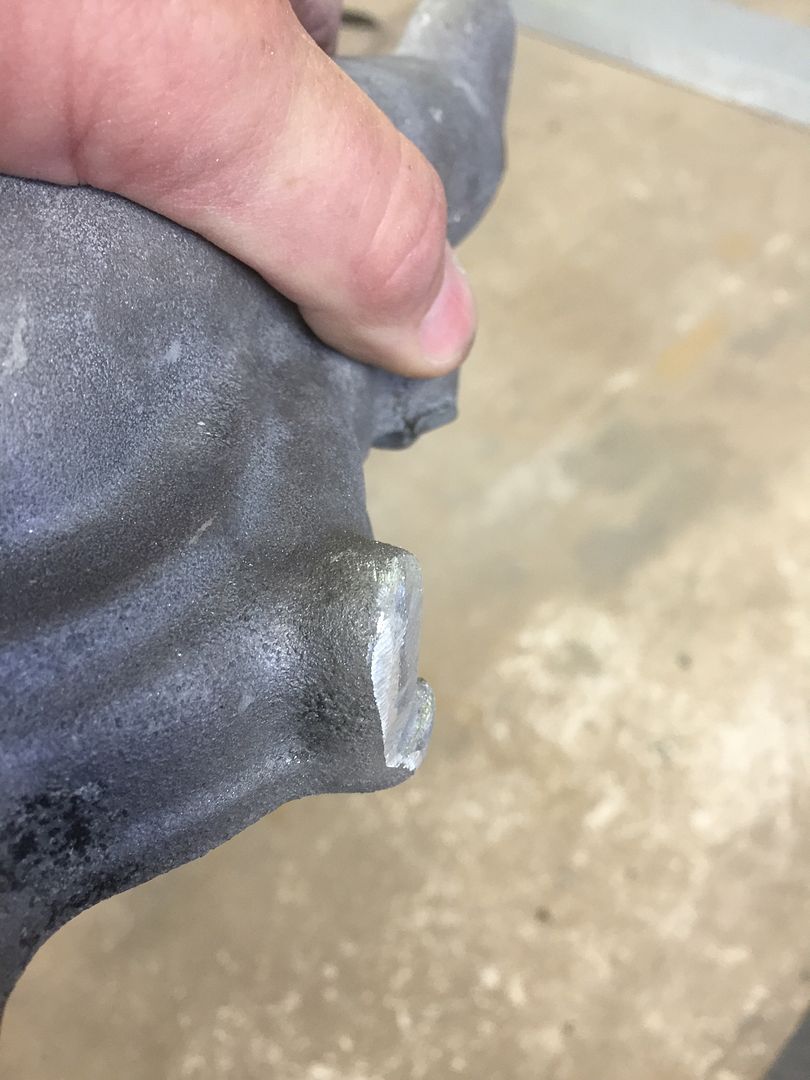
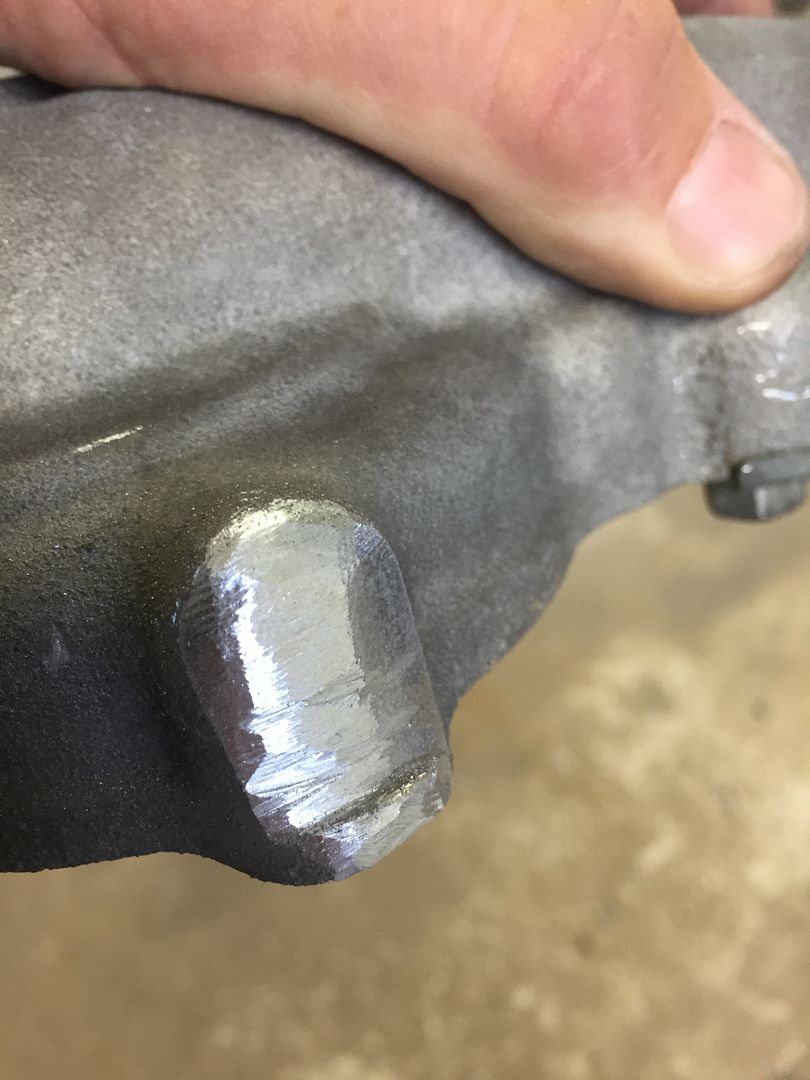
The series 5 Turbo water pump housing needs some alloy grinding off it to fit over the GSL-SE front cover.... if not it hits the front cover and won't sit down...
so I placed the GSL-SE front cover in place and carefully ground the water pump housing until it fit...
it all goes together fine now...
Just need to order some gaskets and I can build it back up.
.
Re: 1986 Series 3 Elford Turbo
Posted: Sat Sep 03, 2016 7:32 pm
by TOOL
Looking good.
Are you removing the thermal pellet while you're in there? You should.
Be sure to check the torringtons haven't moved.
Re: 1986 Series 3 Elford Turbo
Posted: Sat Sep 03, 2016 7:45 pm
by ian65
Do I need to put in a thermal pellet plug, like the one Atkins sell or can I just take this one out and leave it?
Re: 1986 Series 3 Elford Turbo
Posted: Sat Sep 03, 2016 8:35 pm
by TOOL
You have to out something in there. The plugs Atkins et al sell keeps it permanently closed.
Re: 1986 Series 3 Elford Turbo
Posted: Sat Sep 03, 2016 11:02 pm
by spoddy
ian65 wrote:Do I need to put in a thermal pellet plug, like the one Atkins sell or can I just take this one out and leave it?
There are solid pellets with no springs like the one you mentioned. I got my rx8 one replaced so oil goes to the rotors from engine start up, well recommended.
Re: 1986 Series 3 Elford Turbo
Posted: Sat Nov 05, 2016 8:45 am
by RamoNZ
Engine looks nice and clean internally.
Any more progress??
Re: 1986 Series 3 Elford Turbo
Posted: Thu Dec 08, 2016 7:26 pm
by ian65
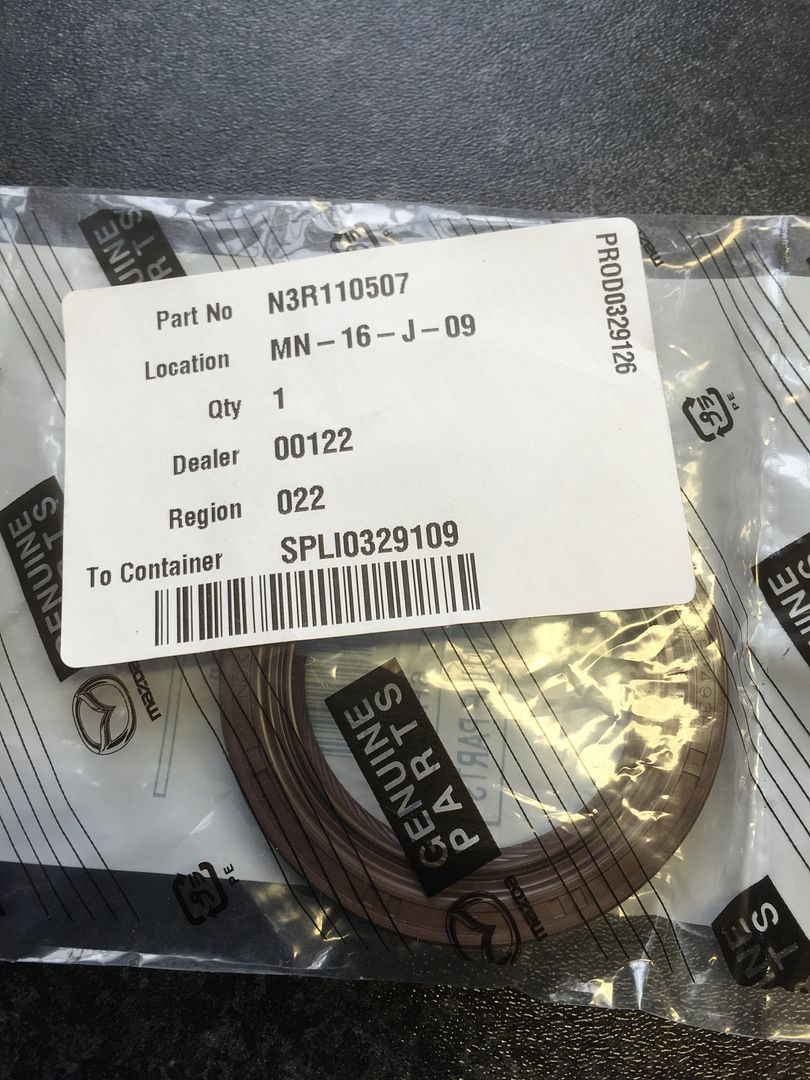
Bought all the gaskets and seals I needed from the local Mazda main dealer so they were all genuine and cheaper than Atkins, even before Atkins added on their extortionate shipping costs.
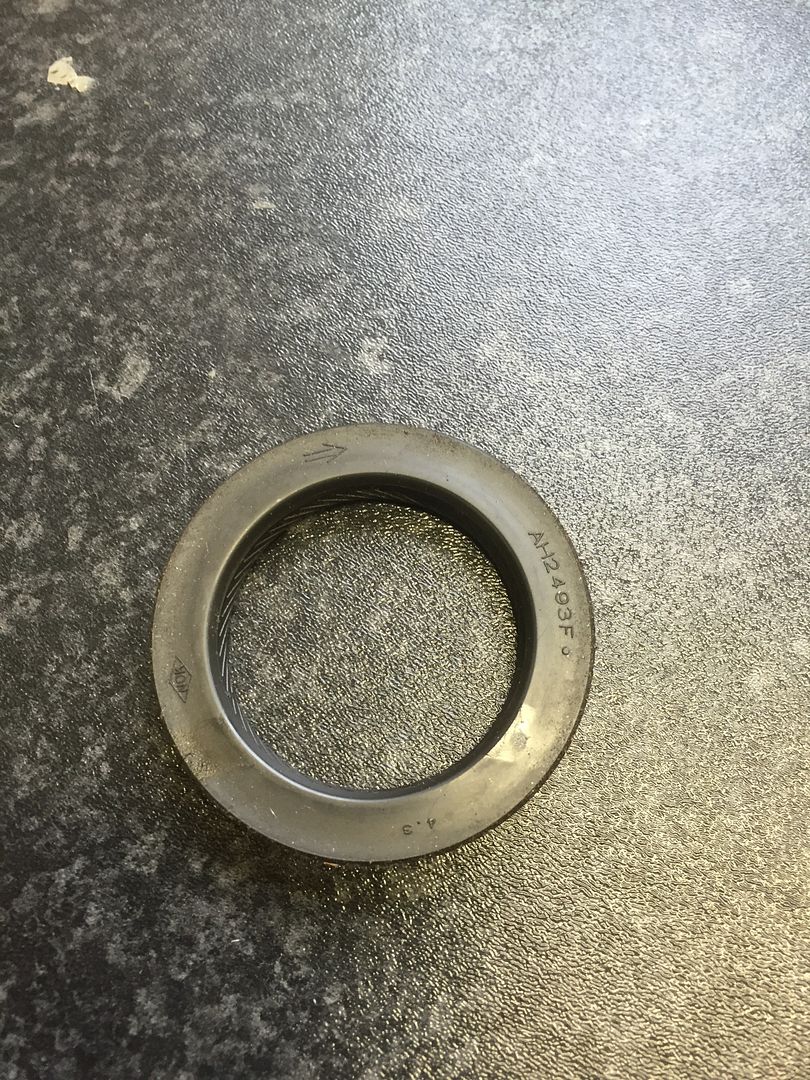
Took the old E-shaft front seal out of the GSL-SE front cover...
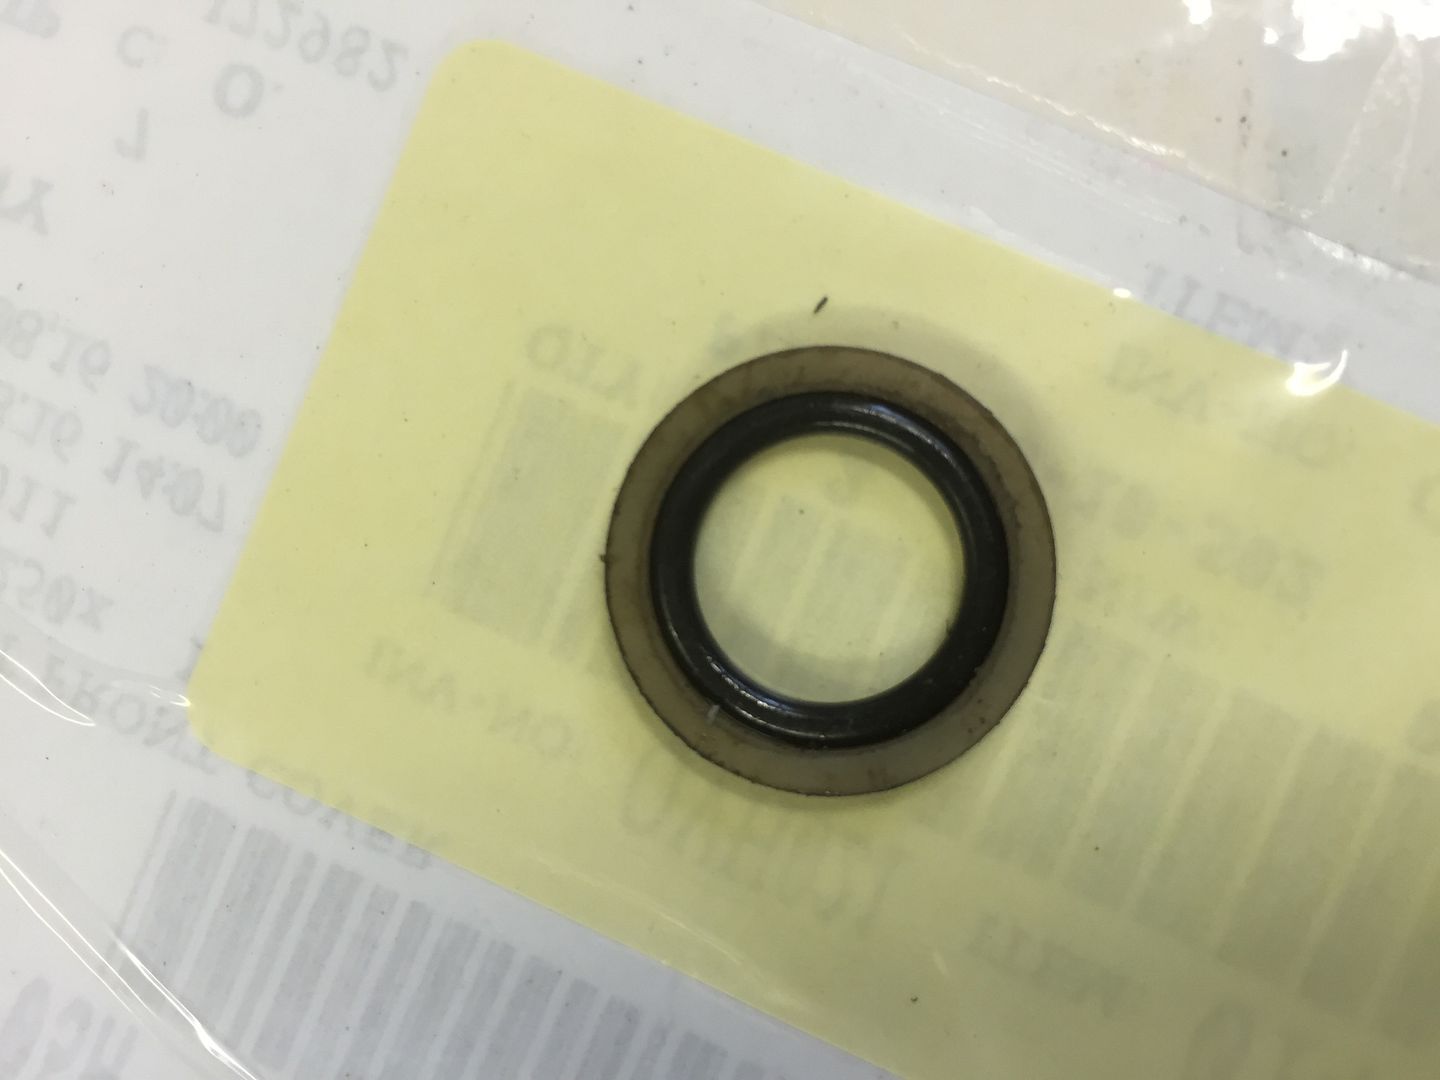
here's the new one...
and fitted...
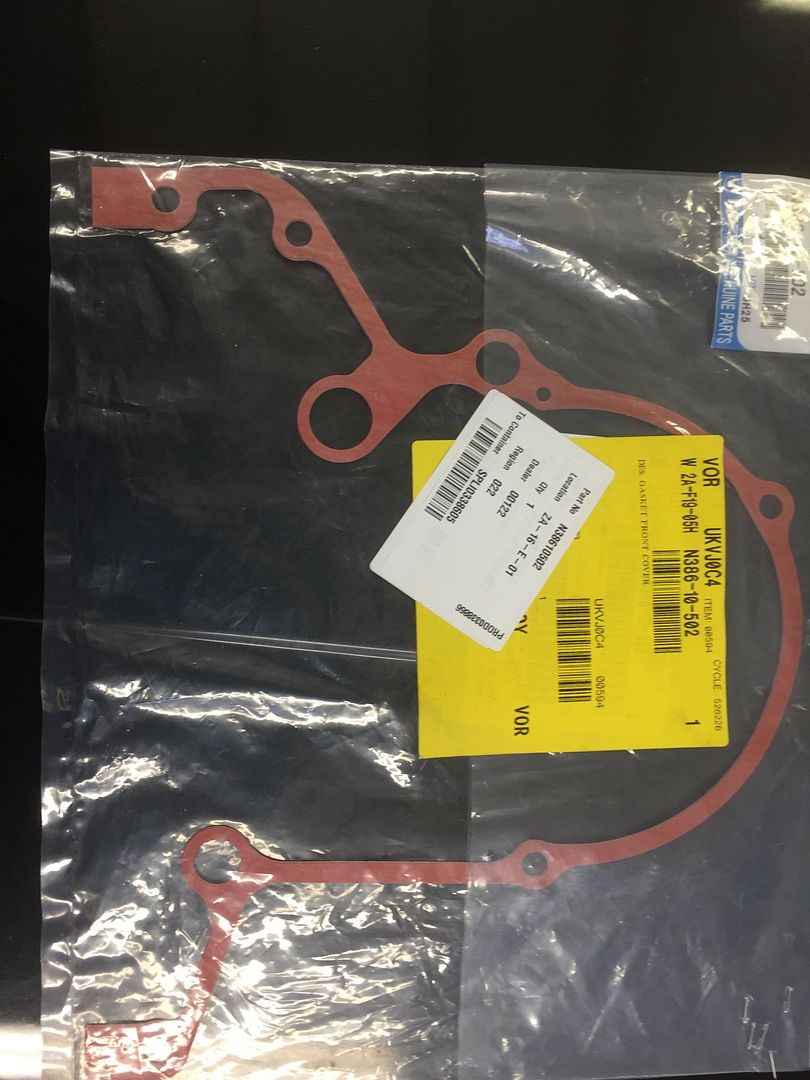
took the old front cover gasket, O ring and teflon washer off the engine...
the new gasket...
the part number...
and the old front cover O ring...
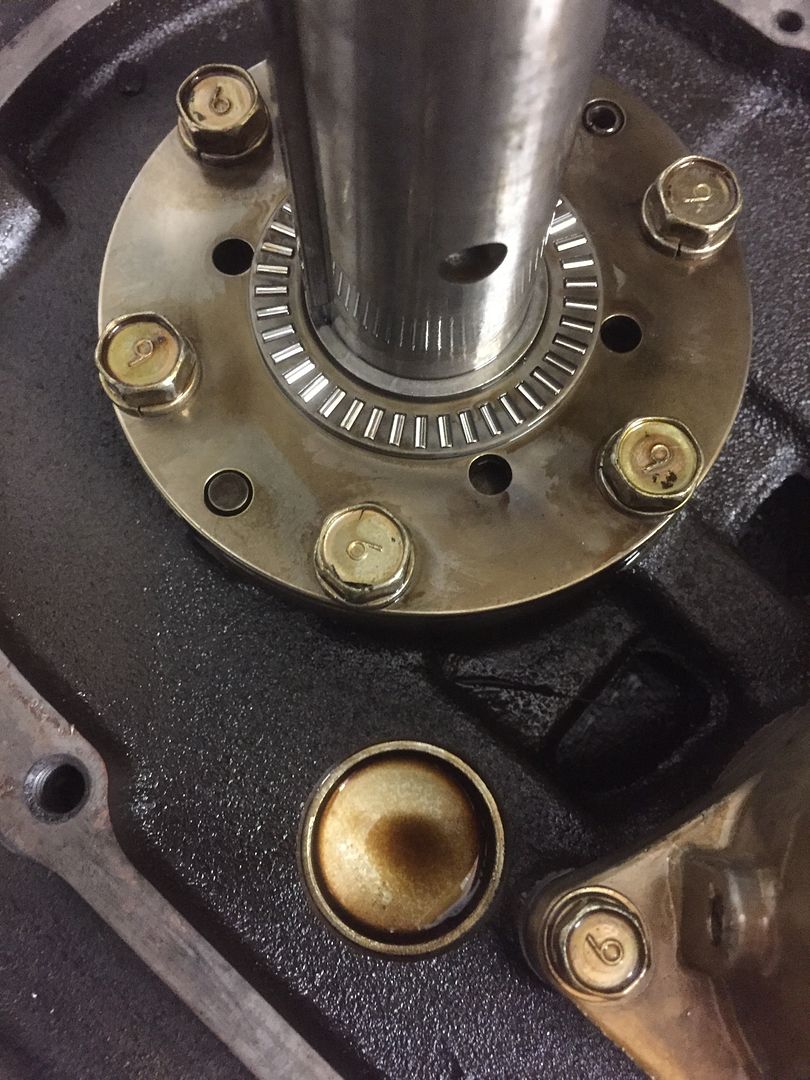
front stack stripped to check the bearings...
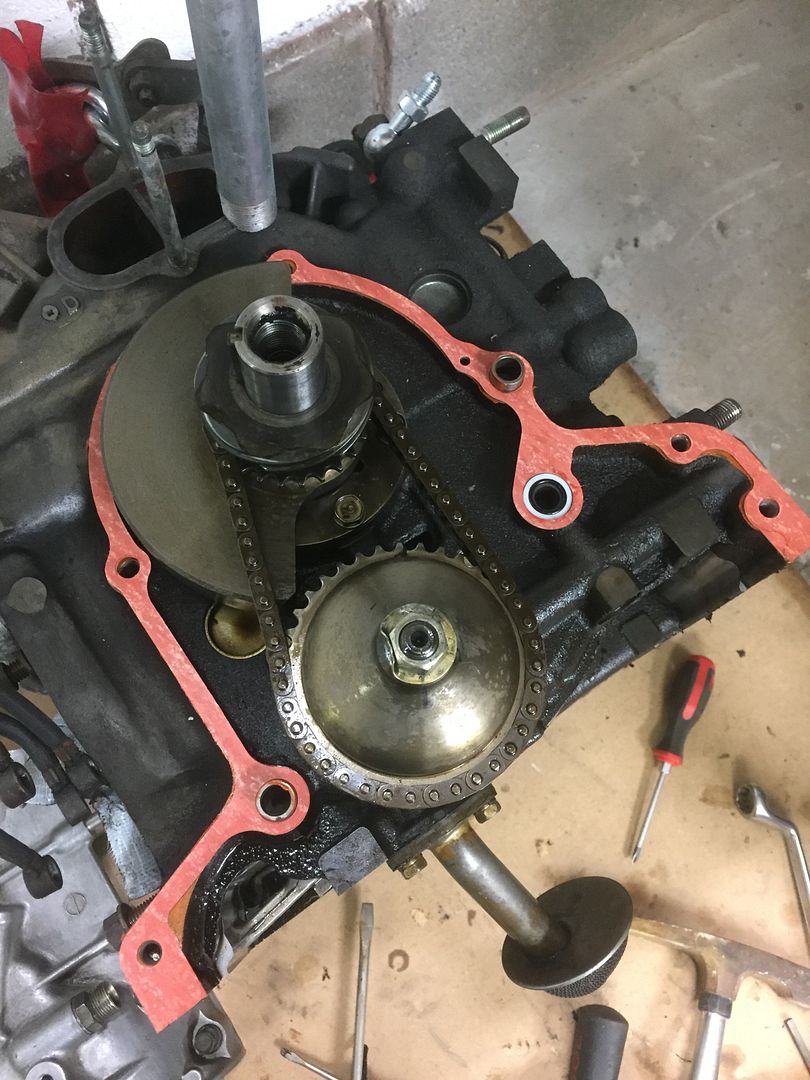
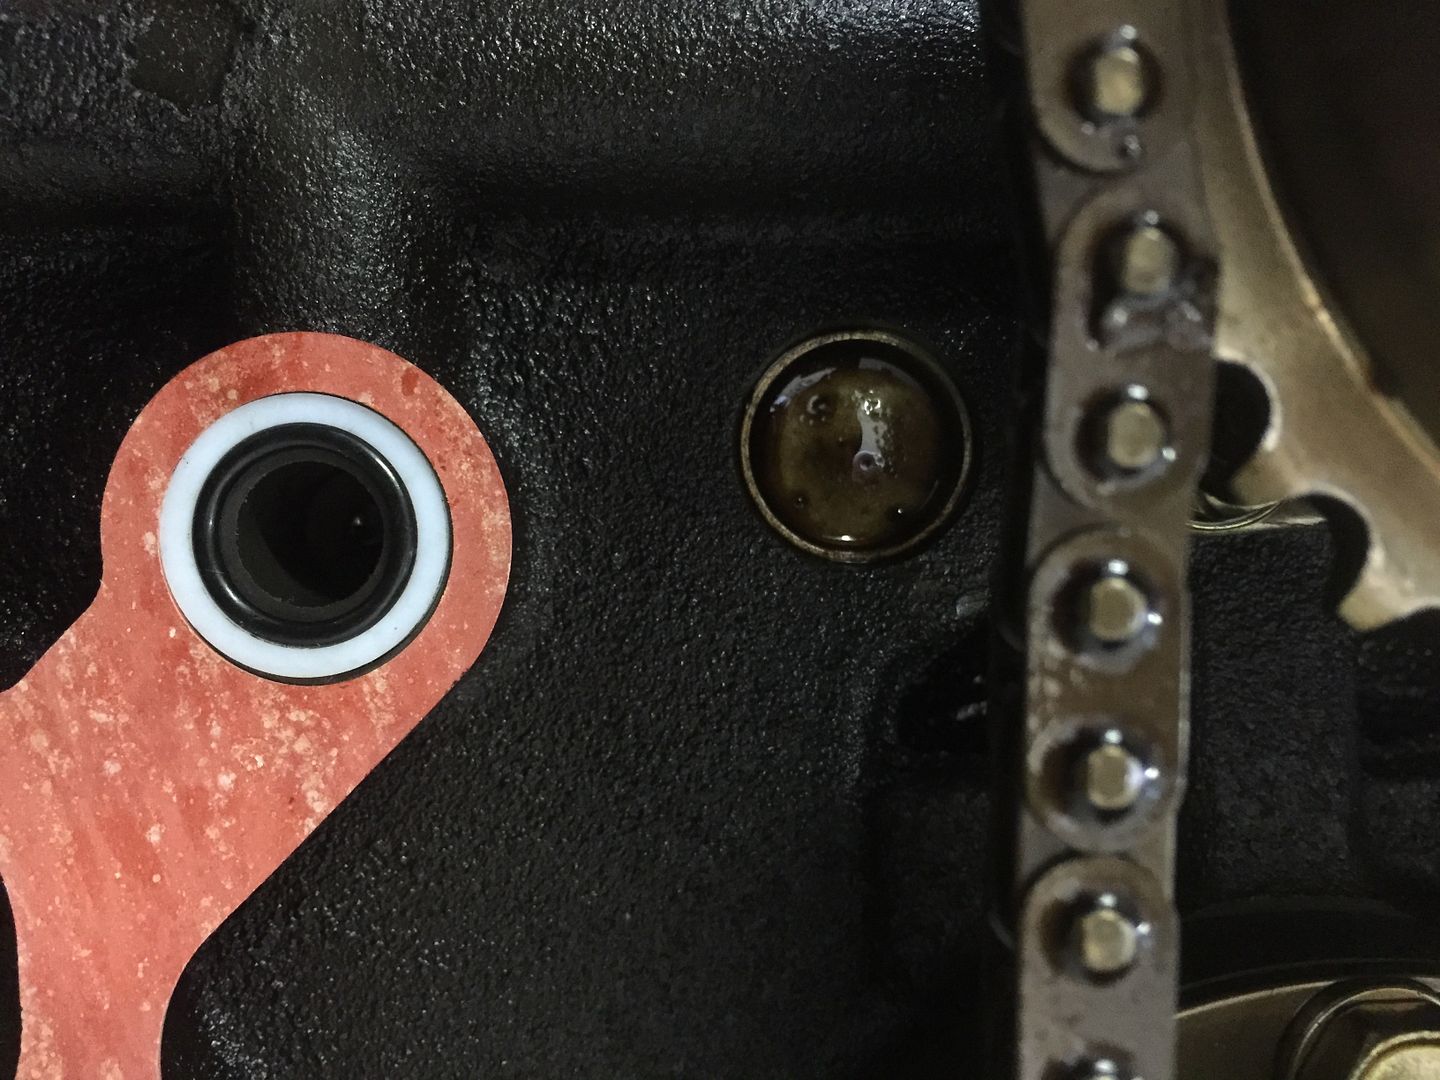
and the front cover gasket, O ring and teflon support washer fitted...
Front cover back on...
Had to bite the bullet and order this from the US... strangely cheaper via Ebay than through their website..
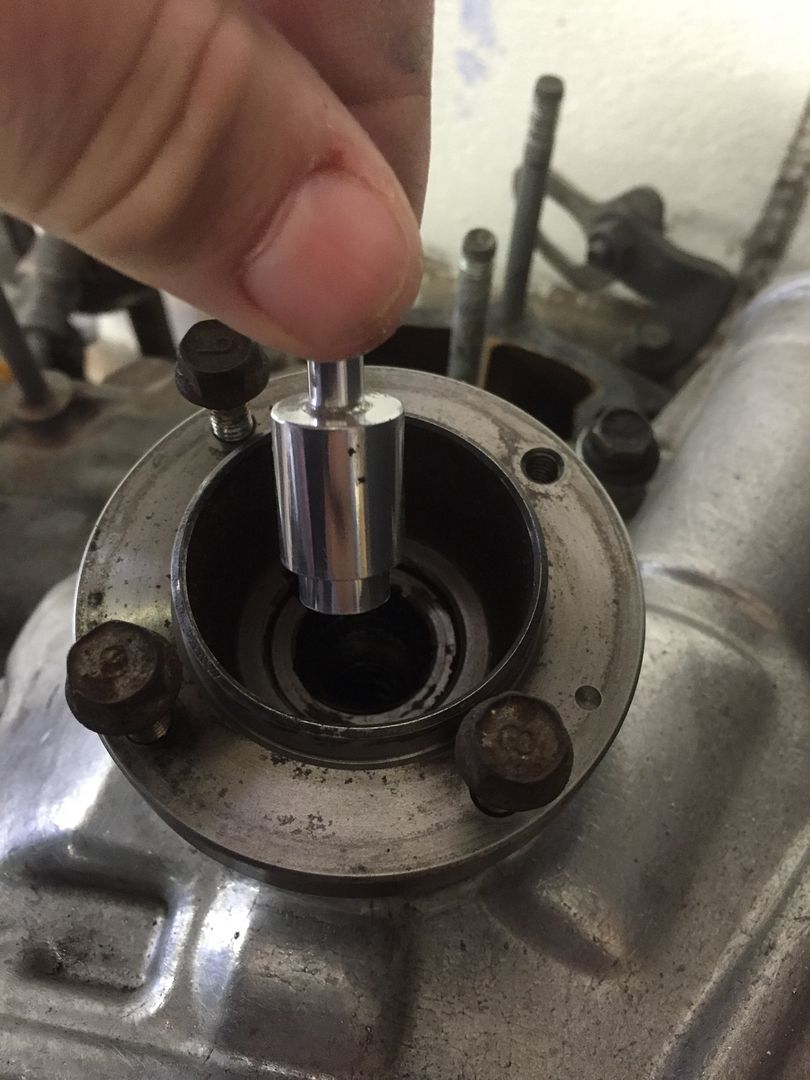
took the old thermal pellet out of the end of the E-shaft...
but left the spring in place...
then dropped this thermal pellet plug in...
in place of this...
changed the copper crush washer on the end of the E-shaft pulley bolt...
then re-fitted the front pulley and it's bolt and torqued it back up...
This done, the engine could go back on the engine stand making it much easier to work on.