
FB slowly turning into an FC
-
codge
- RX7fb LEGEND

- Posts: 2668
- Joined: Fri Apr 01, 2011 11:41 am
- Location: South Yorks.
- Been thanked: 4 times
Re: FB slowly turning into an FC
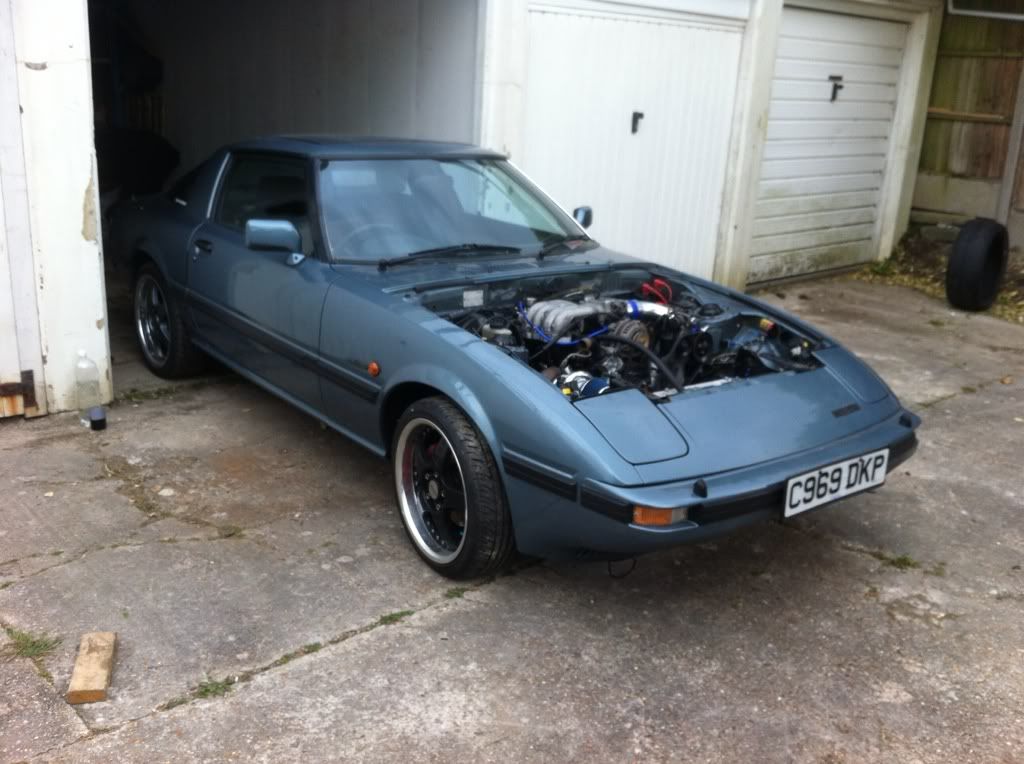
That shot of the nose peeping out of the garage puts 'Jaws' musak straight into my head.
-
RamoNZ
- VIP User

- Posts: 799
- Joined: Wed Jul 13, 2011 3:56 pm
- Location: Auckland, New Zealand
- Been thanked: 1 time
Re: FB slowly turning into an FC
Managed to grab a few hours yesterday and a couple more today to tick a couple things off the list.
Got the car out of the garage - good start...listen for the jaws musak going up tempo Dave...
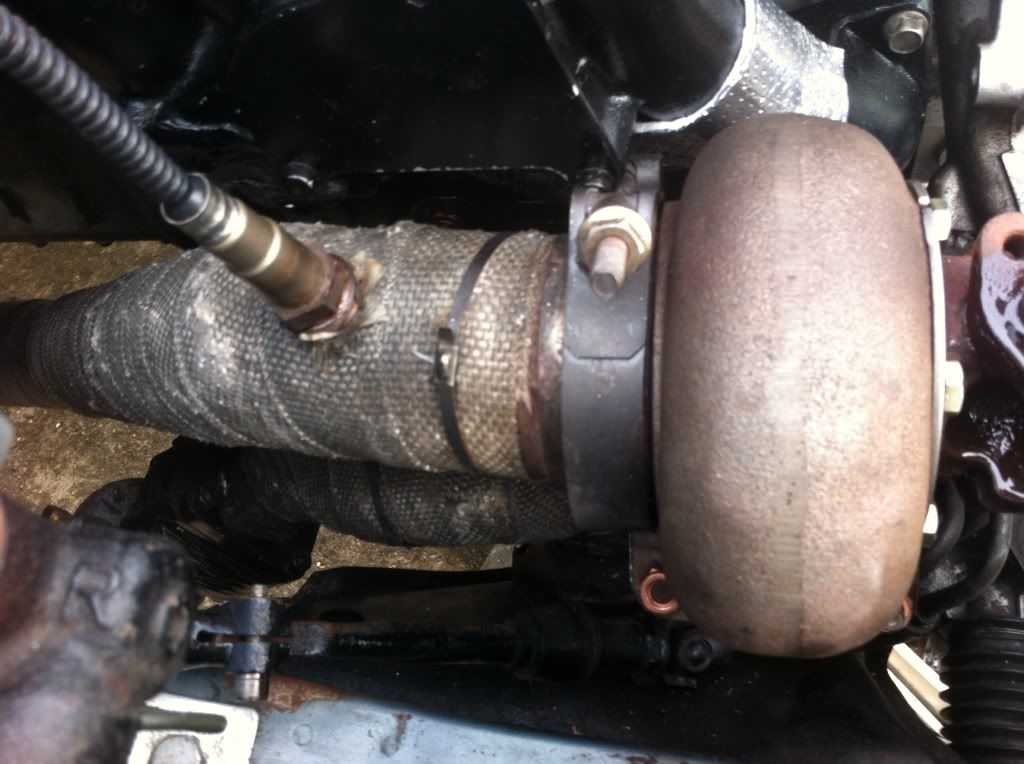
Downpipe and wastegate bypass connected - The previous setup had a screamer pipe which, although amusing short term, I'm not a massive fan of. Great for scaring the bejeesus out of people of the side of the road, not a lot else. I also managed to cut a short section of pipe to join the new downpipe to the system and clamp in place.
Decided to swap the race battery for a full size unit - I figure the weight savings can a) come later and b) might not really be the first thing on my mind when I crack the throttle in anger - if anything, it might give me 0.05% more traction

Cleaned up and fitted the radiator supports, and test fitted all the intercooler pipes - starting to look more and more complete.


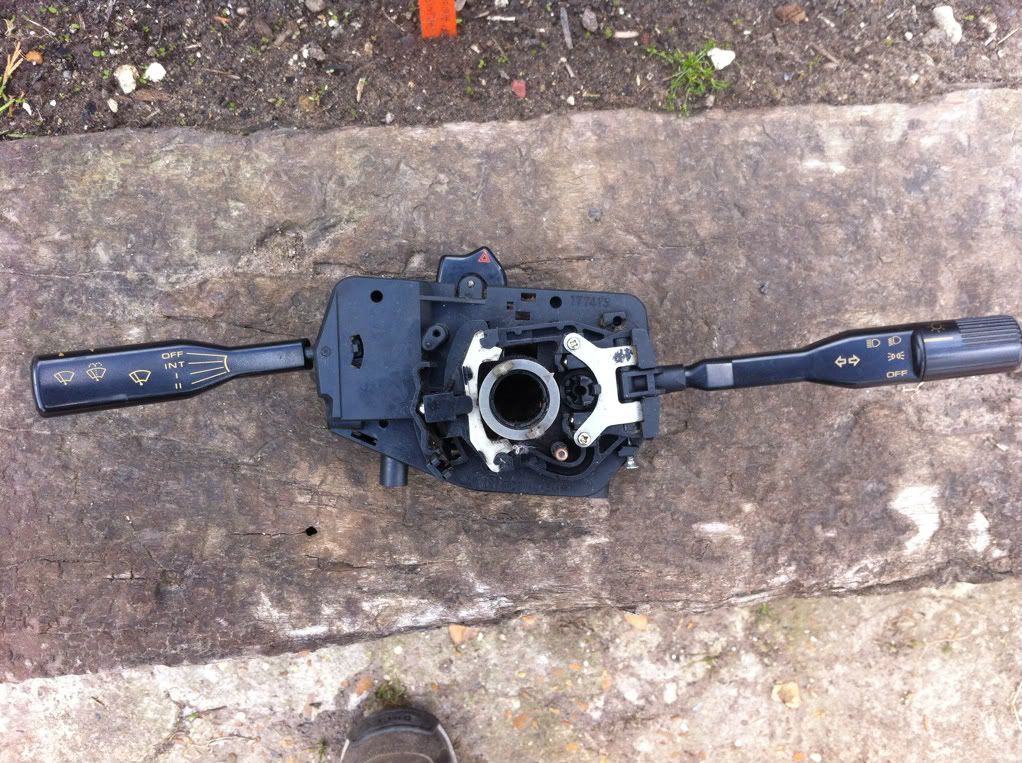
I had also previously damaged the self cancelling function for the indicators when doing the column swap so many moons ago I purchased an FB combo switch - and had left wrapped up as it arrived with me.
Upon opening it yesterday - I instantly felt the feeling of self-douche for not checking an ebay purchase and here I was with an FC combo switch!
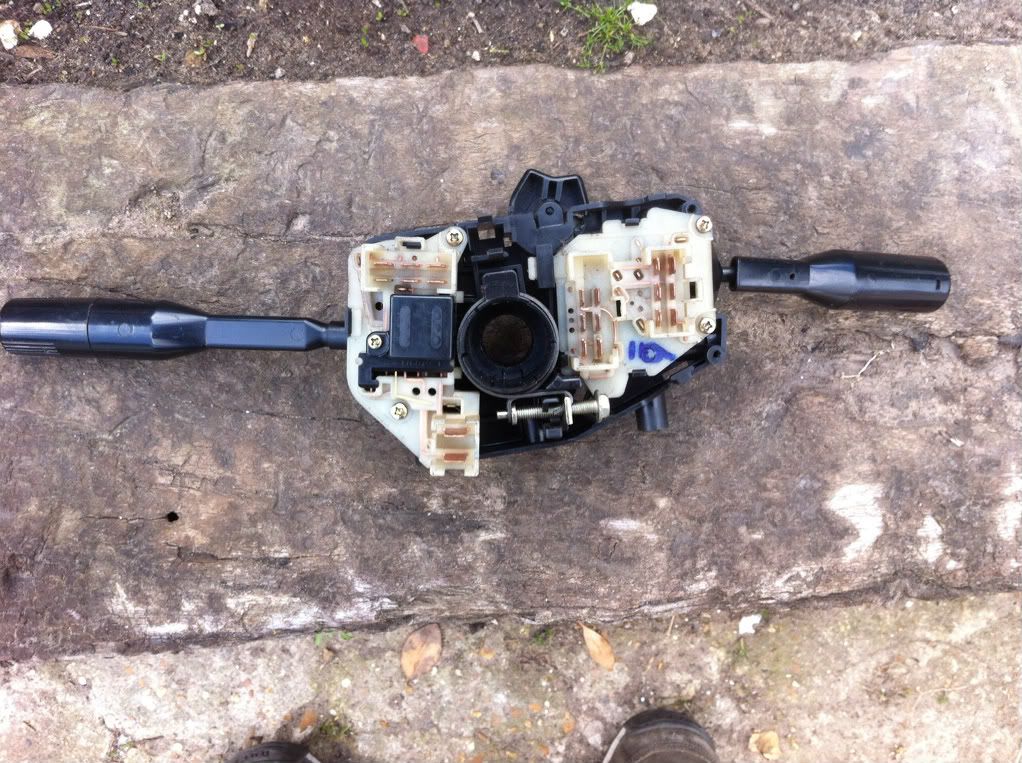
Something niggled as I was looking at it and I realised that FCs have the switches on the cluster surround.. so what did I have? Looks like GSL-SE or Euro LHD S3 - I'll stick it on and give it a go - all the plugs seem to be same!
Front combo
Rear combo
So the result of all that meant I was able to start her - but due to lack of radiator not for long obviously. What I can say, is that the exhaust (now there is no leak) sounds fantastic!
After the first start I spent the best part of 40mins modifying the map - net result though, I came to do a video of the start up and exhaust sound but no dice, battery flat no more action...Doh!
Next weekend....radiator, coolant and a few laps around the village!
8) 8) 8) 8)
Got the car out of the garage - good start...listen for the jaws musak going up tempo Dave...
Downpipe and wastegate bypass connected - The previous setup had a screamer pipe which, although amusing short term, I'm not a massive fan of. Great for scaring the bejeesus out of people of the side of the road, not a lot else. I also managed to cut a short section of pipe to join the new downpipe to the system and clamp in place.
Decided to swap the race battery for a full size unit - I figure the weight savings can a) come later and b) might not really be the first thing on my mind when I crack the throttle in anger - if anything, it might give me 0.05% more traction
Cleaned up and fitted the radiator supports, and test fitted all the intercooler pipes - starting to look more and more complete.
I had also previously damaged the self cancelling function for the indicators when doing the column swap so many moons ago I purchased an FB combo switch - and had left wrapped up as it arrived with me.
Upon opening it yesterday - I instantly felt the feeling of self-douche for not checking an ebay purchase and here I was with an FC combo switch!
Something niggled as I was looking at it and I realised that FCs have the switches on the cluster surround.. so what did I have? Looks like GSL-SE or Euro LHD S3 - I'll stick it on and give it a go - all the plugs seem to be same!
Front combo
Rear combo
So the result of all that meant I was able to start her - but due to lack of radiator not for long obviously. What I can say, is that the exhaust (now there is no leak) sounds fantastic!
After the first start I spent the best part of 40mins modifying the map - net result though, I came to do a video of the start up and exhaust sound but no dice, battery flat no more action...Doh!
Next weekend....radiator, coolant and a few laps around the village!
8) 8) 8) 8)
1980 Series 1, Minty Pea Green 13b Turbo
-
RamoNZ
- VIP User
- Posts: 799
- Joined: Wed Jul 13, 2011 3:56 pm
- Location: Auckland, New Zealand
- Been thanked: 1 time
Re: FB slowly turning into an FC
Had a crack at getting things sorted.....

Then proceeded to drop the rad in and finish off the cooler pipes:
End up looking something like this:
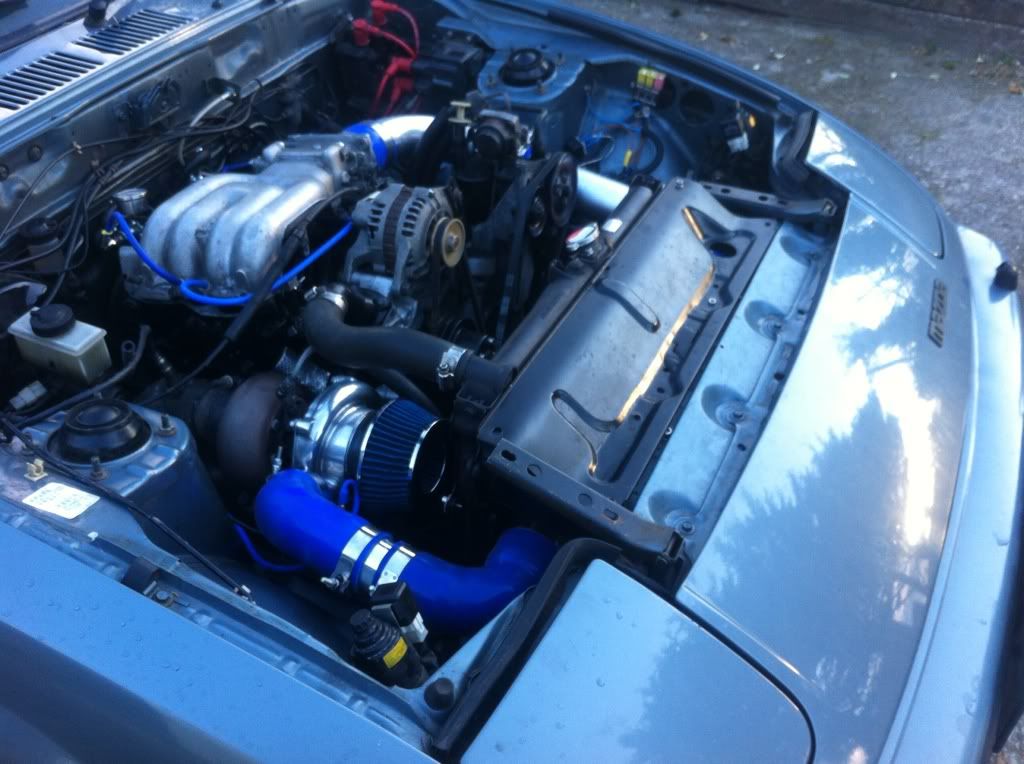
and this..

and gratuitous shot for the hell of it:

Not all good news though, got a water leak to track down so no road trips today
Then proceeded to drop the rad in and finish off the cooler pipes:
End up looking something like this:
and this..
and gratuitous shot for the hell of it:
Not all good news though, got a water leak to track down so no road trips today
1980 Series 1, Minty Pea Green 13b Turbo
-
TOOL
- VIP User
- Posts: 2598
- Joined: Thu Sep 01, 2011 10:30 am
- Location: Switzerland
- Been thanked: 24 times
Re: FB slowly turning into an FC
What radiator's that dude, with the cap in the middle?
Back in the UK for the summer, maybe longer......
-
RamoNZ
- VIP User
- Posts: 799
- Joined: Wed Jul 13, 2011 3:56 pm
- Location: Auckland, New Zealand
- Been thanked: 1 time
Re: FB slowly turning into an FC
Stock FC EGi - had it laying about - nothing specialTOOL wrote:What radiator's that dude, with the cap in the middle?
1980 Series 1, Minty Pea Green 13b Turbo
-
RamoNZ
- VIP User
- Posts: 799
- Joined: Wed Jul 13, 2011 3:56 pm
- Location: Auckland, New Zealand
- Been thanked: 1 time
Re: FB slowly turning into an FC
Realised that I had left this un updated.. for those of you who thought the story was all finished and a happy ending....it all went downhill - blah blah blah I woke up in a world where burnouts are more important than checking the timing which ended with a front rotor that had less compression than a 3 week old bottle of coke
So without further ado I pulled it out.


So short term solution was to find a runing motor and assess the damage on the other one at a later stage:
Started out with a pair of kegs on a pallet.

And a lot of swapping, torquing, swearing and grunting later I had the engine in place..


And then got her started on Saturday - so at least I know the engine starts/revs and idles - smoke is from the copious amounts of oil I poured into the chambers prior to installation.
Most importantly the timing is already set so no chance of me messing it up! Small fuel leak to rectify, and exhaust to muck around with and should be good for a drive, and if the sun shines in my direction, some form of legal ability to drive on the streets

So without further ado I pulled it out.
So short term solution was to find a runing motor and assess the damage on the other one at a later stage:
Started out with a pair of kegs on a pallet.
And a lot of swapping, torquing, swearing and grunting later I had the engine in place..
And then got her started on Saturday - so at least I know the engine starts/revs and idles - smoke is from the copious amounts of oil I poured into the chambers prior to installation.
Most importantly the timing is already set so no chance of me messing it up! Small fuel leak to rectify, and exhaust to muck around with and should be good for a drive, and if the sun shines in my direction, some form of legal ability to drive on the streets
1980 Series 1, Minty Pea Green 13b Turbo
-
RamoNZ
- VIP User
- Posts: 799
- Joined: Wed Jul 13, 2011 3:56 pm
- Location: Auckland, New Zealand
- Been thanked: 1 time
Re: FB slowly turning into an FC
Quick update.
Proper engine build is in the build - ill update that part when things are ready to assemble.
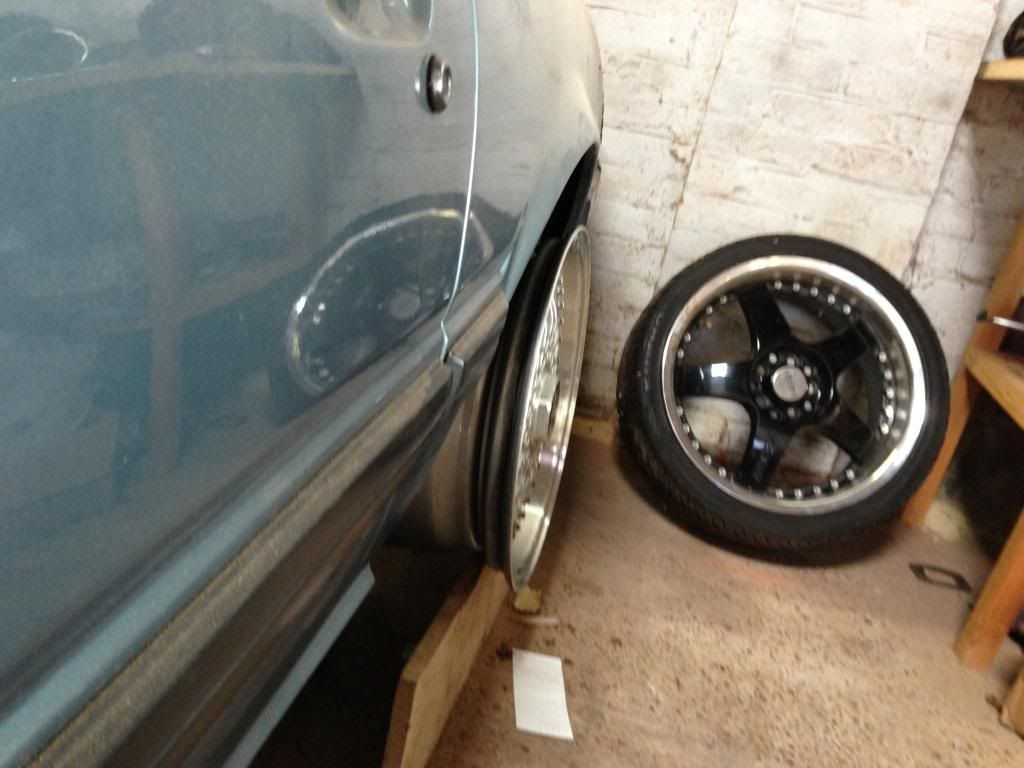
Most recently though, I went on the hunt for some new wheels to replace the 17s and had been hunting for BBS for a while and was happy to grab these when they came up.
For current and future fitment freaks, the combo is 16x7 fr and 16x8 rr ET45 all round.
The front of the car was originally +40, but with the FC subframe swap, I believe this pushes the track out 10mm each side.
At the rear, I have 25mm pcd adaptors.
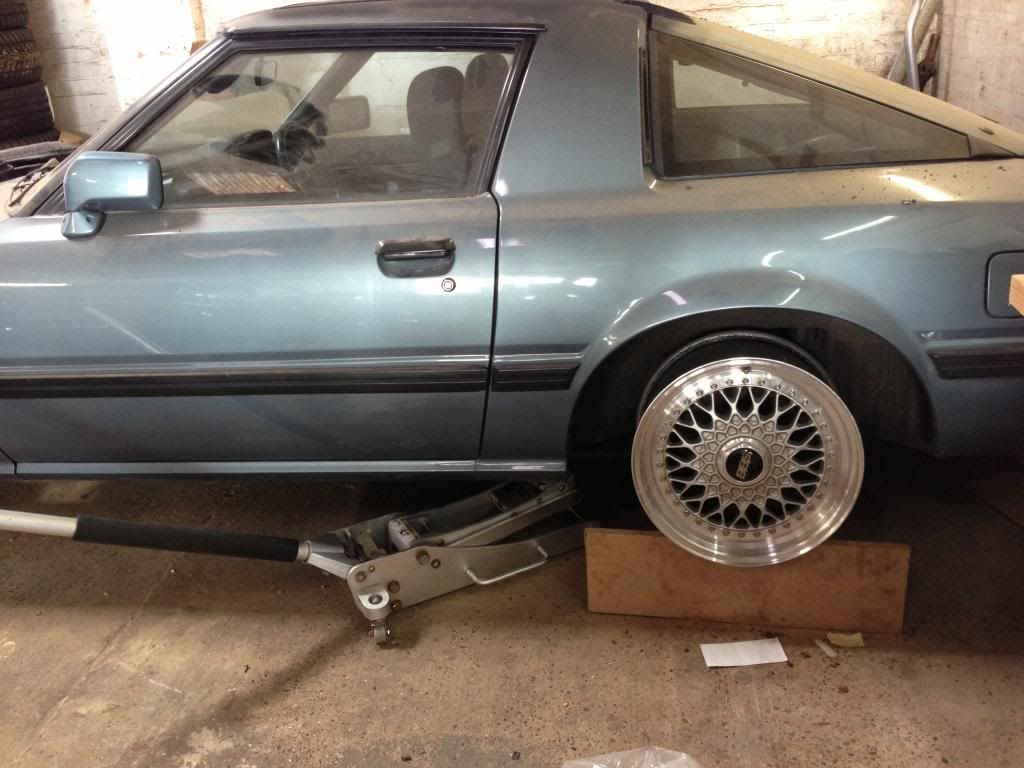
So without further ado, here are the test fit pics:
7s on the front:
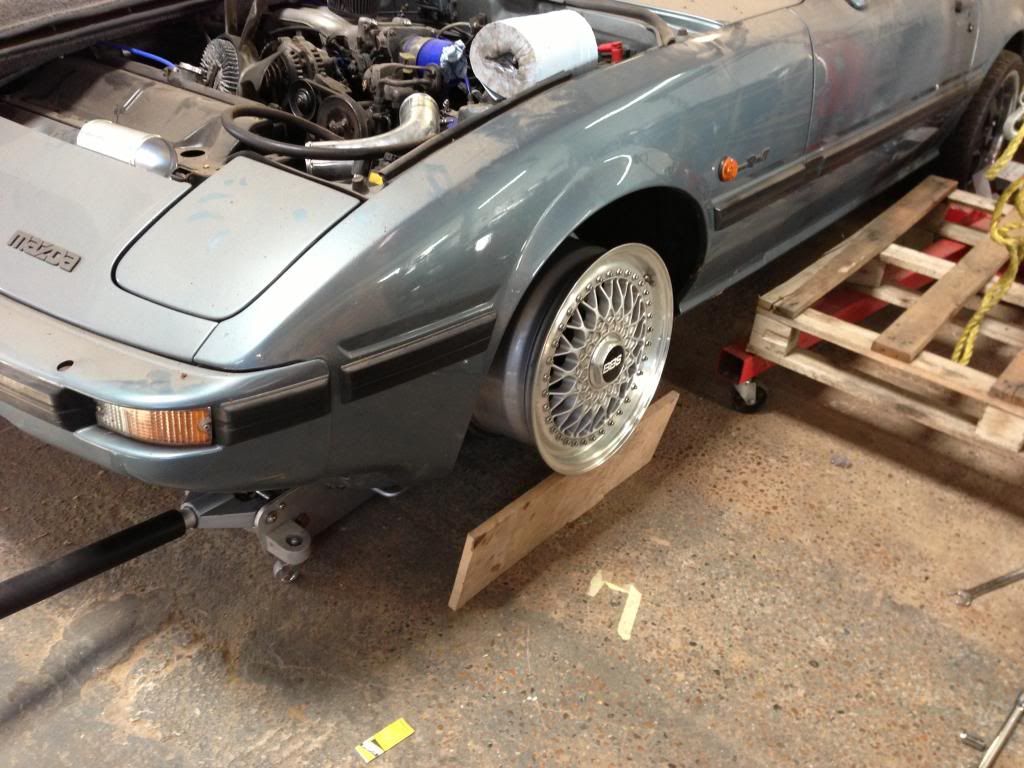
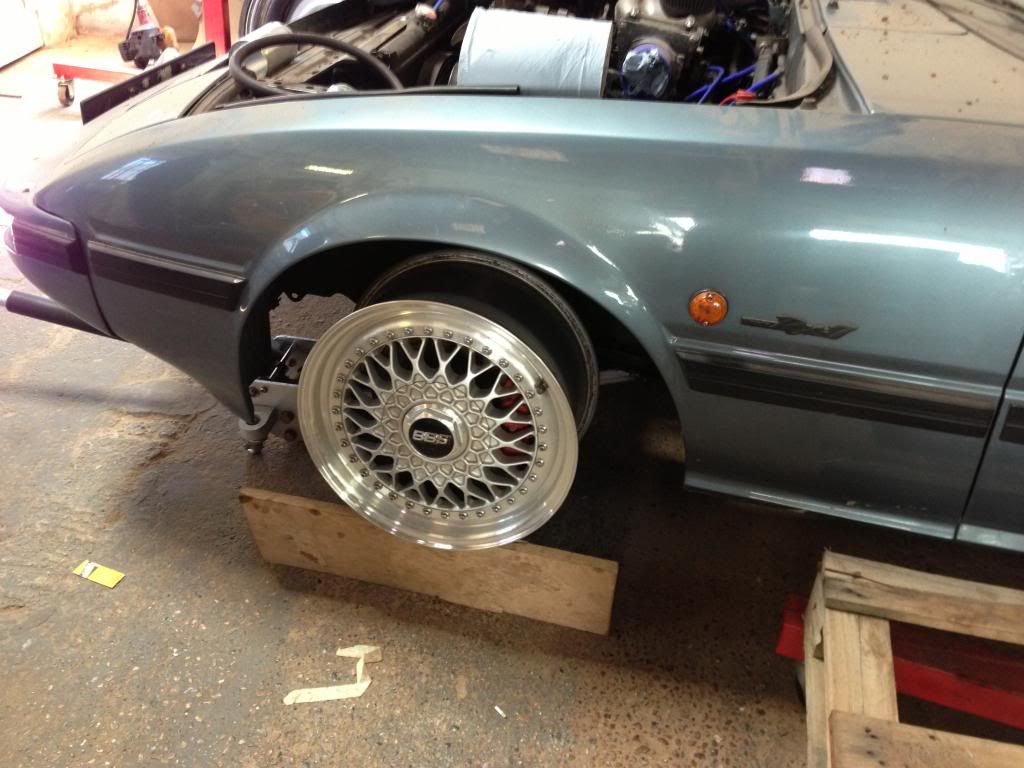
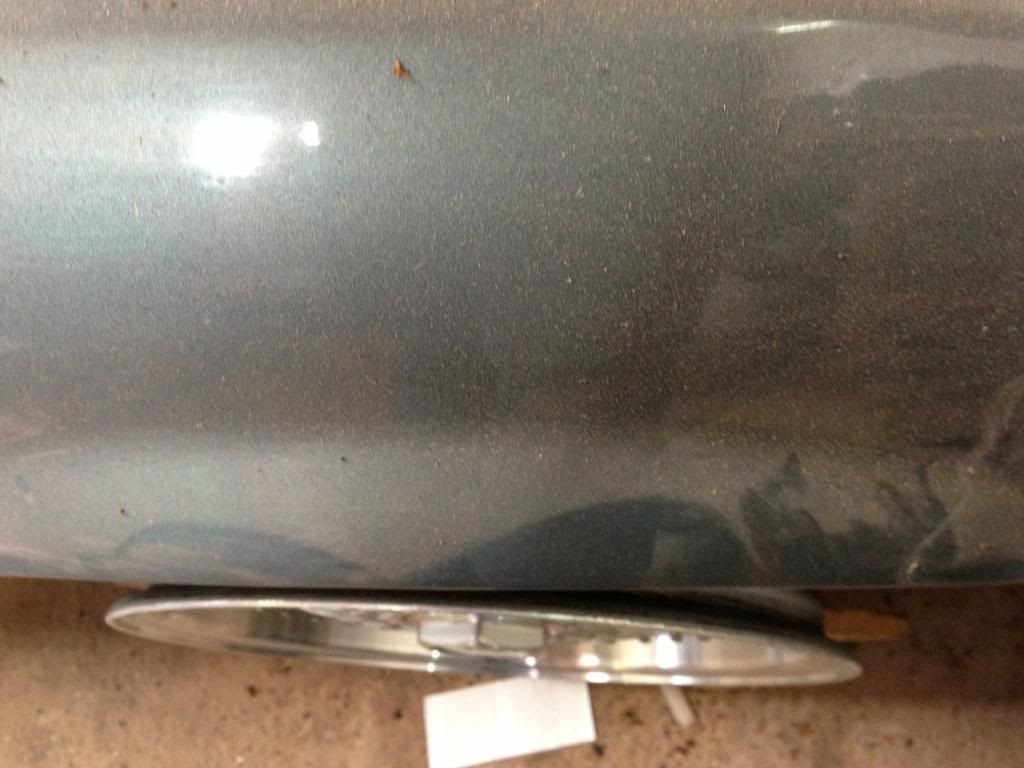
And 8s on the rear - just on the edge of fitting on the outer so ill roll the lip for what it's worth - but there is an easy an inch on the inside, so a 9 would be a doozy..
All in all, looking good! Roll on the tyres (scuse the pun.. )
Proper engine build is in the build - ill update that part when things are ready to assemble.
Most recently though, I went on the hunt for some new wheels to replace the 17s and had been hunting for BBS for a while and was happy to grab these when they came up.
For current and future fitment freaks, the combo is 16x7 fr and 16x8 rr ET45 all round.
The front of the car was originally +40, but with the FC subframe swap, I believe this pushes the track out 10mm each side.
At the rear, I have 25mm pcd adaptors.
So without further ado, here are the test fit pics:
7s on the front:


And 8s on the rear - just on the edge of fitting on the outer so ill roll the lip for what it's worth - but there is an easy an inch on the inside, so a 9 would be a doozy..


All in all, looking good! Roll on the tyres
1980 Series 1, Minty Pea Green 13b Turbo


-
RamoNZ
- VIP User
- Posts: 799
- Joined: Wed Jul 13, 2011 3:56 pm
- Location: Auckland, New Zealand
- Been thanked: 1 time
Re: FB slowly turning into an FC
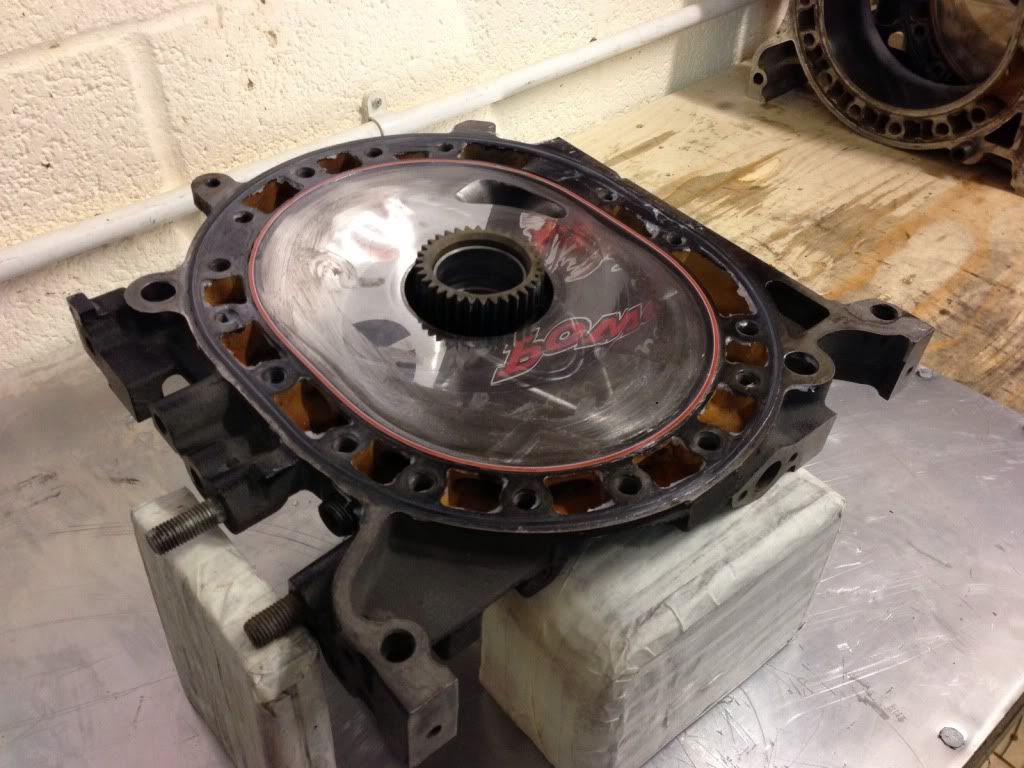
Back to some thing thing engine related rather than wheels - over the weekend, I managed to gather all my internal bits, and reunite them with the ported housings I left in the capable hands of Era 'Oldone' De Klerk.
Deciding to make an evening of it a couple of us travelled over to have a few beers and bbq while I pieced it all together.
And here is is...
Ready to assemble:


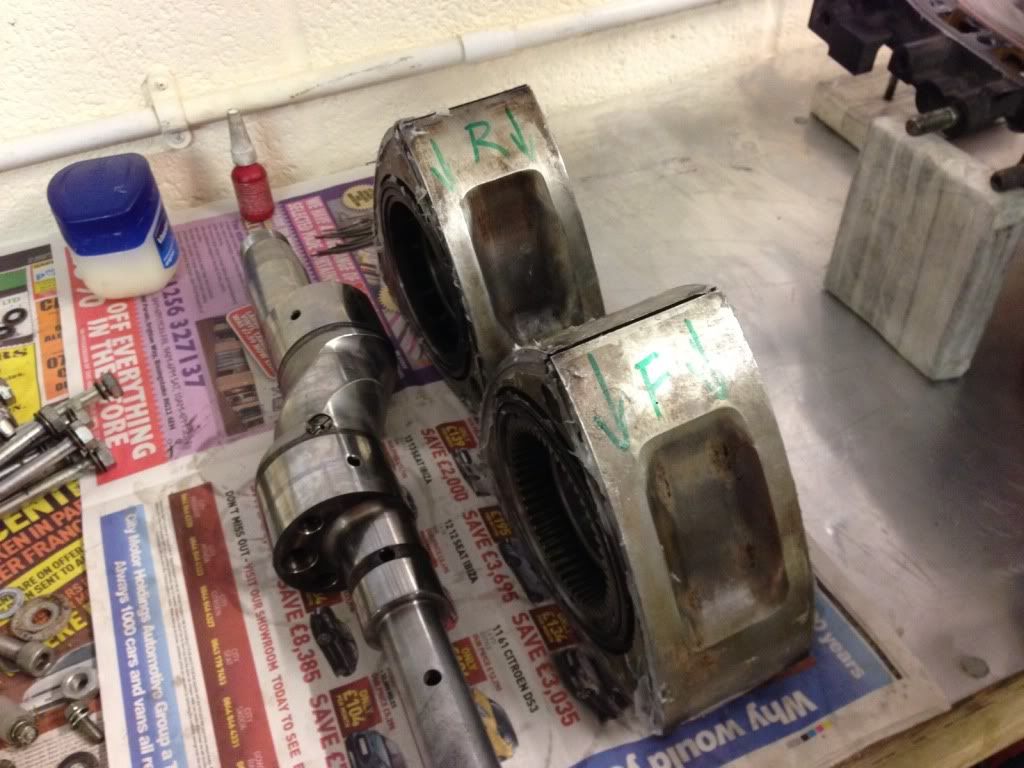
First up was getting the rotor seals in the right place, note the solid Atkins corner seals.

Then it was water seal time:
Stacking commences:
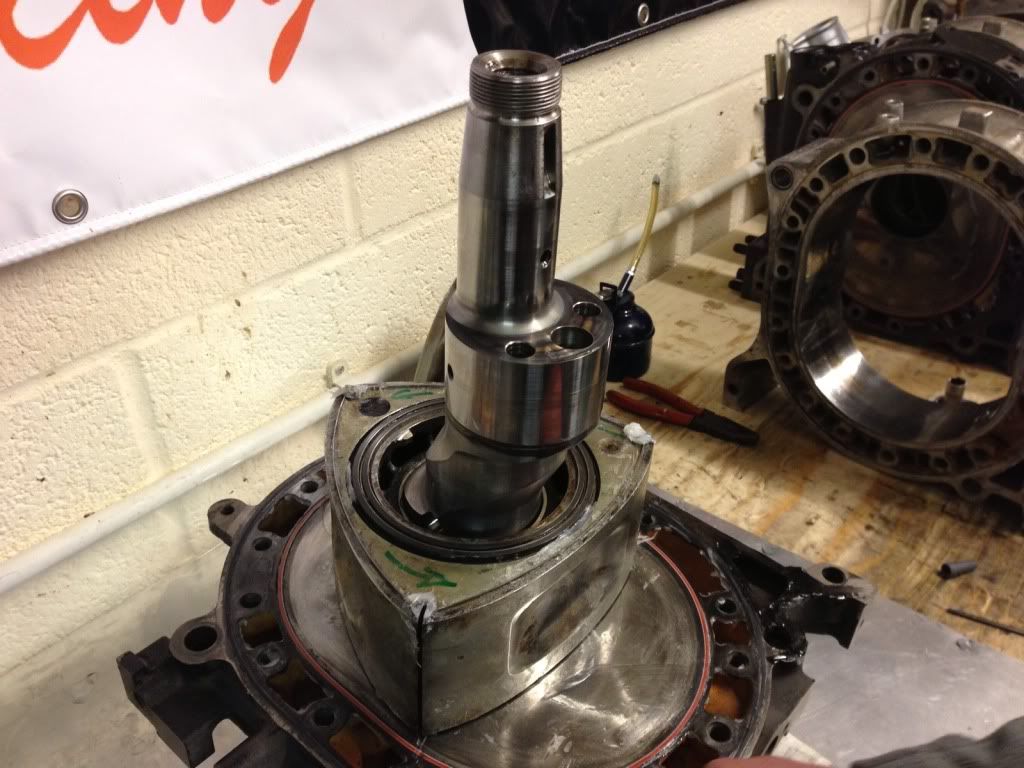

And then bolted together - easy!

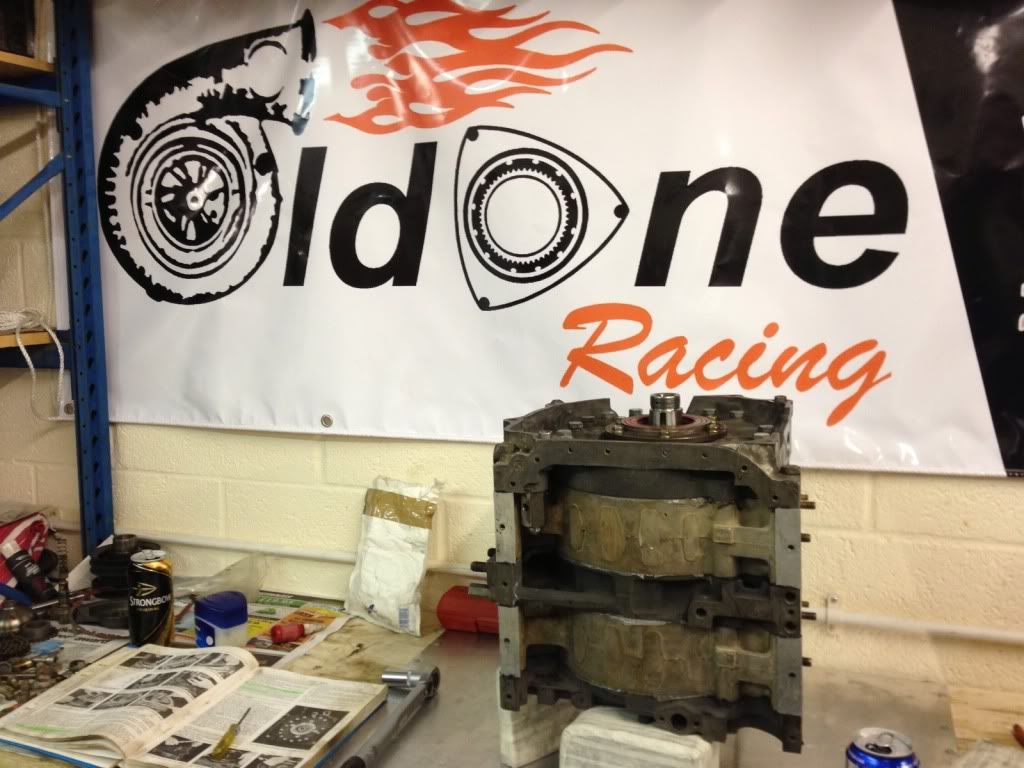

The last photo here was about 1:30am, after a lot of beer drunk and burnt meat eaten!
All in all a fairly painless affair - I have built a few boingers, and stripped a few rotors, but this is the first build I have done. Anyone taking up the challenge is only a couple of pointers really:
- Clean everything well, check that its clean, then check again - Carbon and dirt can hide everywhere.
- Due to the sheer amount of different and small pieces needed for assembly, count out all the seals, springs, gaskets and bolts and ensure everything is present and correct before starting.
- Get a whole tub of vaseline for seal and spring locating, and feel free to use lots.
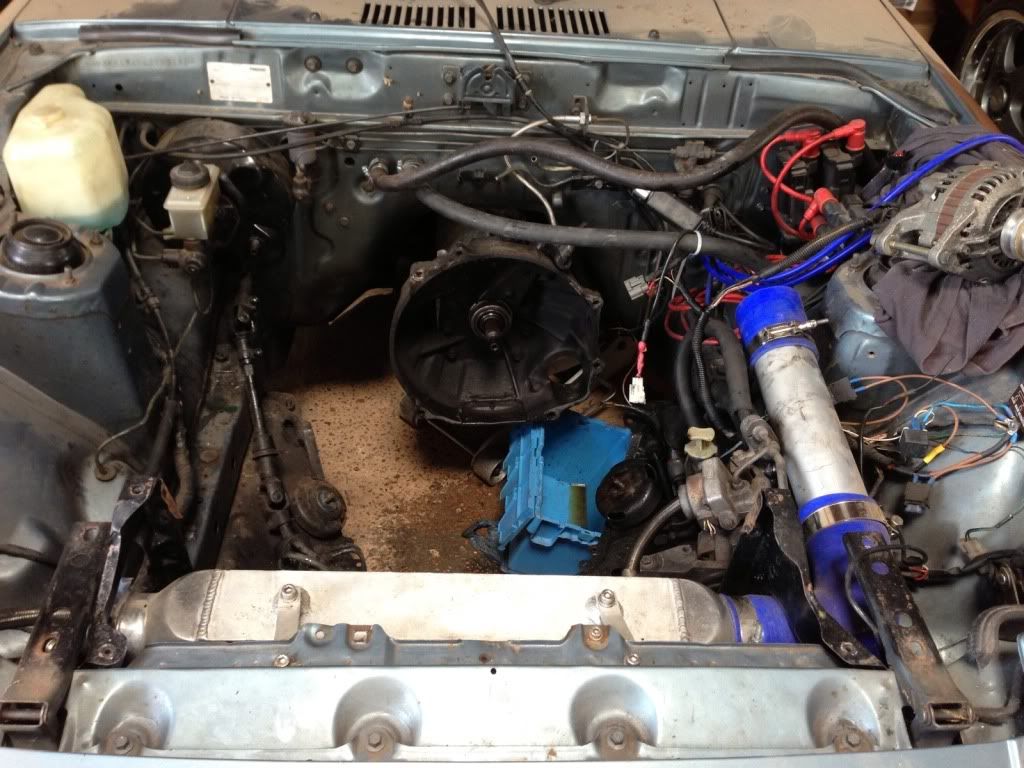
Morning came, and I grabbed my engine and raced from 1 shed to another and proceeded to quickly detach the existing dead motor and haul it out ready to accept the new one:
Deciding to make an evening of it a couple of us travelled over to have a few beers and bbq while I pieced it all together.
And here is is...
Ready to assemble:


First up was getting the rotor seals in the right place, note the solid Atkins corner seals.

Then it was water seal time:

Stacking commences:


And then bolted together - easy!


The last photo here was about 1:30am, after a lot of beer drunk and burnt meat eaten!
All in all a fairly painless affair - I have built a few boingers, and stripped a few rotors, but this is the first build I have done. Anyone taking up the challenge is only a couple of pointers really:
- Clean everything well, check that its clean, then check again - Carbon and dirt can hide everywhere.
- Due to the sheer amount of different and small pieces needed for assembly, count out all the seals, springs, gaskets and bolts and ensure everything is present and correct before starting.
- Get a whole tub of vaseline for seal and spring locating, and feel free to use lots.
Morning came, and I grabbed my engine and raced from 1 shed to another and proceeded to quickly detach the existing dead motor and haul it out ready to accept the new one:


1980 Series 1, Minty Pea Green 13b Turbo
-
RamoNZ
- VIP User
- Posts: 799
- Joined: Wed Jul 13, 2011 3:56 pm
- Location: Auckland, New Zealand
- Been thanked: 1 time
Re: FB slowly turning into an FC
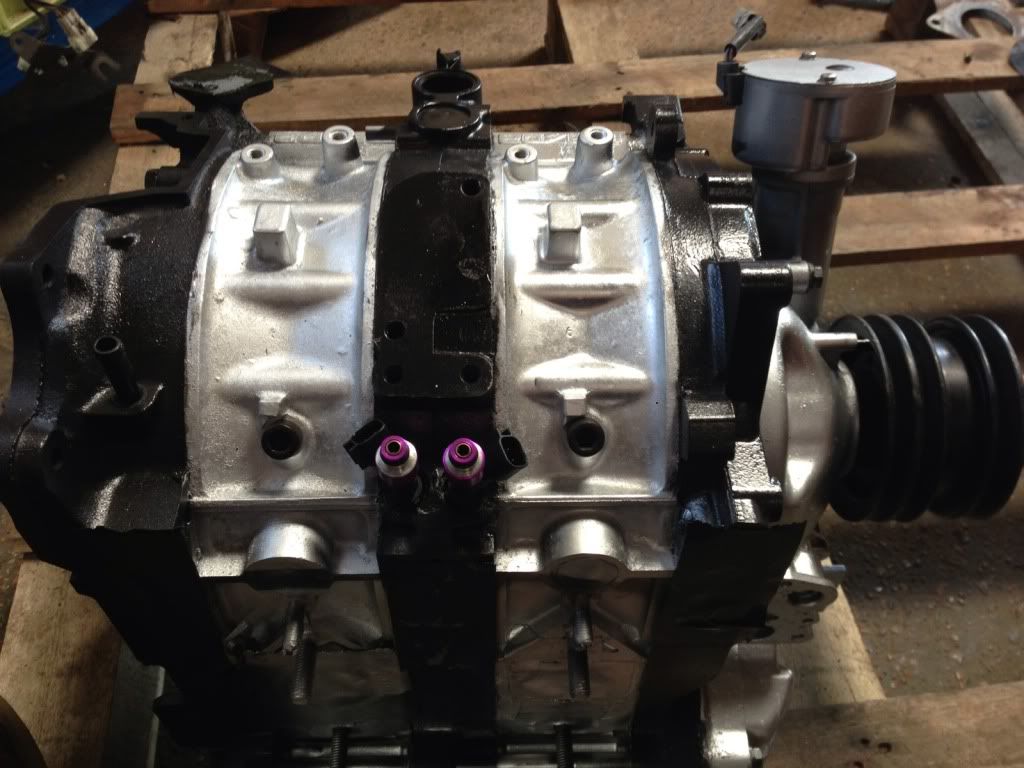
I didnt paint the plates separately while they were apart, but I had to feed my rattle can addiction regardless, so after some dodgy masking, and some dodgy painting with VHT silver and black, the end result with a couple injectors dropped in looks like this. Once the engine is fully dressed and in it will look a lot better, and of course with a cleaner engine back then it will all look slick.
Removed flywheel and counterweight off the old engine to go onto new, twin plate OS Giken, measured the plates and looks like plenty of life left still


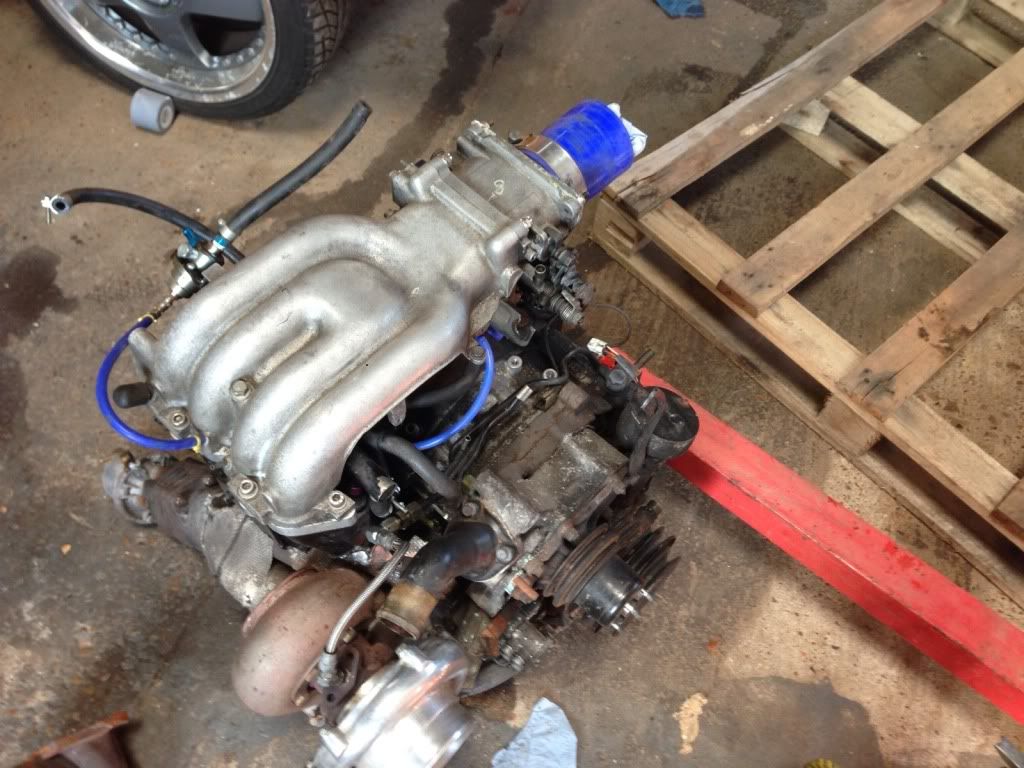
Swapped turbo and manifold over and now we are looking like an engine!


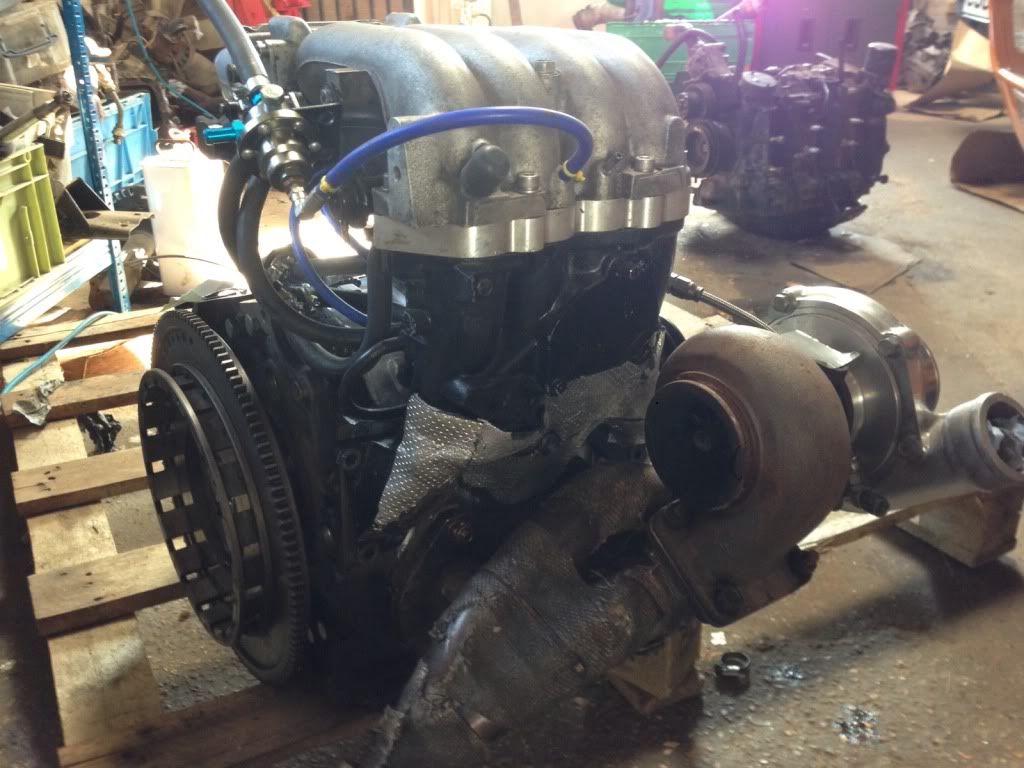
Pickup, sump, mounts and she is ready to drop in, then waterpump housing, alt, pas, radiator etc.. and she should be ready to start - hoping that I can get that done weekend after next as busy this weekend...
Removed flywheel and counterweight off the old engine to go onto new, twin plate OS Giken, measured the plates and looks like plenty of life left still
Swapped turbo and manifold over and now we are looking like an engine!
Pickup, sump, mounts and she is ready to drop in, then waterpump housing, alt, pas, radiator etc.. and she should be ready to start - hoping that I can get that done weekend after next as busy this weekend...
1980 Series 1, Minty Pea Green 13b Turbo