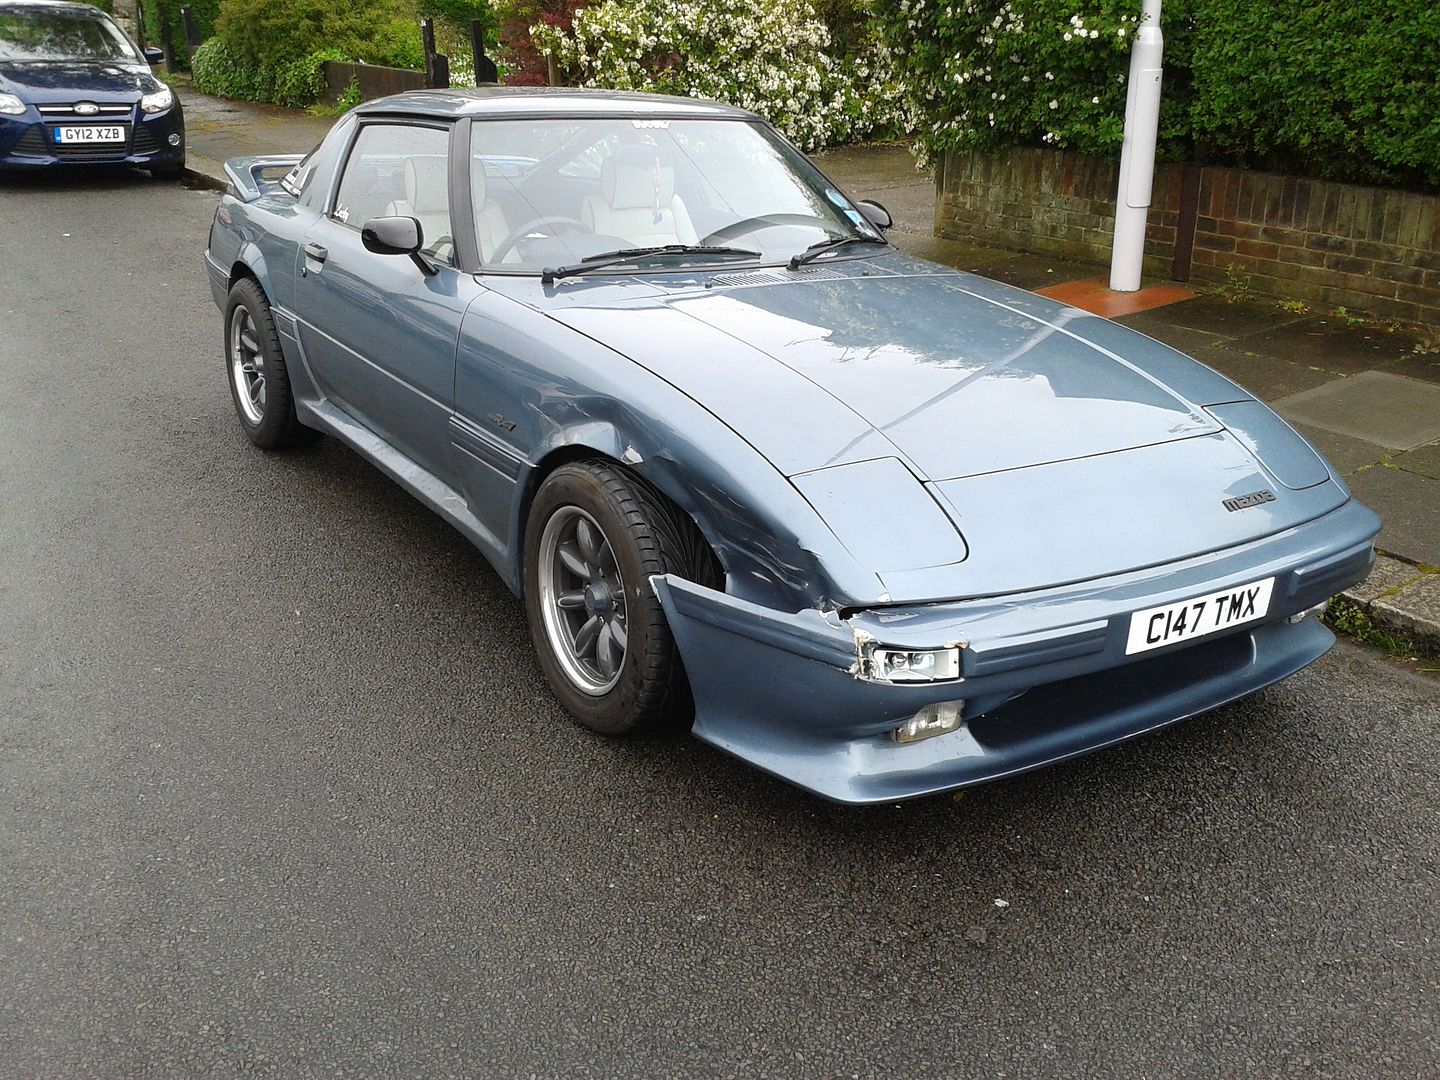
Lucky's Series 3

Restoring, modifying, fettling or just enjoying your RX7 ? Share it with us here...
Lucky
VIP User
VIP User
Posts: 2685
Joined: Mon Nov 07, 2011 8:30 pm
Location: Worthing, UK
Been thanked: 5 times

Re: Lucky's Series 3

Post by Lucky »

So, whilst I was waiting for Coke to dissolve rust, I could turn my thoughts to a bit of TLC in the engine bay. There were quite a few bits of rust starting and as y'all know, once you let these cars start rusting, it's like time-lapse film they dissolve so fast. So I started in on this;

Image

In actual fact, I really noticed how grim it was all getting when jacking the car up to get the brake caliper pistons pumped out. I treated some rust forming in the arch, twigged how filthy everything was, how the wheels had started to corrode quite annoyingly despite plenty of Rimwax allegedly protecting against the winter weather...
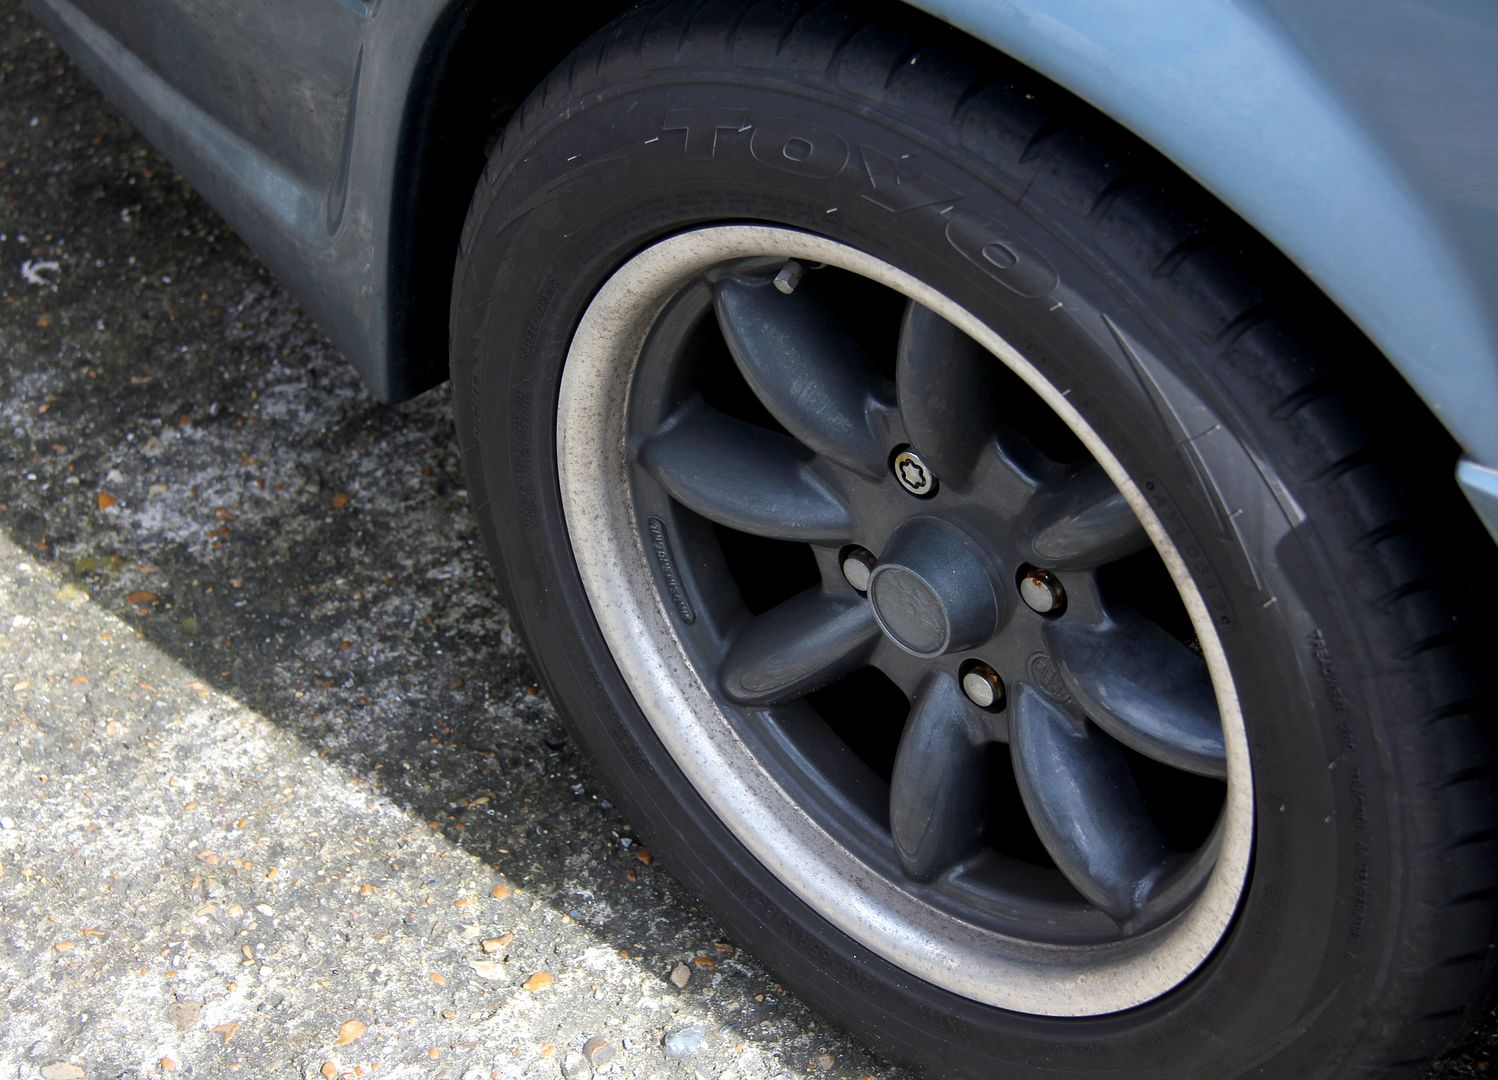
Image

...then I noticed stuff like this ridiculous item still being in situ...

Image

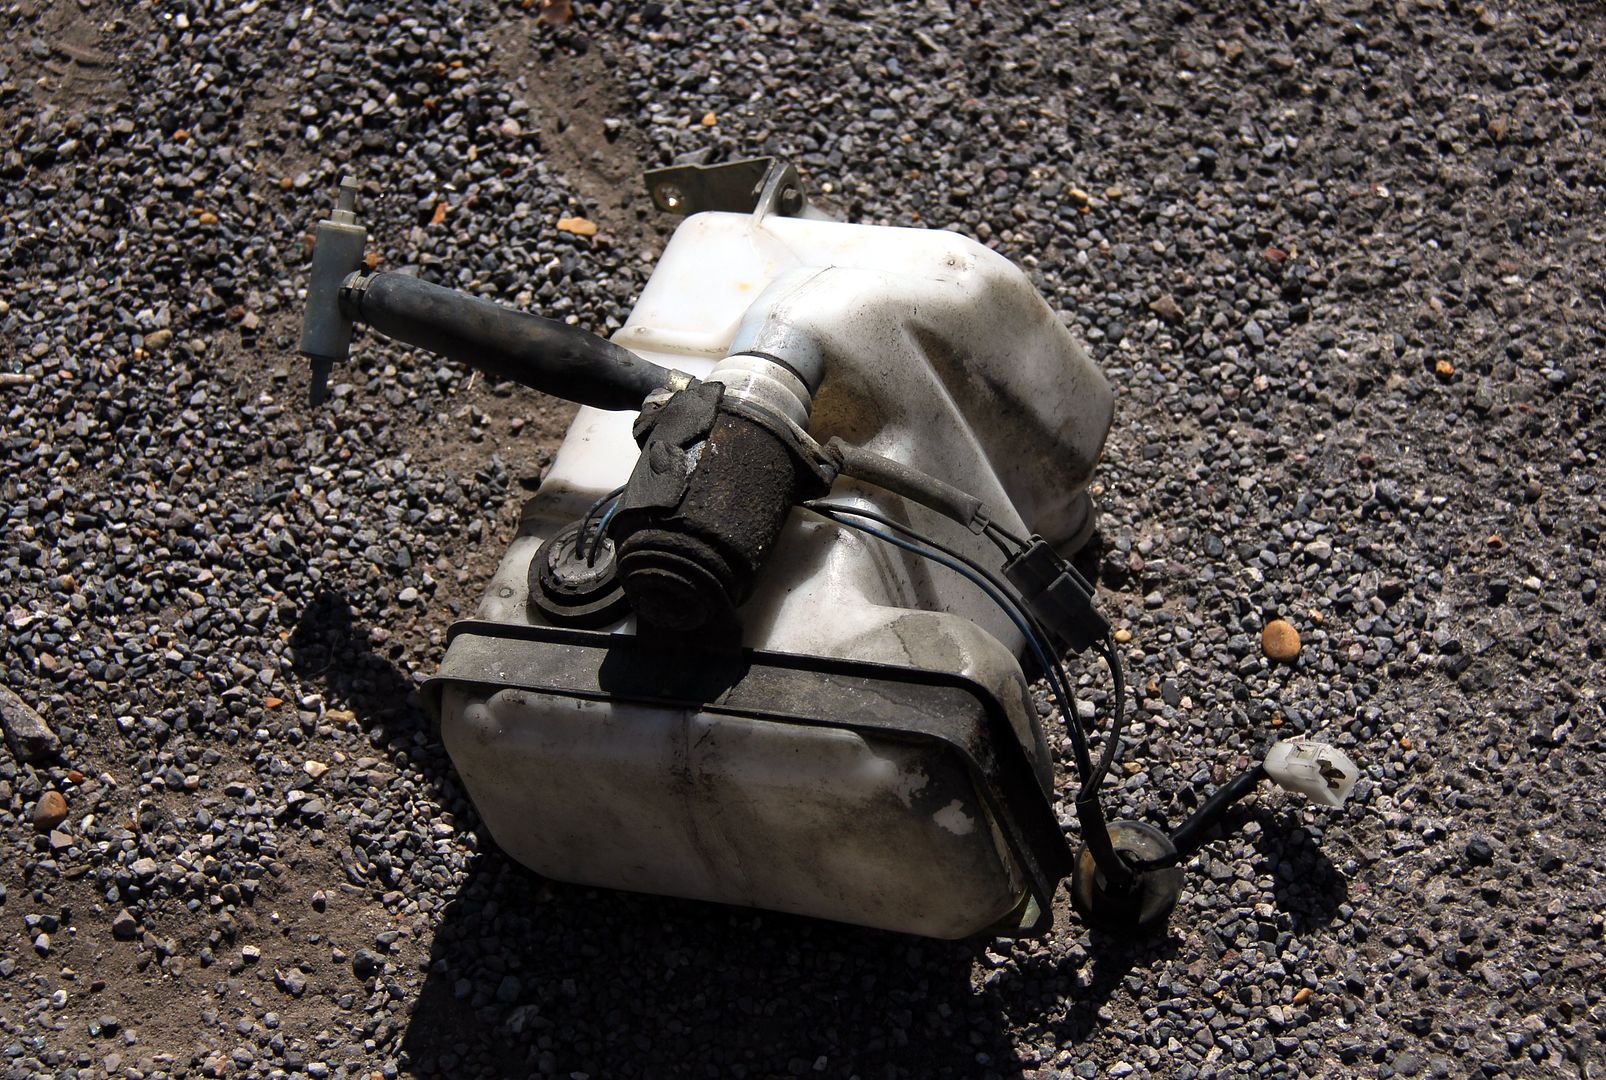
and one thing led to another. Before you know it, half the front end's in pieces! Dirty, rusty pieces at that. And yeah, that's the bottle for the headlight washer jets. Which hadn't worked in all the time I had the car, and indeed there weren't even any jets connected since I'd swapped the Elford bumper over. Not really much use in carrying a ballast tank around then, unless you're driving a submarine. My first mission was to get rid of it, something that proved easier said than done. First thing to yield up after much penetrating fluid was...
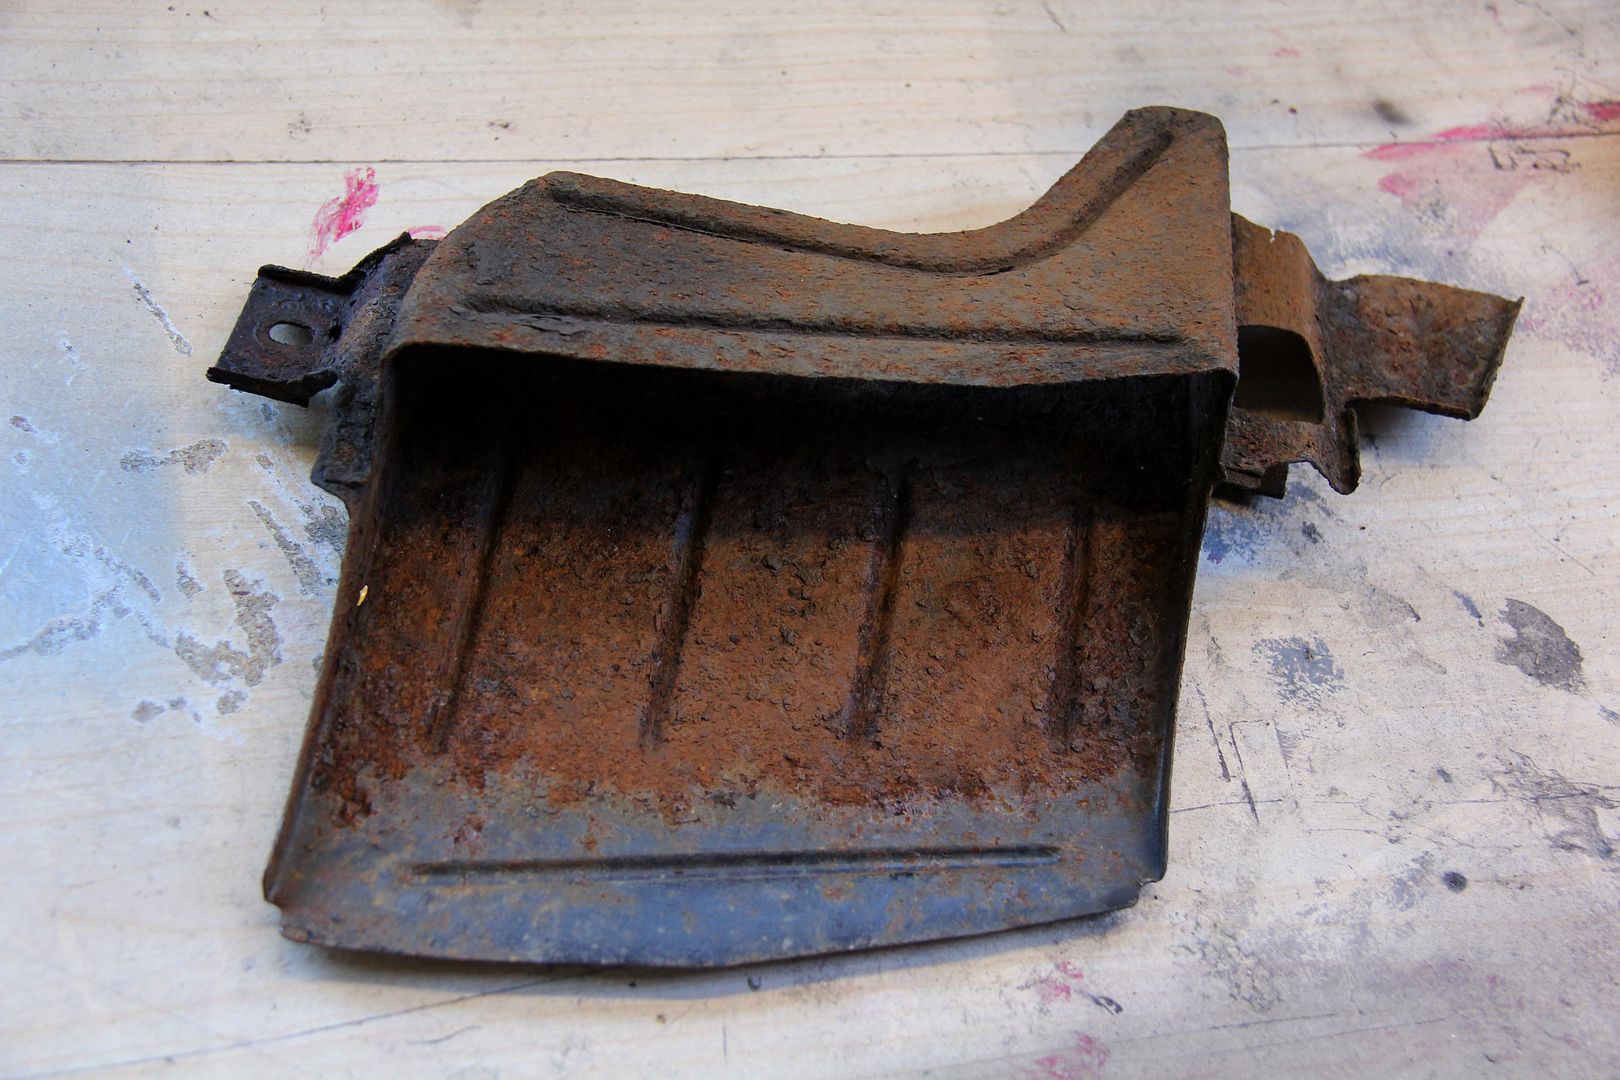
Image

...apparently about the only brake vent deflector plate left on a UK FB, judging by my failed attempts to find another! Indeed, I don't have one the other side either. Anyway, set to work wire brushing it back and though rusty as hell there were only a couple of places it had blown right through. Looks like I saved it just in time.
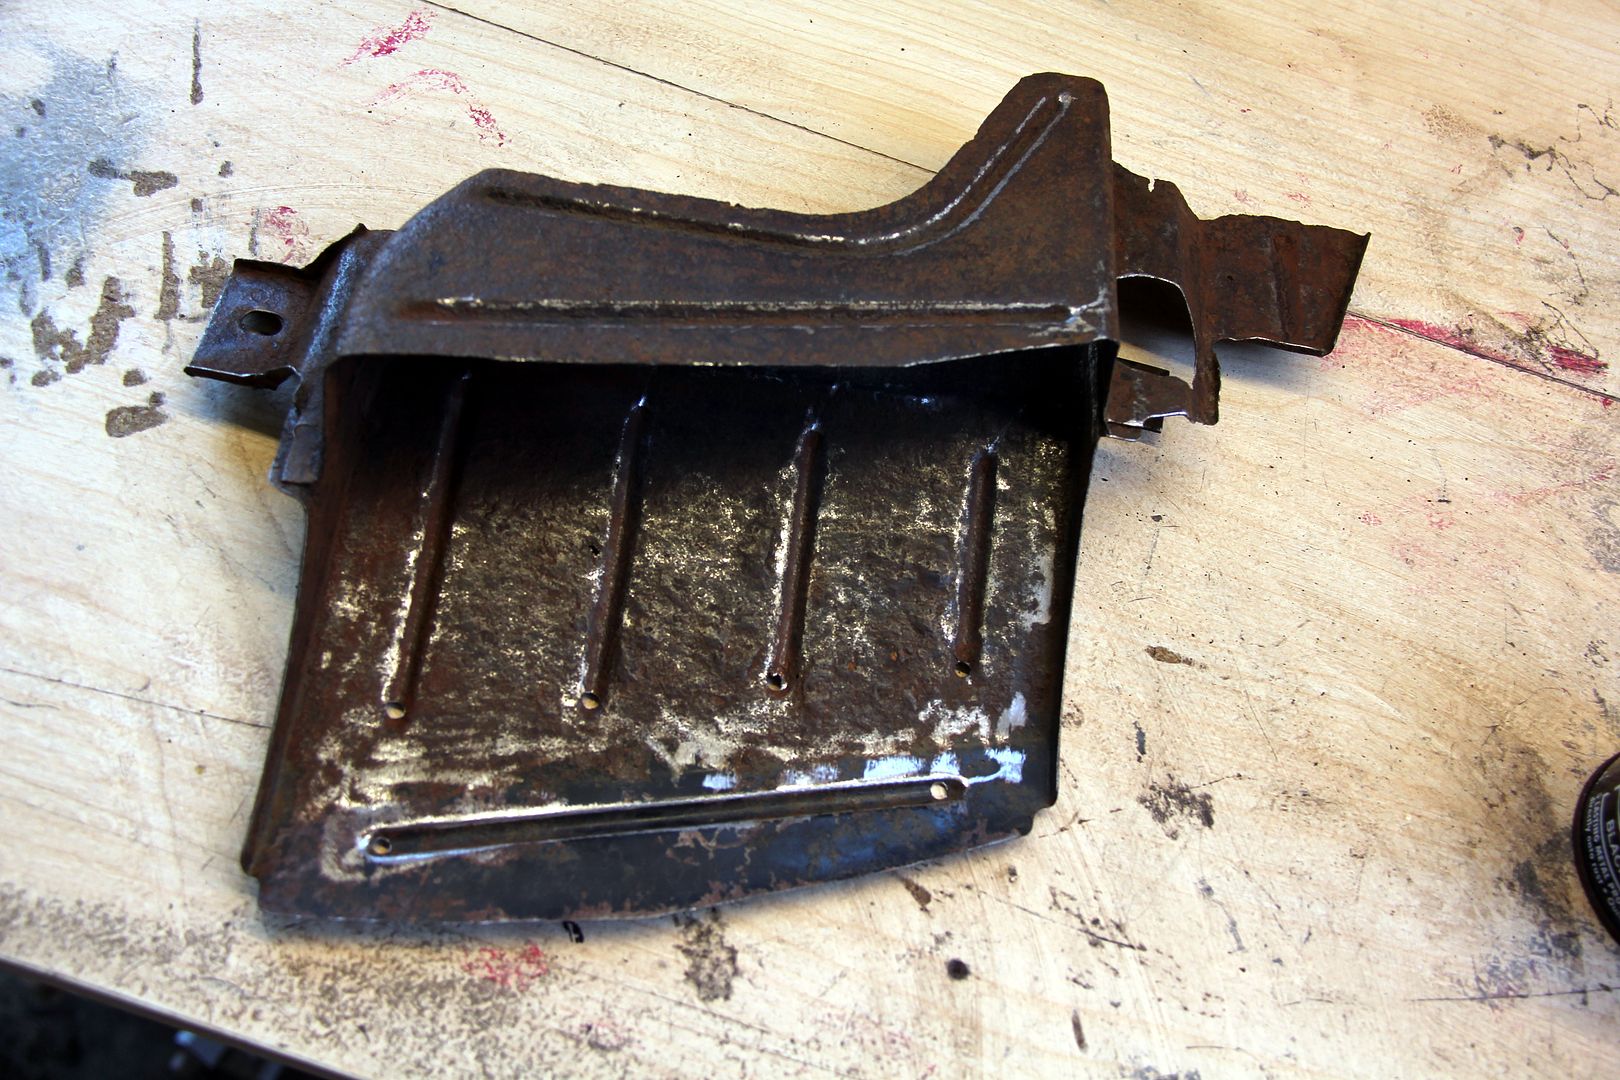
Image

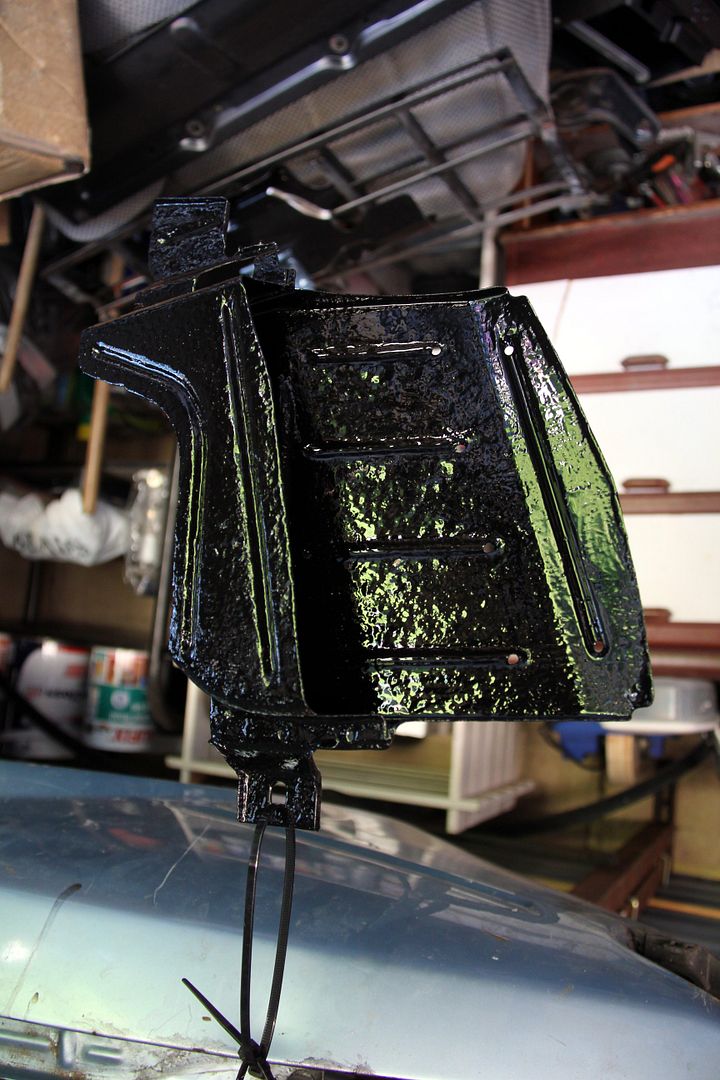
How useful it actually is I'm not so sure. On the stock bumper these sit behind the little straked vents in the valance but the Elford bumper has these replaced by foglights, so there's no real airflow for the brake vents to direct. But since I've got it, I figured I might as well use it and if nothing else it'll stop some of the road slurry getting flung up inside the front of the arch. So, a couple of coats of good old fashioned lumpy Hammerite later it was ready to go back on
Image

but first I had to divest that area of the washer reservoir. Getting the tank itself out would have been easy enough, but that would have left a big unnecessary bracket, and this was much more tricky to get gone. Mazda in their wisdom held it by a few bolts, one of which faced towards the front of the car. Maybe with the original bumper valance this is accessible but on my setup it really wasn't. In fact, without actually removing the front bumper the only way I could get to the bolt was to clip together just about every socket extension I had with a UJ in the middle and then go in through the sidelight hole! Accuracy was a bit variable with about a three-foot long socket extension with a hinge in the middle, thankfully the bolt wasn't seized or I'd have been in trouble. Eventually, after much patience and an bit of wiggling analagous to trying to fit a frozen turkey through a catflap one-handed, I was triumphant!
Image

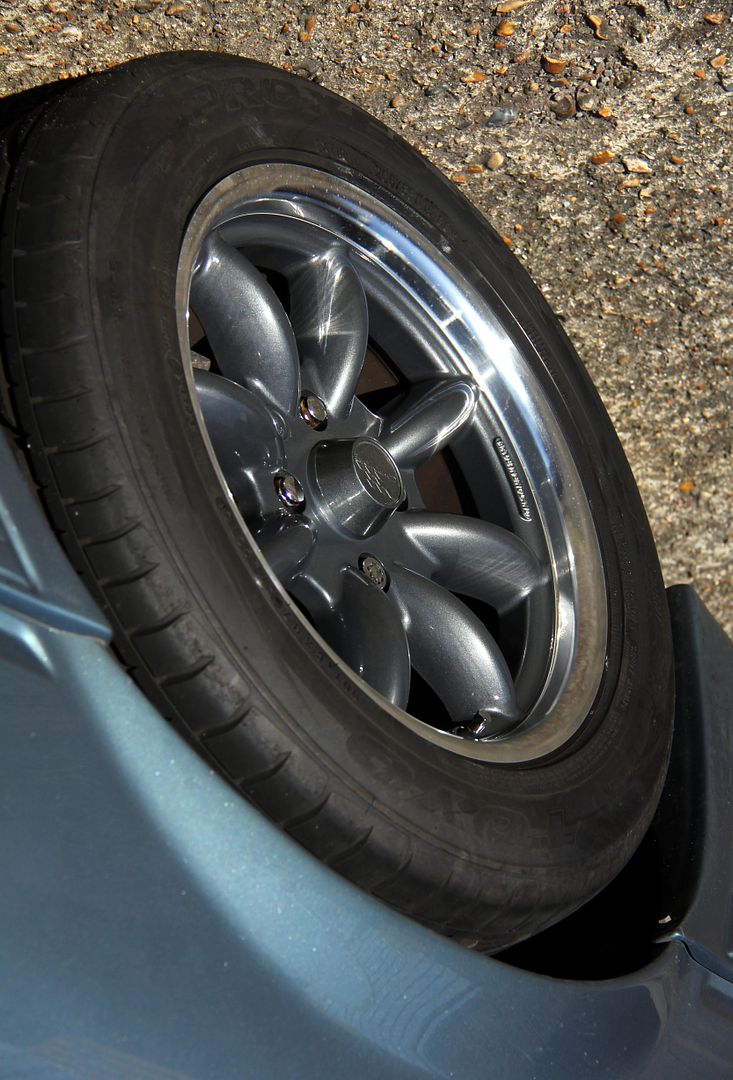
It was still full of stagnant water that had been there for at least the three years I'd had the car, probably a lot longer. I guess I ought to count myself lucky not to have caught Legionnaires Disease or something, lol. So I polished back the wheels as well as I could. Annoyingly, there's some pitting to the polished rims but they came up well enough with a lot of Autosol. To get them any better I'm going to have to bite the bullet and get in there with the wet and dry and some mopping, which I just didn't have the time or inclination for just now. Irritating, but I should have known better that just cos a manufacturer claims them to be all-weather doesn't mean it's true
Image

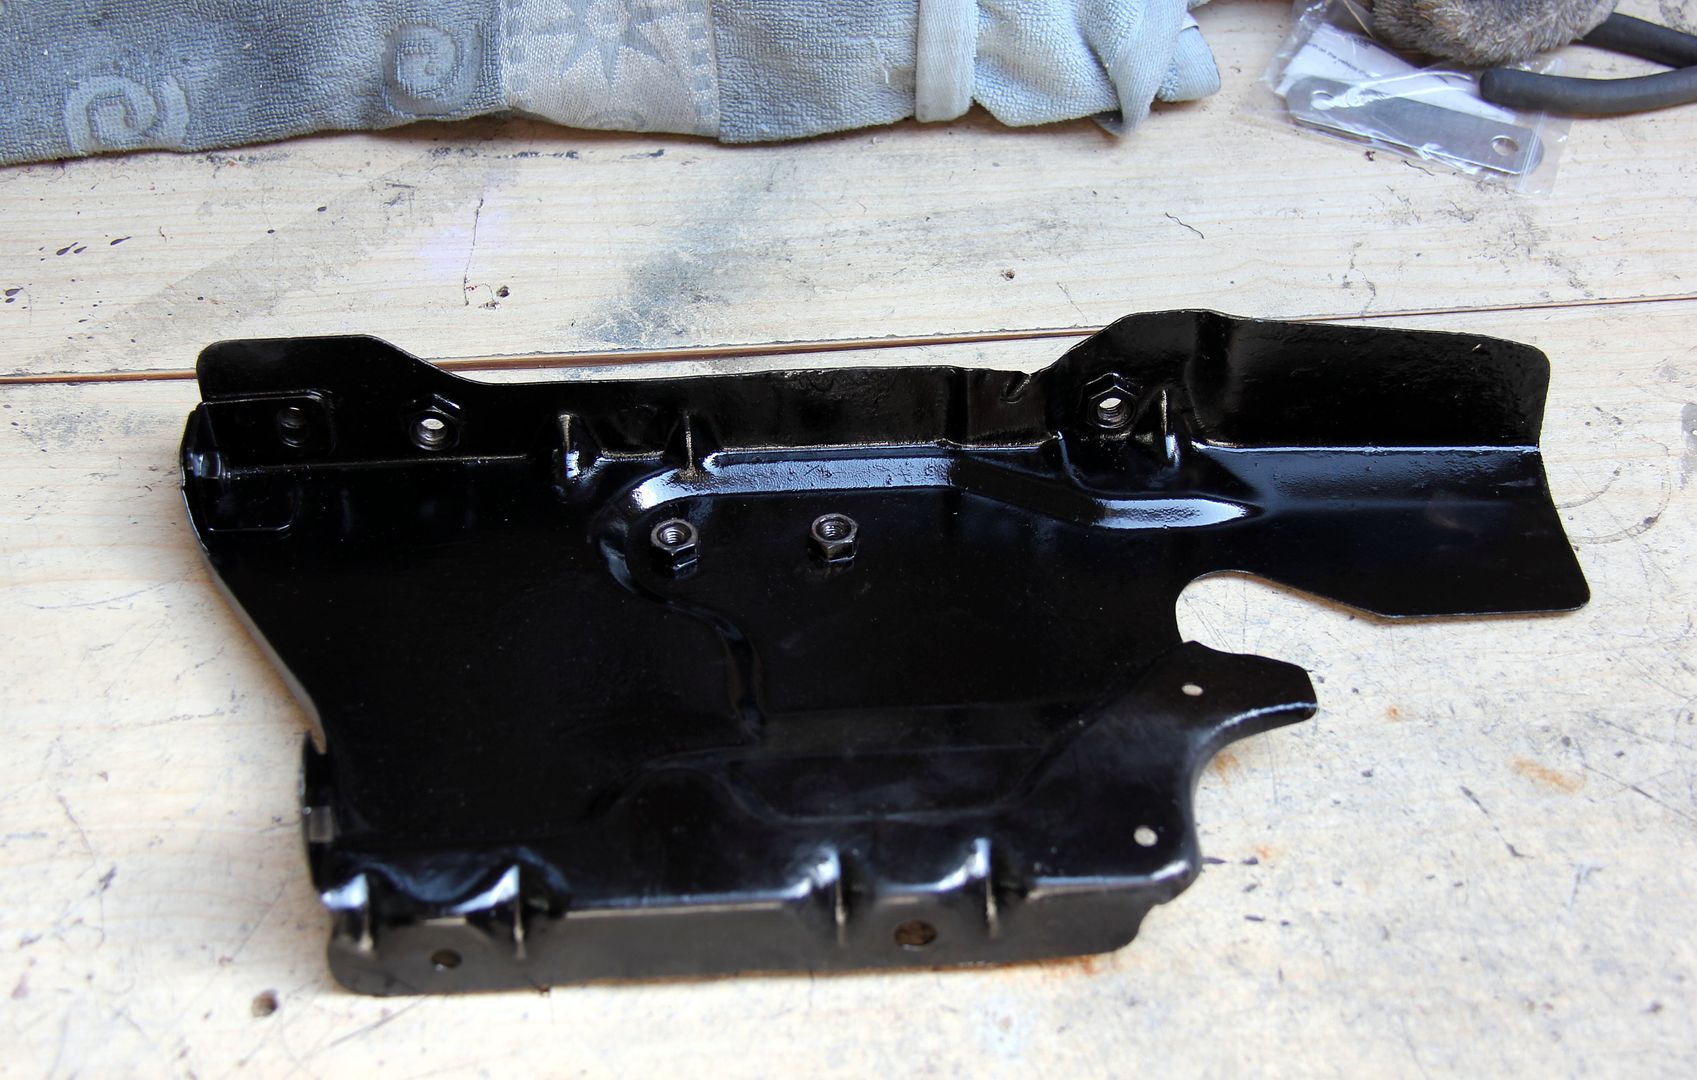
So now I could get on with what I wanted to in the first place; tidying up the bay a bit. Simple enough to strip down the radiator shroud panels, though you need some other method of supporting the radiator while they're off (I used bungees, lol). So I ended up with these disreputable items;

Image

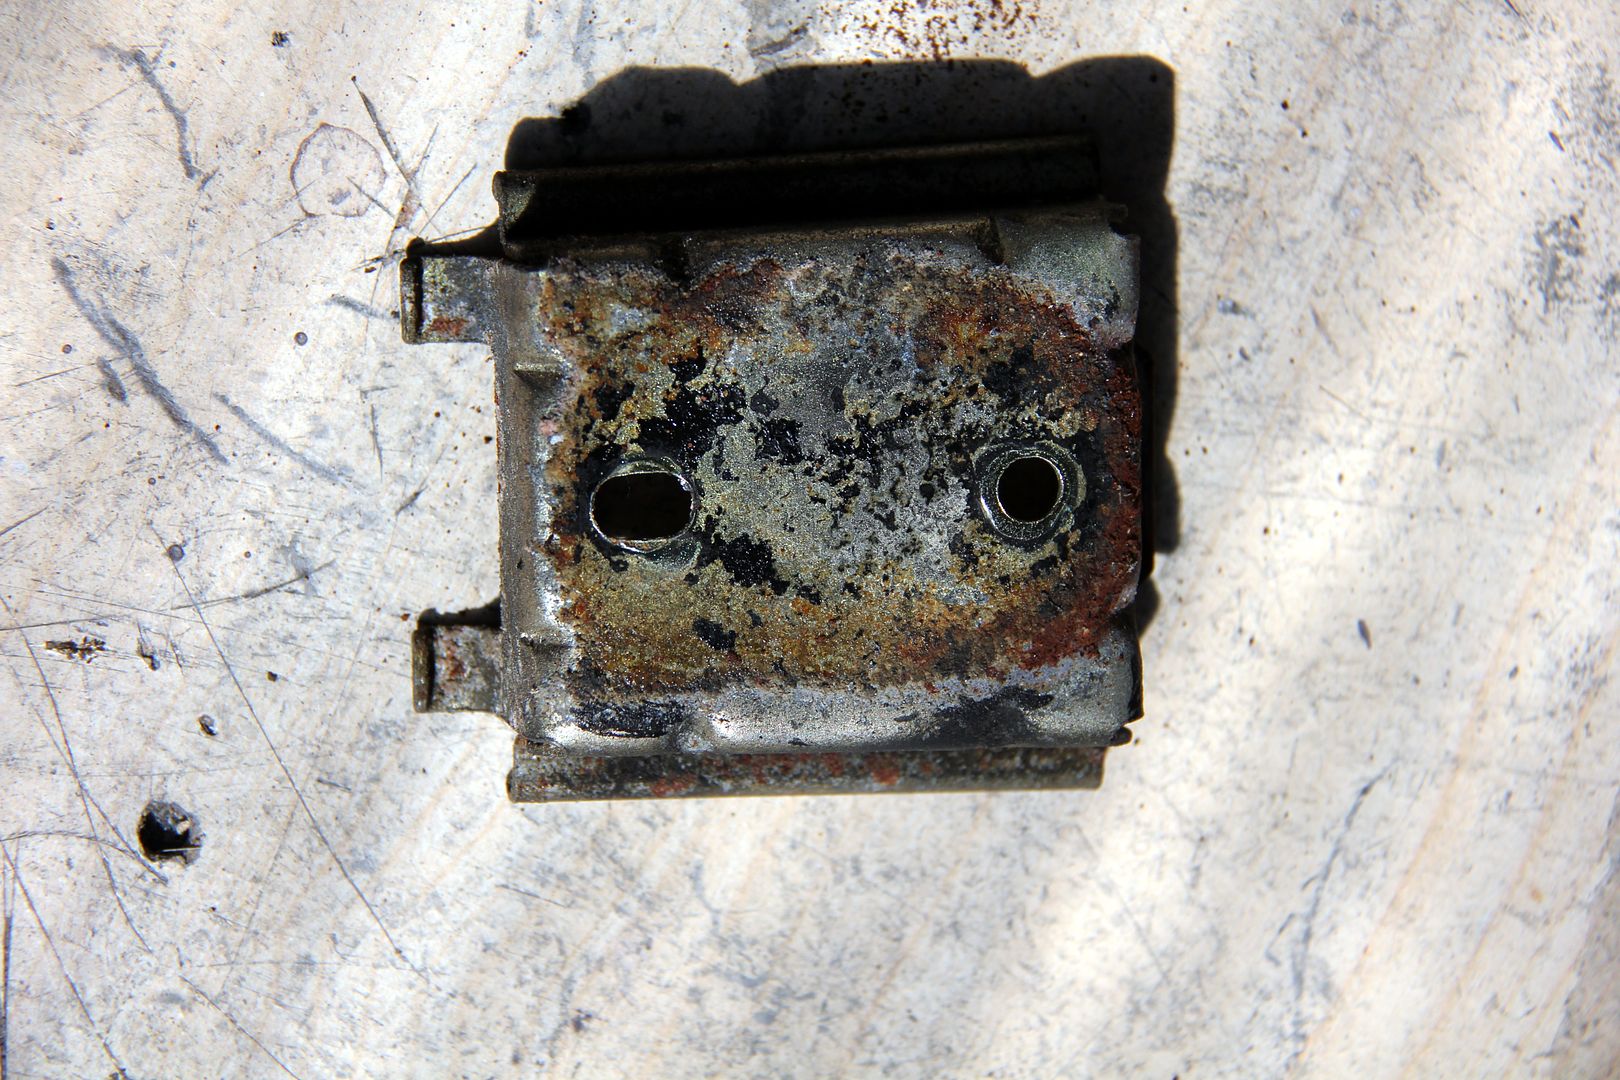
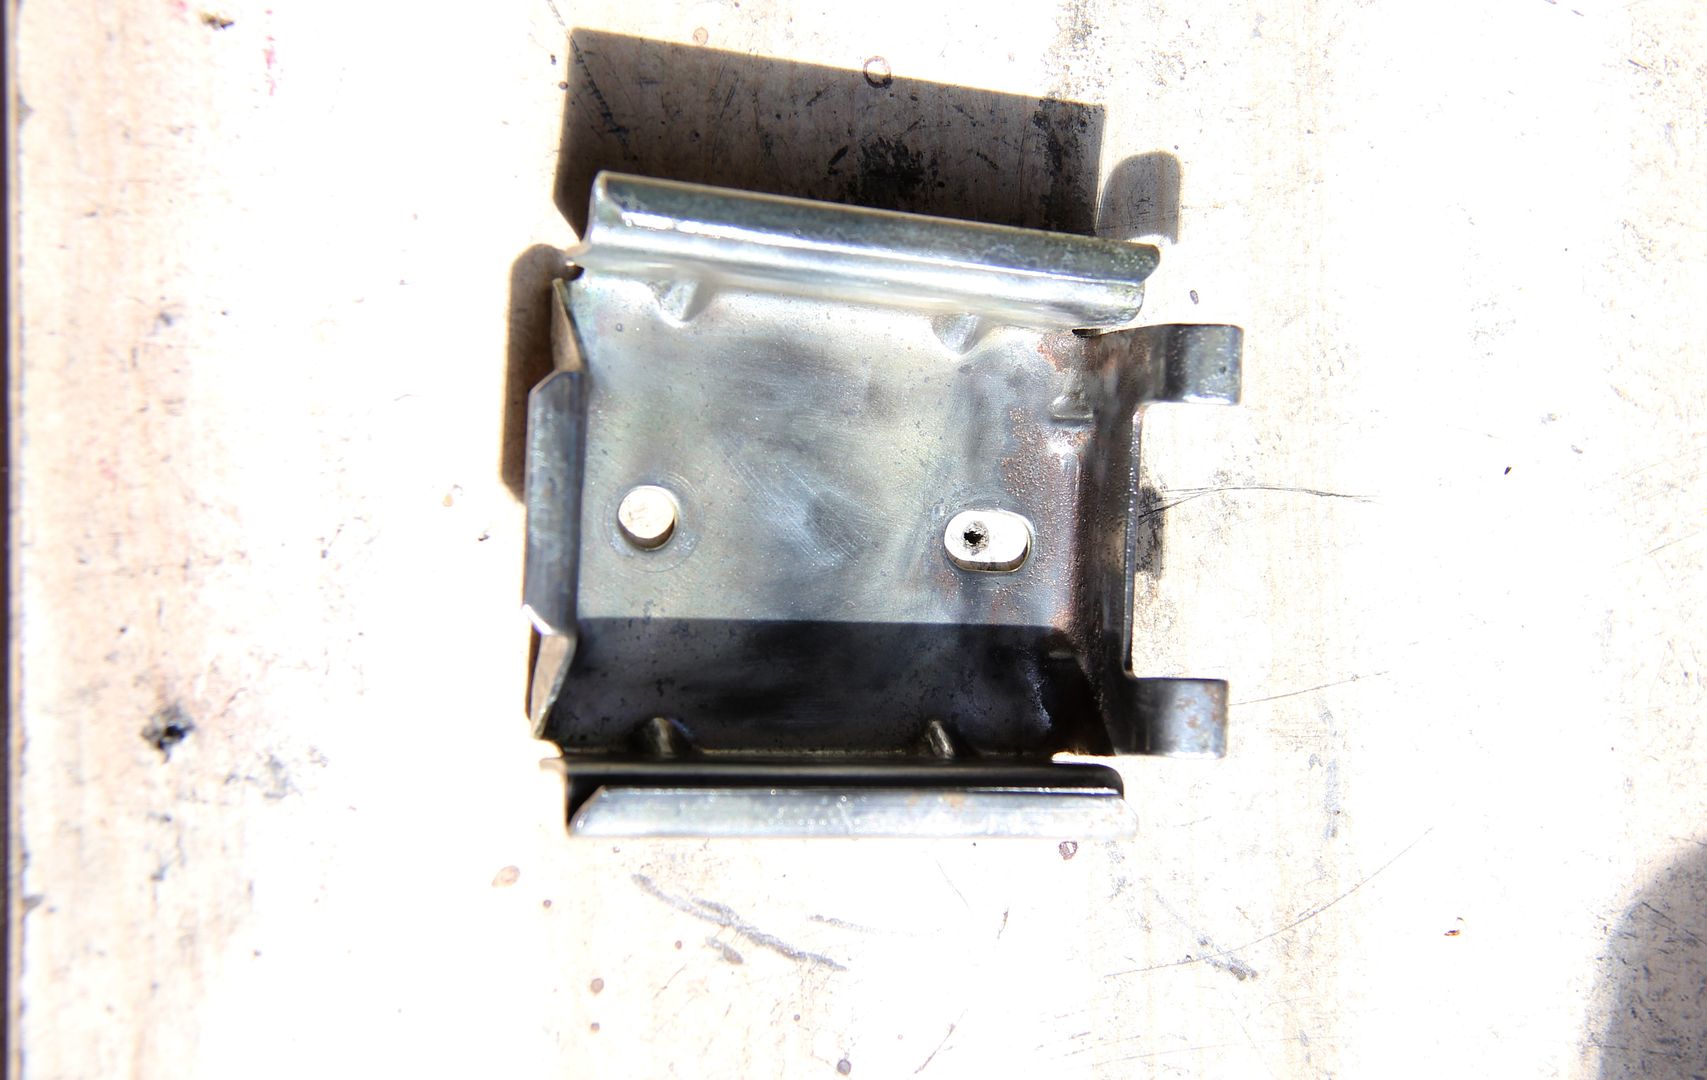
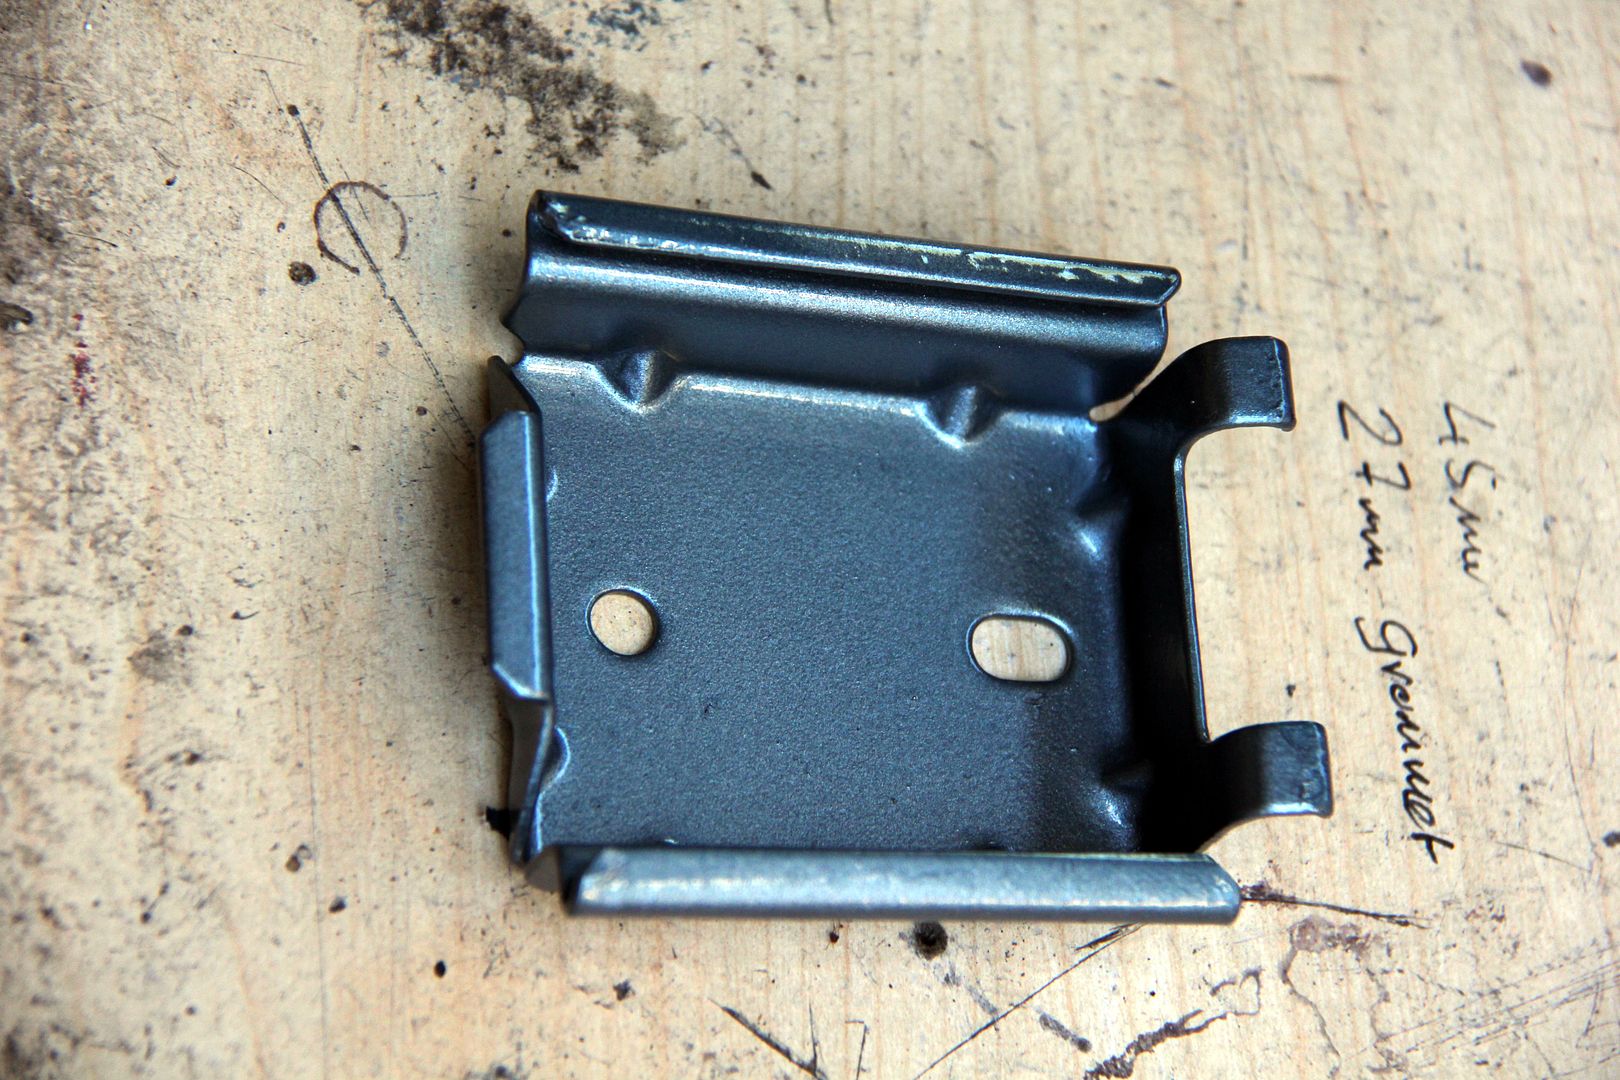
and the little bracket that the expansion bottle clips into. I have to say, I love the easy way the bottle just slides into detent on this bracket, it's a nice touch and makes me wonder why all the tanks on an FD are such an occult pain in the arse to get to and remove
Image

So these were wire brushed back

Image

and treated with rust convertor... and one thing I've found over the years is that all rust convertors are not created equal. Kurust might have been bought out by Hammerite, but in fairness they know a thing or too about rust treatment anyway, and the original Kurust for me is still the best. For a start, it actually stays where you put it... cheap brands tend to be too thin and run off the place you want them to stick and work on. Also, I find you can sand it back without it disappearing completely and it seems a more permanent solution in as much as it stops rust coming back
Image

I painted the radiator cowling with spray Hammerite because I want it to stay black, not turn back into rust as soon as it rains. I know many people hate the stuff, but I don't mind it; it serves a purpose, and it gives a much better finish nowadays than back when
Image

The expansion tank bracket I painted body colour. Not really sure why, just because I could, I suppose. It had originally been just galvanised without paint at all. The paint I actually got from Halfrauds. Yeah, they are good for something! Just give them the paint code and for twelve quid you get a colour-matched rattle can. It's not a perfect match, I mean I wouldn't try to blend in a wing using it, but for brackets in the bay and such it's fine. In fact, my paint isn't a factory colour match any more anyway; when Jason sprayed the bodykit the paint code came nowhere near matching as years of exposure had taken their toll, so we ended up mixing an almost bespoke colour somewhere near Tender Blue but not quite. It's quite possible the Halfords one is how mine would have looked 28 years ago
Image

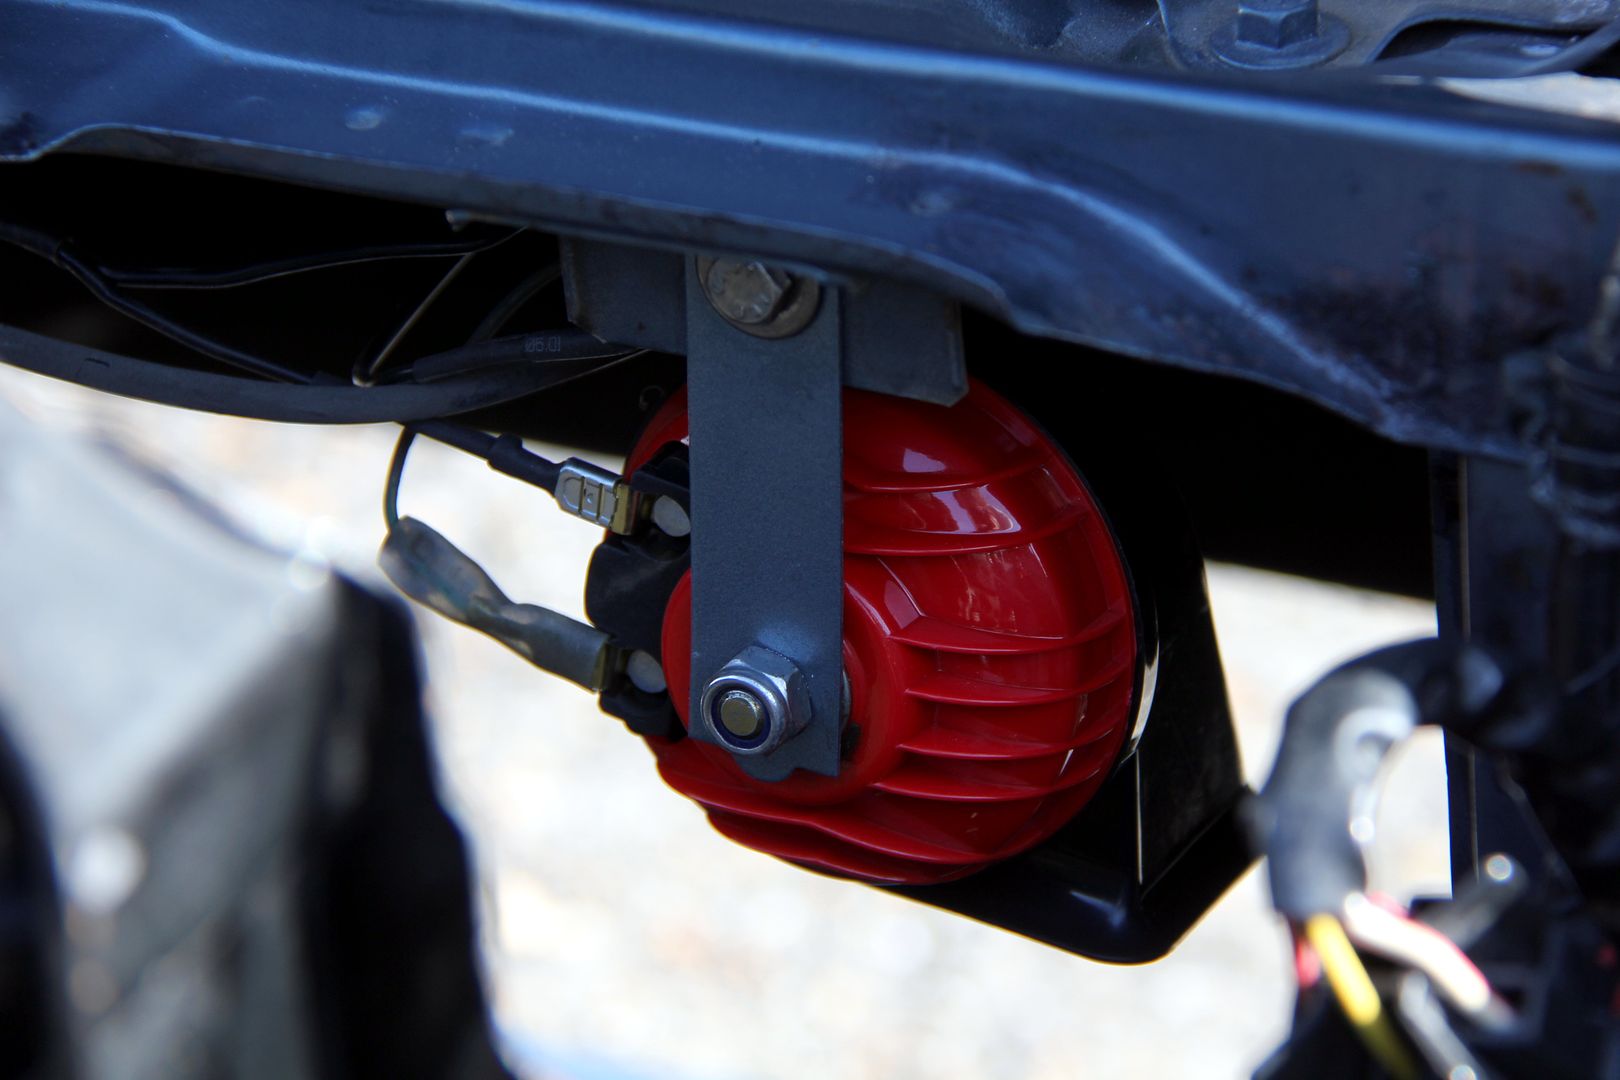
While the radiator ducting was all apart I took the opportunity to fit a pair of decent horns to replace the whisper-quiet and tired originals. I made up a mini-loom for them, which gave me a chance to renew my long dormant soldering and connector crimping skills. I actually bought a proper OE-quality connector crimp tool a while back but this was the first chance I'd had to play with it.
Image

And it was probably just as well I was messing around with wiring because it led me to discover perhaps the reason I'd been experiencing a few electrical gremlins. A couple of times the car struggled to start and the battery seemed to not hold a charge as well as you'd expect, despite the voltmeter showing good charge. Think this may have been the culprit;

Image

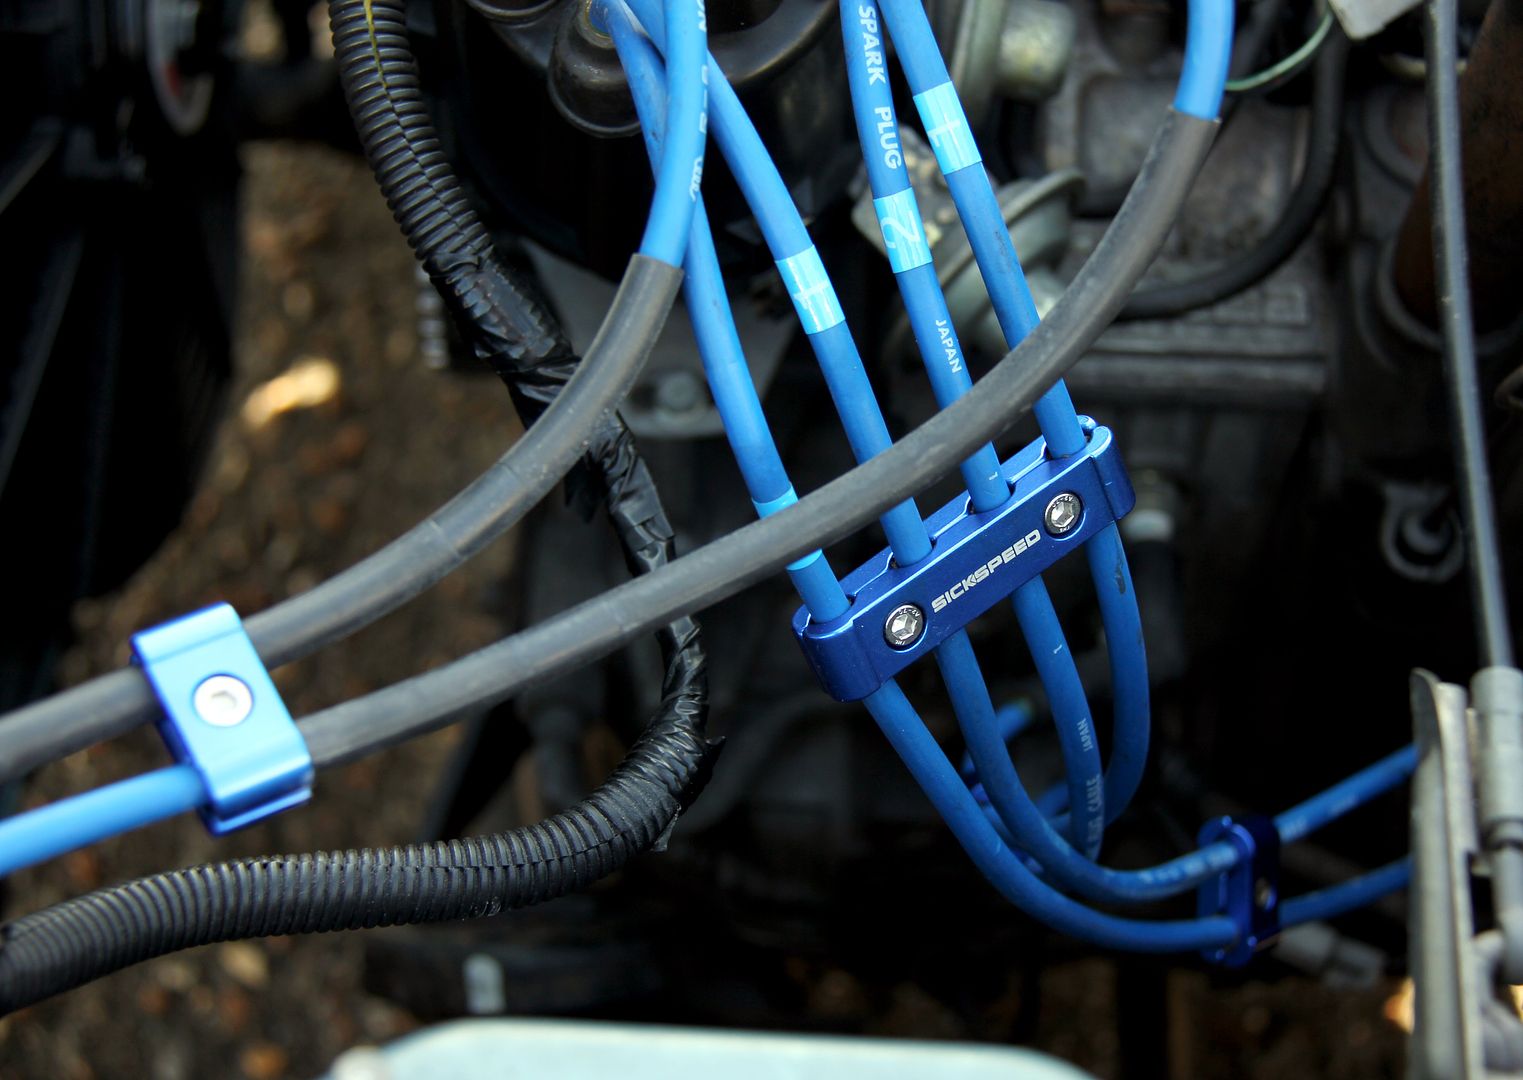
Guess that's what 29 years of over-tightening a battery clamp will do. Someone had added in a spacer at some point, and it had just chewed right through the metal over time! Annoyingly, the only way to get the knackered clamp off the cable was to cut it and then the cable was just too short to reach the battery terminal with the new clamp. So I had to cut the cable off the union below the fusible links and run a new length with a new clamp. Still, it gave me the chance to replace it with a bigger gauge wire so hopefully that'll work better than ever. While I was messing around down there with cables I replaced the nasty plastic clips on the HT wires with some nice alloy ones, as discovered over the Pond by Jesse
Image

So the re-assembly could now begin, Stainless fasteners throughout, of course!

Image

I also found time to make a new home for the VIN plate, which was dislodged from its original place on the firewall because it was right where the buttress plate on the strut brace went. I originally intended to put in some rivnuts here, but handily the thickness of steel was enough that I could just tap a thread directly into the top of the turret plate. Which is good, cos it meant an M4 hole instead of a gurt big one that might compromise structurally strength rather more!

Image

So here it all is going back together. I put blanking grommets in where the holes for the washer pump wiring and that had been, though there's not much you can do about the big hole where the filler neck used to go

Image

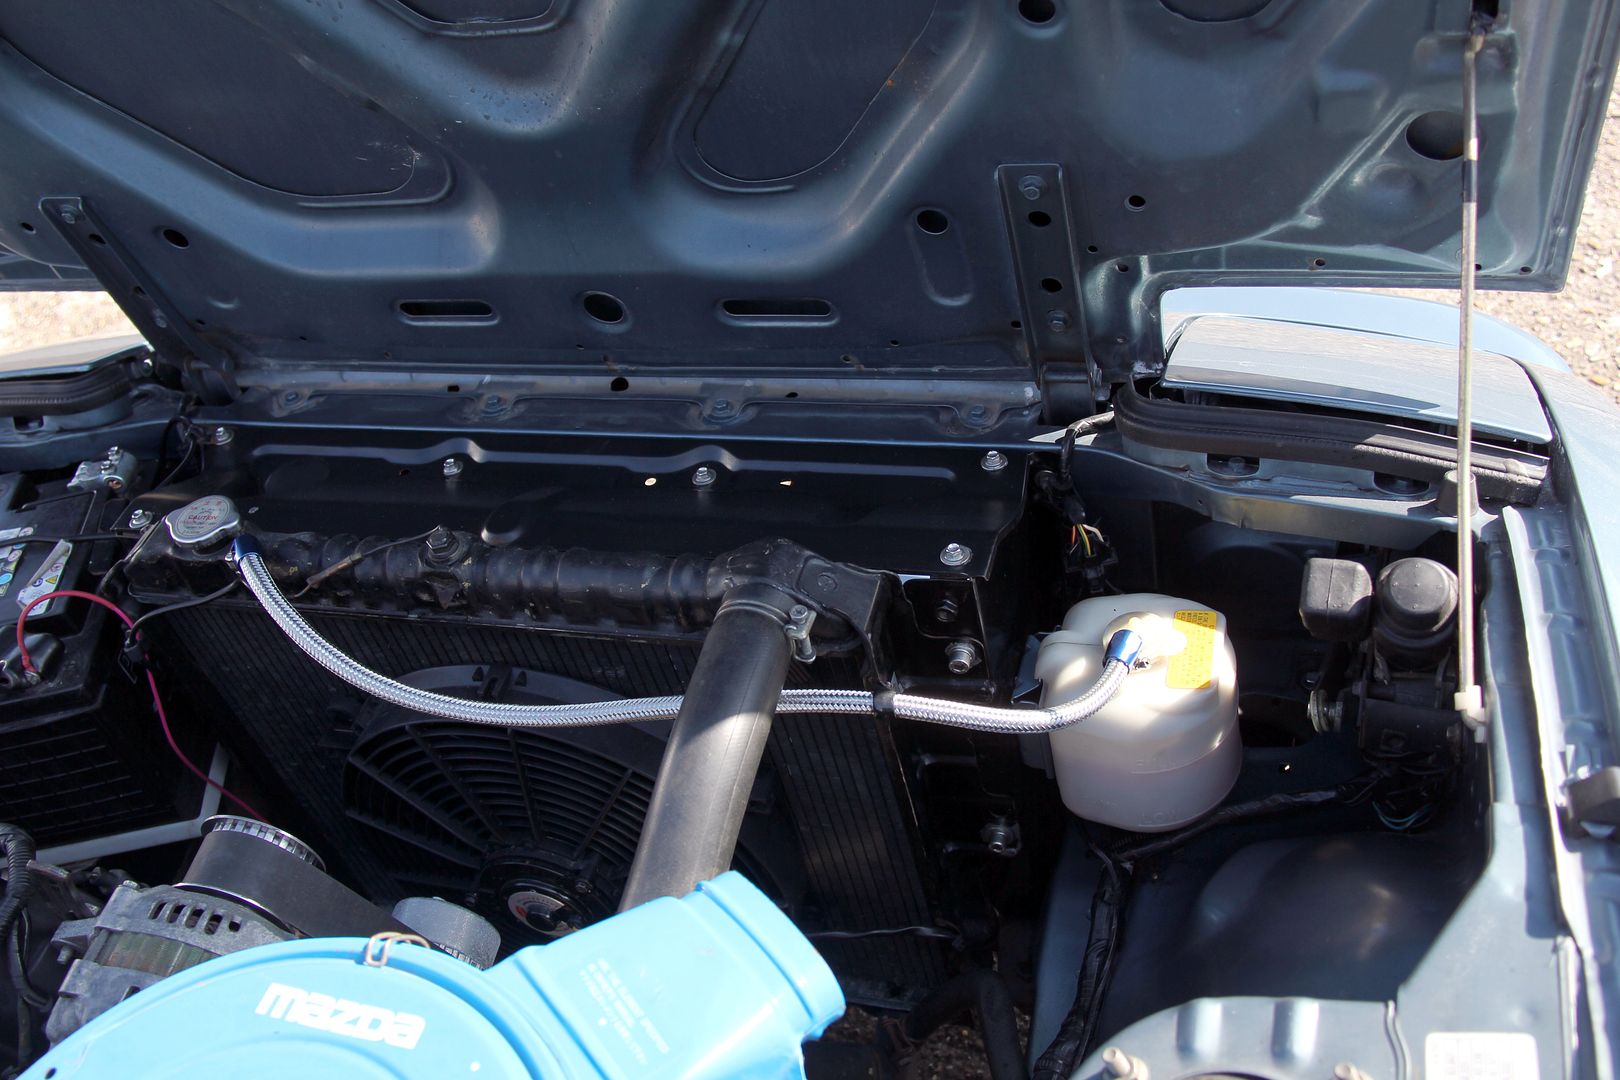
and of course this was another opportunity to feed my braided steel hose fetish, so I replaced the unlovely rubber overflow pipe with some nice braided
Image

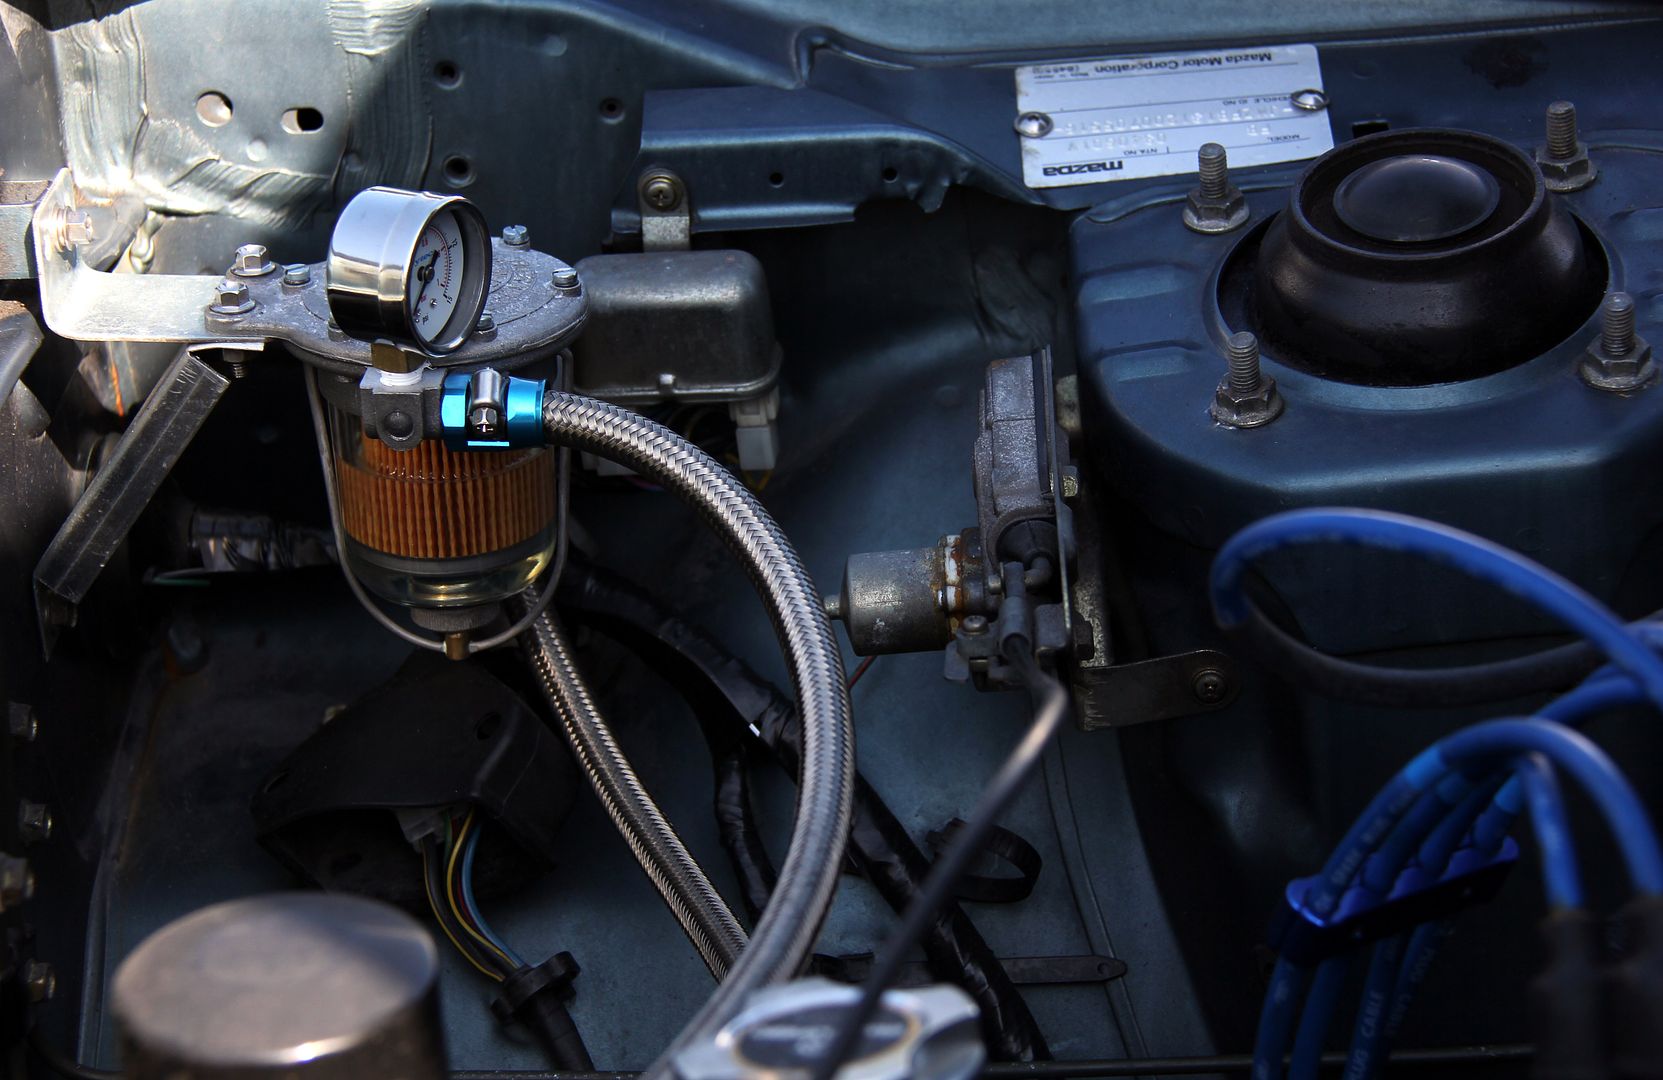
and spent a few extra hours swapping out every rusty bolt I could easily get to with stainless, such as here on the fuel pressure reg, which I can't remember if I posted pics of before. But anyway, here it is, and the bolts had rusted already (seems the Italians are still using the same quality of steel on their automotive products that Mazda were three decades ago!). Much of this wiring will be tidied up as part of the engine swap, including I guess losing the little throttle-blipping starter robot. Which is actually a bit sad, really, lol. I wanted to move onto the nearside of the bay and the other radiator shroud, which meant taking the battery out and all that, but I ran out of time.
Image

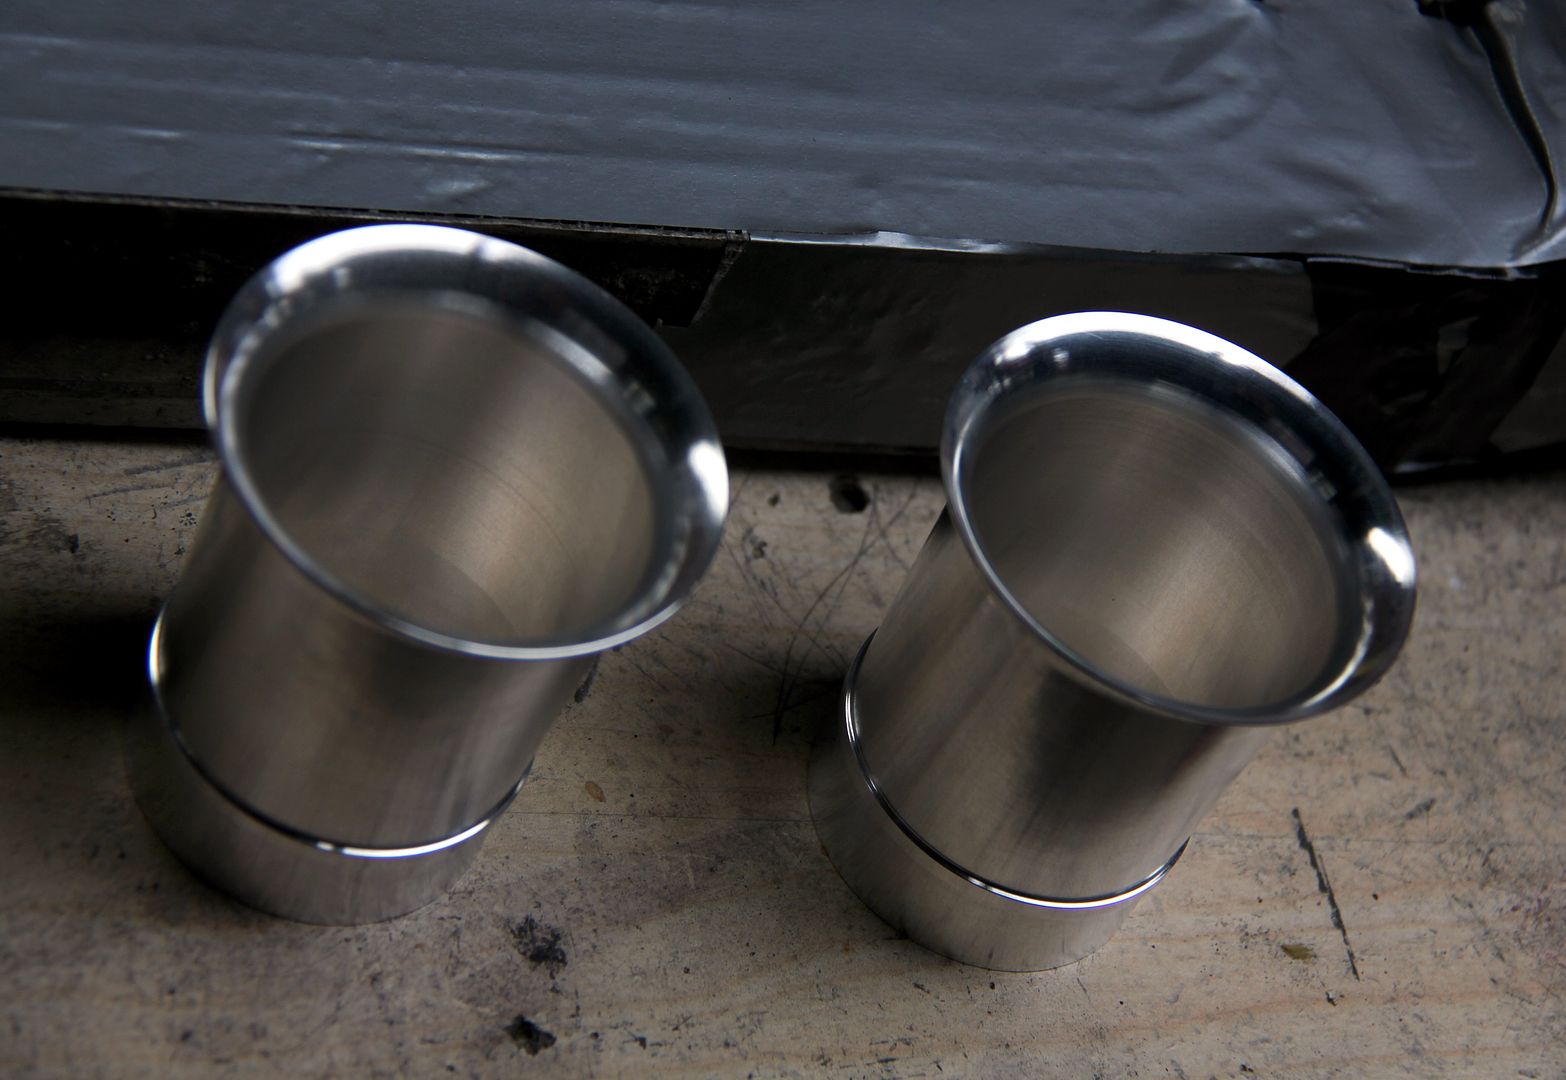
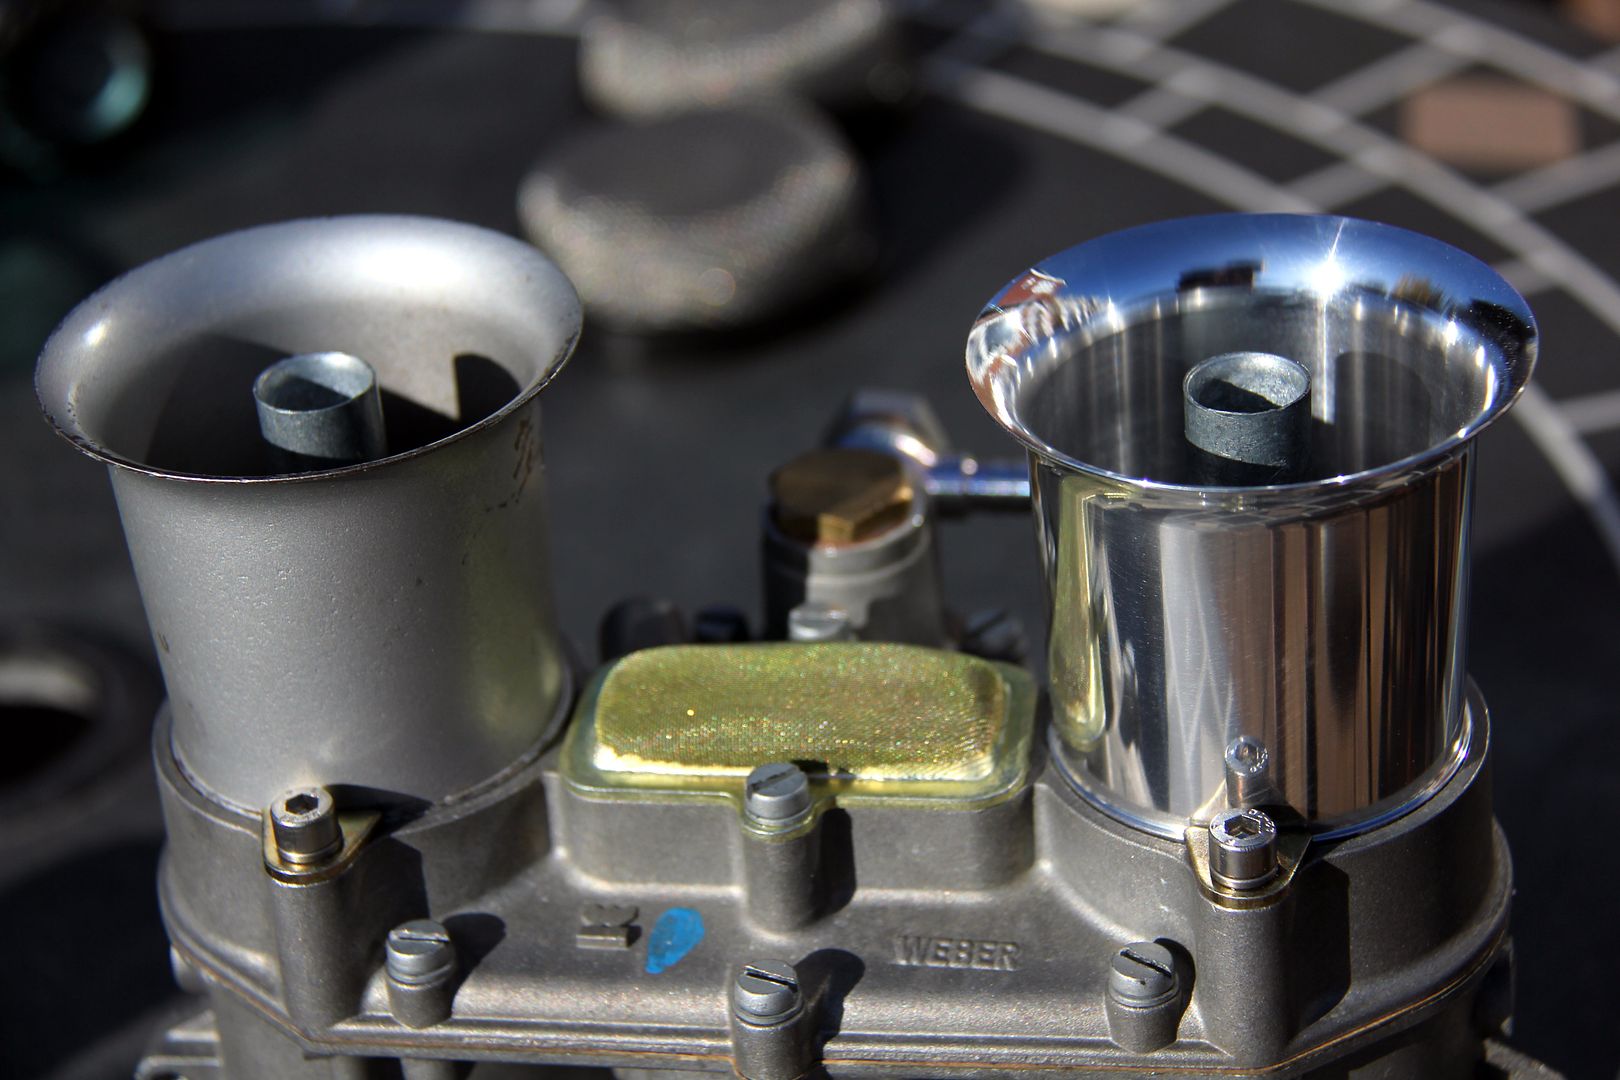
On days when the weather meant I didn't want to be outside or under the bonnet, I plodded on with a few other jobs. I finally found a company offering alloy intake trumpets for Webers... Weber only offer plated steel, which looks utterly cack and very few companies in the aftermarket seem to make them in alloy for 48IDAs. So, the alloy ones I eventually found were an improvement but could be better still
Image

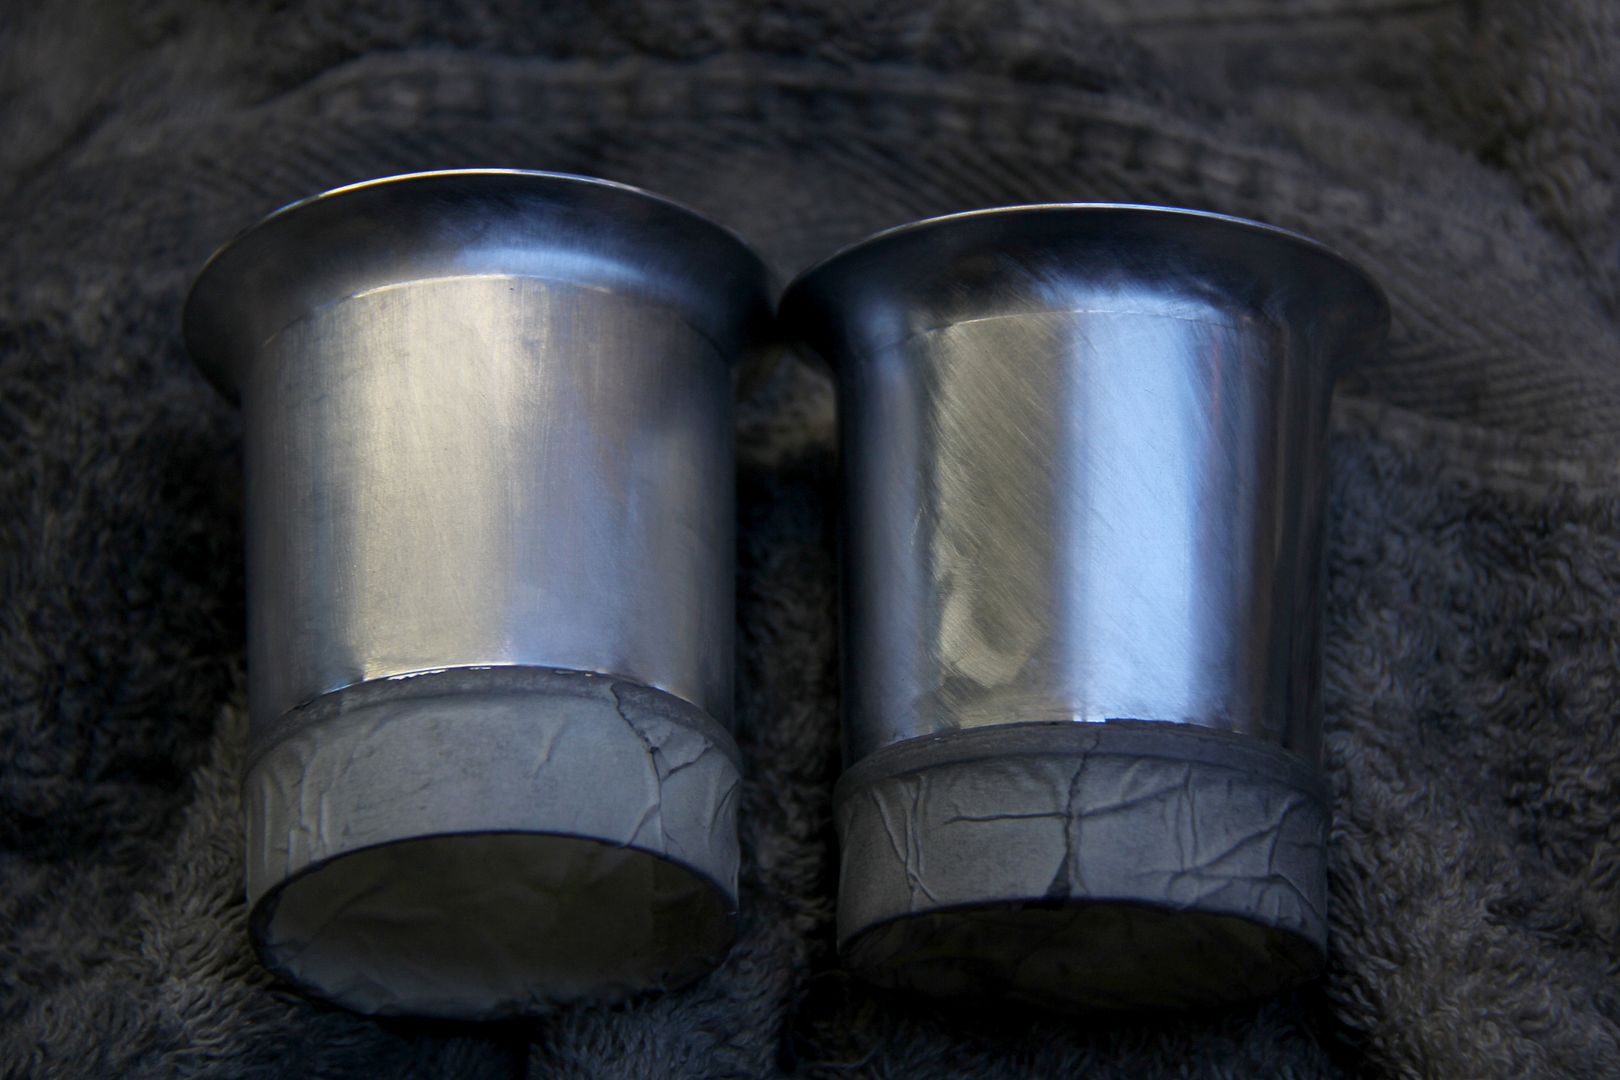
I think because they're spun they have little striations all around the circumference, which meant whilst they were nicer than the steel, they weren't exactly what you'd call shiny. So I got busy with the masking tape to protect the mounting flange from damage...

Image

... and started sanding back. It's always a bit dis-heartening taking something halfway decently finished and making it look crap, but it'll pay off in the long run
Image

At least these are small, flat (or at least mostly single-planar) so it didn't take long to work up through 120, 240, 400, 800 and finally to 1200 grit sandpaper. This is at the point of a final sand with 2000 grit before polishing... the one on the right, obviously, lol. Un-sanded one included for contrast

Image

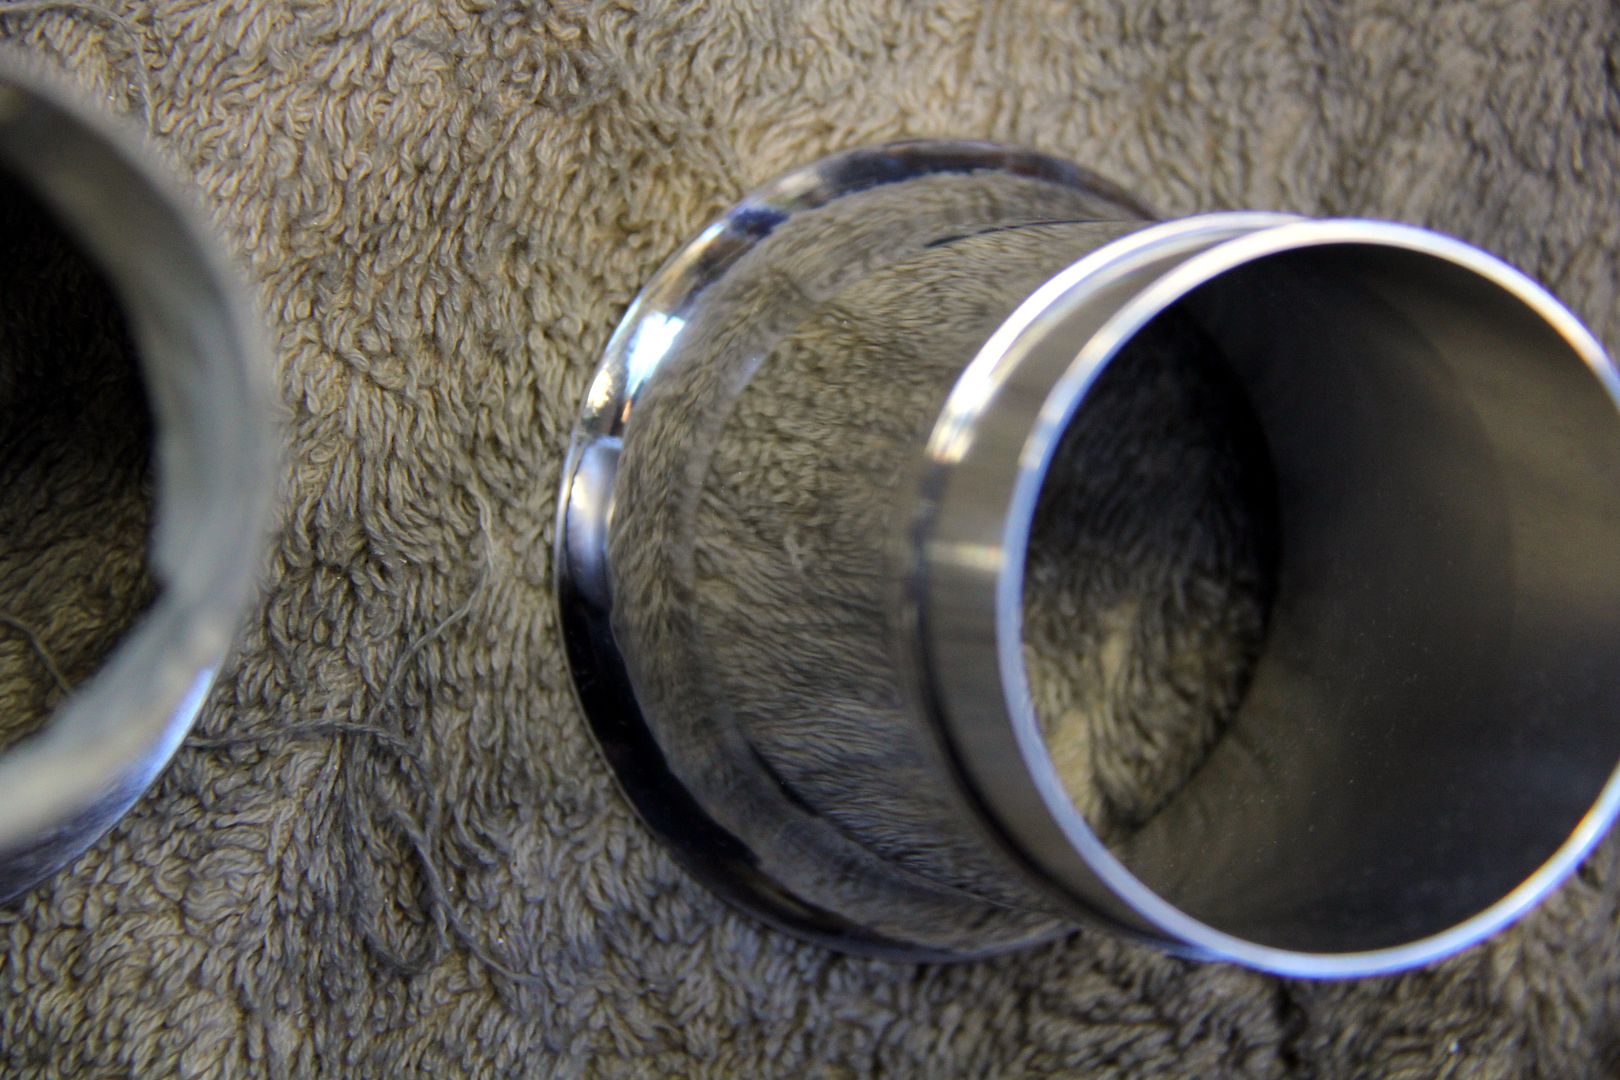
Annoyingly, my bench grinder blew up mid-way through polishing the vast expanse of a mates' straight-six Opel Commodore rocker box so I had to do the final polishing with a drill and arbor mount, so the fini9sh wasn't quite a s good as I'd have liked. If Frosts ever get round to delivering the replacement grinder I ordered I might give them another whizz over. However, they're certainly shinier than they were;
Image

...especially when compared against the eezzee-scratch steel original Weber ones!
Image

Here my work is being subjected to the Conrad Quality Scrutiny Test. Seems to have passed. Of course, these will mostly be hidden by the tea-strainer airfilters, but that's not the point. I'll know they're there and the inch or so that shows will be shiny as hell, lol. Don't I always say it's all about the details...

Image
Lucky
VIP User
VIP User
Posts: 2685
Joined: Mon Nov 07, 2011 8:30 pm
Location: Worthing, UK
Been thanked: 5 times

Re: Lucky's Series 3

Post by Lucky »

and speaking of shiny things, remember this?

Image

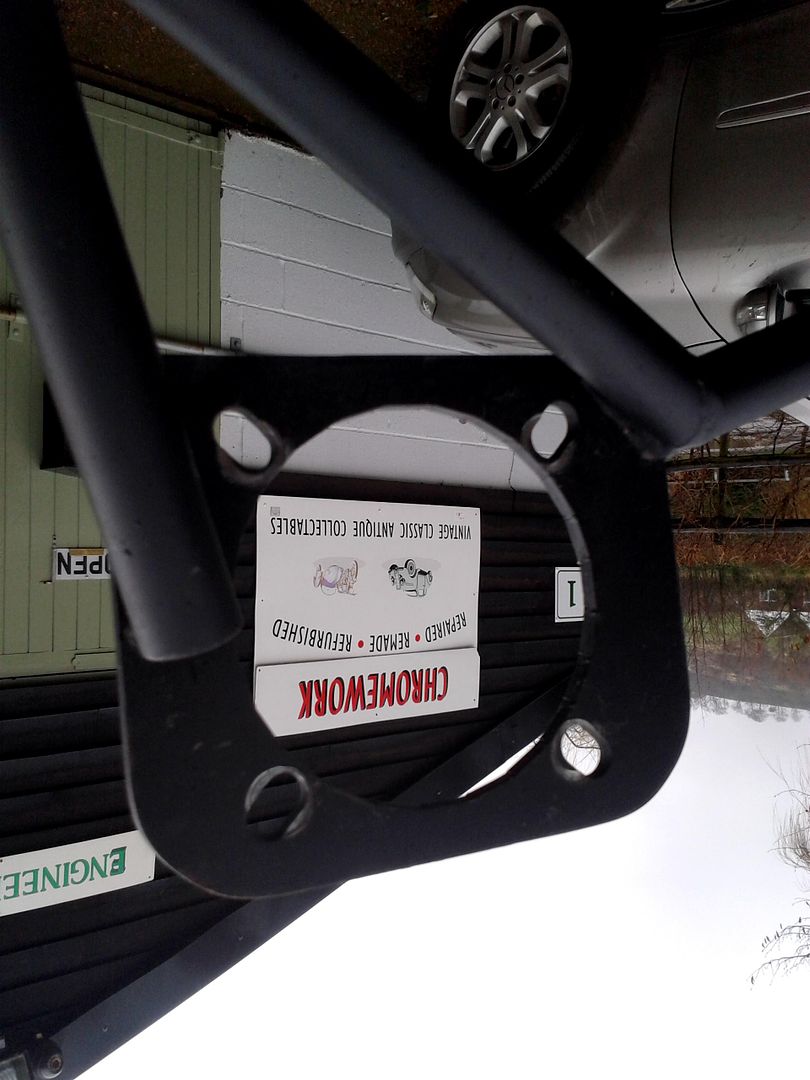
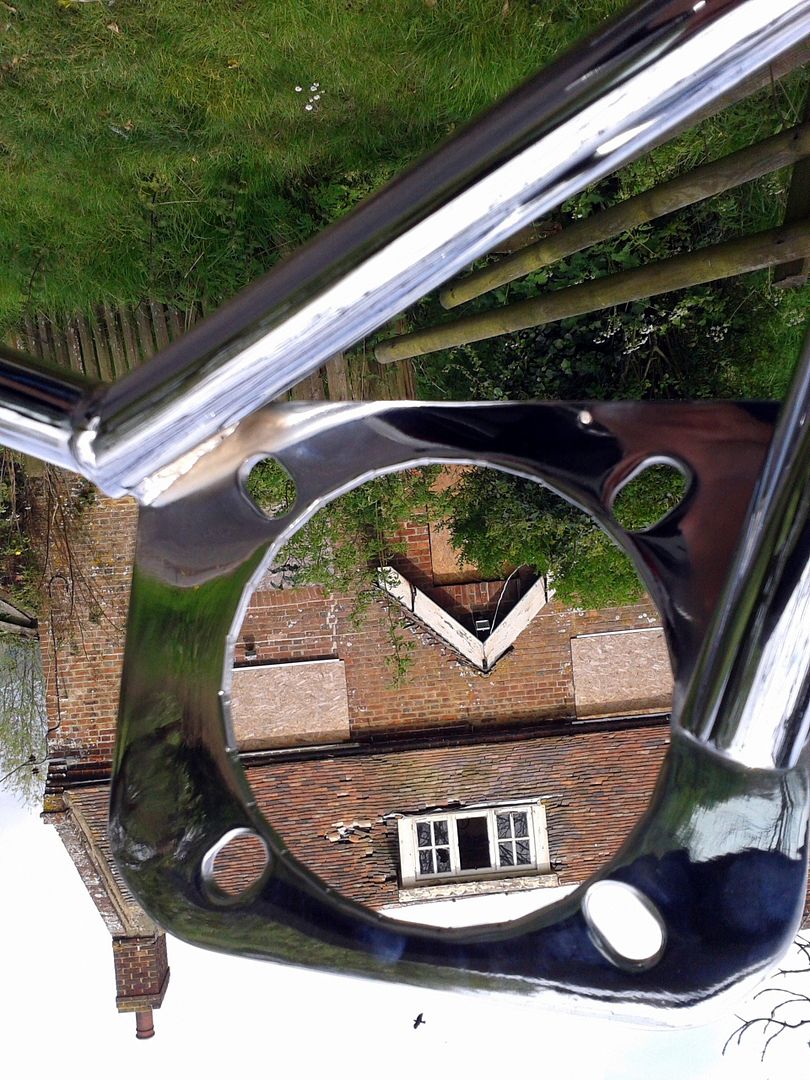
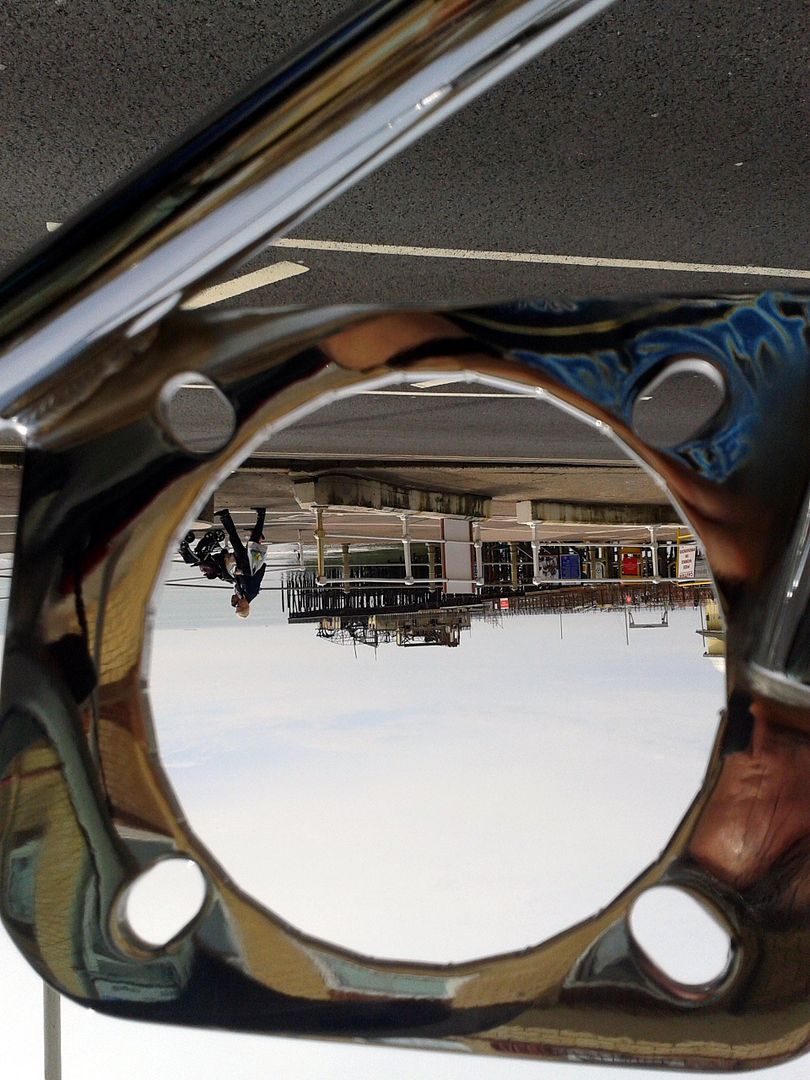
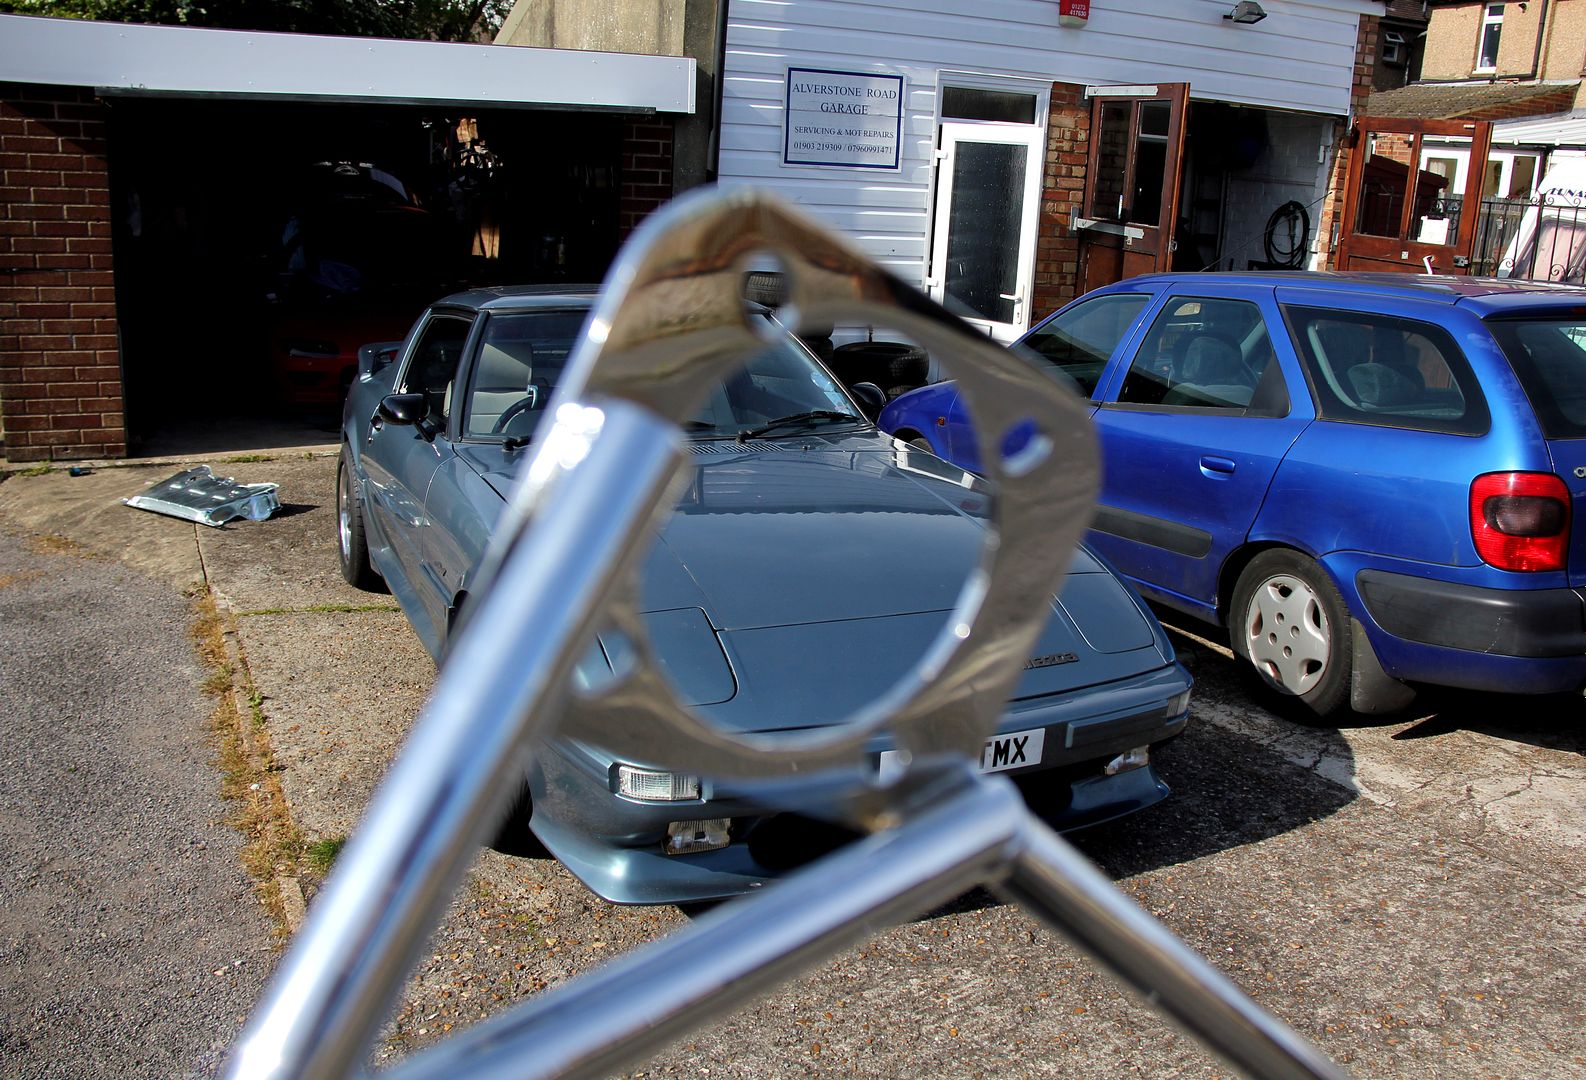
yes, in the last thrilling instalment of the travels of Trace the Brace, she had made her way over to one of the furthest south-eastern outposts in the UK, in short the marshy wilderness around Hythe. It's like something out of Texas Chainsaw Massacre out here; desolate and deserted, especially considering it's right in between Ashford, Dover and Folkestone, three of the busiest international interchanges anywhere! However, it is home to a truly superb metal refinishers around http://www.chromerestorationspecialist.co.uk/ who've done work for TV amongst other things, including the Cadillac that was featured on Wheeler Dealers recently. True to their word, six weeks after dropping off Trace and the undertray from the car, they were done in their new-look finishes. Since it was a bit nicer than the grim wet day when we dropped them off, I figured it couldn't hurt to do another little photodiary on the trip back home, and also to give a teaser peek at the new finish on the brace. So here she is, posing outside one of the many abandoned and fally-down houses in the marshlands;

Image

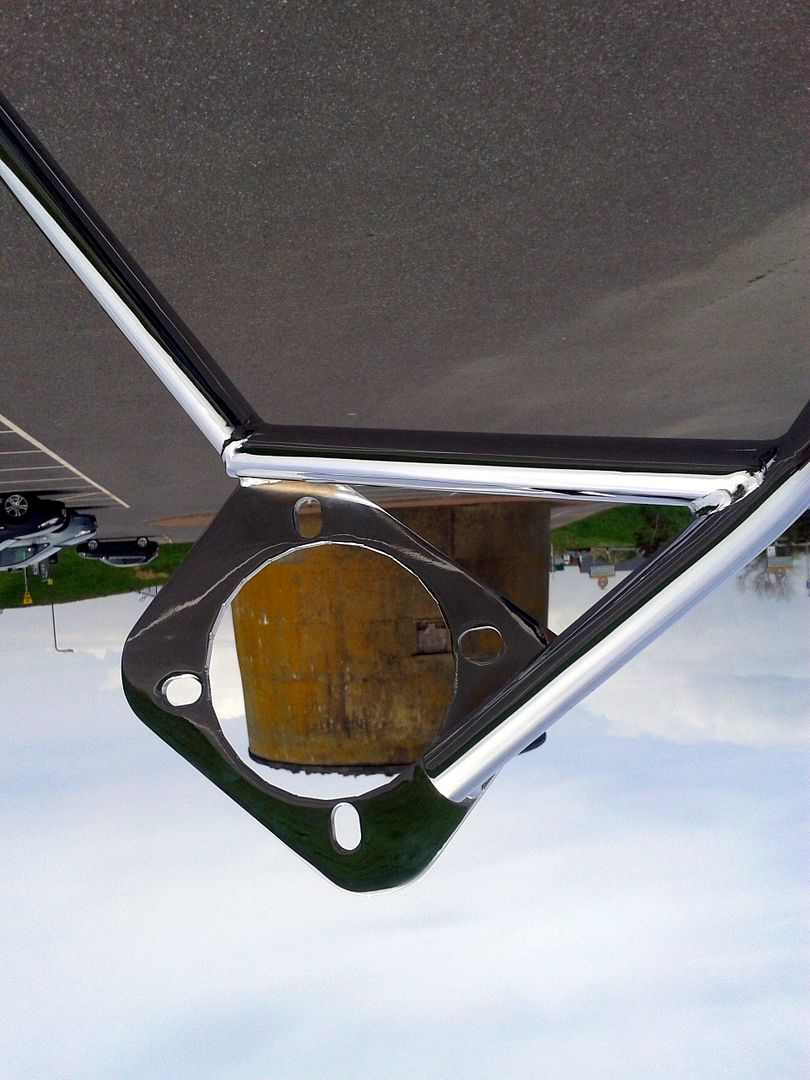
...and here in front of what I believe is a Martello tower on Dymchurch seafront where we swapped for a scotch hegg and can of Monster from the Tesco express. The place was deserted apart from an old boy who was either asleep or dead in his car and a druggy either asleep or dead on a bench up on the bank. It's like the set of League of Gentlemen round these parts, weird and spooky

Image

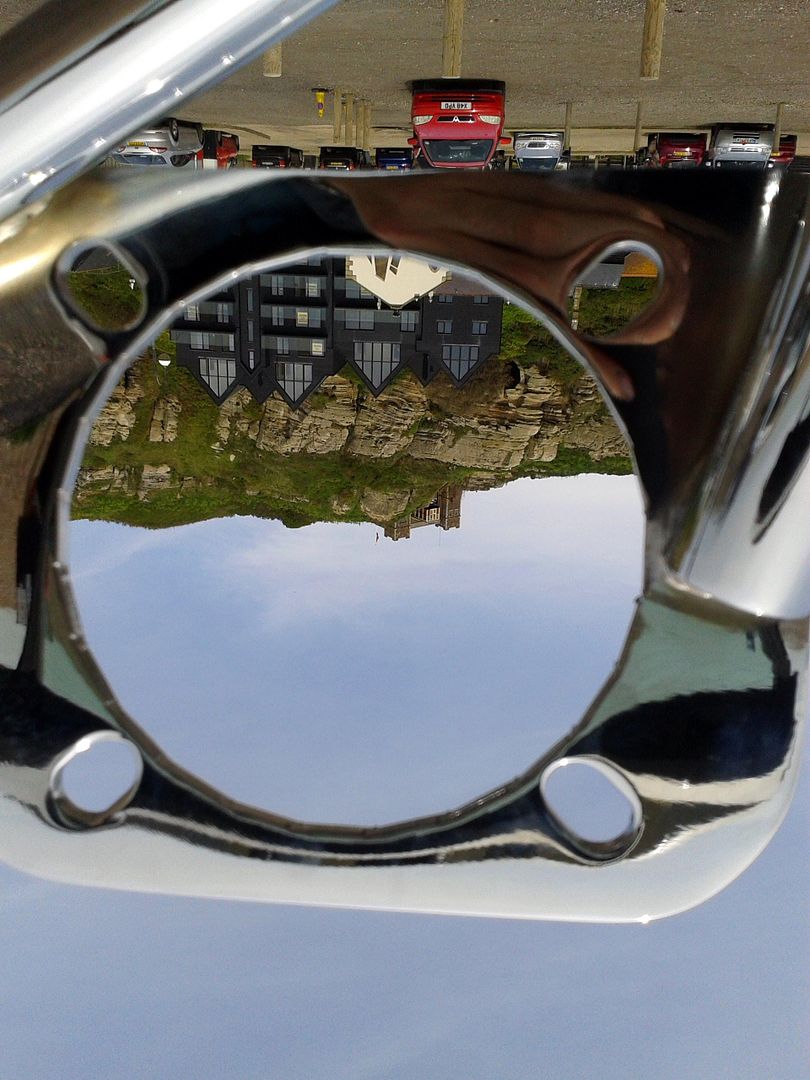
Rich/Phil was reasonably tolerant of me keeping stopping to get the brace out of the boot and take random photos of the scenery. I think he's largely immune to the worst of my character defects and eccentricities by now, plus he was slightly in shock at dropping over 700 quid on his re-chromed '72 Charger front bumper. Which is a severe amount of cash in anyone's language, but it is a genuinely huge bumper that the guys had to outsource because it was too big to actually fit into their tanks! Here is what surely must be the most pointless windfarm in the entire world... it's five miles up the coast from Dungeness nuclear power station. Go figure. Needless to say, none of these turbines were actually turning anyway

Image

On the way back through Hastings (and Hastings, for those who've never had the misfortune to visit, is kinda like Beirut in the 80s; it's not the kind of place you'd chose to linger) we paused to take a snap of the smugglers caves clifftop and the head of the funicular railway...

Image

...and the ruins of the old pier that burned down a few years back. Sad to think I used to come to gigs in the pavilion on the pier here back in the day. Saw many great bands here, took many memorable trips, as it were. Sad times

Image

anyway, by now Rich/Phil's not inexhaustible patience was starting to get... well, exhausted and when I half-jokingly suggested diverting through Brighton to take some snaps of the new Brighton Eye maybe, or the Telscombe Cliffs, he just gave me a look that suggested "let's not, huh?" so we just went home. Me to stroke and mutter to my shiny bits in the garage in a Golum-esque manner and him to try to hide the unfeasibly prodigious Charger bumper under the bed before his wife could see it and enquire about the cost. So once more, Trace the Brace was home where she belonged

Image

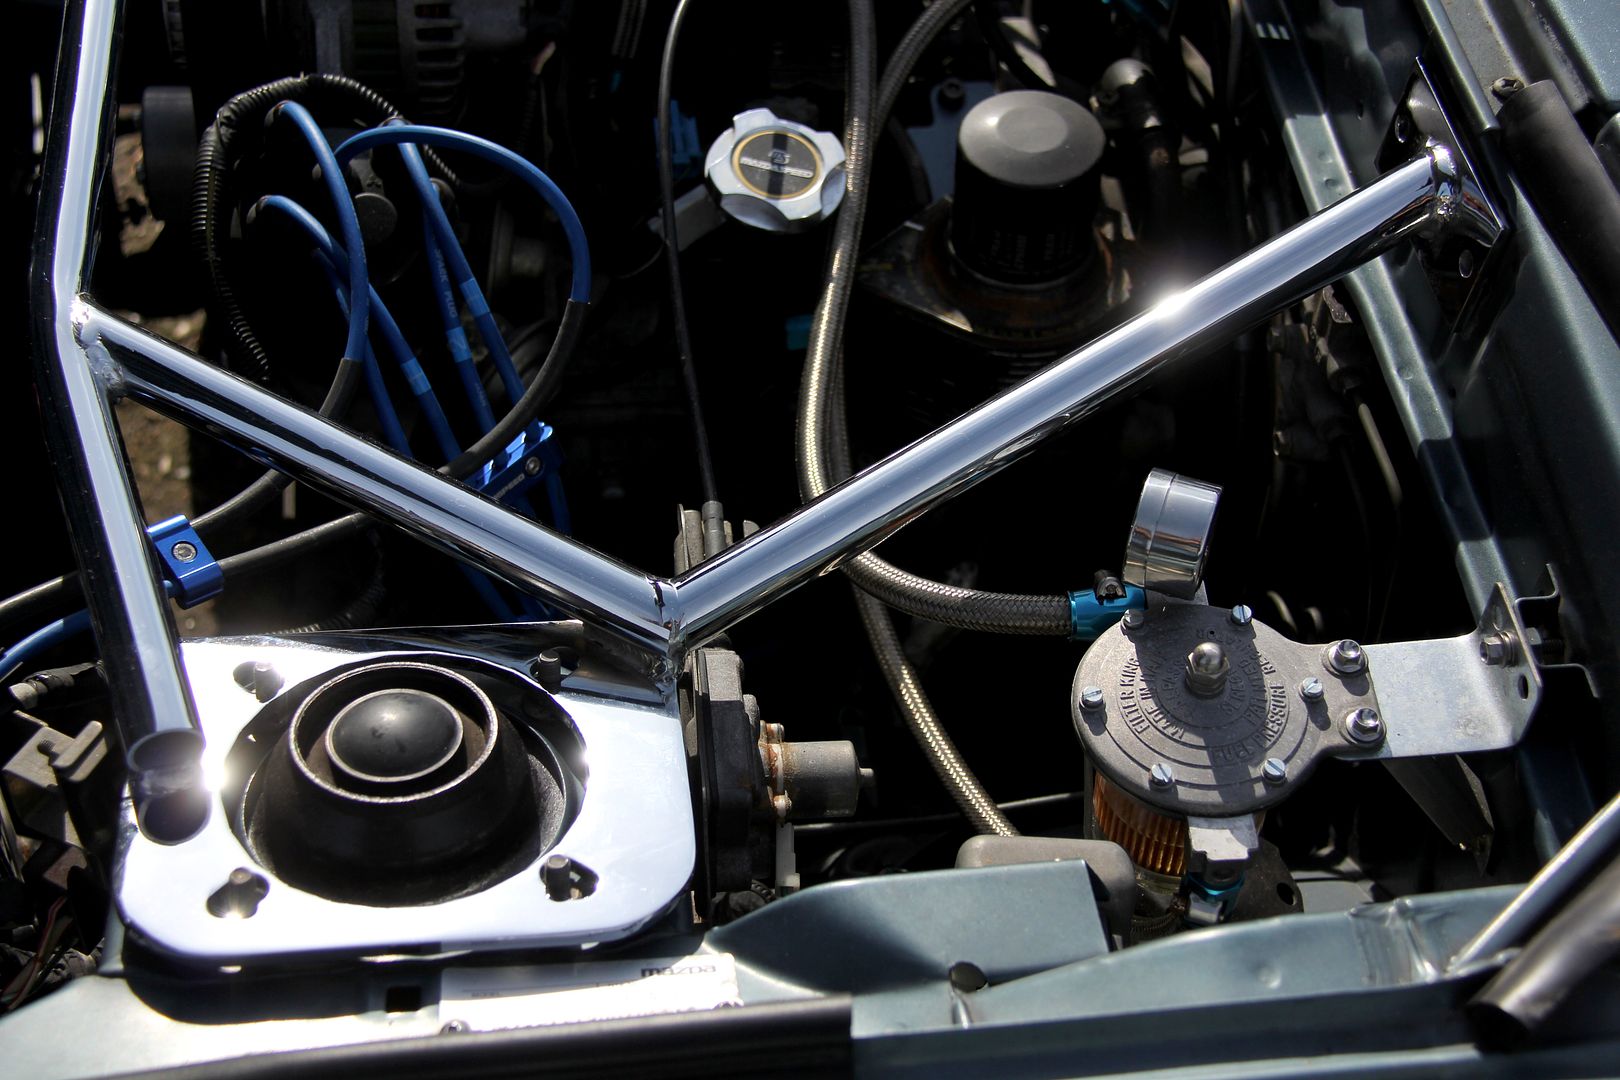
and reunited with her little logo I adapted from a stock FD strut brace, complete with new stainless bolts

Image

I offered her up for a test fit, but didn't bother bolting her in properly because the engine's going to be coming out anyway so there was little point. I think with all the nice shiny bits of engine tinsel to go in, and with the wiring tidied up and the Blue Box of God gone, the shiny, shiny brace will set it all off perfectly.

Image

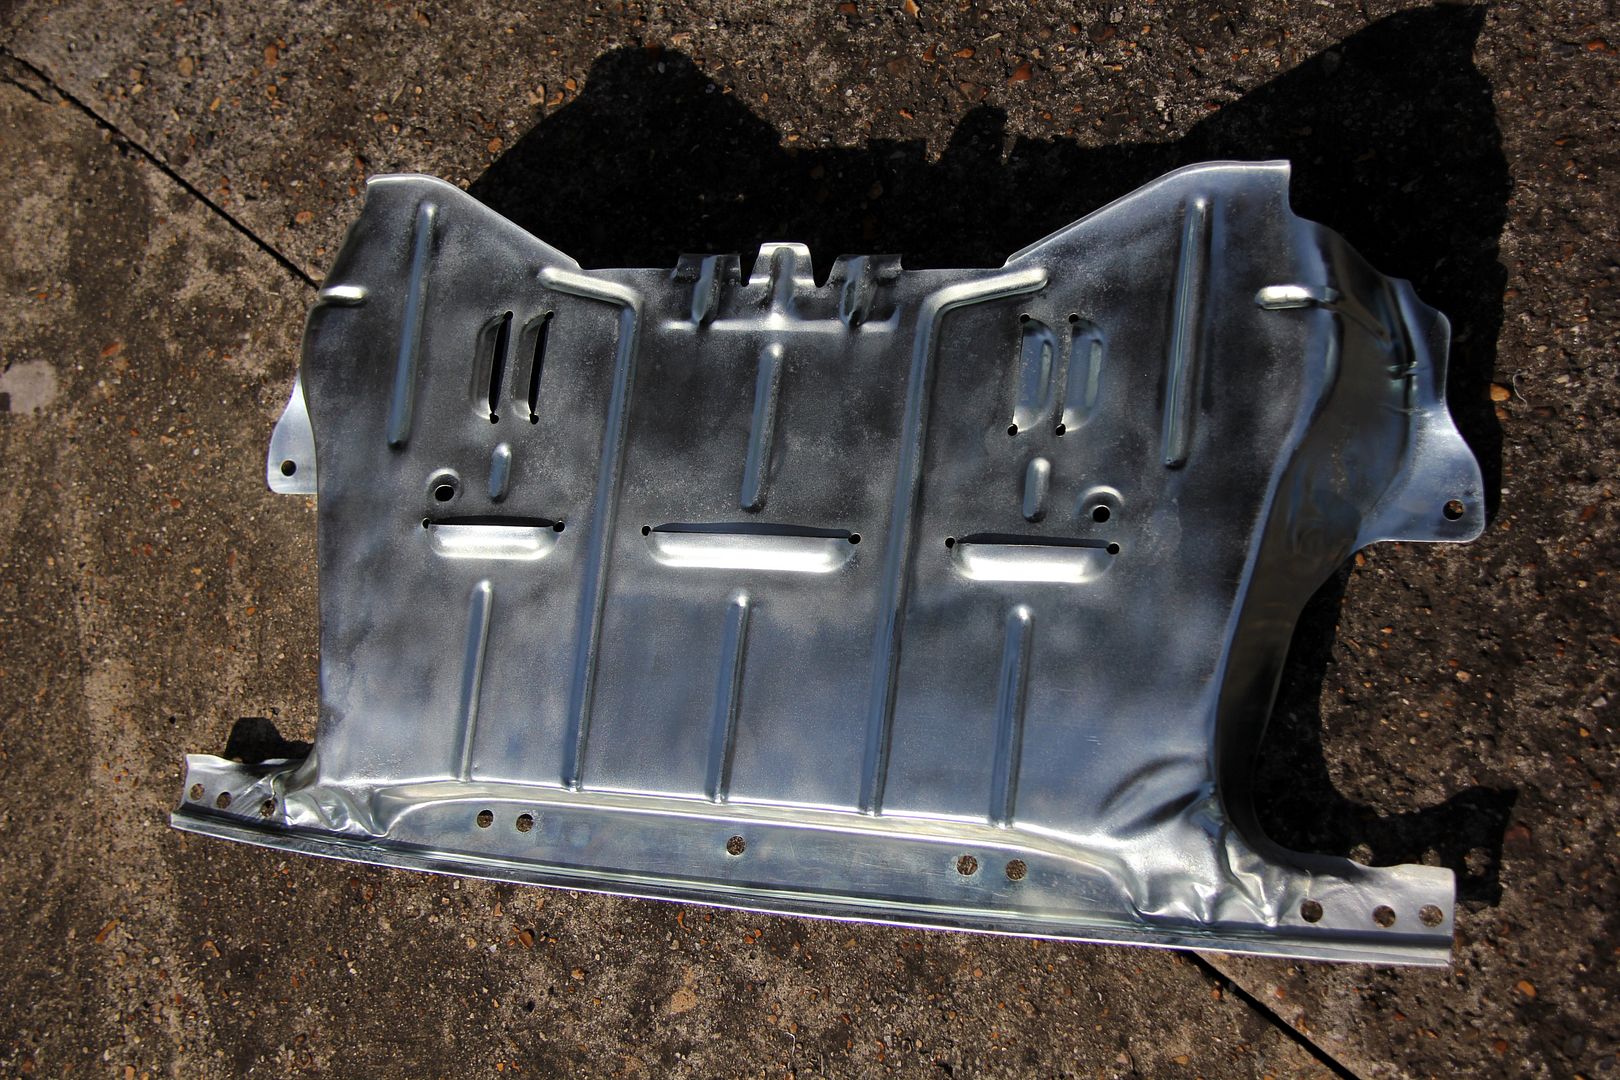
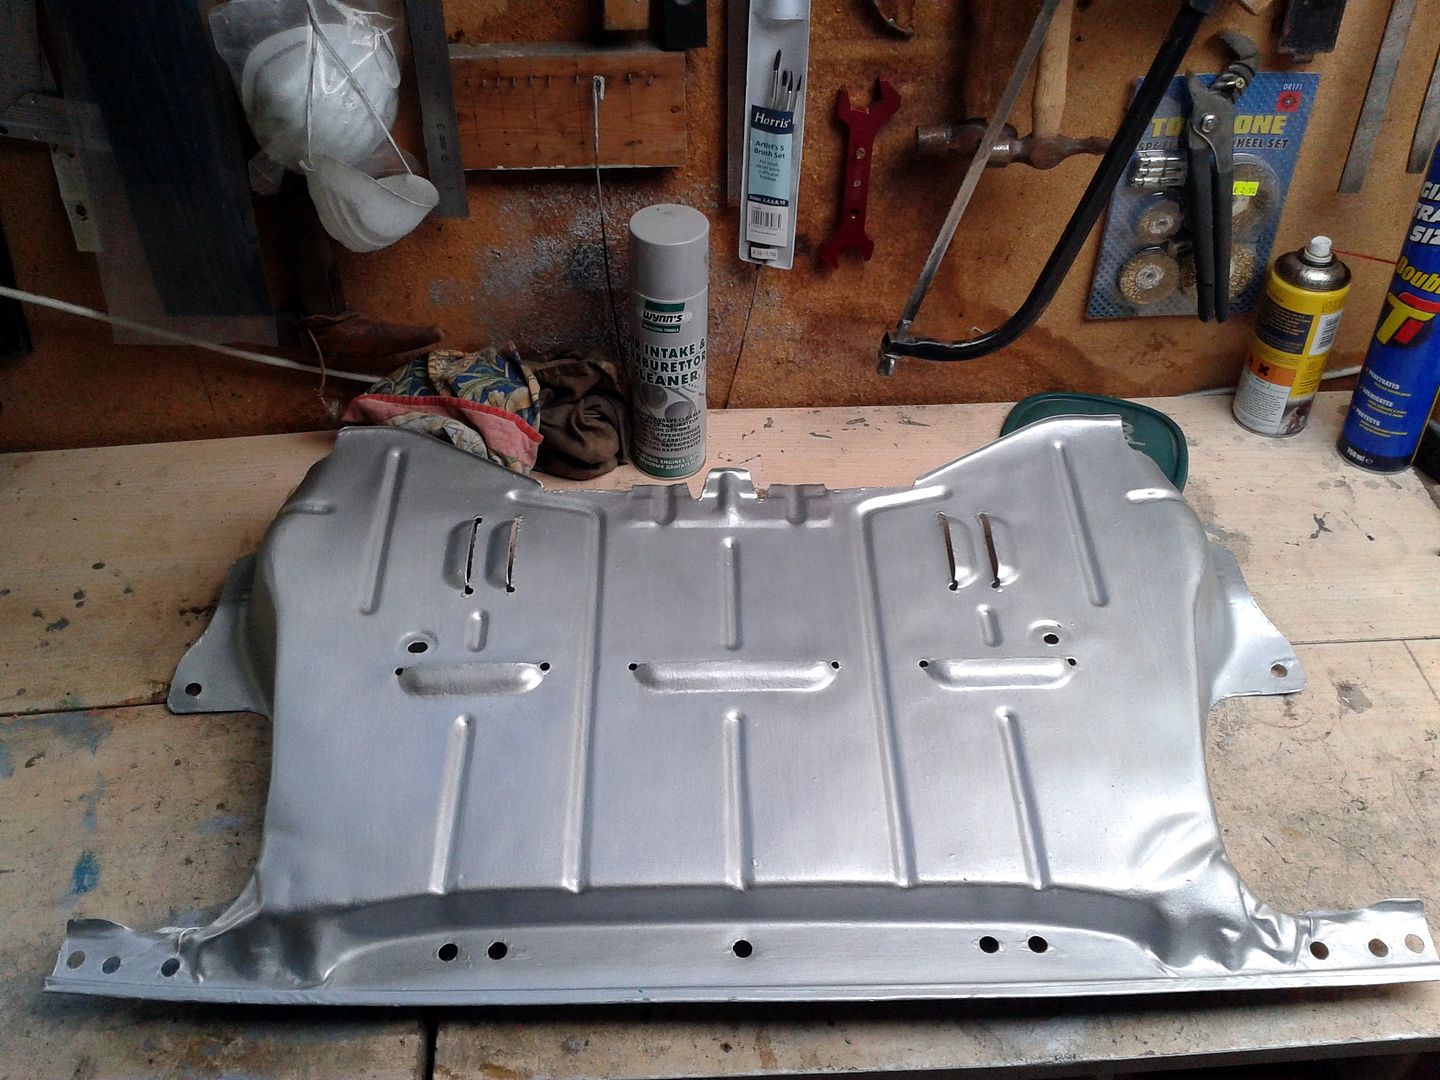
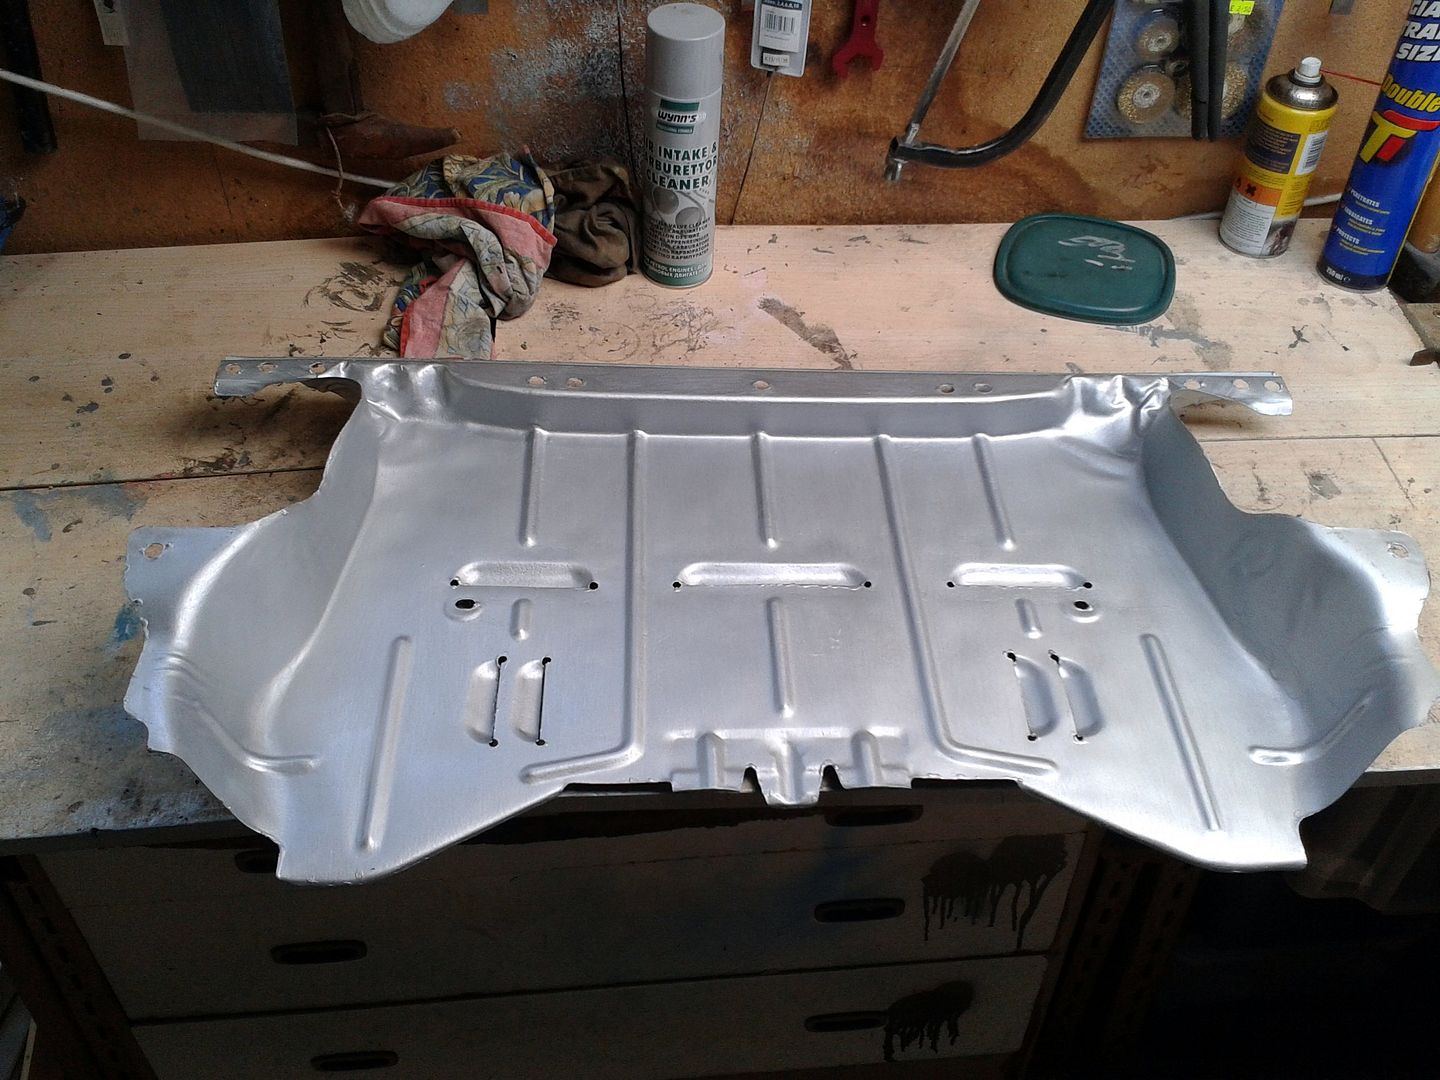
As for the undertray, well I didn't bother going for full chroming, partly because most of it won't be seen, partly because it was already too rust-pitted and corroded to ever give a nice smooth shiny surface again and partly because it was a lot more expensive. So basically the guys just stripped it of the original plating and corrosion and re-galvanised it, with electrolytic zincing rather than the hot-dip stuff that gives that matt finish you see on motorway barriers

Image

However, sooner or later the rust would come back, given where it is and the salt on the roads, so I gave it a few coats of ...yeah, you guessed it, Hammerite

Image

This is the straight-to-galvanising formula Hammerite, which seemed the obvious one to choose really. I thought about doing it black but in actual fact figured that would show the grime more than the silver I decided on. Besides, it was silver to start with so might as well be again. It's a bit of a satin finish, not too bright which I think will suit its location

Image

so to the final major job I got on with over this little flurry of activity. I sat back with a nice cup of tea in my FD-personalised mug that Madame le Jo got me and a Tunnocks tea cake to contemplate the next task. Yeah, living the dream, lol

Image
Lucky
VIP User
VIP User
Posts: 2685
Joined: Mon Nov 07, 2011 8:30 pm
Location: Worthing, UK
Been thanked: 5 times

Re: Lucky's Series 3

Post by Lucky »

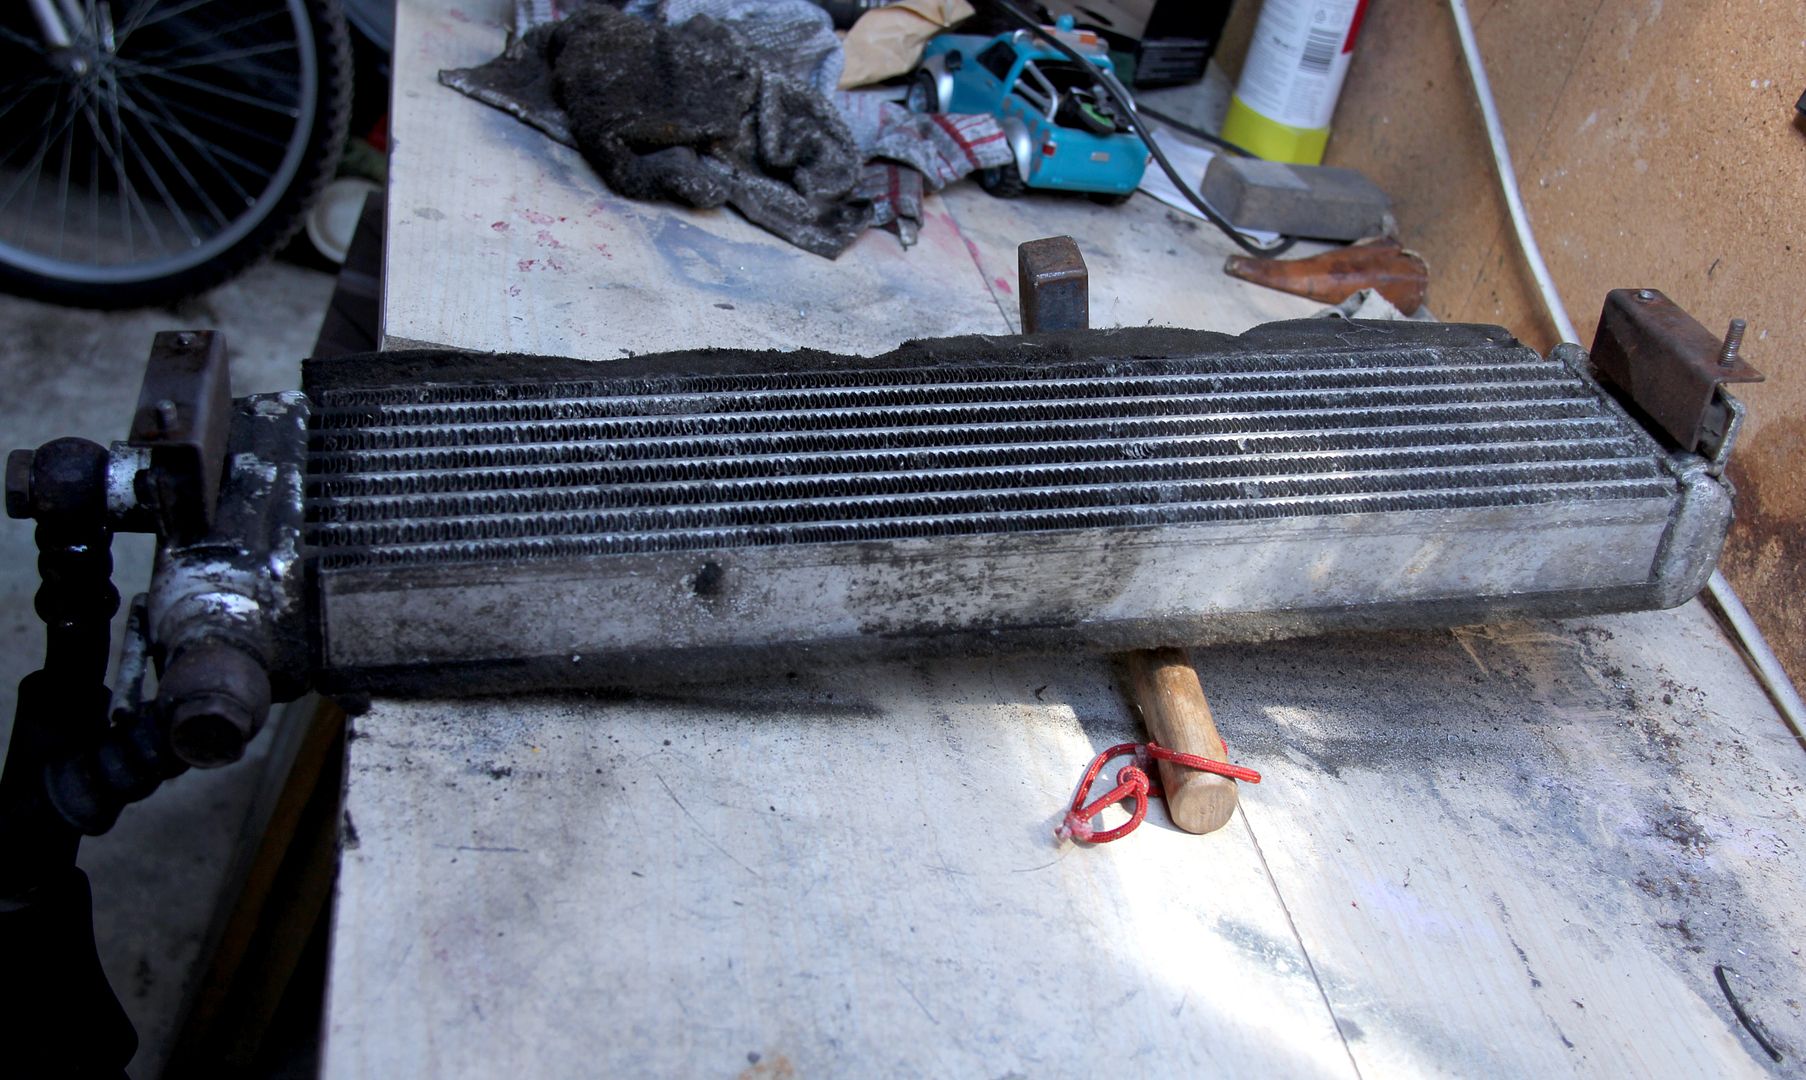
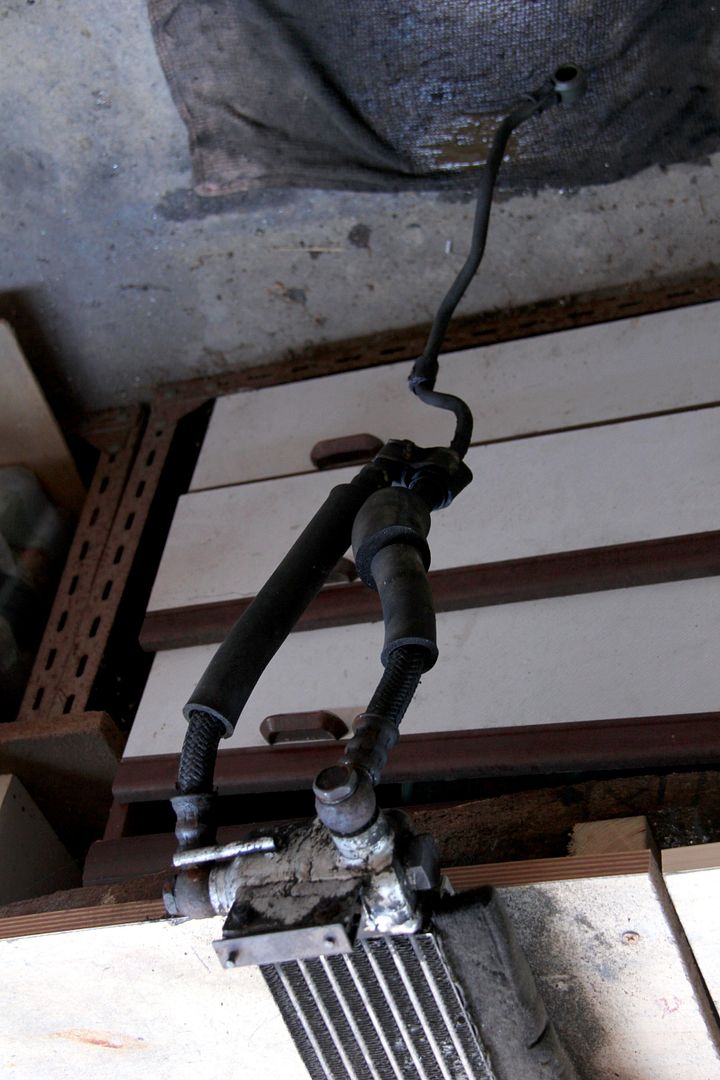
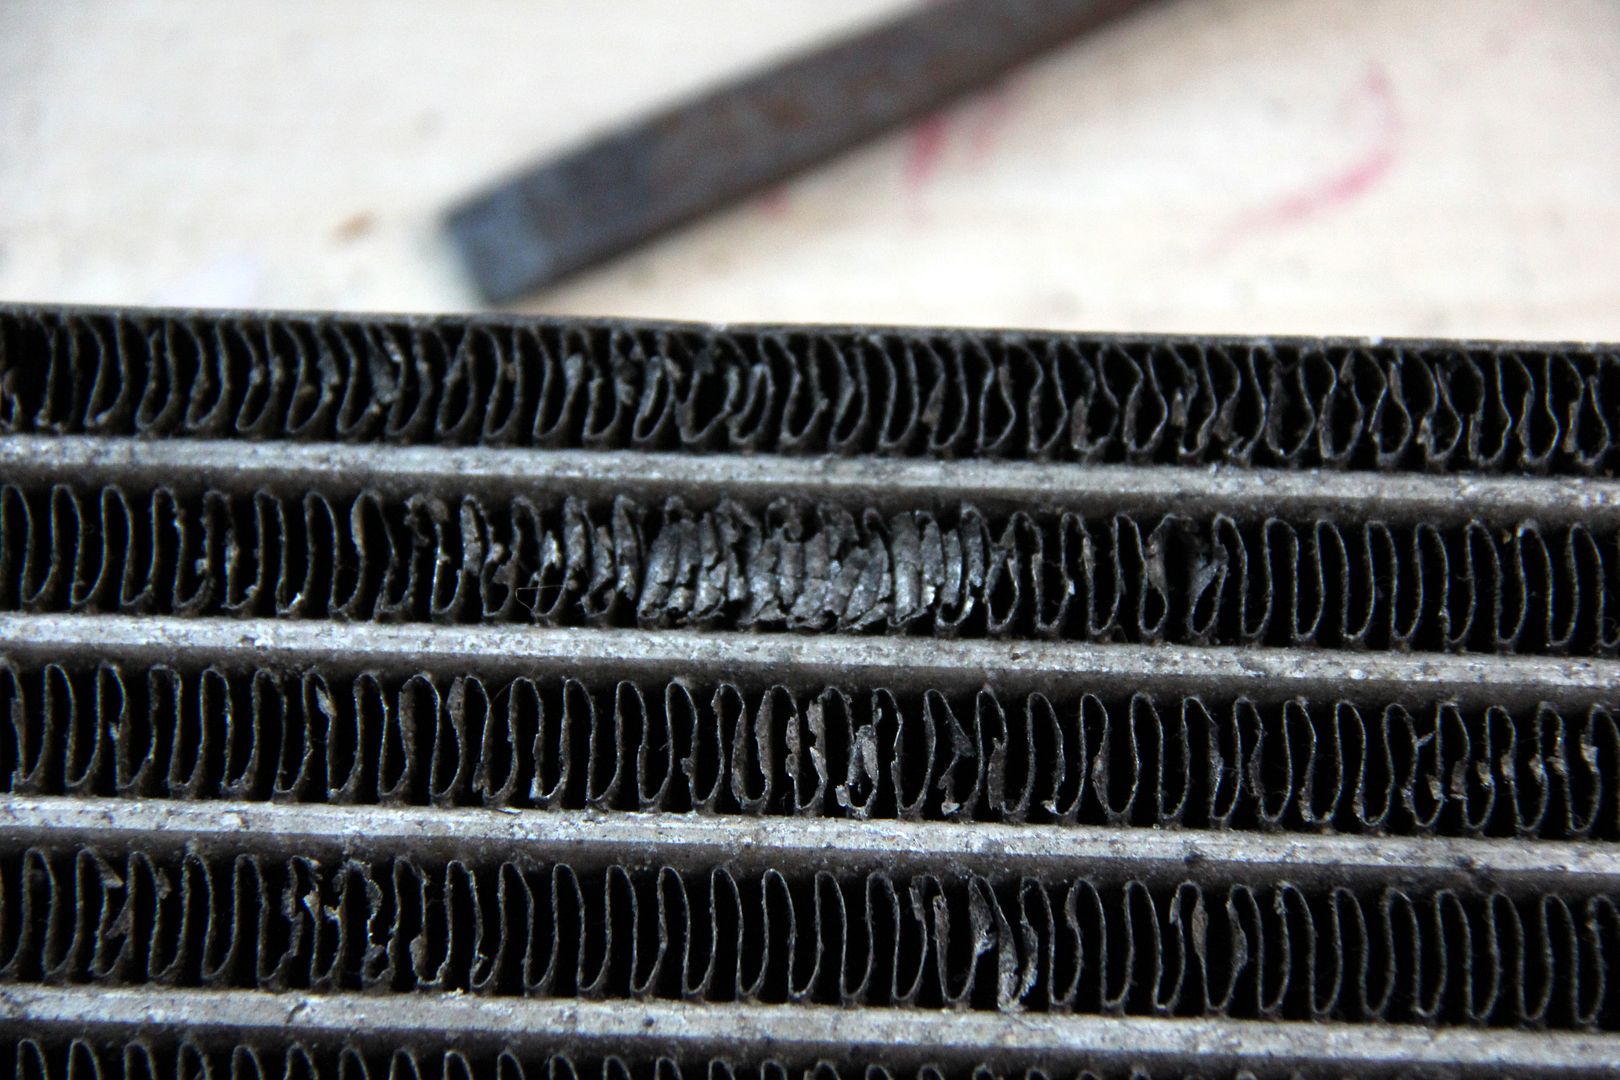
So, I got an FC oil cooler from Ian and while it was perfectly serviceable it had a couple of drawbacks. One was that it had taken a bit of a clout was dented quite badly along the top and that many of the fins were damaged and crumbling. Not enough to compromise integrity, but enough... if you see what I mean. The other was that it didn't have any oil lines with it, which wasn't necessarily a problem except that it meant it was rather difficult to measure up the fitting sizes required to make up replacements. Anyway, MR TOOL came up with another setup, and this time it included the lines.

Image

although having seen how nasty they are, I almost wished I hadn't bothered! They're the usual stock manufacturer compromise of efficiency over aesthetics; nasty nylon overbraid combined with random metal sections and grimy rubber surrounds, plus the gnarliest and rustiest banjo fitments to finish it all off. As an added bonus, this cooler kindly picked up for me by Ramon was still full of some particularly noxious oil, which I left to glop out in it's own time. It didn't seem in any hurry...

Image

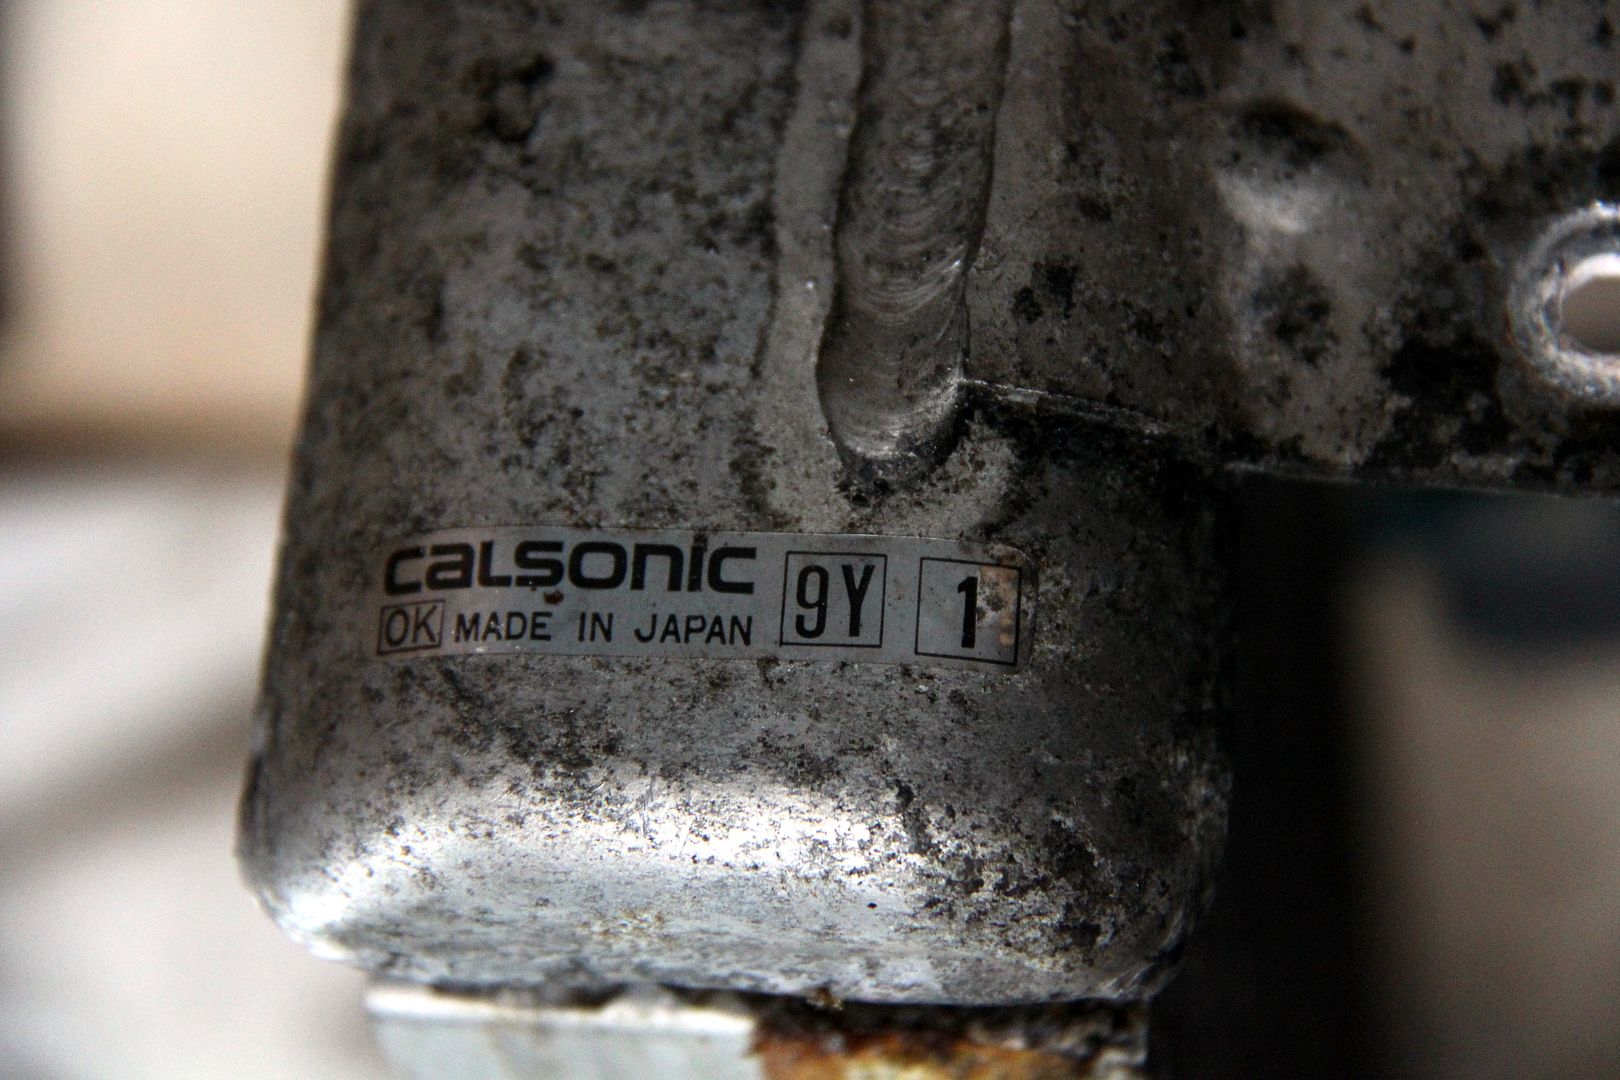
anyway, having spare oil coolers never hurts, and at least I had the original lines to use as a pattern now. These coolers have a reputation for being the best and easiest upgrade for the FB and they are made by Calsonic, who are a quality firm most memorable for their sponsorship of the awesome JGTC Skylines a few years back

Image

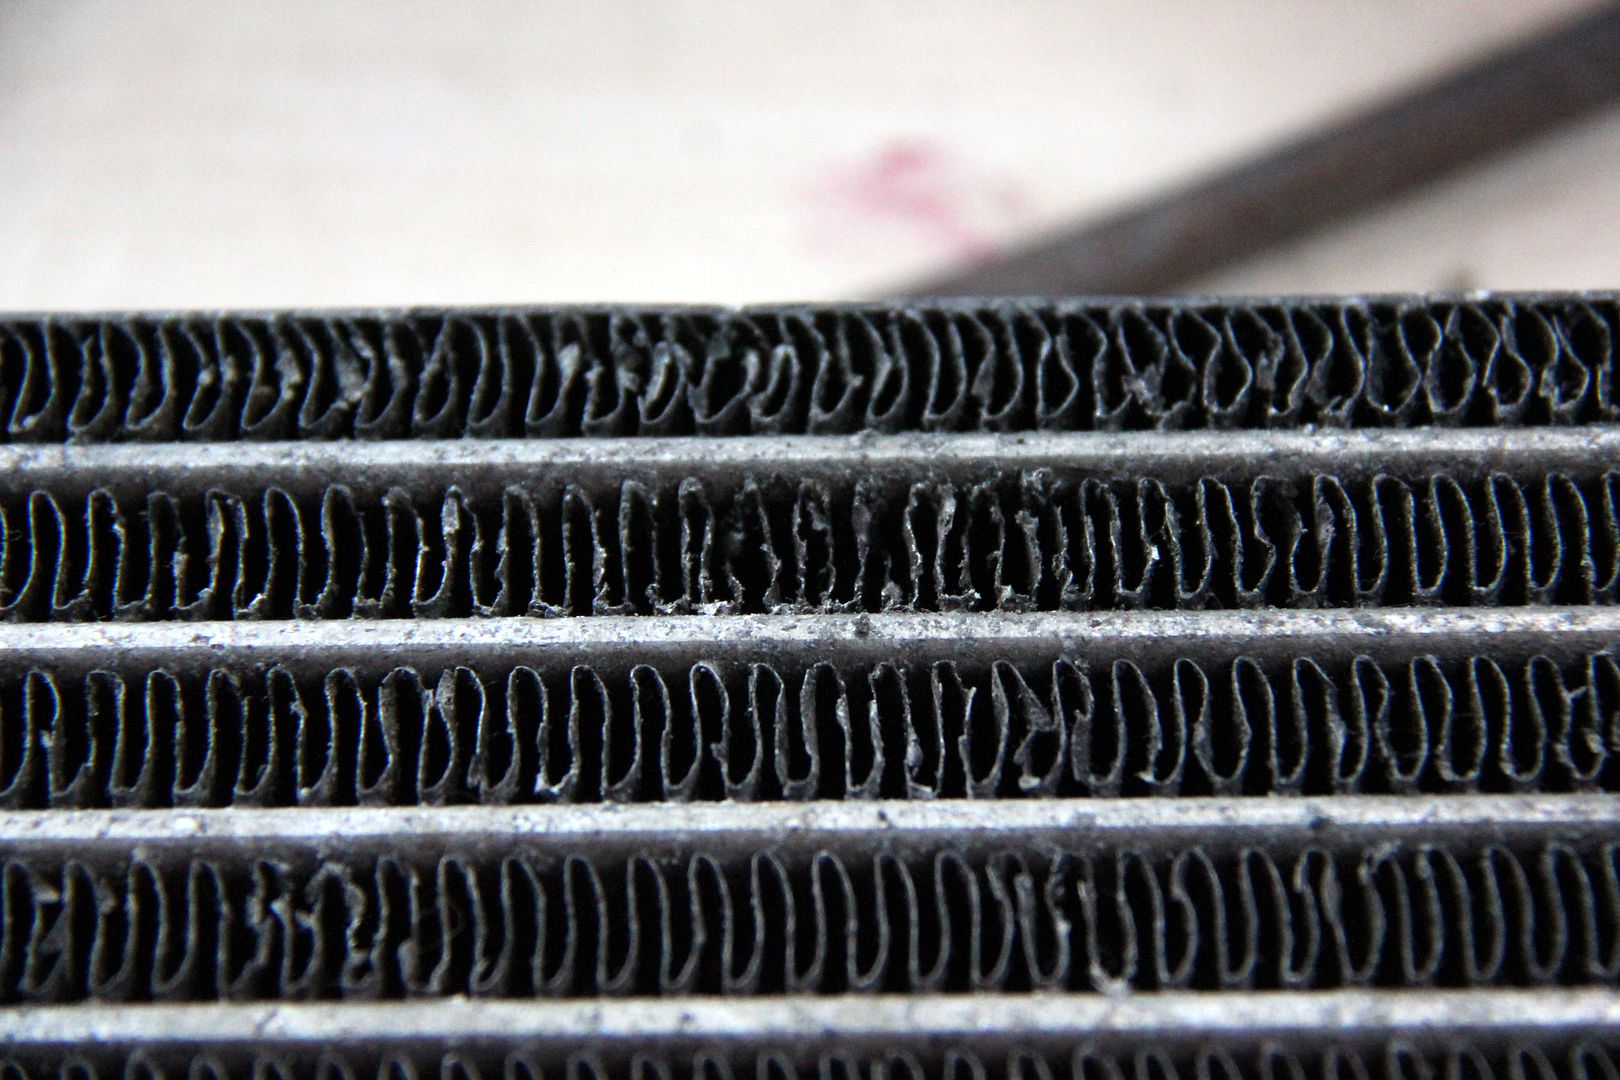
So the first step on the path to make this quality item righteous once more was to straighten out the bent fins. This is tedious but not especially difficult.

Image

A few minutes... OK, quite a few... spent straightening with a small, thin penknife blades either side of each bent fin soon had them all proper and ready for airflow again
Image

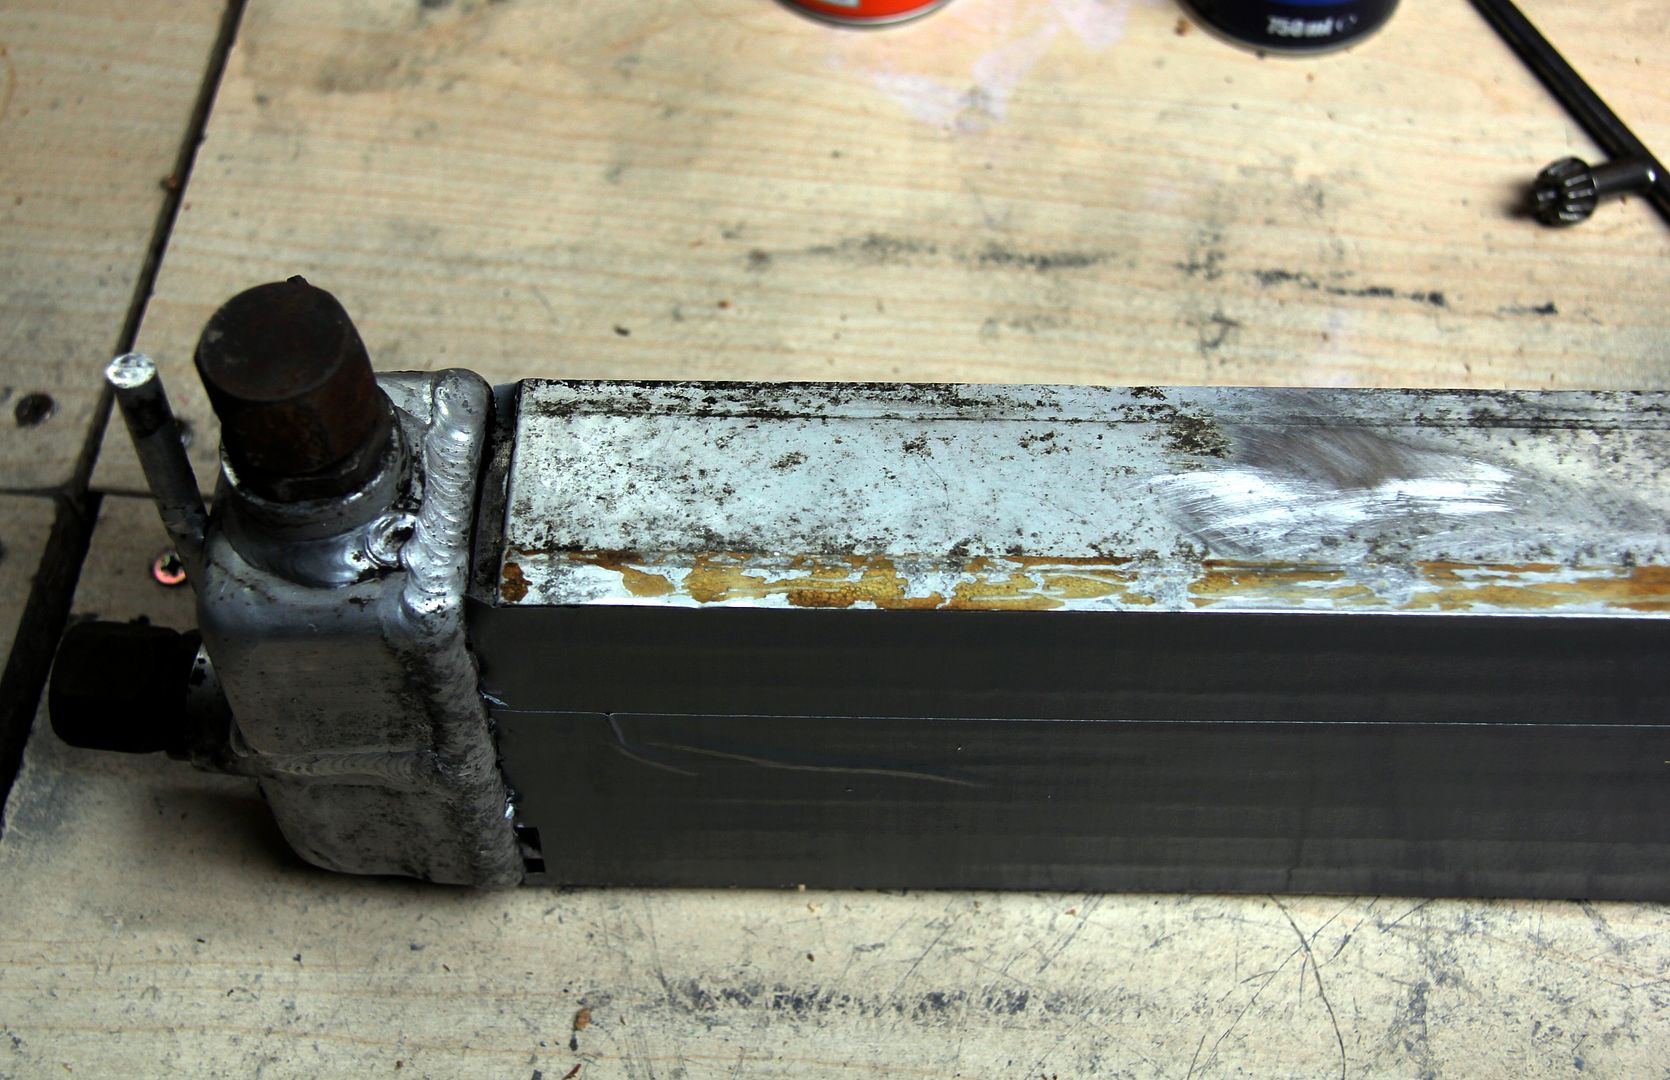
The next step was to clean off all the horrid, manky edging foam. I achieved this by the rather unexpected method of making it really inflammable with some strong solvents and then inadvertently setting fire to it by accident. This included setting fire to me as well, since a big chunk of burning foam fell into my boot and gave me quite severe gyp while I was still trying to stop the garage burning down! Remember to be prepared, kids, and don't play with fire, lol

Image

anyway, the cooler wasn't much improved for the removal of the foam, so I took it upon myself to give it a bit of a polish. As is usual with these things, it turned into a lot of a polish. Not a perfect job, but it's hardly going to be seen where it's gonna live so good enough

Image

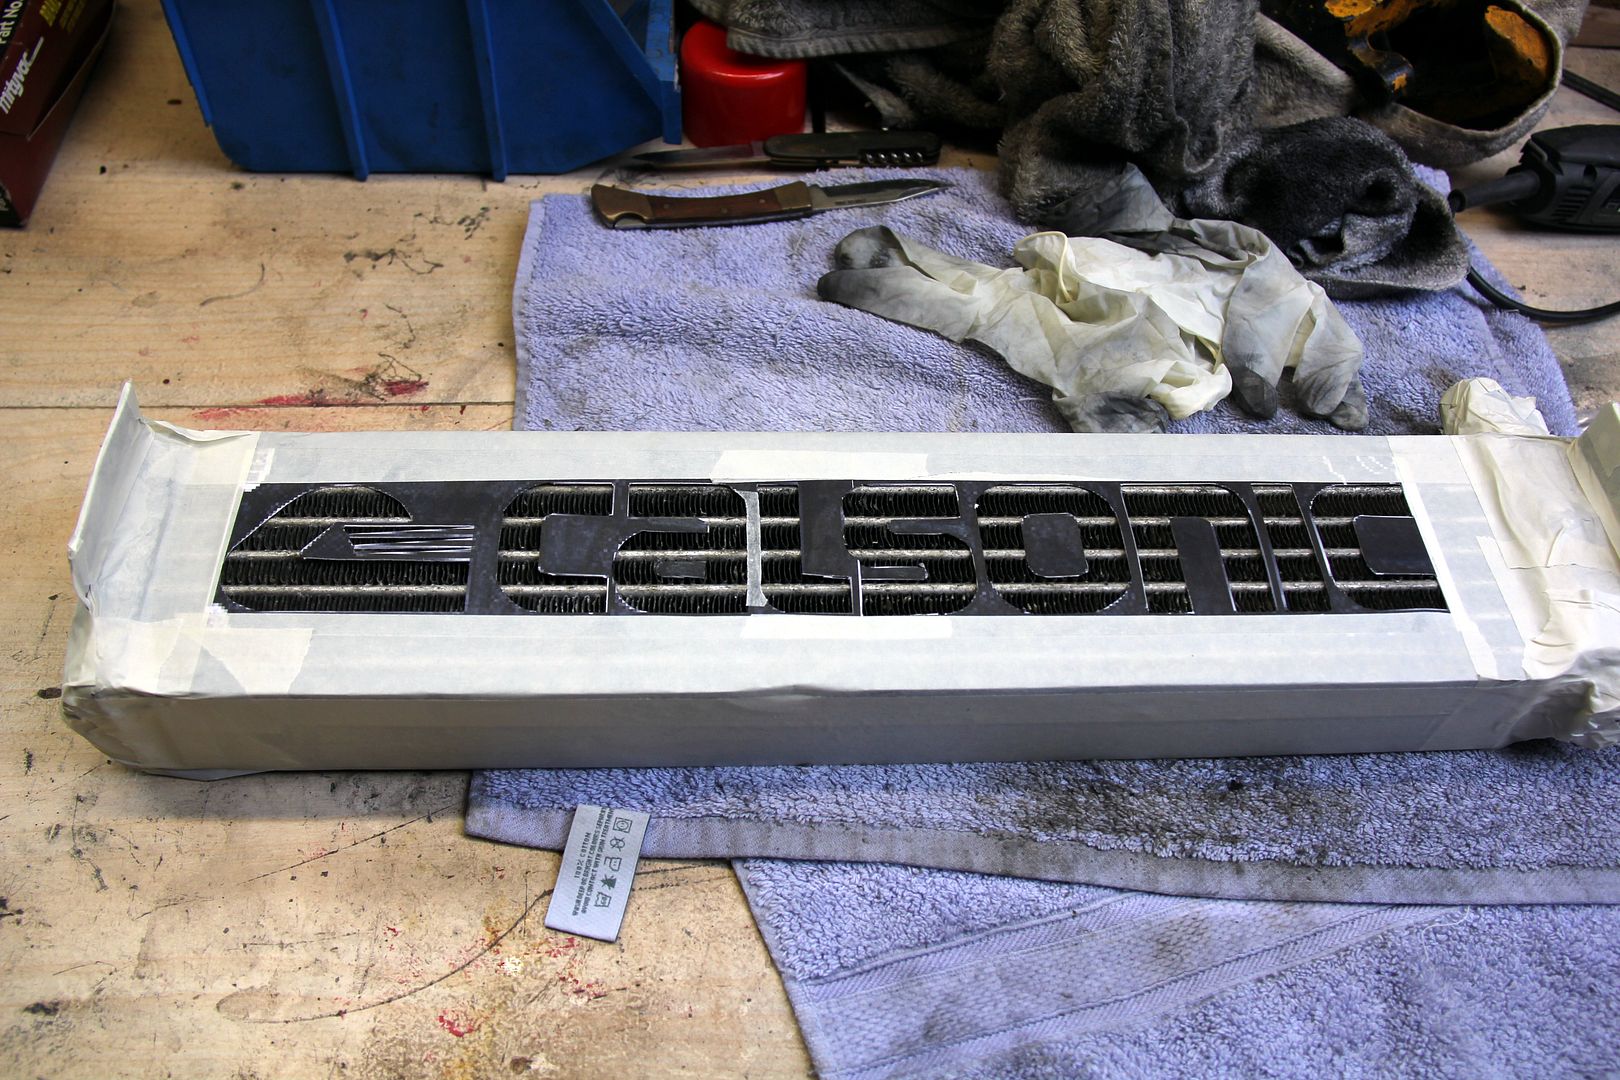
then a quick Google Images-sourced printout yielded a stencil that in best Blue Peter method I got an adult to help me with the scissors on

Image

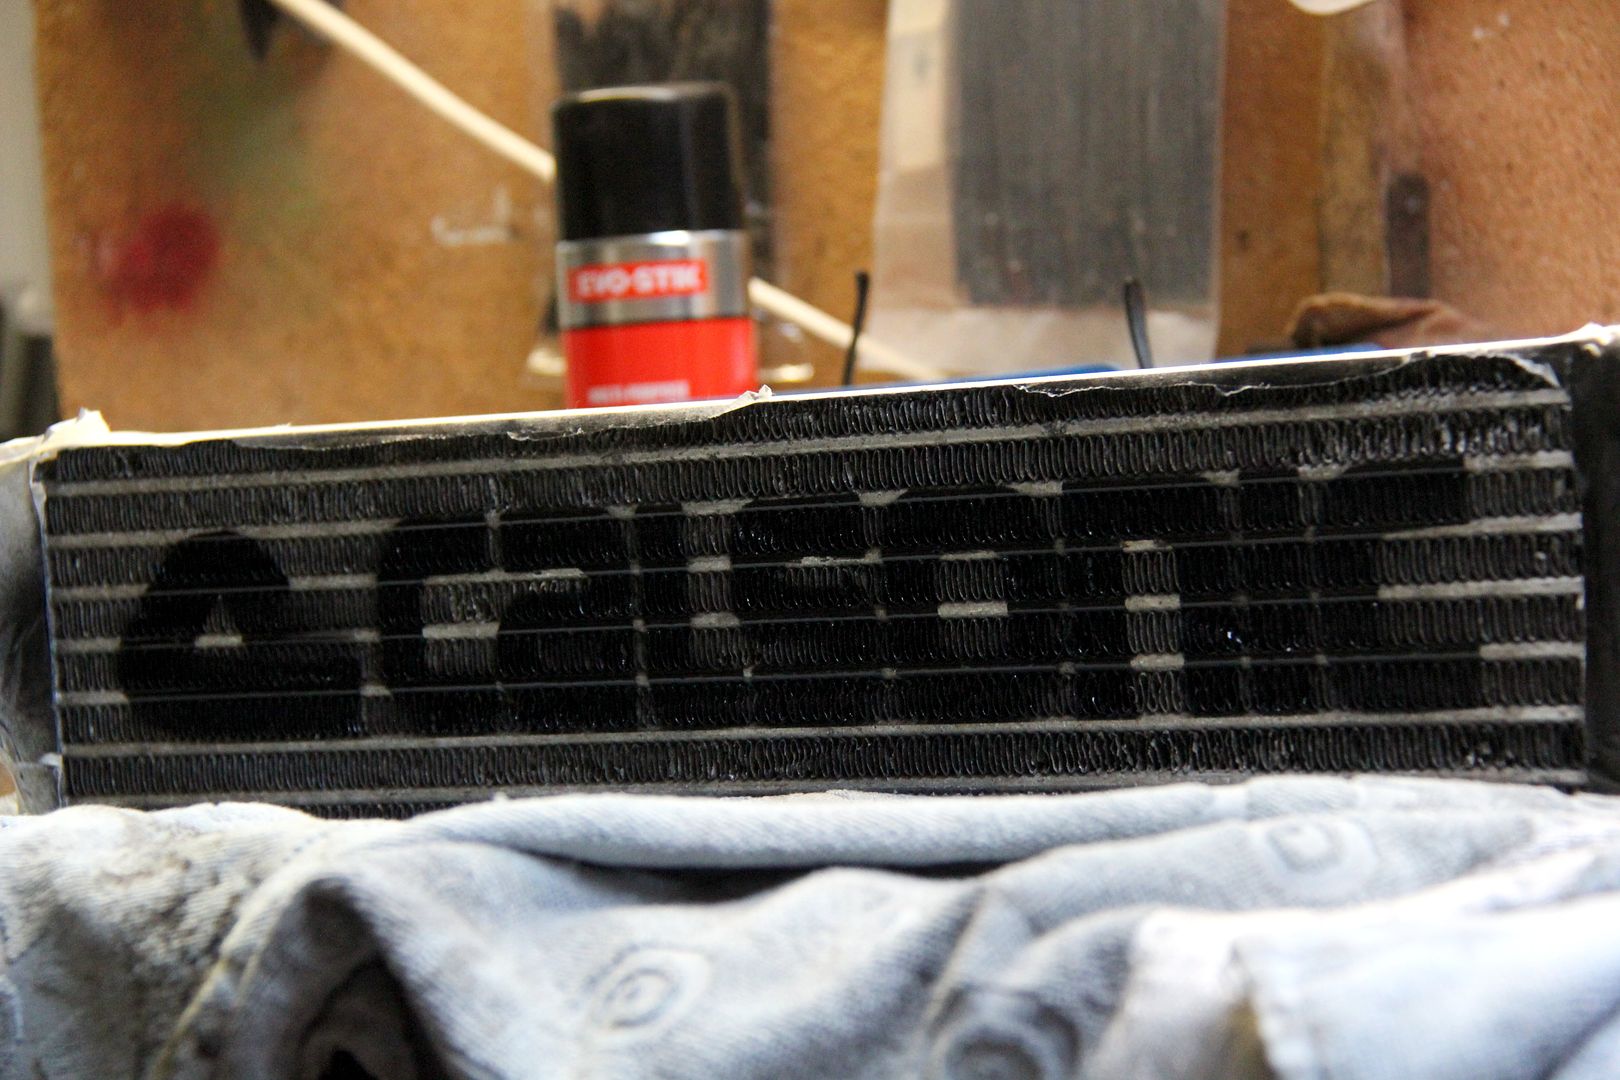
Sadly, the first attempt I did in black came out OK but there wasn't really enough contrast between the surface of the cooler for the lettering to stand out;

Image

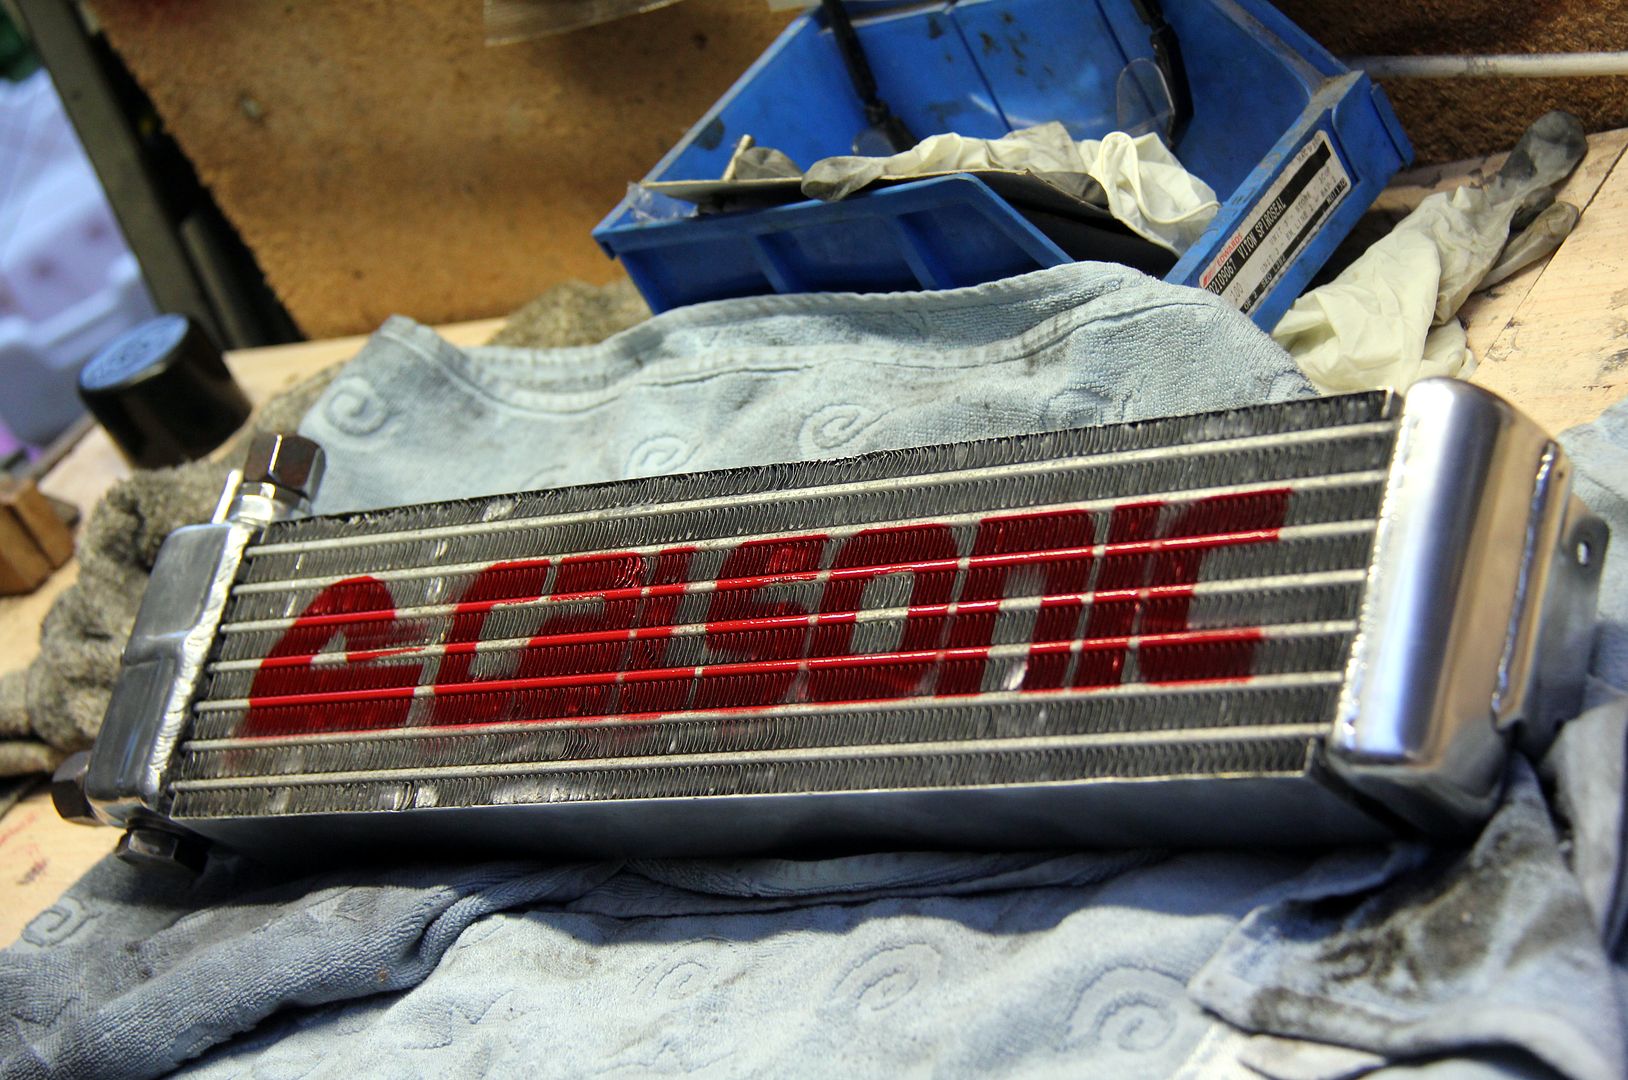
Plan B involved... well, changing the colour, basically

Image

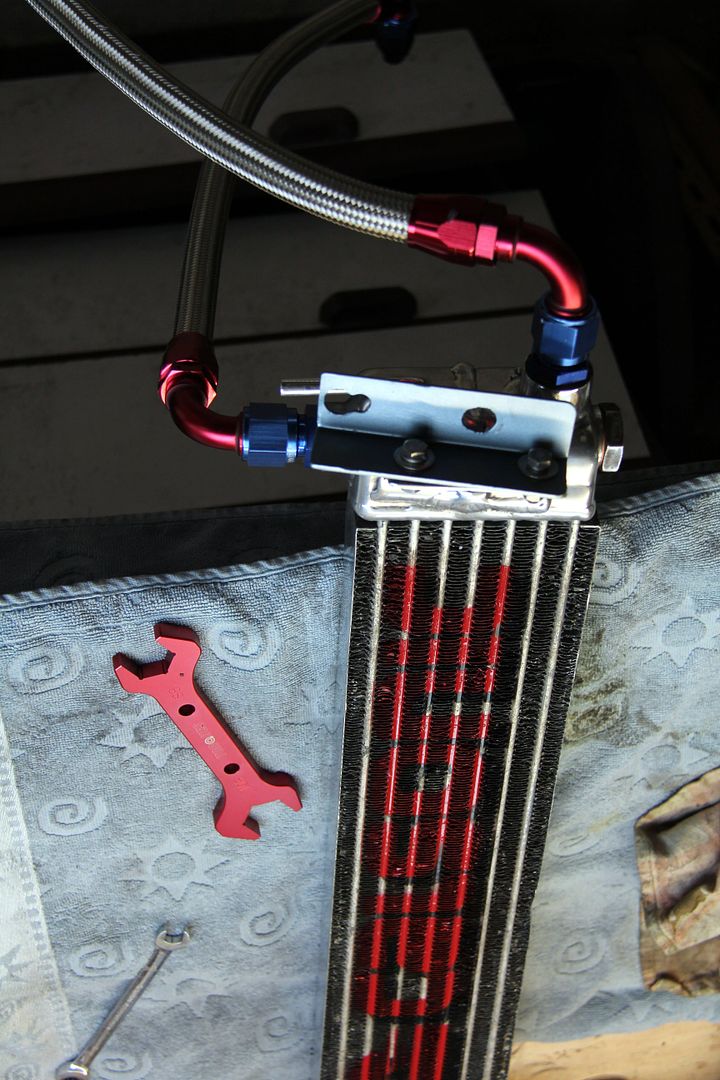
which I feel turned out rather better. Due to having done the other side black already I had no option for avoiding it ending up a muddy mess but to try for some natty 70s style shadow writing, which came out OK but probably would have been better if I'd just done it plain red to start with

Image

After asking around it seemed that most people with experience of various oil line fittings feel that Torques stuff is almost as good as Earls or Goodridge whilst being a fraction of the cost, so I ordered some in. Still not exactly what you'd call cheap, mind, but I'd decided there was no way I was going to re-use the original lines, even if they would stretch far enough

Image

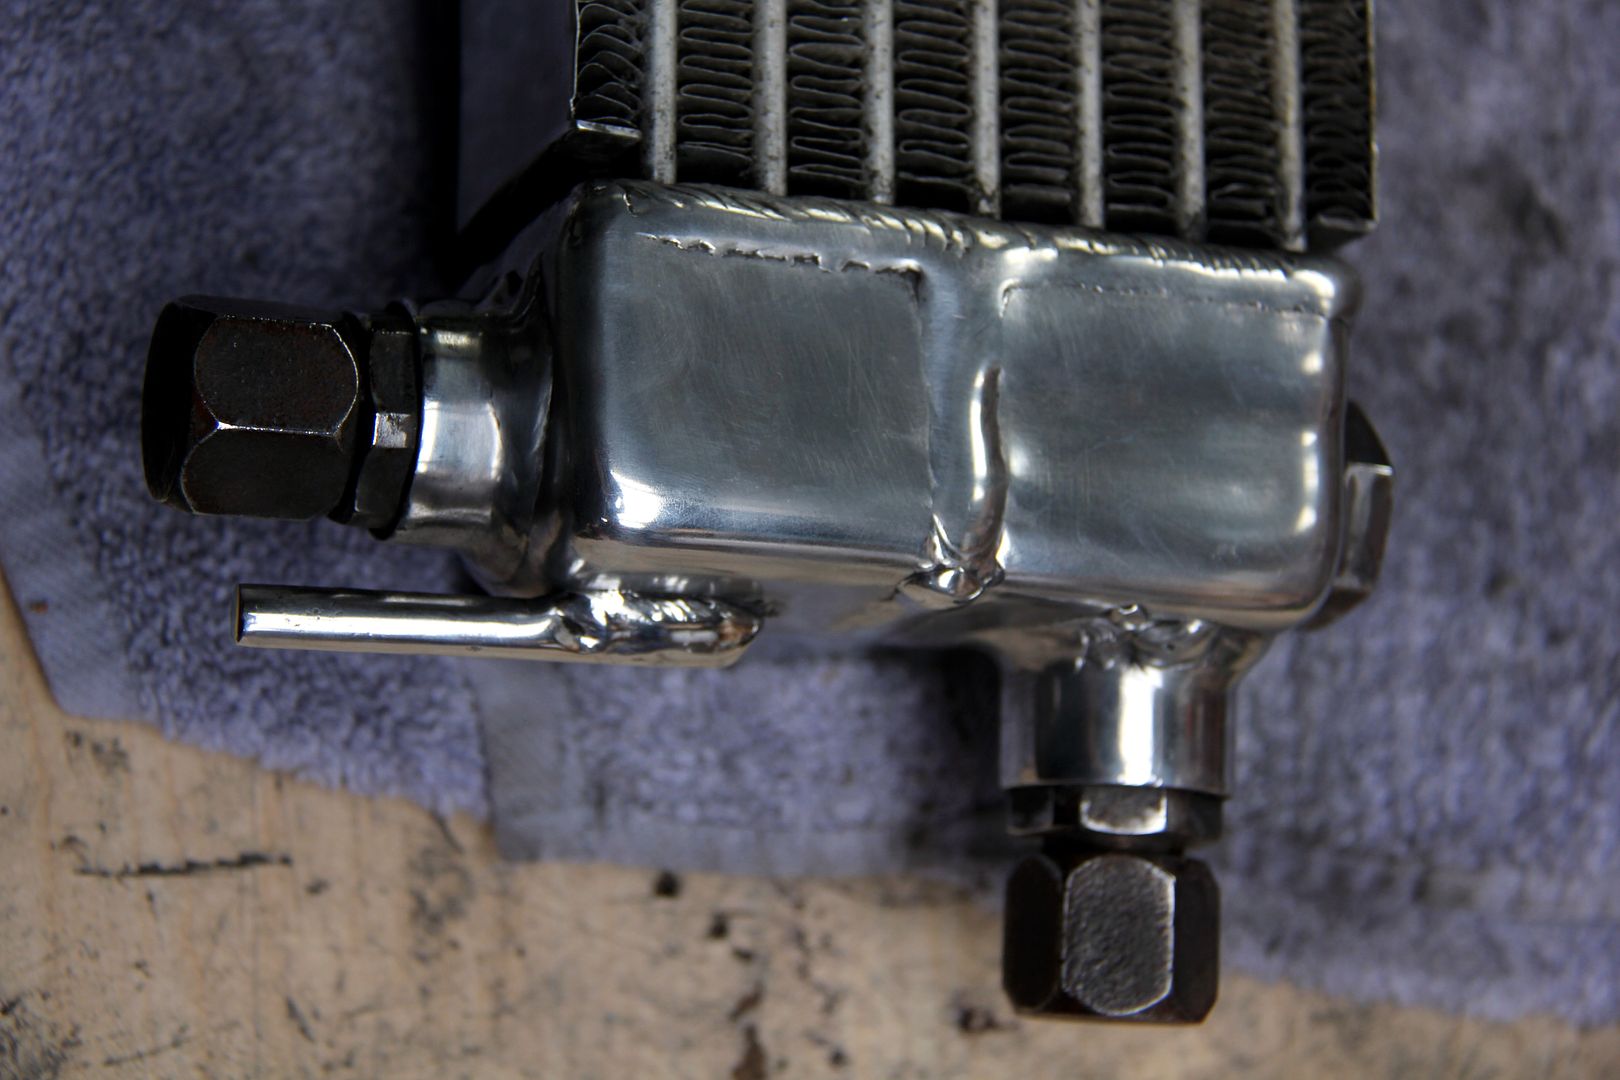
The only dismaying thing about these fittings is how easy they are to scratch the finish. Even with the correct sized alloy spanner and with tape around the alloy to protect it, I still managed a couple of nicks and scratches. You need to be quite brutal with them to get them assembled onto the lines properly, and it seems inevitable there'll be some damage to the finish in the process. For future reference, the fittings into the oil cooler are M18 and the one into the rear plate is, too. The front cover fitting, just typically cos Mazda like to keep you guessing, is M16. So I ended up with three M18 to AN-10 unions, one M16 to AN-10 and then three 90º bends and one 120º one for the front cover connection. I measured that two metres of -10 hose would be sufficient, and it was... just!

Image

Still, if you compare it to the earlier state of the cooler when I first got it, hopefully once again you'll agree it was worthwhile? Or maybe I really am losing it...

Image

Image

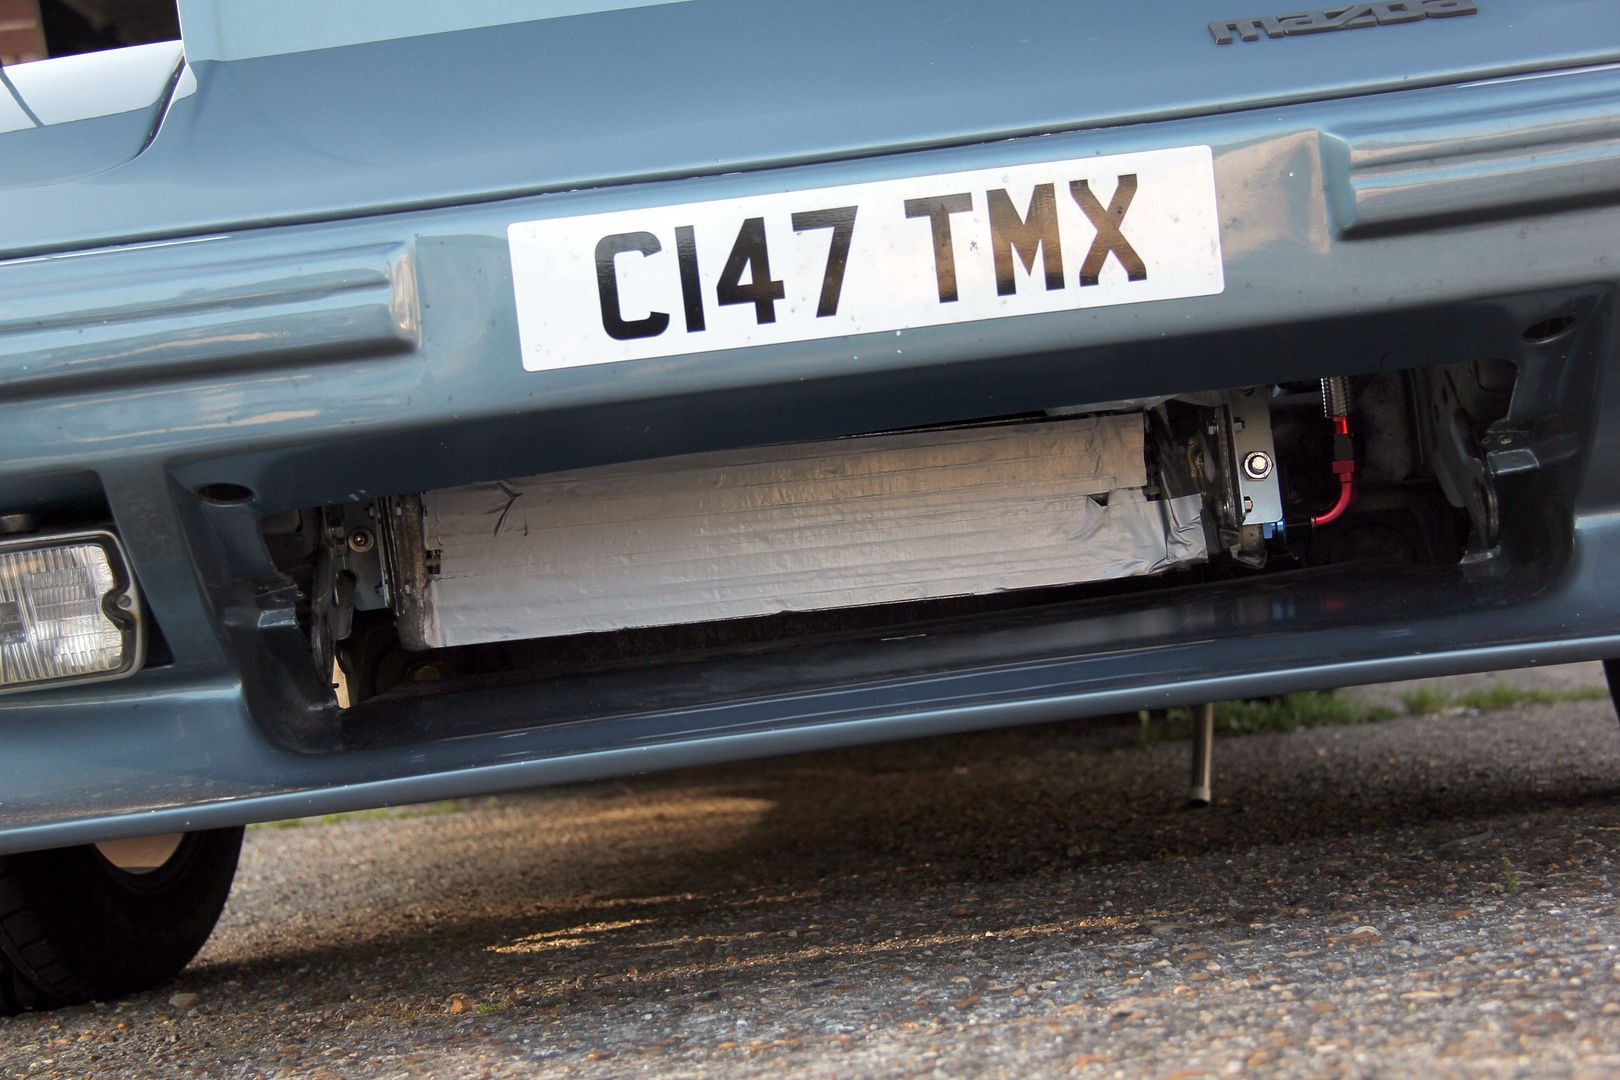
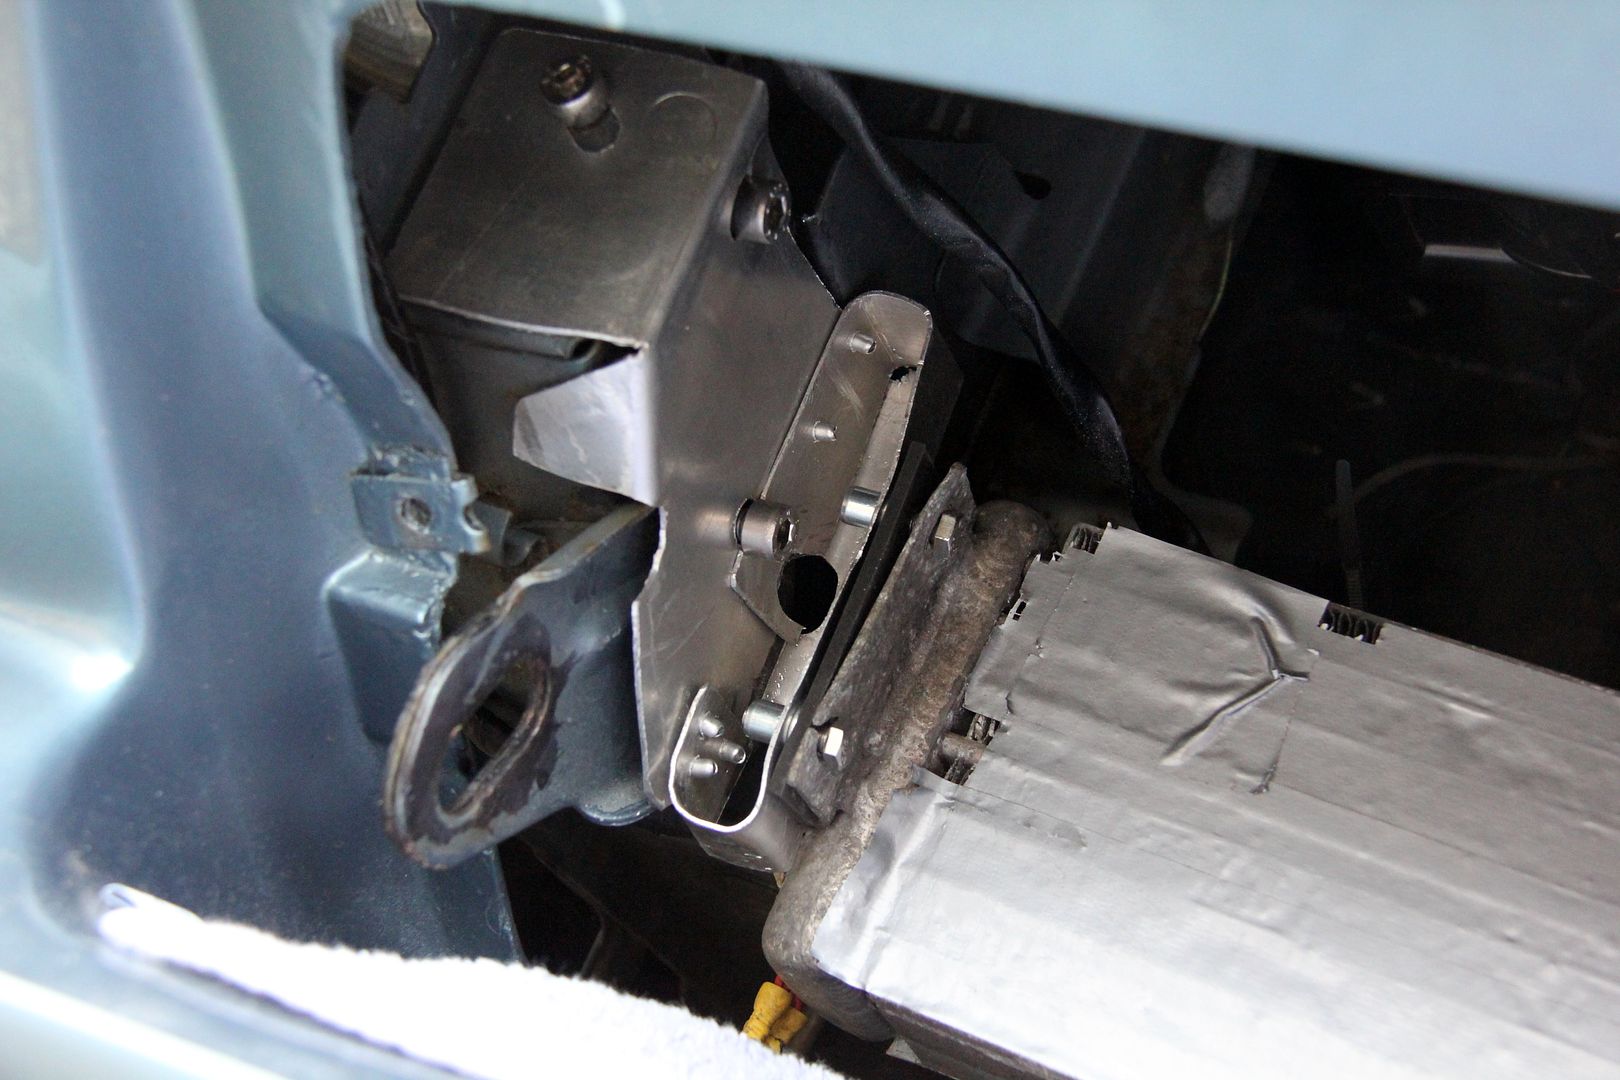
However, my insistence on using "proper" fittings caused another problem; the width of the fittings meant the oil cooler needed to fit quite off-centre to accommodate them. this meant that the architecture of the intake area stopped me from using a simple U-camp to mount at the offside end

Image

you can see the run of the lines and the distance the fittings stick out from the side of the cooler meant the whole lot had to be shifted as far across to the drivers' side as possible. This is a quick test-fit to see how it all went

Image

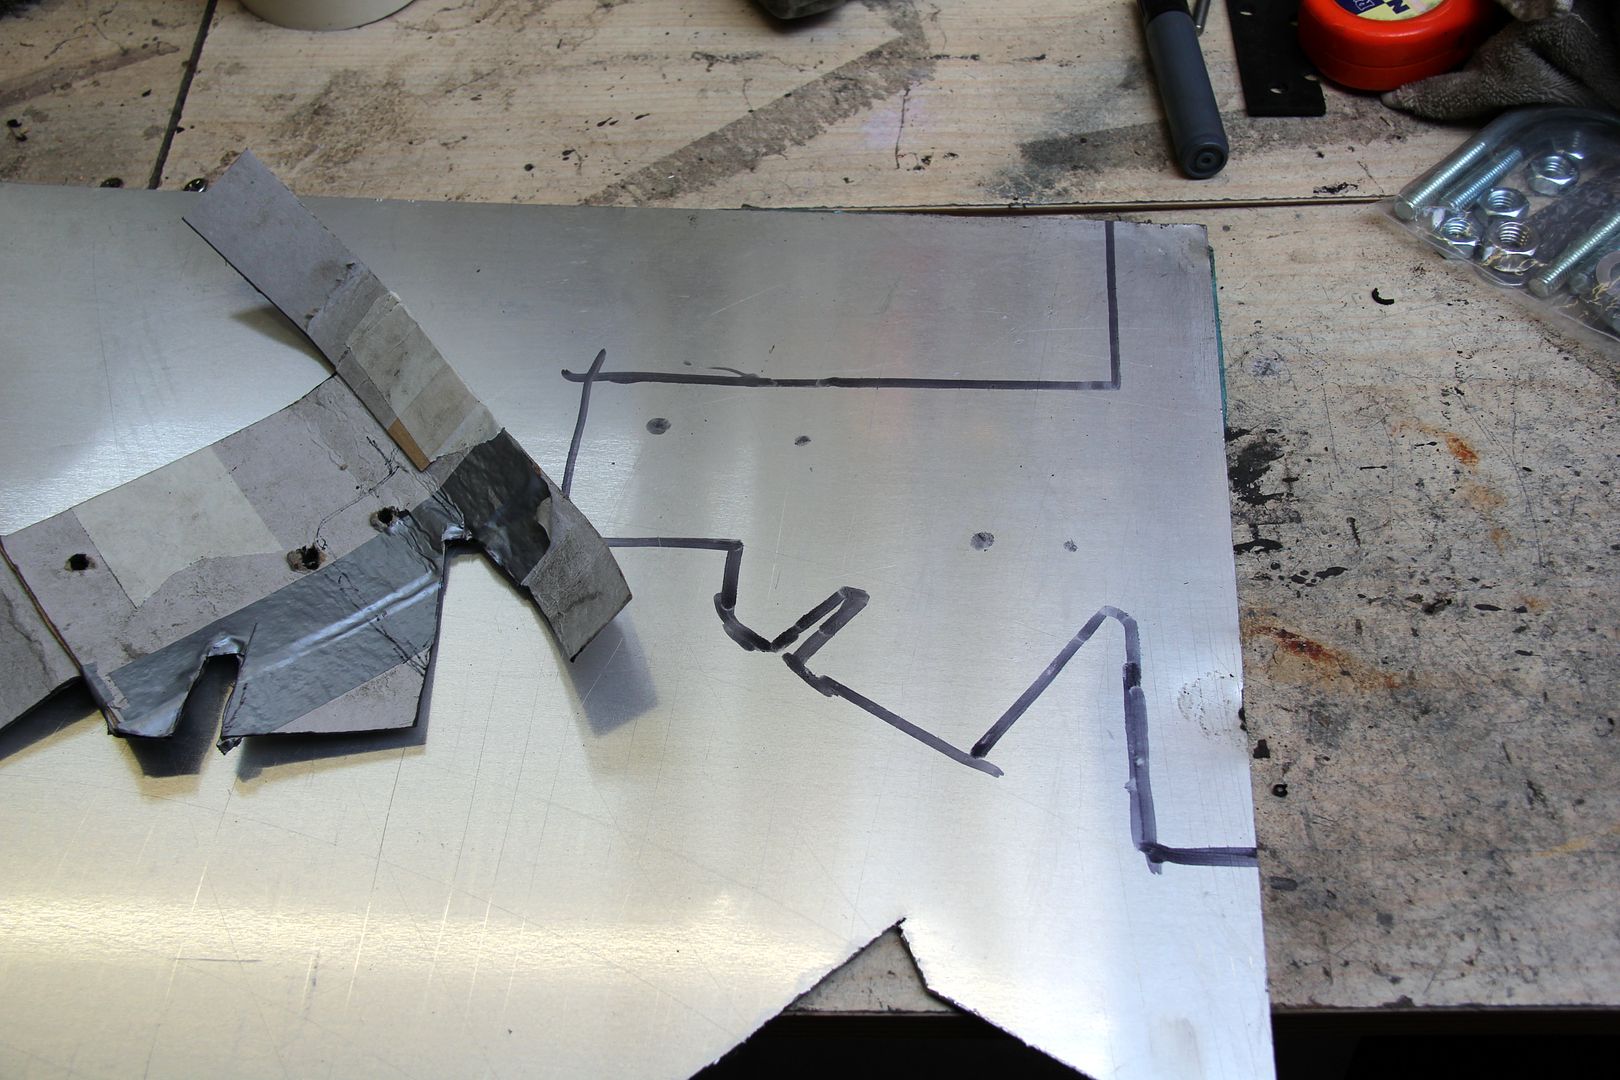
Anyway, I made up a template and cut a bracket to mount the end of the cooler from. Annoyingly, the only alloy I had was quite thin and every DIY or ironmongery shop I tried only had the same thin stuff or alloy floor chequer plate, which I point-blank refuse to utilise for anything cos it makes me think of hideous 80s Reliant trike conversions made out of angle iron and chequer plate. So I had a go with what I had

Image

and to be fair the finished thing looked OK, fit well and used pre-existing threaded holes in the car structure so saved me having to drill and tap anything. I wasn't desperately pleased with the rivets, but that's the downside of not being able to weld, I guess

Image

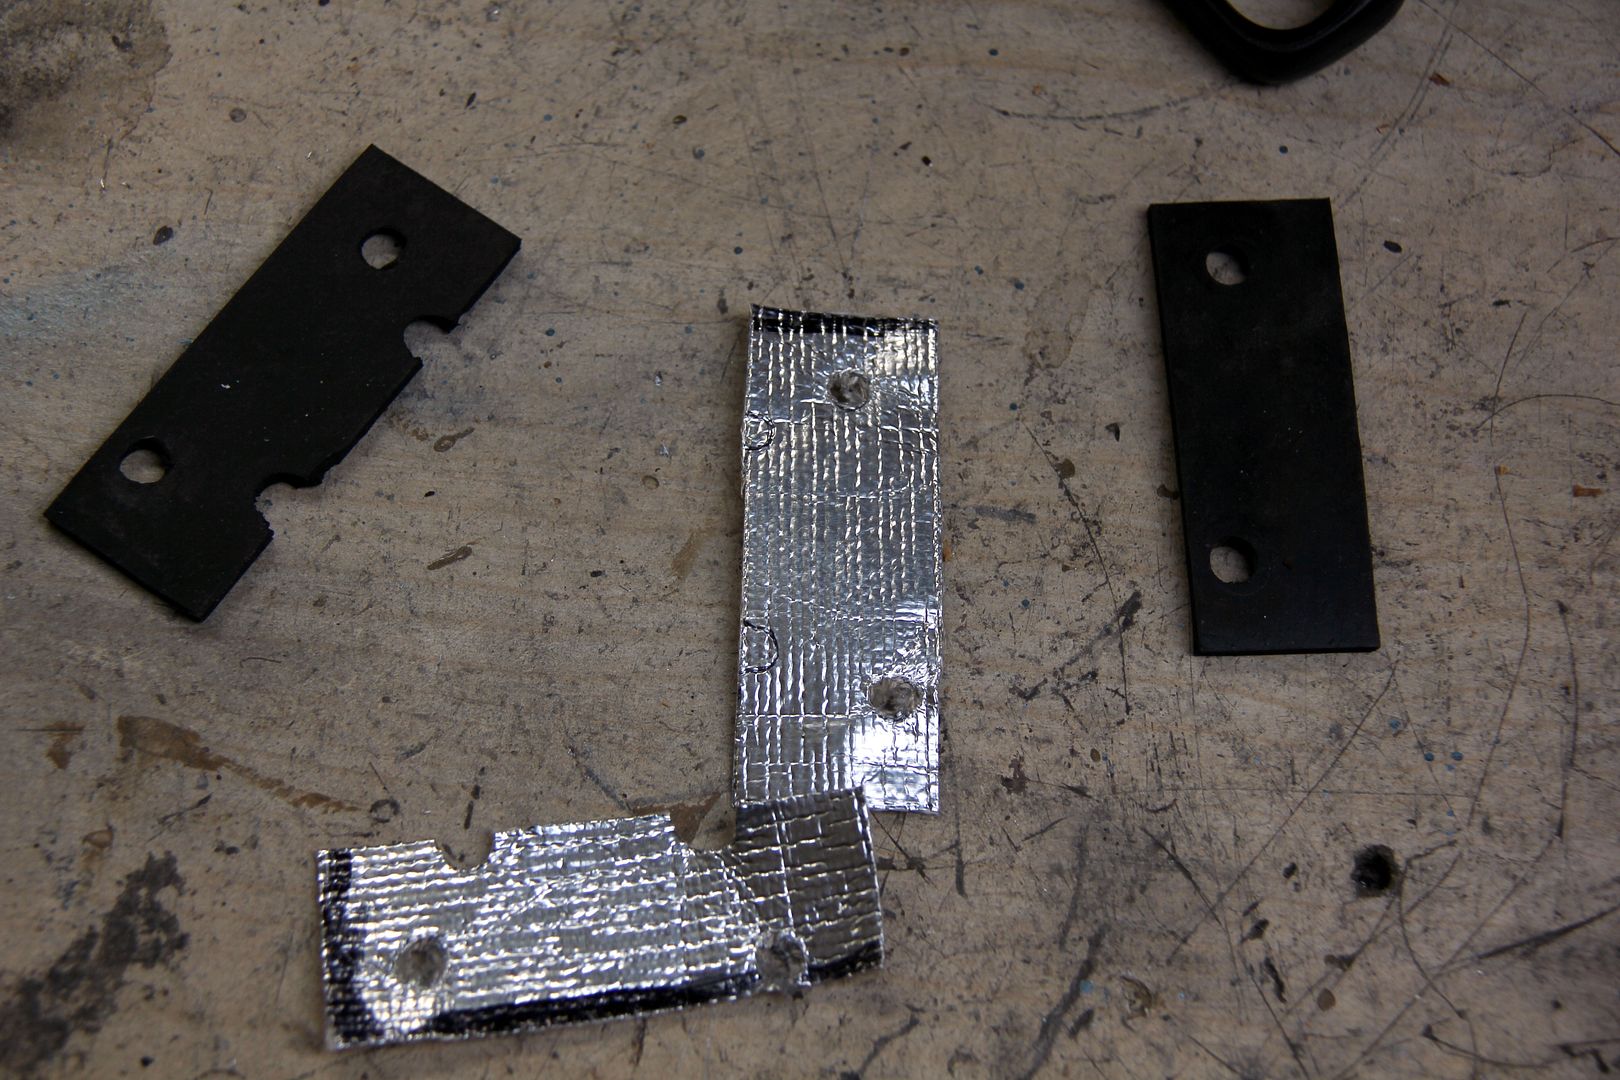
I made up a couple of rubber shims, sandwiched between aluminised heat barrier, to give the cooler itself a bit of isolation from the mounts

Image

Sadly, my fears were confirmed and on test-fitting under the weight of the cooler, the new bracket deformed slightly. Not too bad, but it would weigh even more when it was full of oil, so it seemed my alloy attempt just wasn't man enough for the job

Image

Oh well, live and learn. On to Version 2! This one I made out of steel, specifically the massive oversized numberplate holder that came on my MazdaSpeed FD bumper which obstructed about 80% of the airflow through the bumper, so I immediately took off and threw in a drawer in the garage. Seven years later it finds a new use, and at least there'll be a tiny fraction of my FB that is forever genuine JDM y0!

Image

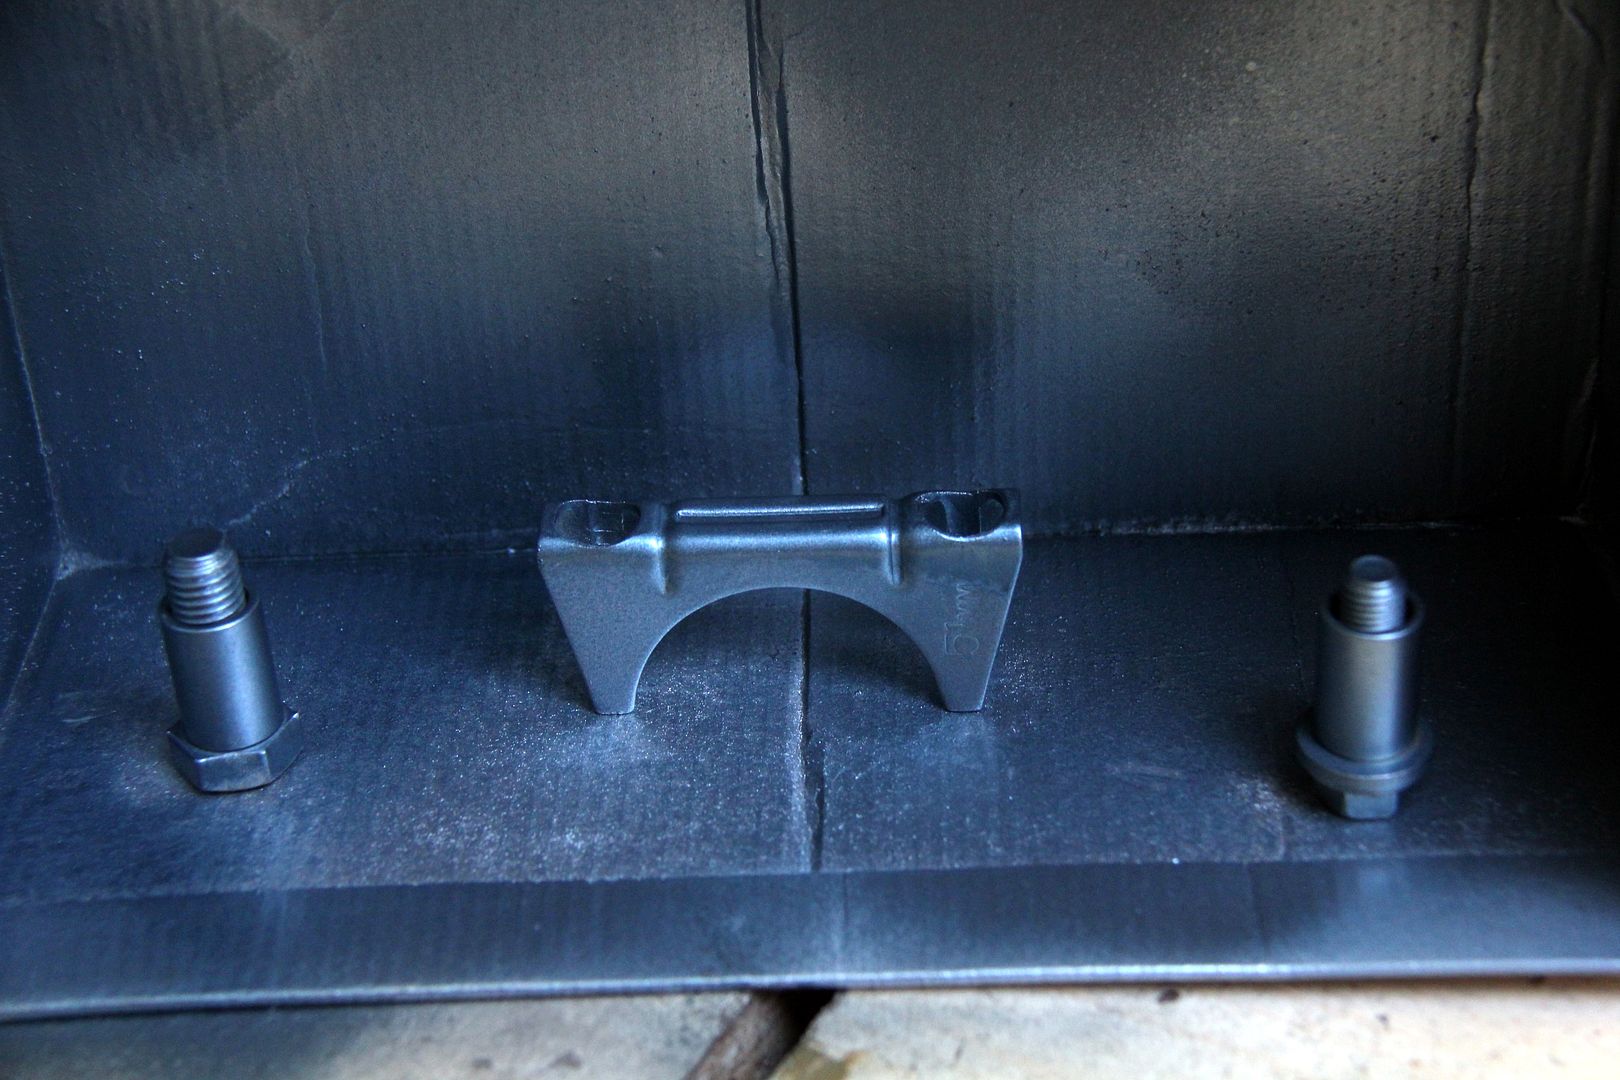
For the other end I was able to use the simple method of putting a massive U-bolt around the reinforcement bar in the chassis. I got a 50mm-diamter super-strong marine stainless bolt that I think is meant to act as a mooring point or something!

Image

A cheapy Halfords U-bolt sacrificed its clamping component, and I made two sets of spacers up and sprayed them all to avoid rust issues later

Image

My plan was to clamp the U-bolt to the chassis, then use spacer and bolt the cooler to the U-bolt. This would mean the cooler could be removed if need be without having to remove the entire clamp and everything. In practice, this was a mistake because it meant as I tightened the U-bolt in place using the first set of spacers it splayed the arms out slightly, meaning it no longer fitted into the bracket to mount to the oil cooler "ear". Caused a bit of swearing and sweating to overcome. I might go back and make it just the one fitment. As it turned out, this was the least of my worries. Somehow, probably because I'd copied version 2 from version 1 bracket, and I was in a rush because time was running out, and because the original bracket was bent, and because I committed the cardinal sin of not measuring twice and cutting once...

Image

Yep, properly on the piss! This is made worse by the fact that the U-Bolt was slightly miss-aligned and could be moved round a bit, but I'd still got the holes in the wrong place on the offside mount. Ah, well, can't win them all. By now it was 4 p.m. Friday afternoon and the car was due in Super 7 for the engine swap that week. I decided that it was good enough, and that with all the other work they'd be doing, they guys in the shop could hardly begrudge re-drilling a couple of holes for me, so I set off to deliver the car. This had been a couple of weeks of work, most spare moments spent on one or other of these jobs all in and around each other. Overall I was pretty satisfied, despite a couple of wonky brackets, lol. However, I didn't know I was about to meet a complete retard in a Vauxhall Corsa who hasn't the sense God gave the hole in a cow's arse and doesn't know enough to not smash into other traffic.

And the rest, as they say, is history...

Image

...or it will be, one day. ONE day I'll look back and laugh...
TOOL
VIP User
VIP User
Posts: 2598
Joined: Thu Sep 01, 2011 10:30 am
Location: Switzerland
Been thanked: 24 times

Re: Lucky's Series 3

Post by TOOL »

Good work there. Glad to see you're using the parts.

If you can find a good place, consider getting the metal parts san/bead blasted and powder coated. They'll come up like new.
Back in the UK for the summer, maybe longer......
Chud
VIP User
VIP User
Posts: 933
Joined: Fri Apr 01, 2011 7:35 am
Location: North Dorset, UK
Has thanked: 3 times
Been thanked: 111 times

Re: Lucky's Series 3

Post by Chud »

Looking good dude - me likey the writing on the cooler.
instagram: tymboooo

1980 series 1 RX7 x2
1983 series 2 RX7
1975 RX3 Coupe
1956 VW split screen kombi
1966 Porsche 912
codge
RX7fb LEGEND
RX7fb LEGEND
Posts: 2668
Joined: Fri Apr 01, 2011 11:41 am
Location: South Yorks.
Been thanked: 4 times

Re: Lucky's Series 3

Post by codge »

Nik da Greek, our artist, poet, photo genius extraordinary, engineer with watch making skills, raconteur and all round good guy........ s(c)
Lucky
VIP User
VIP User
Posts: 2685
Joined: Mon Nov 07, 2011 8:30 pm
Location: Worthing, UK
Been thanked: 5 times

Re: Lucky's Series 3

Post by Lucky »

Awww, shucks :oops: *blushes*


If I ever see the car again, hopefully it'll actually be quite nice lol
User avatar
ian65
Admin
Admin
Posts: 6402
Joined: Wed Mar 30, 2011 12:11 am
Has thanked: 315 times
Been thanked: 376 times

Re: Lucky's Series 3

Post by ian65 »

codge wrote:Nik da Greek, our artist, poet, photo genius extraordinary, engineer with watch making skills, raconteur and all round good guy........ s(c)
can you fix my watch? :)

nice post Nik, interesting to see how the seats go together and also the brake rebuild.... I've found the easiest way to get seized pistons out of calipers is the connect the caliper to a grease gun and then pump them out... never failed me yet. I always put the pistons back in with just brake fluid to lube them, never tried red rubber grease... have to give it a go.
I've been looking at the same place for oil cooler lines but I want banjo fittings and I can't see where they sell them.

1999 Jaguar XJR V8 Supercharged

1992 Peugeot 205 1.9 GTI
2003 Mercedes SLK 200 Kompressor
Lucky
VIP User
VIP User
Posts: 2685
Joined: Mon Nov 07, 2011 8:30 pm
Location: Worthing, UK
Been thanked: 5 times

Re: Lucky's Series 3

Post by Lucky »

I couldn't find any alloy banjo fittings big enough either, Ian. It certainly would have made it a damned sight easier for clearance purposes. I guess maybe steel is the only thing manly enough to take the stresses in that format?

As to the rubber grease, I think technically you should only use brake fluid to lube the inner square-cut seal, but I've always used it on brake rebuilds in the past and it's never done any harm. Certainly when it comes to lubricating the outer dust seal and the sliders and rubbers, there' s nothing better
User avatar
Hobbawobba
VIP User
VIP User
Posts: 1938
Joined: Tue Nov 01, 2011 9:44 pm
Location: Worcester - UK
Has thanked: 628 times
Been thanked: 218 times

Re: Lucky's Series 3

Post by Hobbawobba »

Lucky wrote:The trickiest part of the whole thing was getting the stupid circlip for the dust seals seated properly; they seem to have a spring force in them that could fire a human cannonball (and nearly did, several times). In addition, there's no means of actually holding them with a tool (no detent for circlip pliers and normal snipe-nosed ones just slip off). There's probably a technique that makes it easy, but I never discovered it. I eventually held one end in place with a small screwdriver and then worked round the spring with another screwdriver to the other end, seating it as I went. This took several attempts, and all the while I was painfully aware how easy it would be to tear the fragile seal. A most annoying part of the job!
:lol: :lol: :lol: I've just done this a few weeks ago on my fronts aye. Jeez that thing was frustrating. Trying to be extremely gentle as to not poke through the dust boot.. But also aggressive enough to actually get it in :twisted:. I also ended up going with the 2 small screwdriver method!

Awesome stuff with everything else though man! Wouldn't of thought to spray the cooler like that aye. Also love seeing the outings with Trace the Brace -haha-
Post Reply

Return to “RX7 Rides and projects”