So, I finally got round to installing a rear seatbelt so I can convey both the offspring at the same time. If it weren't for Ian's excellent and highly useful thread here
http://www.rx7fb.com/viewtopic.php?f=9&t=1550 I wouldn't even have known where to start, but once I knew the mounting points already existed, it was a piece of proverbial. For anyone wishing to do the same, here's the skinny;
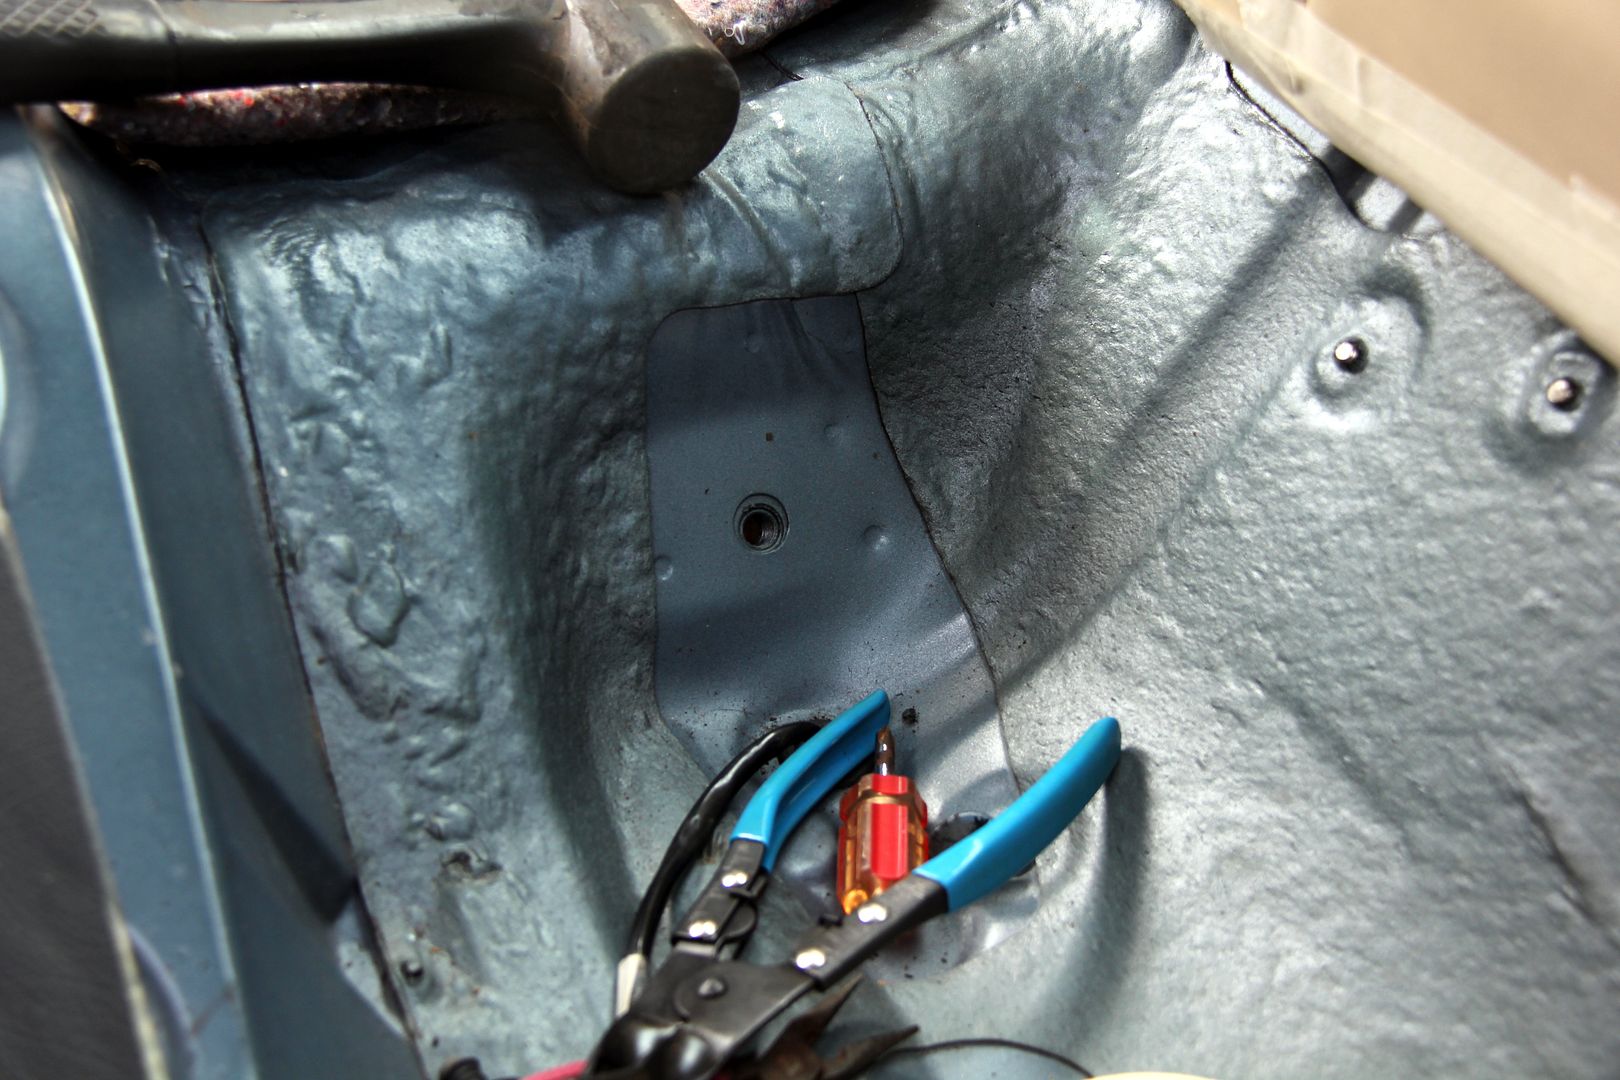
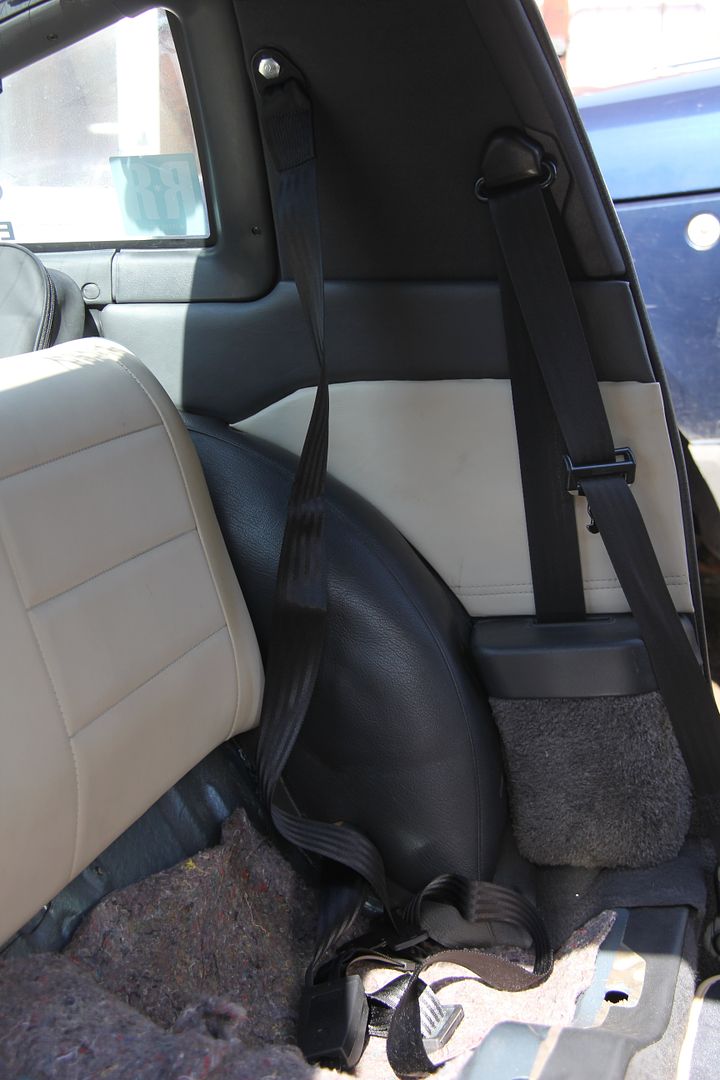
As per Ian's thread, the mounting points are found by lifting the rear seat squab and removing the C-pillar trim panels. The seat base has the point for the buckles in the trans tunnel bulge thus;
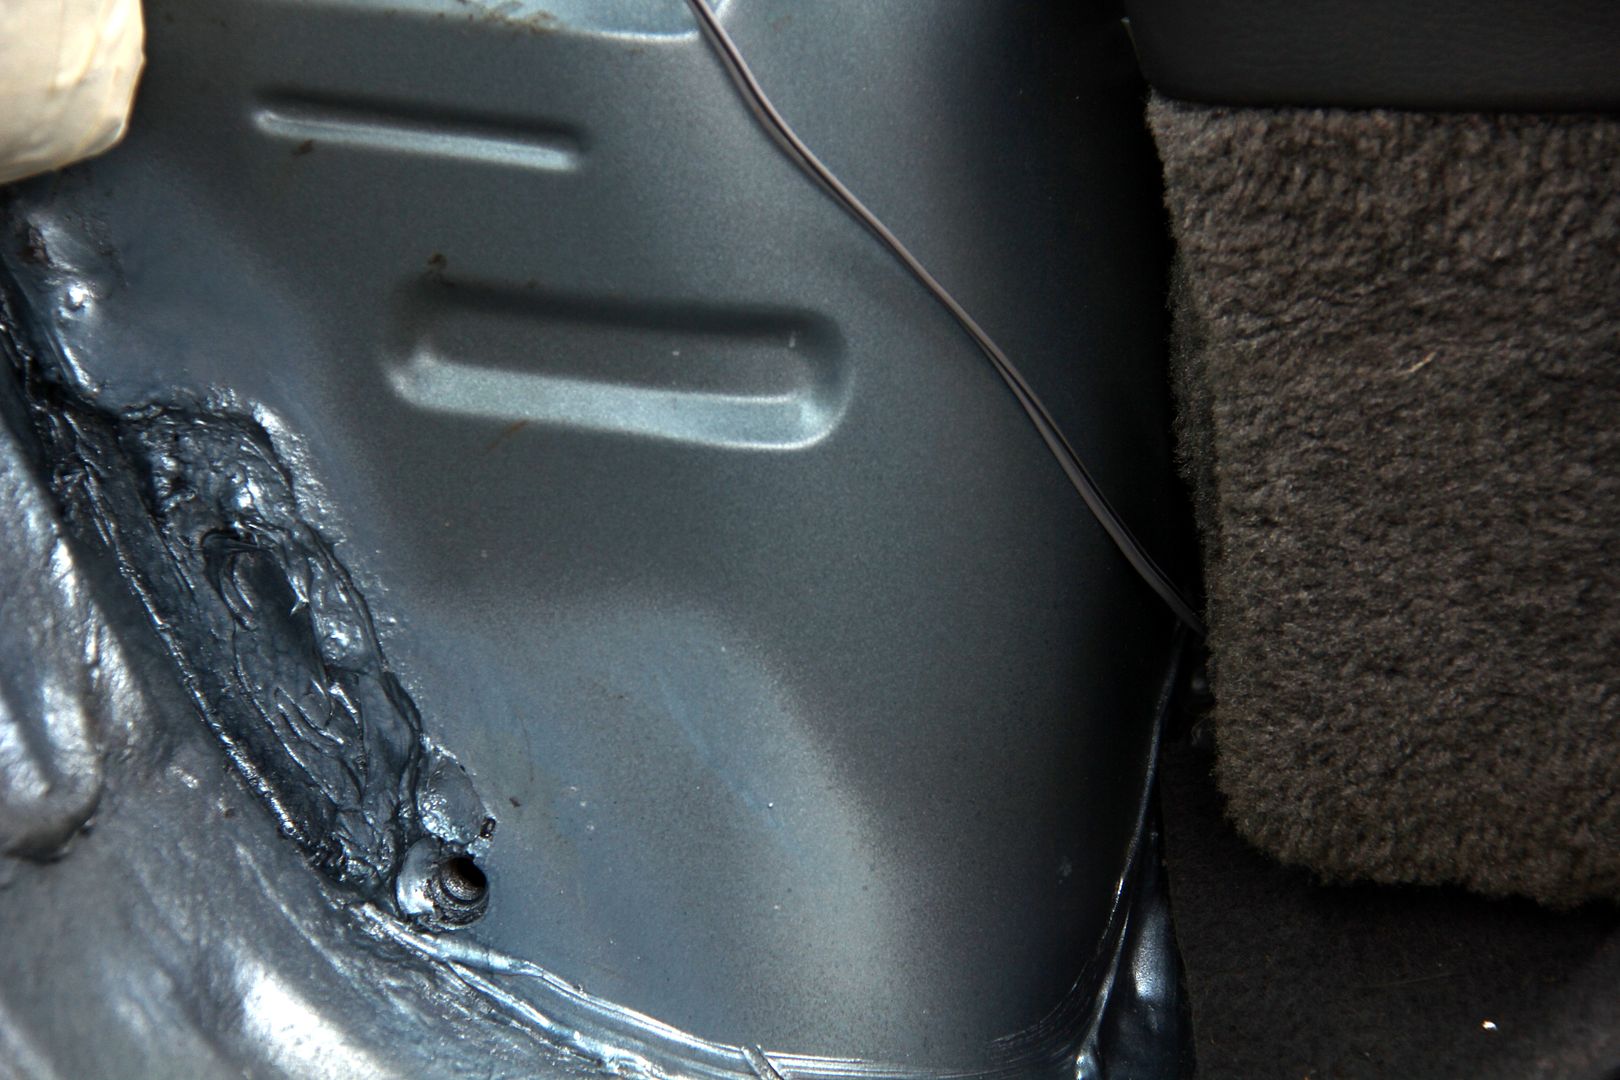
The wheel arc trim vinyl bag thing conceals the lower mount (excuse the horrible-looking repair, but they
all rust here, as you know. It's sound, it's just the sprayed-over sealant gunk that makes it look so gnarly
The top mount is hidden behind the velour-y panel, which you will need to make a hole it for the mounting bolt to screw through. My method for working out where the hole needed to go was to screw a big allen bolt the correct size (M12 fine) into the mounting hole
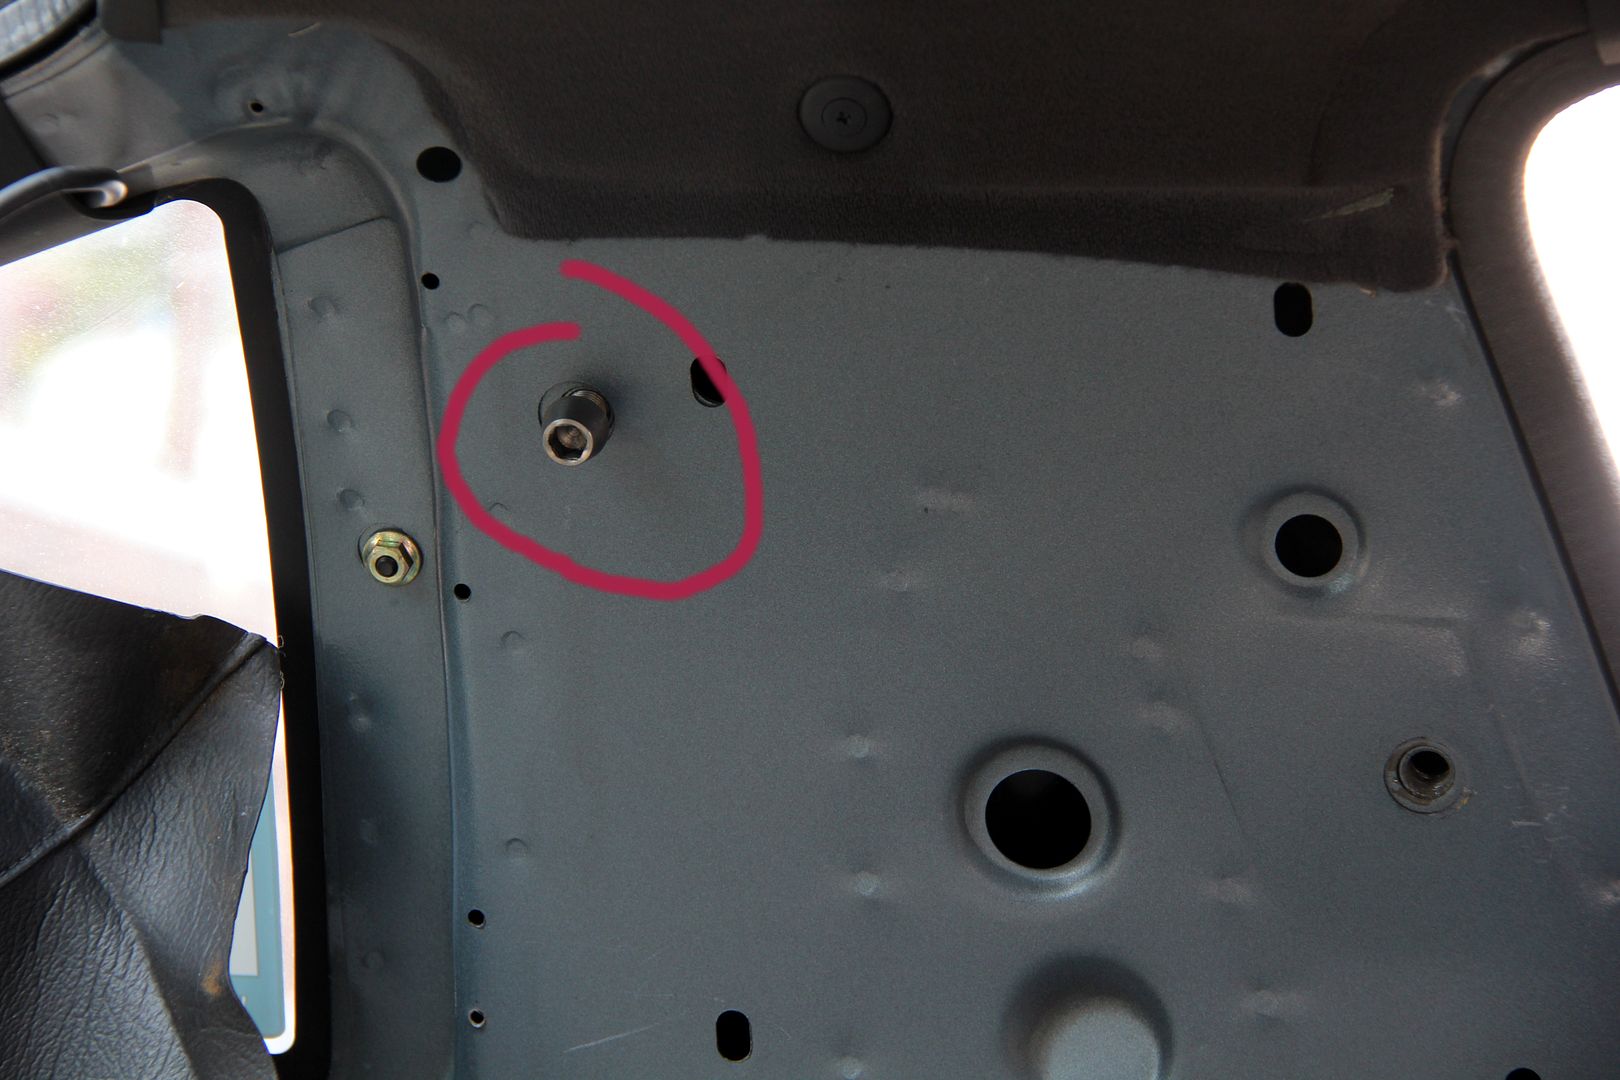
...and then replace the trim panel over the top and whack it with a big mallet. This cut the allen head into the rear of the trim panel, neatly marking where to make the hole
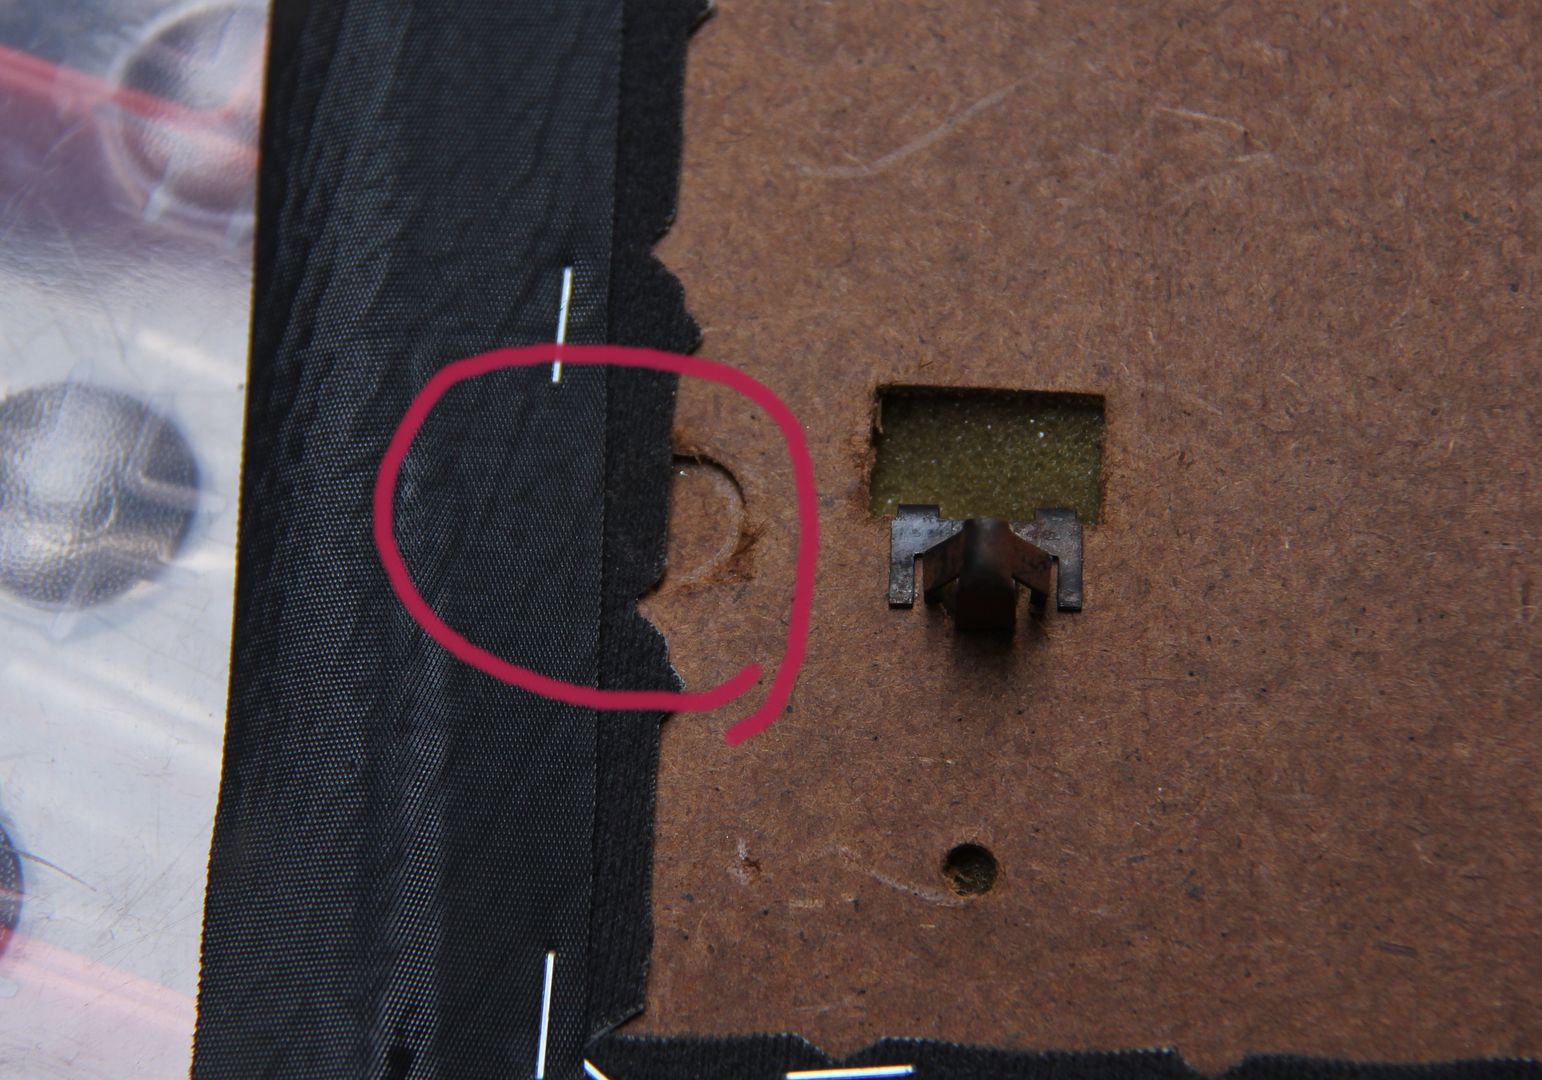
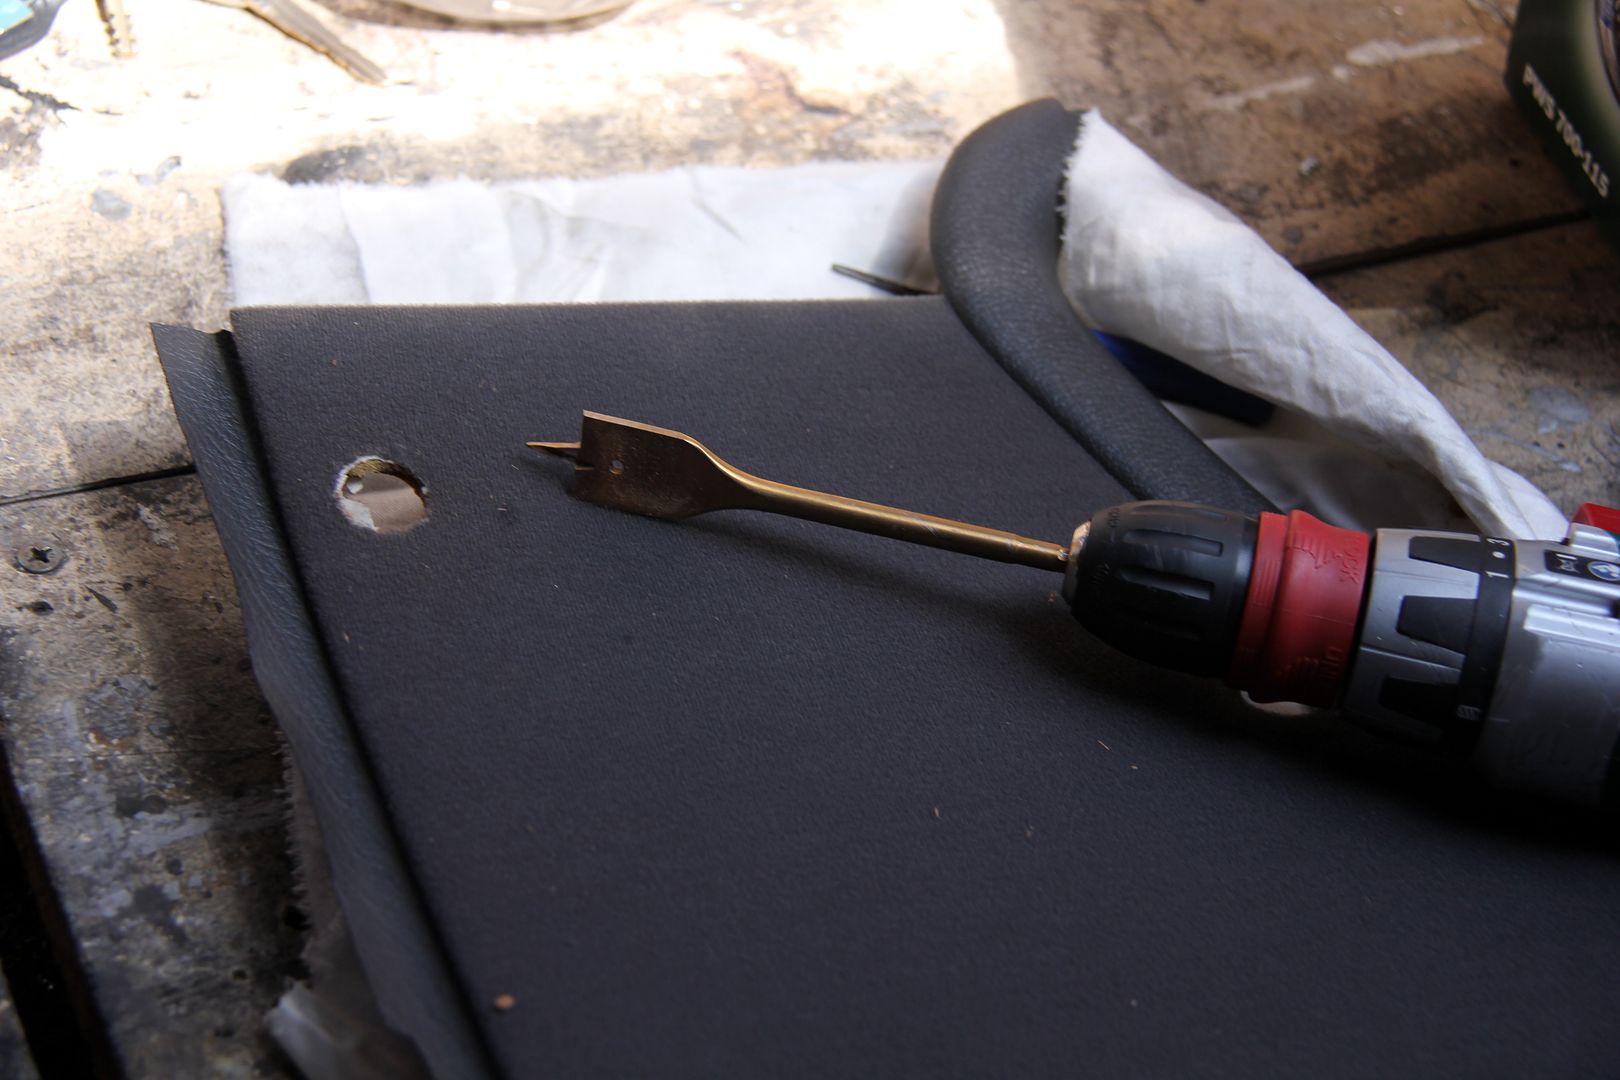
which was duly done with a chisel bit (it's only card). Fortunately the weird velour stuff is pretty fray-resistant, but I edged it with a piece of vacc hose slit lengthwise to make a rubber trim
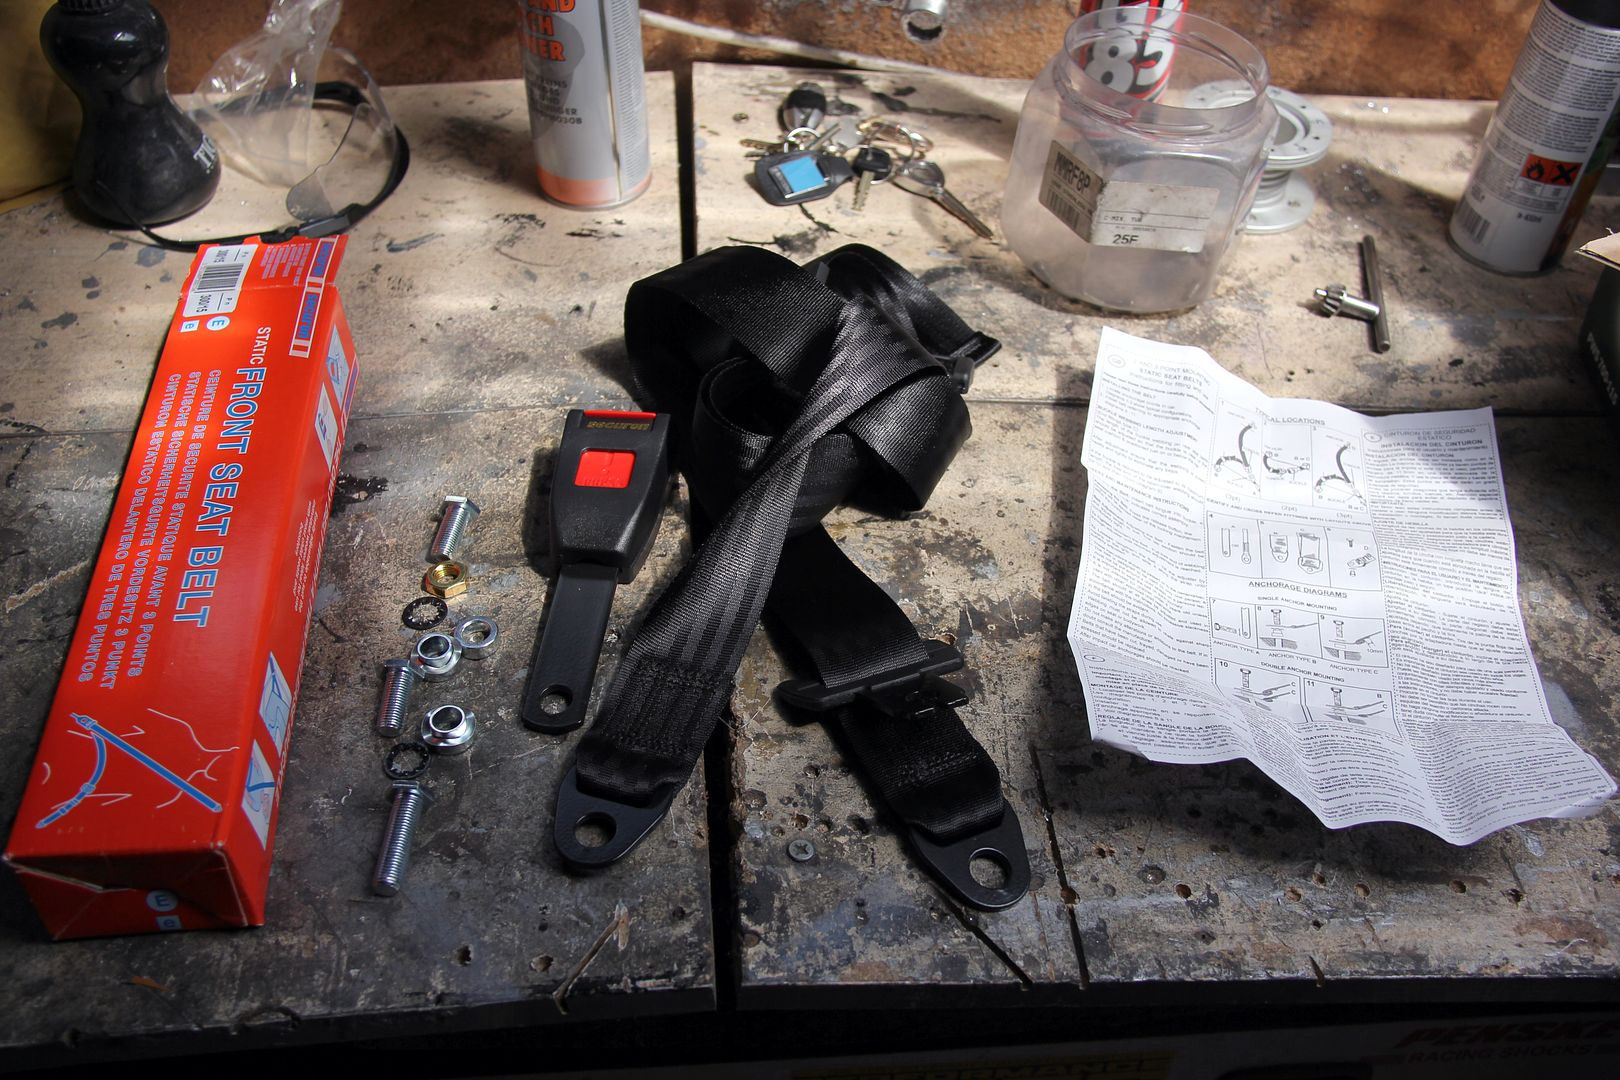
The kit I bought is a Securon one, available on the Bay of E although I got mine from Car Builder Solutions cos it was cheaper. Unfortunately, I got the short-stalk buckle variant thinking the seats are so small you didn't want a really long buckle that would then leave less space for adjusting the actual belt length. Unfortunately, the buckle mount, which from the photos I thought was that bendy sorta plastic stuff, turned out to be 5mm steel

I managed to bend it a bit but there was no way with the angle of the mounting hole that it was ever going to line up with the slot in the seat base, it ended up pointing towards the offside of the car and I'd have had to get so brutal to bend it more that I could see the buckle shattering into a million pieces
The solution presented in a half-price lap belt from, of all people, Halfrauds, who happened to have an old-stock one left despite them not officially stocking them any more. even more remarkably, I managed to reserve it at my local store using their click-and-collect function... and it was actually there waiting for me an hour later. Although the guy did say he had a right mission finding it in their store-room

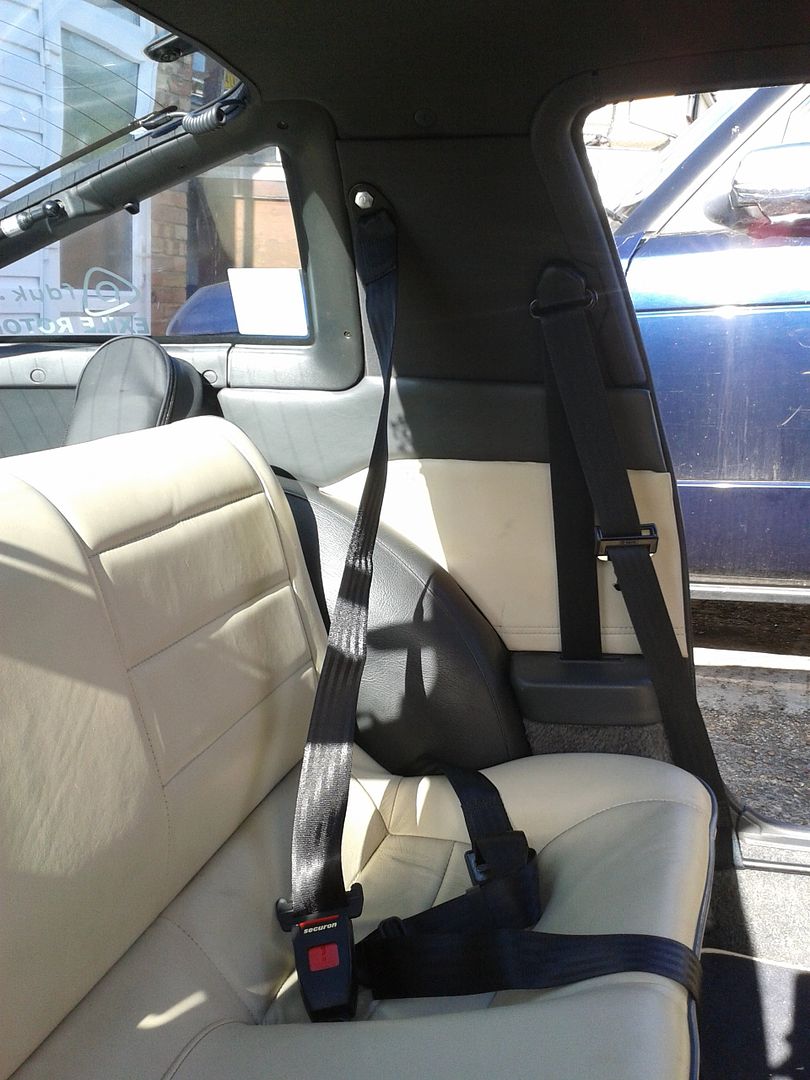
So, armed with what I should have got in the first place, a nice webbing buckle, I could bolt it in;
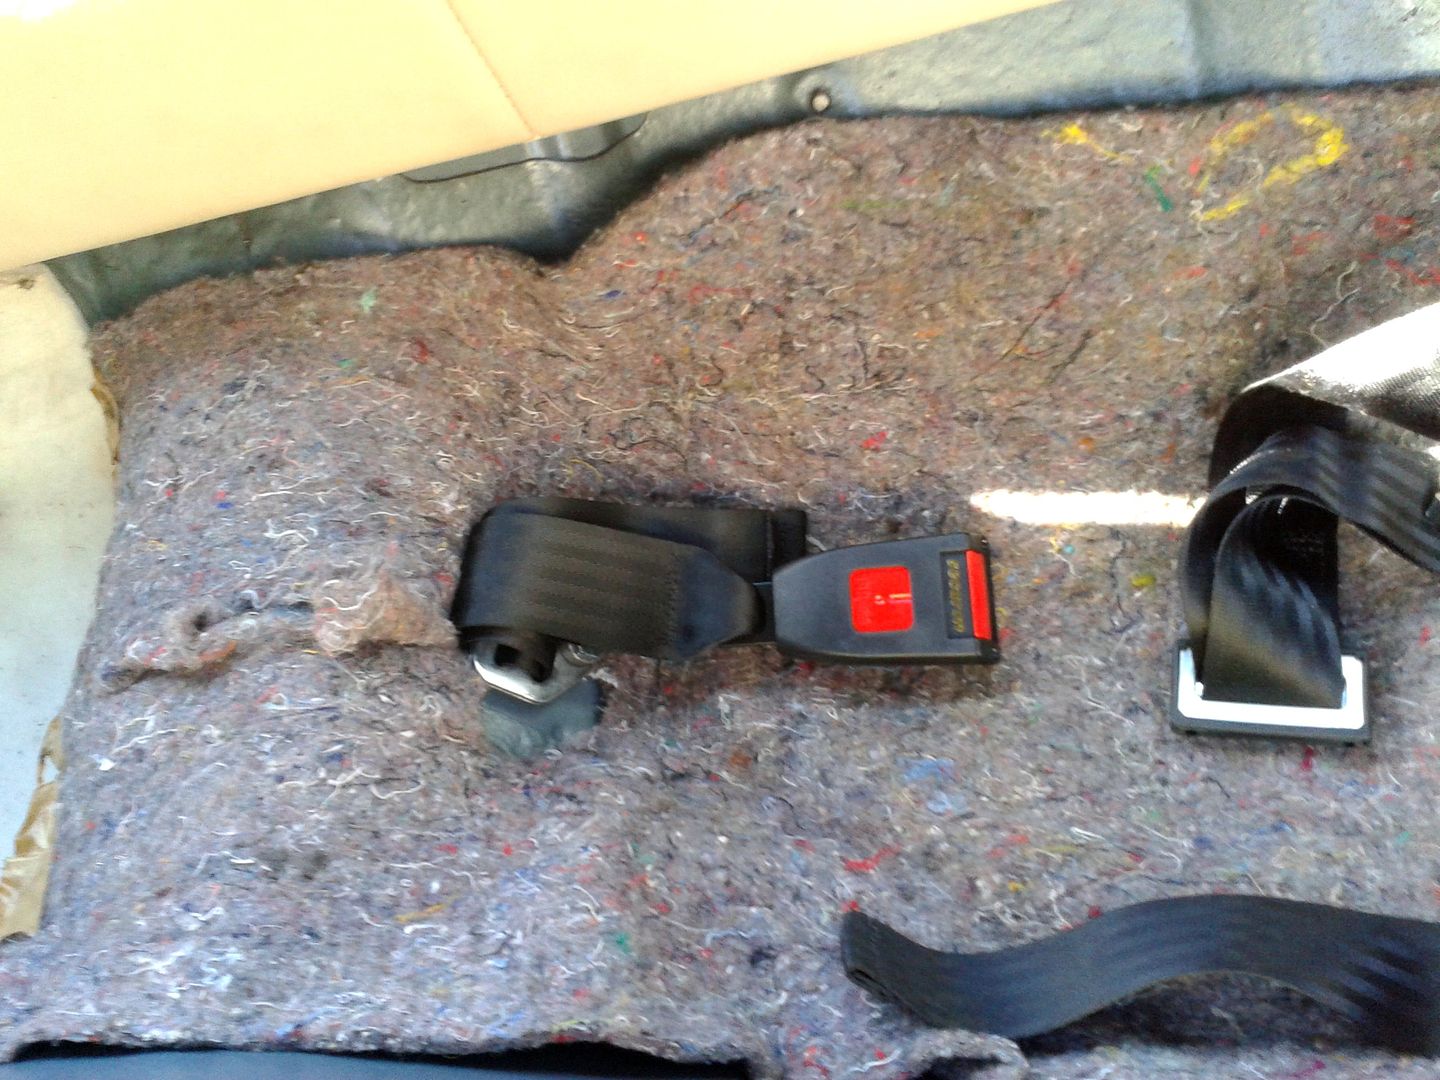
Mazda obviously felt this might be done a lot because even the sound-absorbing mat under the seat squab has holes cut in it to access the mounting holes. Once the belt is attached, you can see how there's no way you're ever going to fit an inertia-reel in the space available; to secure-mount it to the threaded insert, it would be right in the middle of where the seat squab edge goes
But this fixed-adjustable version seems to work perfectly well, once adjusted for length. The only downside is that it doesn't have a cover to clip over the top mount, and the bolts are the shiniest bolts ever, so it sticks out a bit aesthetically. I might try to purloin one of some spare FD belts I've got and see if I can make it fit. Or just paint the bolt-head grey, lol
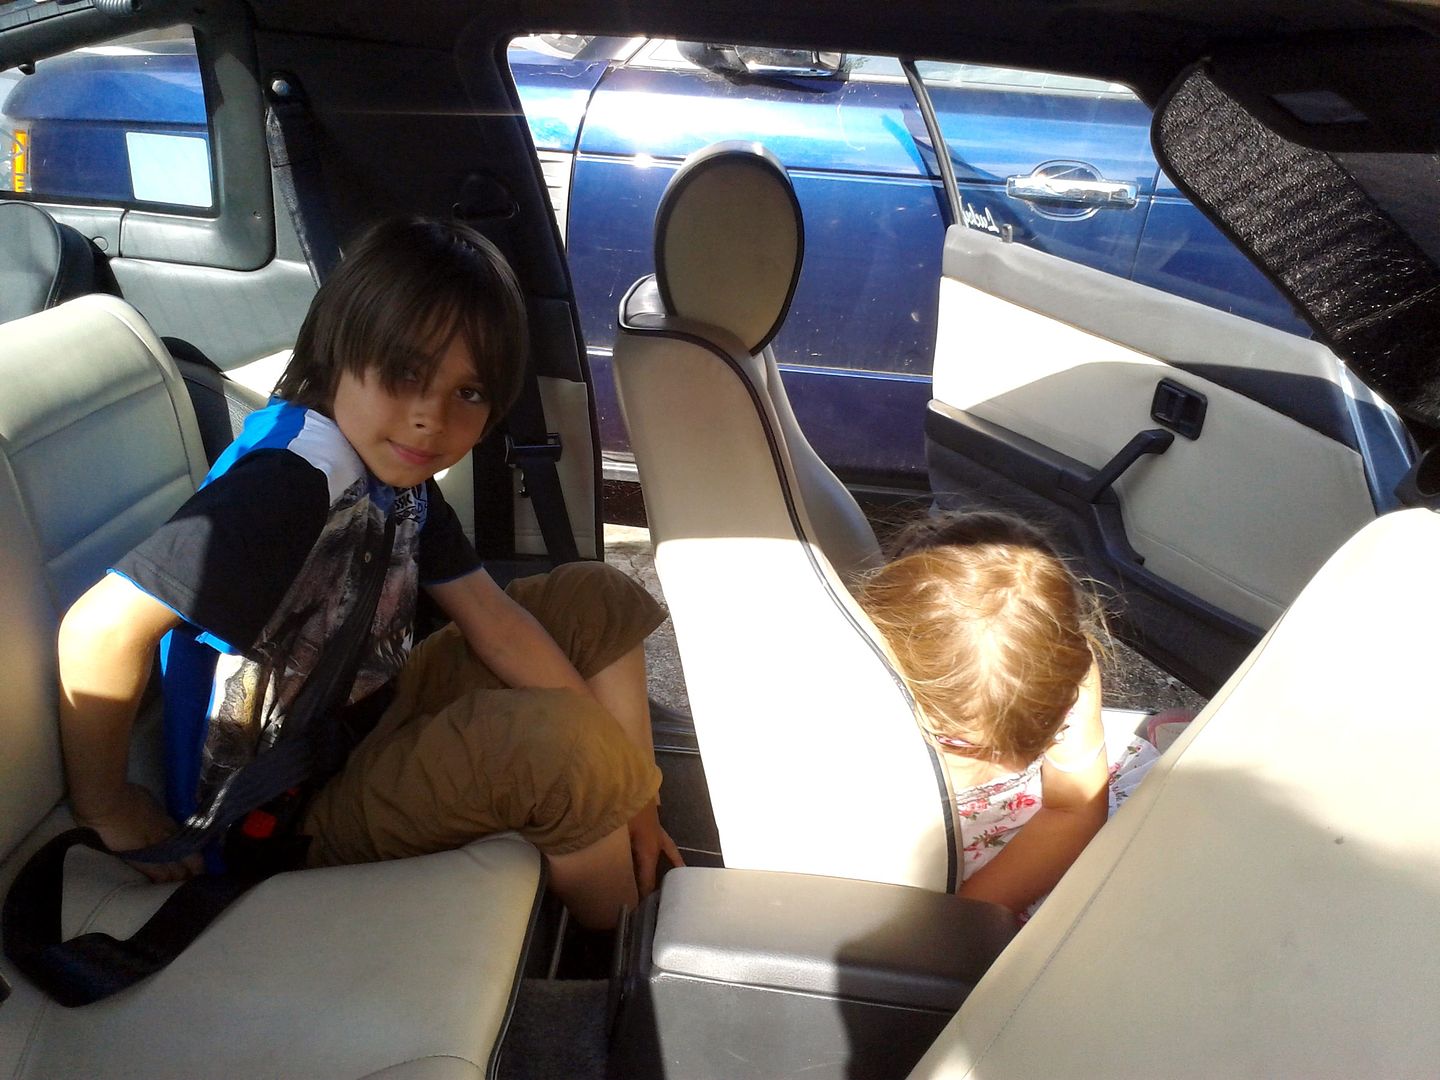
and then all that really remained was to install some live cargo and see how well it worked. And the answer is... well, it works like a seatbelt. Which after all is the whole point of the exercise
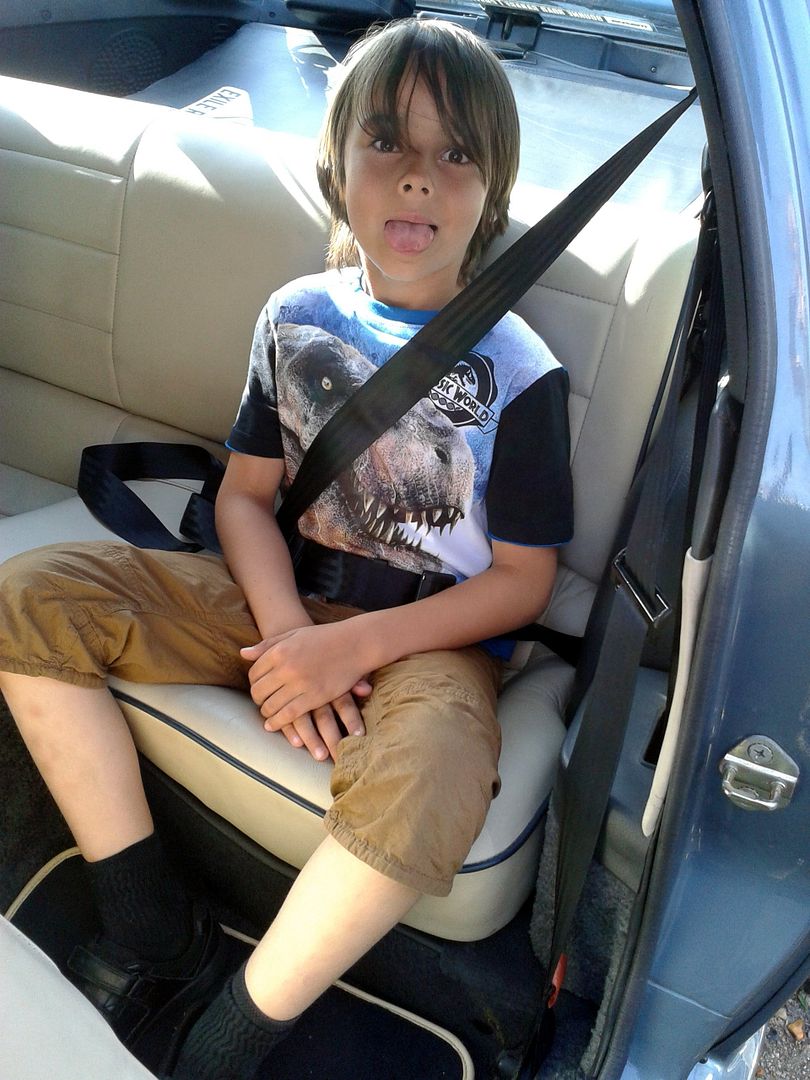
and if you use small enough humans, they even make it look quite commodious and accommodating, lol. To be fair, the Boy's pretty cumbersome and even he had plenty of leg room, plus he said it was nice and cosy, so everyone's a winner. He might think differently after a four-hour road test though