Page 10 of 33
Re: A Kiwis Series 3
Posted: Fri Jan 29, 2016 11:39 am
by codge
If you do want to get the trackrod balljoints separated the best DIY method is to remove splitpin, take off the castle nut and rethread it back a couple of turns.....to stop the track rod dropping on you or the floor.
Then place a big lump of metal (big hammer head say) behind the taper joint then clout the other side of the taper with another big hammer. A couple of shocks usually jars the most stubborn of tapers loose.
If you just hit the top on the nut with a hammer usually it just looks back at you without moving.
Or there is a proper joint splitting tool.
Re: A Kiwis Series 3
Posted: Fri Jan 29, 2016 5:46 pm
by Hobbawobba
Thanks for the explanation Ian! I wasn't sure how to put it into words

Also thanks to Codge for your tips!

Re: A Kiwis Series 3
Posted: Sat Mar 05, 2016 10:27 pm
by Hobbawobba
Took my rear end apart so far. I think the only things left from the drivers seat back are fuel/brake hard lines from the engine and handbrake cables hanging around
. Only had trouble with 2 bolts (nearside damper-axle bolt spinning the bush and a sheared exhaust bushing bolt). Pretty happy with that. The parts I took off are very brown which I'll try get some decent pictures of next week

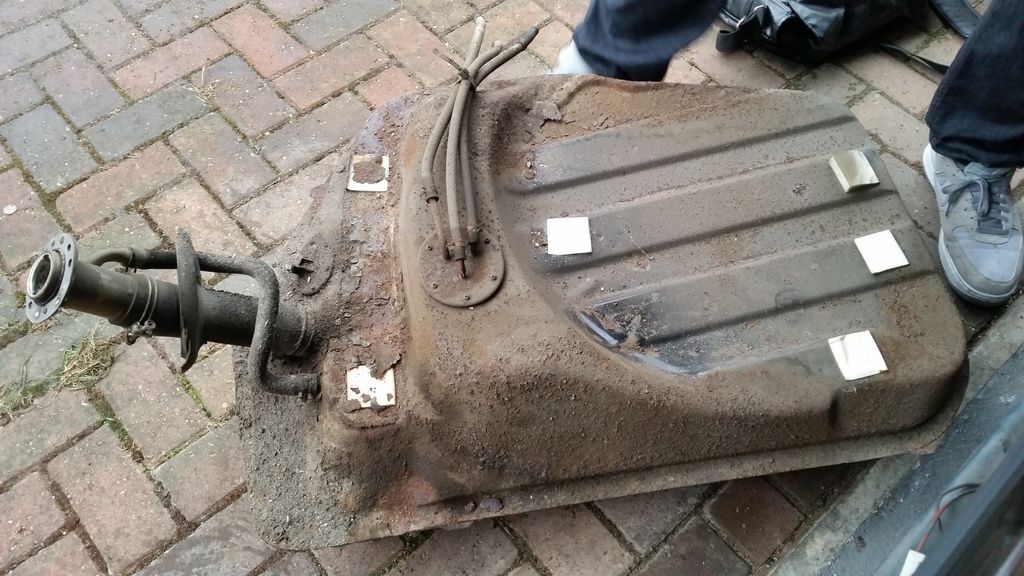
. This update is mainly for the petrol tank though.
I took a drive over to Holden Vintage and Classic in Bromyard a couple of months ago for some POR15 petrol tank sealant. GT_James came along for the nice 20 minute drive also

. Knowing how the tanks for our cars get I thought it'd be a smart idea

. My dash gauge has always been wrong also. Reading half when the tank was full and empty when I assume its half a tank.
Not sure if I'll need to replace it or what?
Mmmm tasty

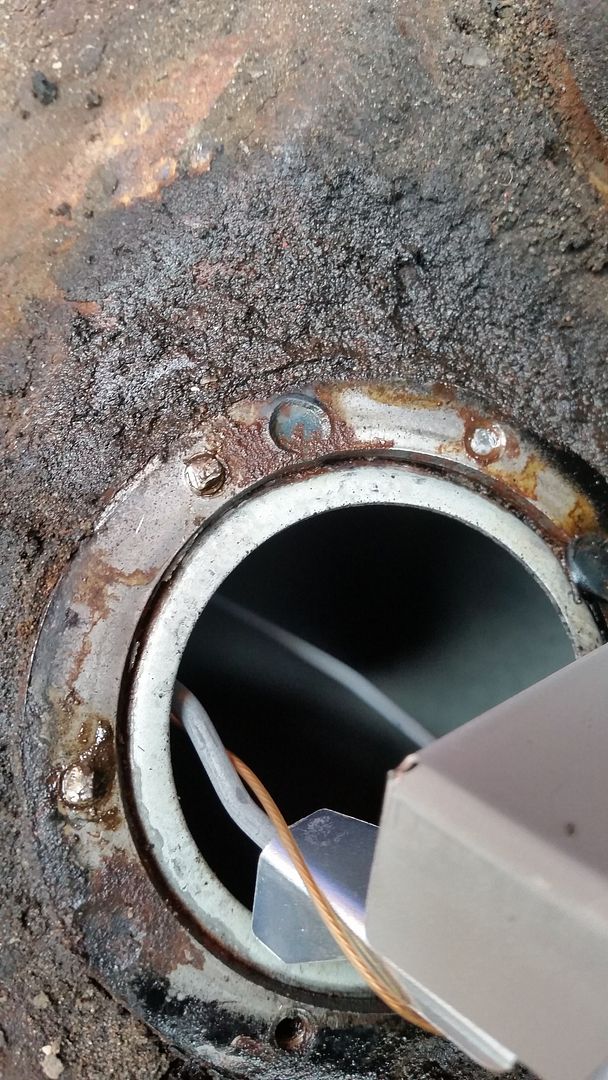
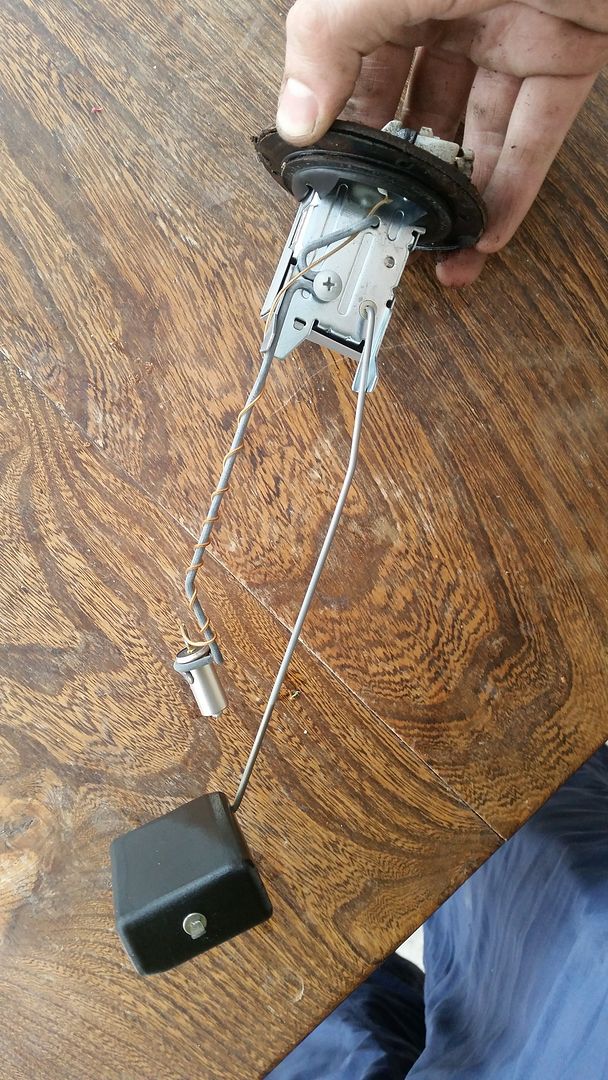
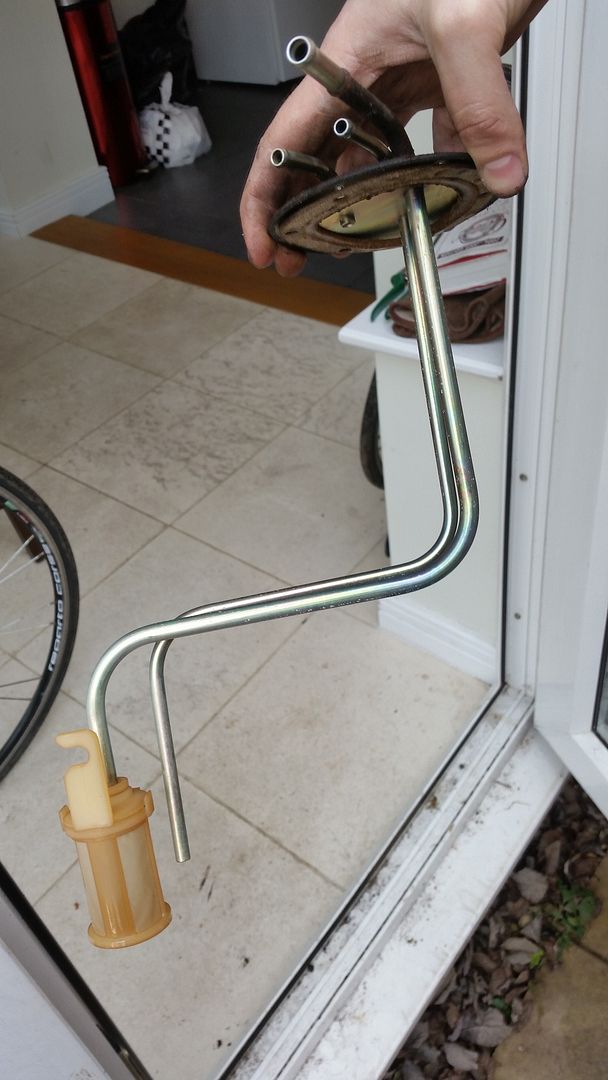
. Plenty of gunk and rust flakes. 3 of the screws holding the fuel level sensor sheared off. Does anybody have any ideas how I can get them out? I'd like to try and avoid drilling haha. Took the fuel level sender and pickup/return/vent lines out of the tank. The filter on the pickup was surprisingly clean?!
Reluctantly had a look inside the tank to see the horror that awaited

. Sludge, grime and stale petrol yum yum.
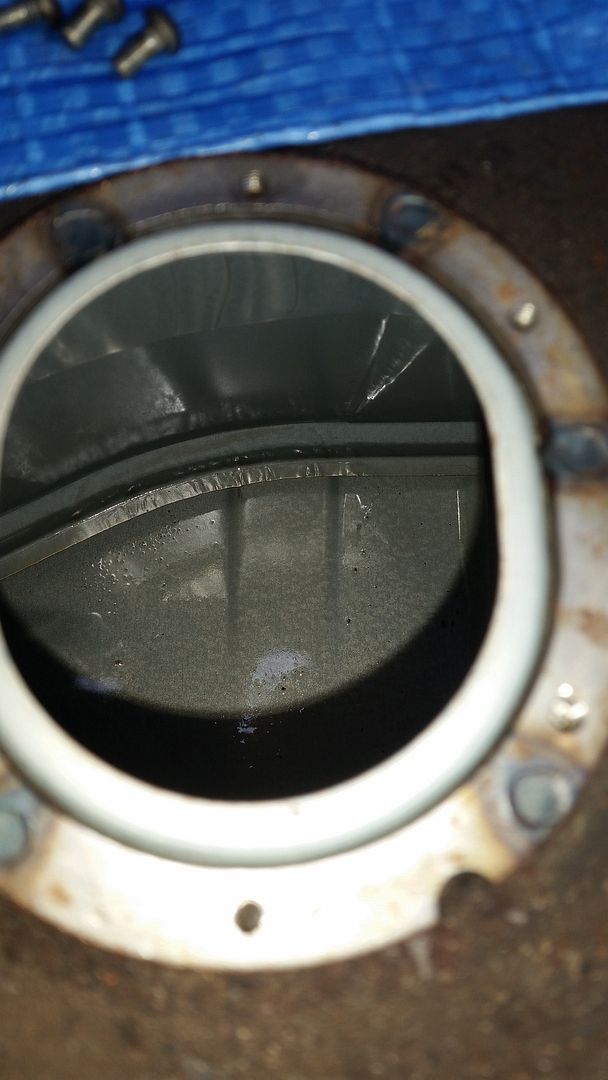
Wait, What?! Clean as!

I think the grit is from taking the sender/pickups off. It has me debating if I should even bother using POR15 tank sealant. Probably still is worth it but hmm hahah. What do you guys think?
Re: A Kiwis Series 3
Posted: Sat Mar 05, 2016 11:07 pm
by ian65
that's the cleanest fb tank I've seen..... they tend to rust out from the inside out and on the top corner behind the filler.... that seems to be where the condensation forms.... to get the broken screws out I'd drill the centre of them, soak them with wd40 and then use an easyout.
Re: A Kiwis Series 3
Posted: Sun Mar 06, 2016 2:50 pm
by spirit r
ian65 wrote:soak them with wd40 and then use an easyout.
The spraycan in your garage should be empty Jesse have to take this
http://www.conrad-electronic.co.uk/ce/e ... archDetail
I can see you are busy so you finished in spring for rotary ride.
Re: A Kiwis Series 3
Posted: Sun Mar 06, 2016 6:44 pm
by apexheid
mine was the same as your, very clean and very much no rust. I threw away the screen filter cos it's old news. you can make a better sucker out of sheet metal.
find thin sheet metal .9 or 1mm will do.
Circle the diameter 30-50mm with centre punch in the middle.
cut or shearing it round shape
Drill the centre the same as the inlet tube's o/d.
put the drill onto the vice, grip it tight and panning the sheet metal into a shape of a bell( 20-45 degree will do).
Throw the old news screen in the bin.
Weld/ solder the bell into the inlet tube and deburr to blend in the remained tube/bell
it'll suck petrol lots better than a straw tube.
Fuel filter near the pump will be dirty very quick and must carry a spare at time. Easy to notice that when the engine's rev goes poorly at 5-6thousand rev and wake up to change the filter.
Sorry loons, nae photos
Re: A Kiwis Series 3
Posted: Fri Apr 08, 2016 9:11 pm
by Hobbawobba
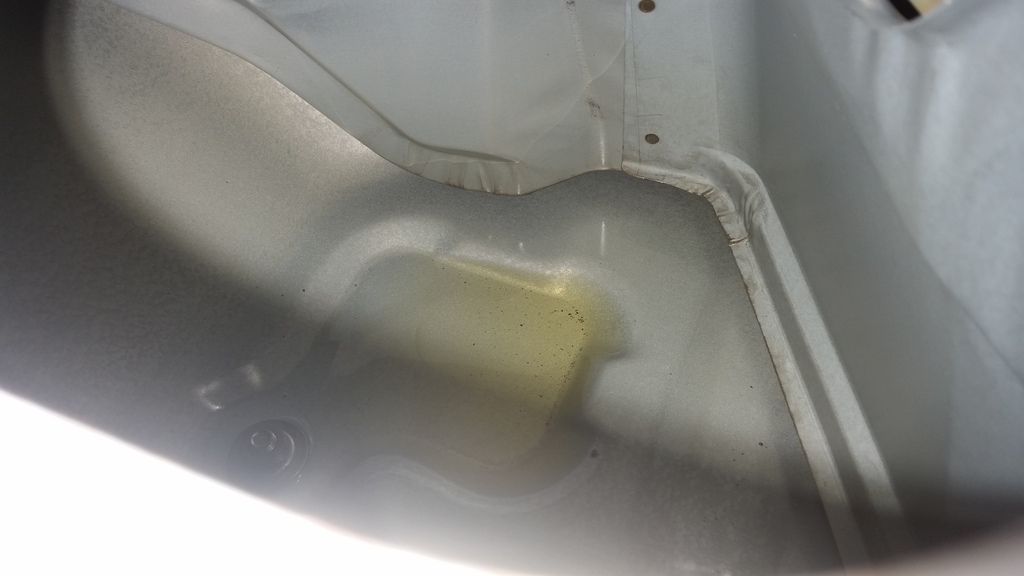
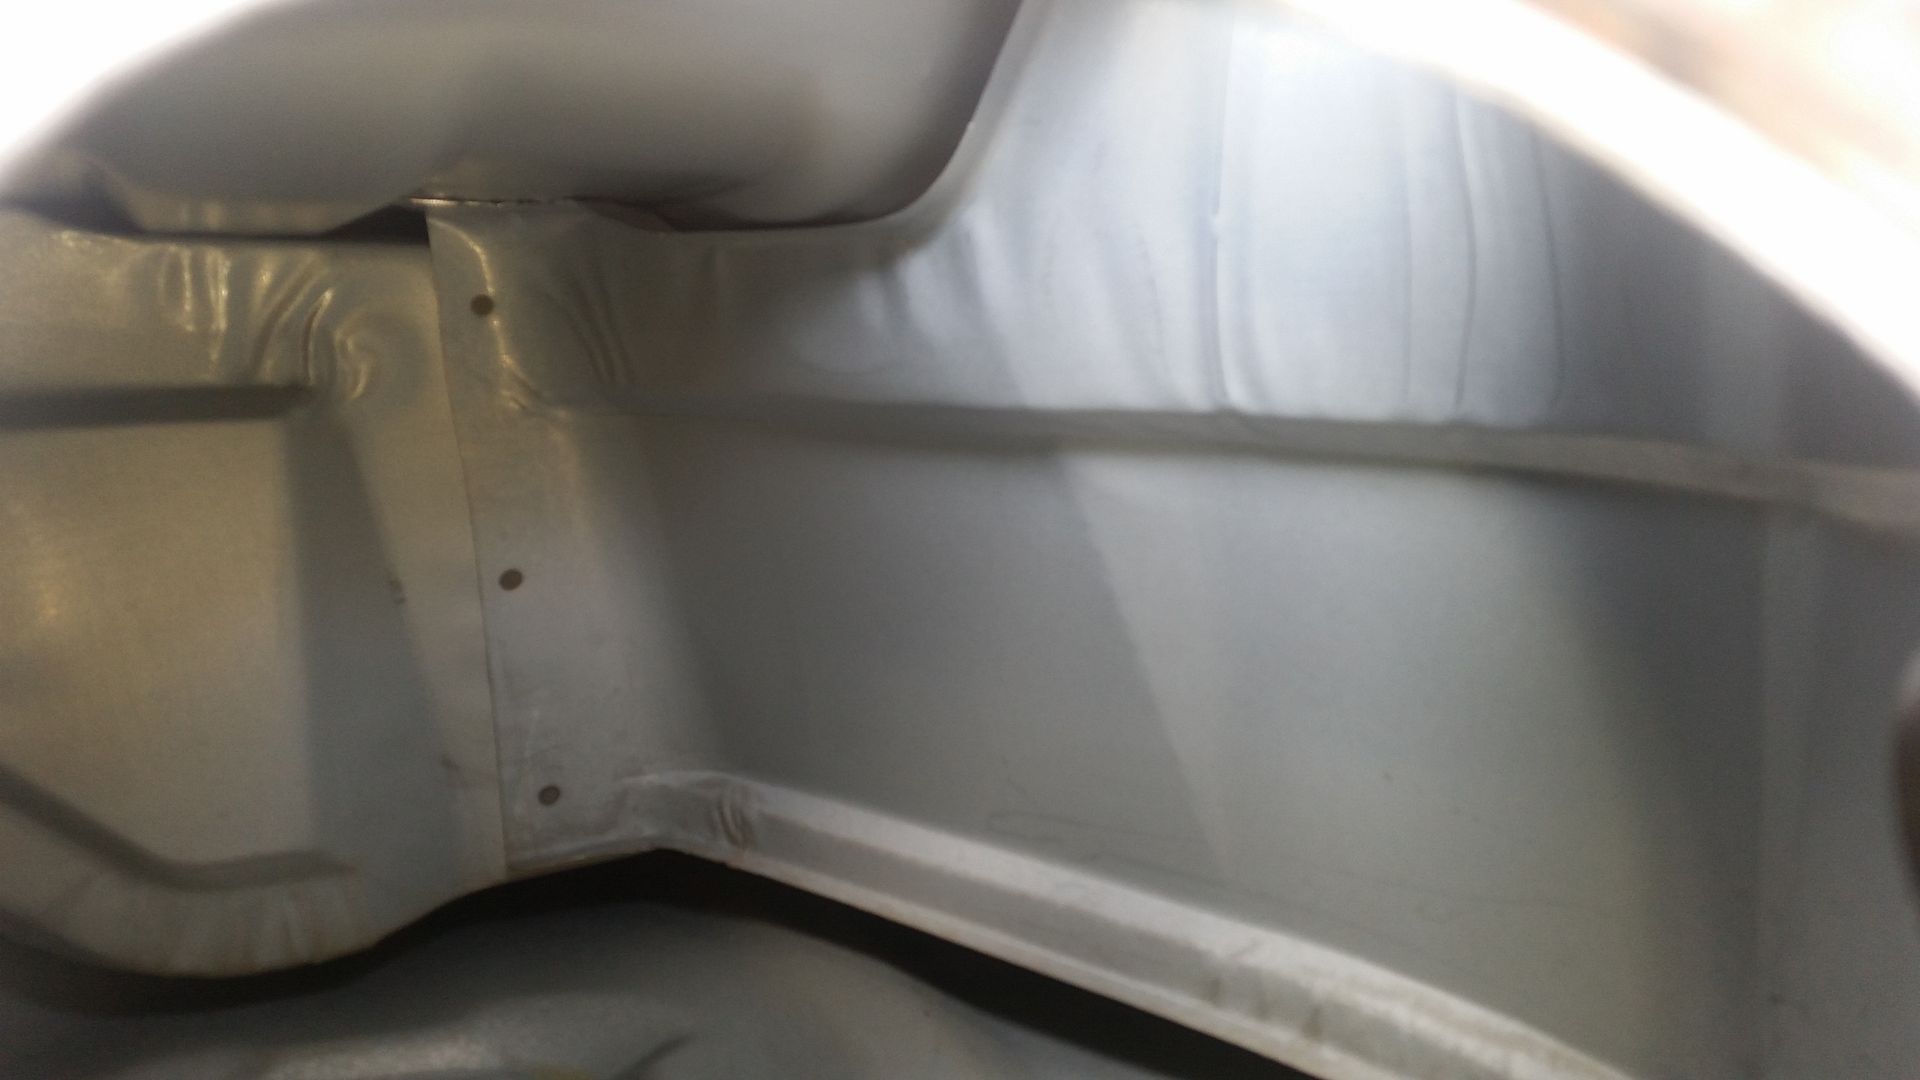
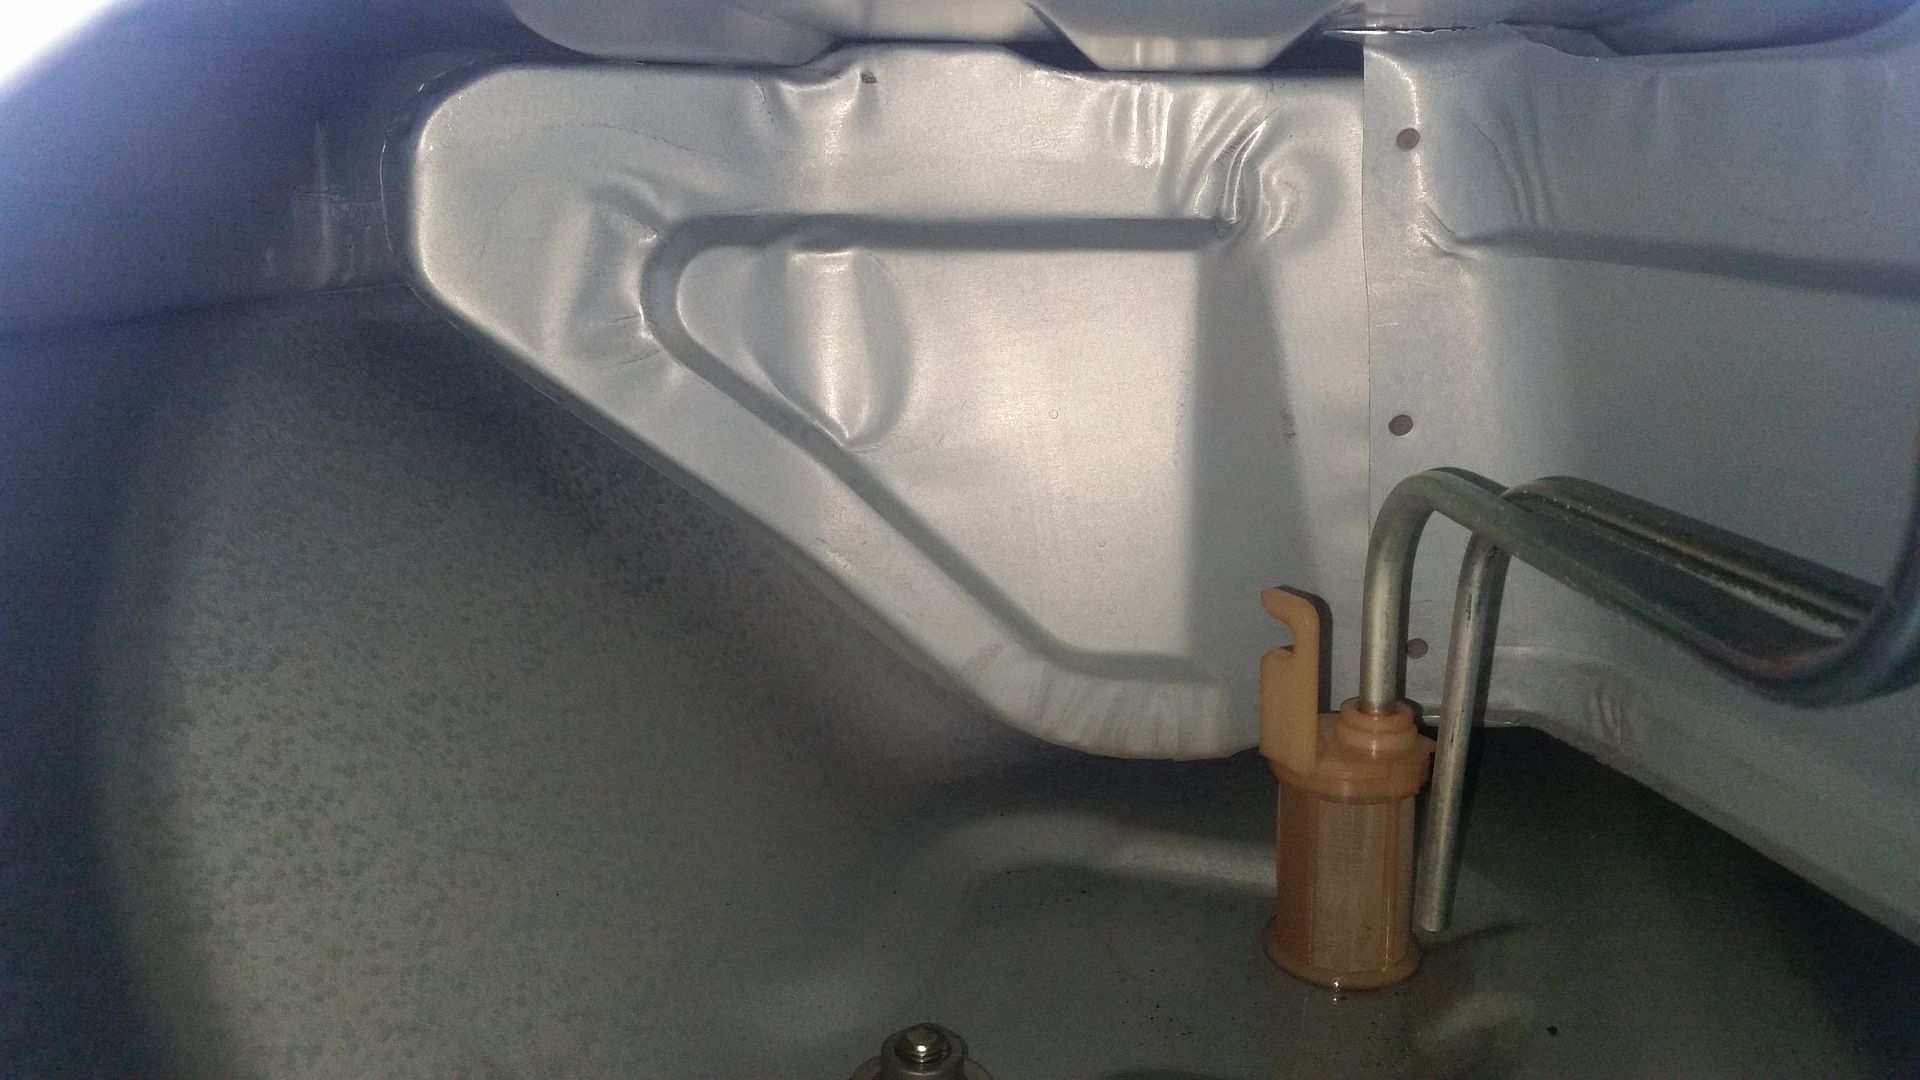
Made a little progress. Had to drill and tap those few bolts in the petrol tank. Here are a few more pictures for reference of how clean my tank is inside

I will still POR15 the inside before it goes back together.
My mum went on a holiday to NZ recently and I managed to get her to bring me back this goodie for a decent price. Not 100% sure if I'll use it or not as it'll hide my shiny alternator

Had a bunch of rusty/grubby parts that definitely needed a cleanup and paint. I was curious to how much the local powder coaters charged for a few pieces and it ended up pretty reasonable. So I found plenty more I could take over to them!
Before and after:
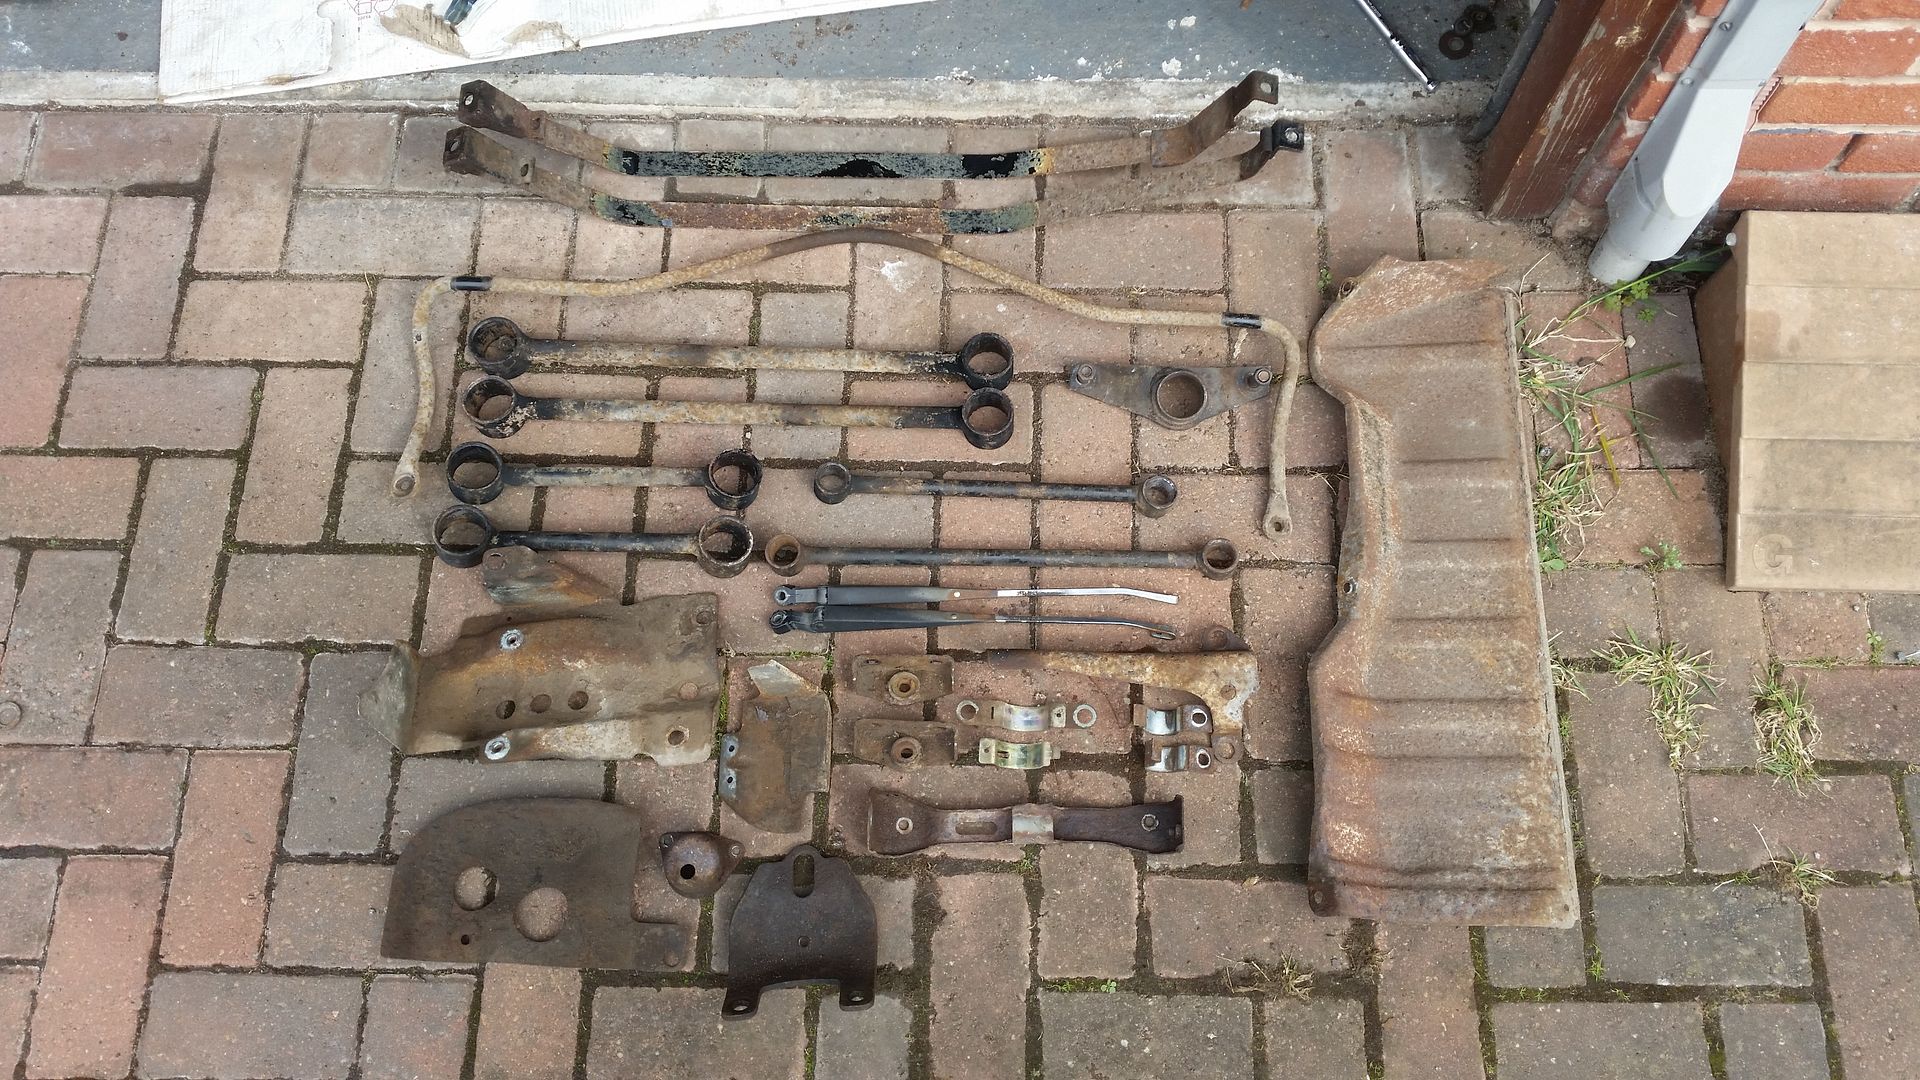
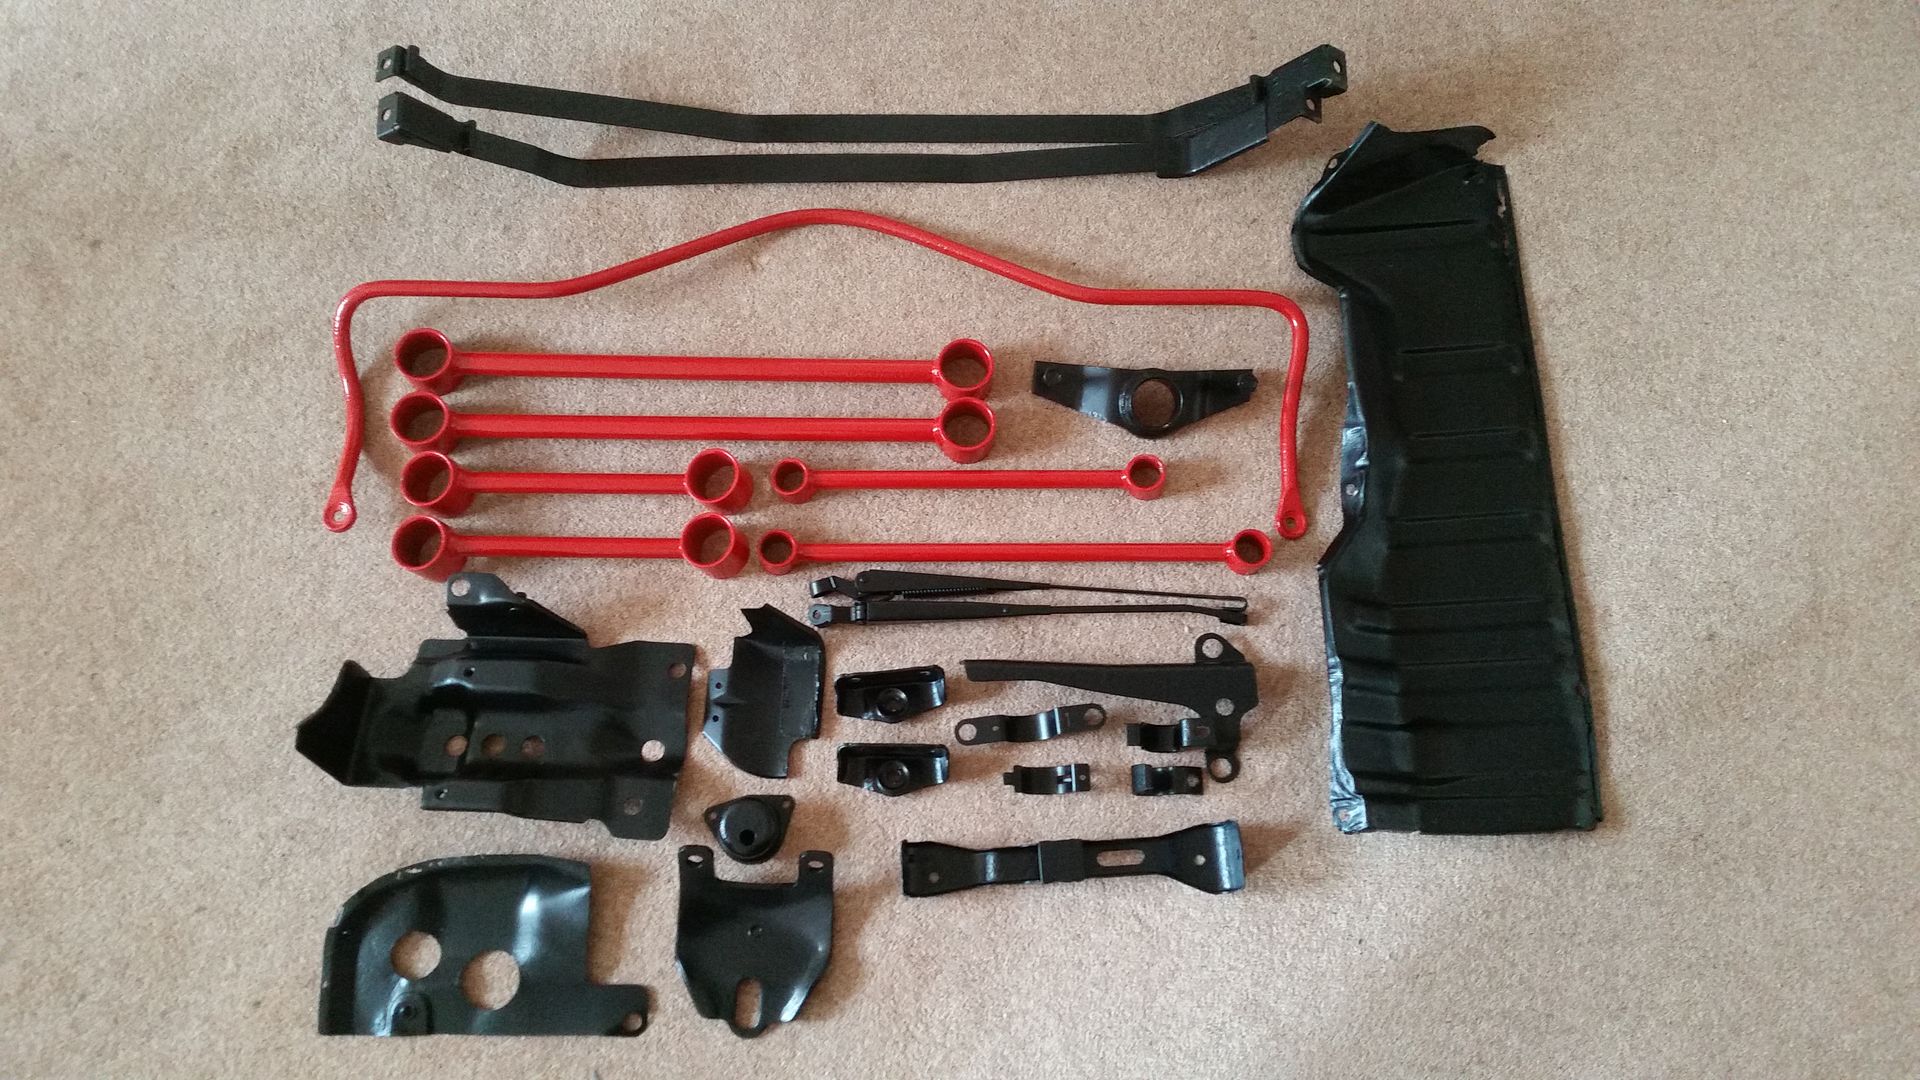
Really happy with how everything turned out. They didn't mask off any threads thought so I need to get the tap and die out. Although I half expected that'd be the case. Red makes a nice contrast I think. Probably give me a good HP boost also
I have 9 days off work now so hopefully I can make some good progress. MUST be done for Japfest!
Re: A Kiwis Series 3
Posted: Fri Apr 08, 2016 9:23 pm
by spirit r
I feel with you. So fantastic install such nice parts on the car.


Cool mum you have
Re: A Kiwis Series 3
Posted: Fri Apr 08, 2016 9:30 pm
by ian65
Nice side mount Jesse

..... I like the clean look this mod gives...... powdercoated parts look the biz too.... much better job than painting them
Re: A Kiwis Series 3
Posted: Fri Apr 08, 2016 9:55 pm
by DKWW2000
The powder coated parts look the dogs

I will be interested in seeing the side mount fitted, well done Jesse


