


gotta say from looking at that shopped image that the car looks miles better as it is without the bump strips in black..... looks more subtle all the same colour....that swage line on the doors does lend itself to something that would continue theline of the bump strips molded into the body kit but I dunno how you would achieve that though without reusing one of the original rubber strips and painting it which would obviously look shit.
I'd leave it as it is Nik..... it looks great as is.
Lucky's Series 3
-
RamoNZ
- VIP User

- Posts: 799
- Joined: Wed Jul 13, 2011 3:56 pm
- Location: Auckland, New Zealand
- Been thanked: 1 time
Re: Lucky's Series 3
I have seen this in the flesh and it does look stunning.
We even had a couple fans stop to ask questions, one of them declaring that he would stop at nothing to own one, one day. He did admit that his one day may be quite a few 'big issue' sales away though.
Black side strips is not to my taste either. But can someone shop the side strips colour coded just to check?
1980 Series 1, Minty Pea Green 13b Turbo
-
Lucky
- VIP User
- Posts: 2685
- Joined: Mon Nov 07, 2011 8:30 pm
- Location: Worthing, UK
- Been thanked: 5 times
Re: Lucky's Series 3
Yeah, that was funny. Random Big Issue seller stops by just to tell us the story of how his first car was a Mustang that he drove up a tree  Gotta love Brighton for metaphorically getting a seat next to the nutter on the bus
Thanks for the photoshop, Thomas but that kinda confirms I don't want to put the black strips back on, I think. Not sure if I see the point in putting them on body colour either, think Ian was right when he said the swage line in the door provides enough continuity.
...maybe. I used to be indecisive but now I'm not sure
Thanks for the photoshop, Thomas but that kinda confirms I don't want to put the black strips back on, I think. Not sure if I see the point in putting them on body colour either, think Ian was right when he said the swage line in the door provides enough continuity.
...maybe.
-
Chud
- VIP User
- Posts: 933
- Joined: Fri Apr 01, 2011 7:35 am
- Location: North Dorset, UK
- Has thanked: 3 times
- Been thanked: 111 times
Re: Lucky's Series 3
Gets the leave them off vote from me.
instagram: tymboooo
1980 series 1 RX7 x2
1983 series 2 RX7
1975 RX3 Coupe
1956 VW split screen kombi
1966 Porsche 912
1980 series 1 RX7 x2
1983 series 2 RX7
1975 RX3 Coupe
1956 VW split screen kombi
1966 Porsche 912
-
Lucky
- VIP User
- Posts: 2685
- Joined: Mon Nov 07, 2011 8:30 pm
- Location: Worthing, UK
- Been thanked: 5 times
Re: Lucky's Series 3
Well, I've nothing world-shattering to report, but I've not been idle. With the car being away for six bloody months due to unforseen but still very annoying circumstances. I've had six month's worth of jobs sotred up to do on it. So having finally got it back I got stuck in. Lots of silly little things, sorta finishing off/titting about jobs I've been meaning to do for ages...
such as; having bought a stud extractor for another reason, I thought I may as well delete the redundant studs that hold the air-con pump that we never got in the UK
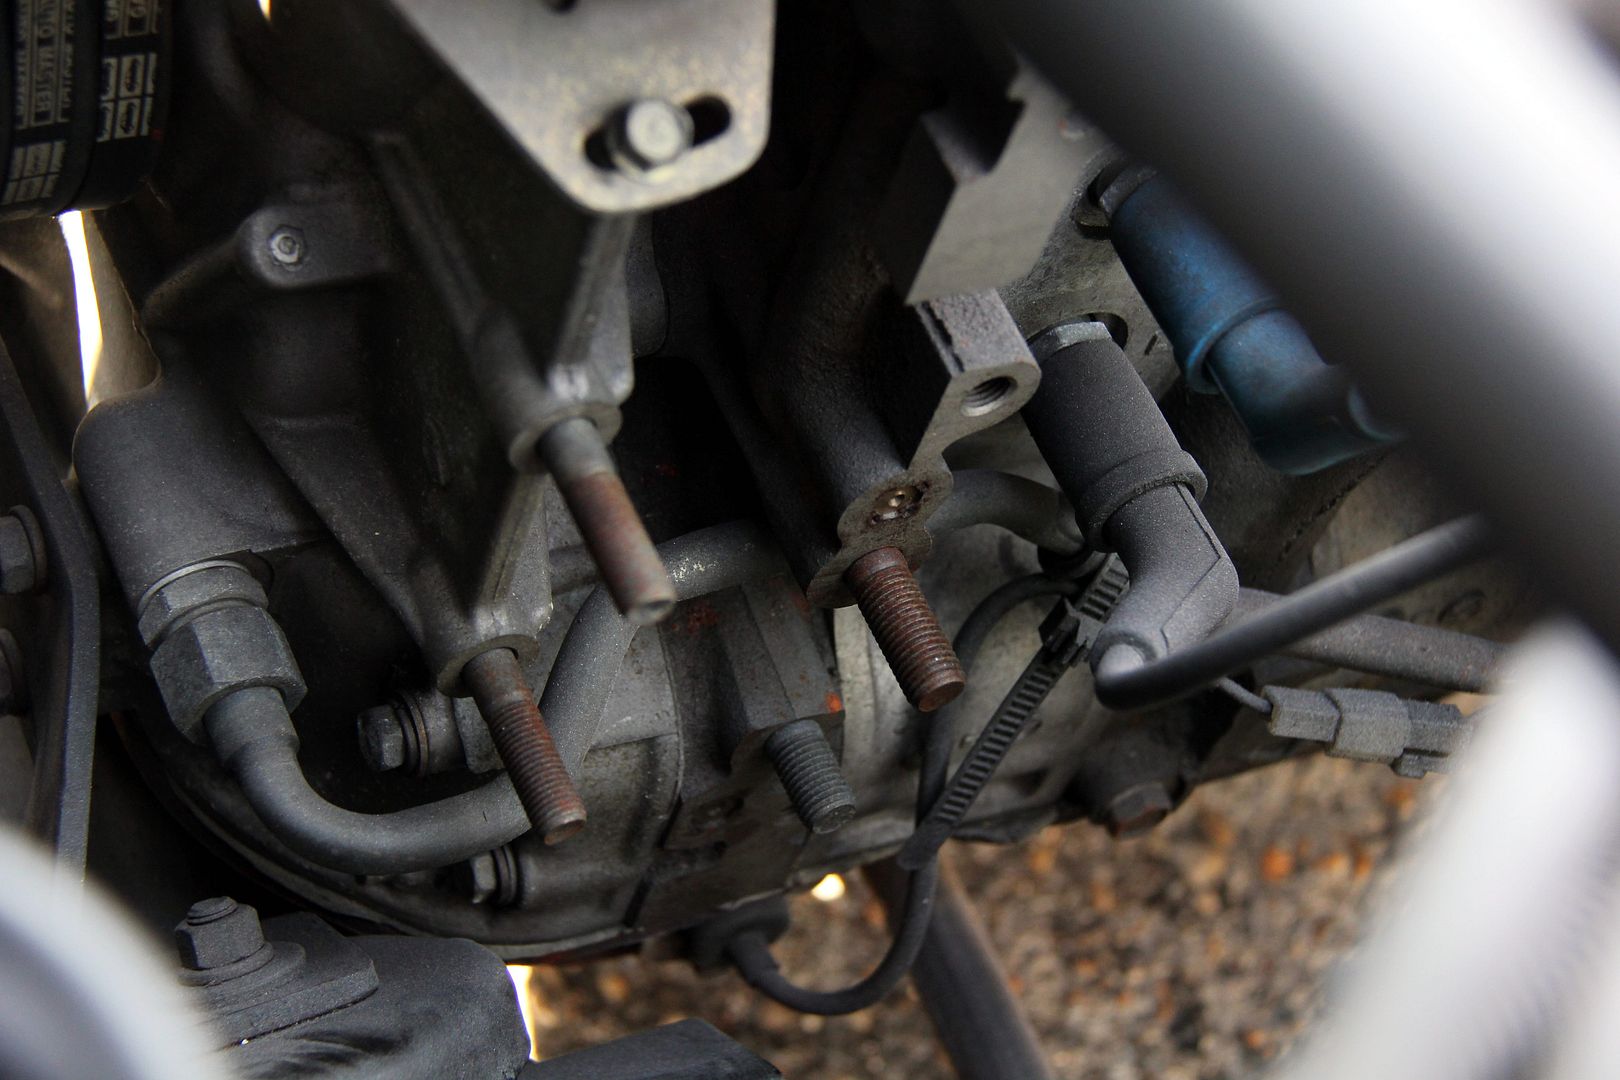
Not particularly exciting, I grant you, but it's something that's always annoyed me. If they serve no purpose then there's no real point in having them there.
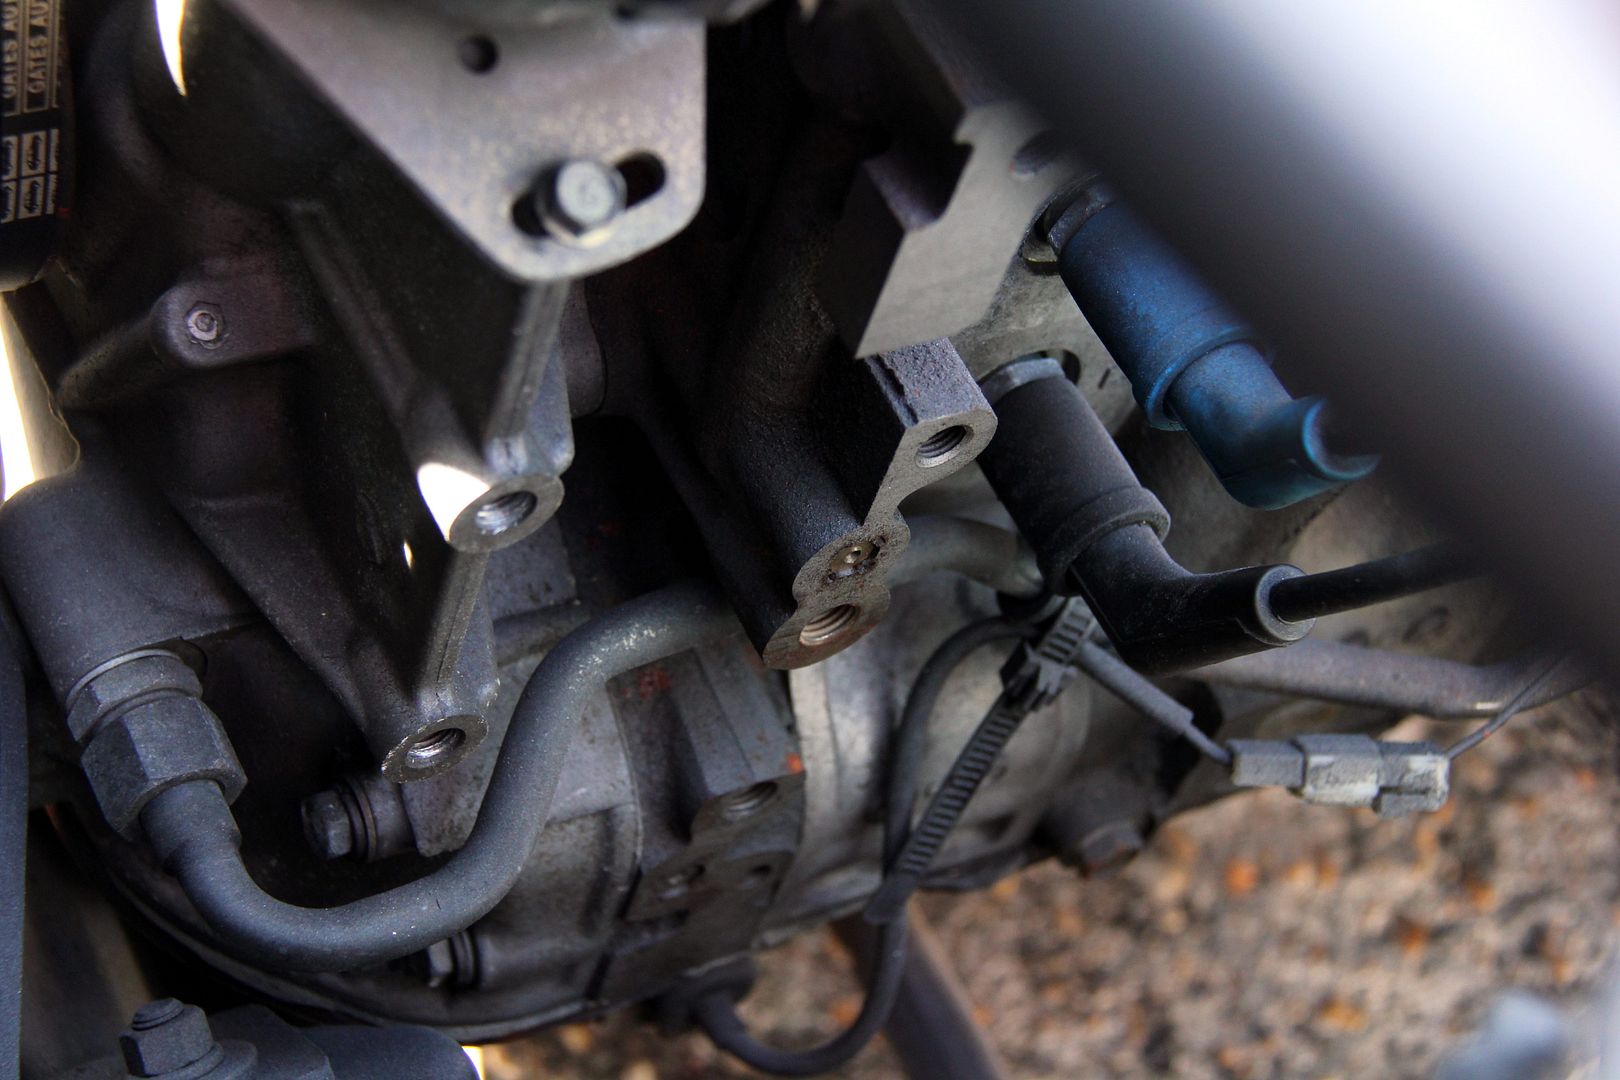
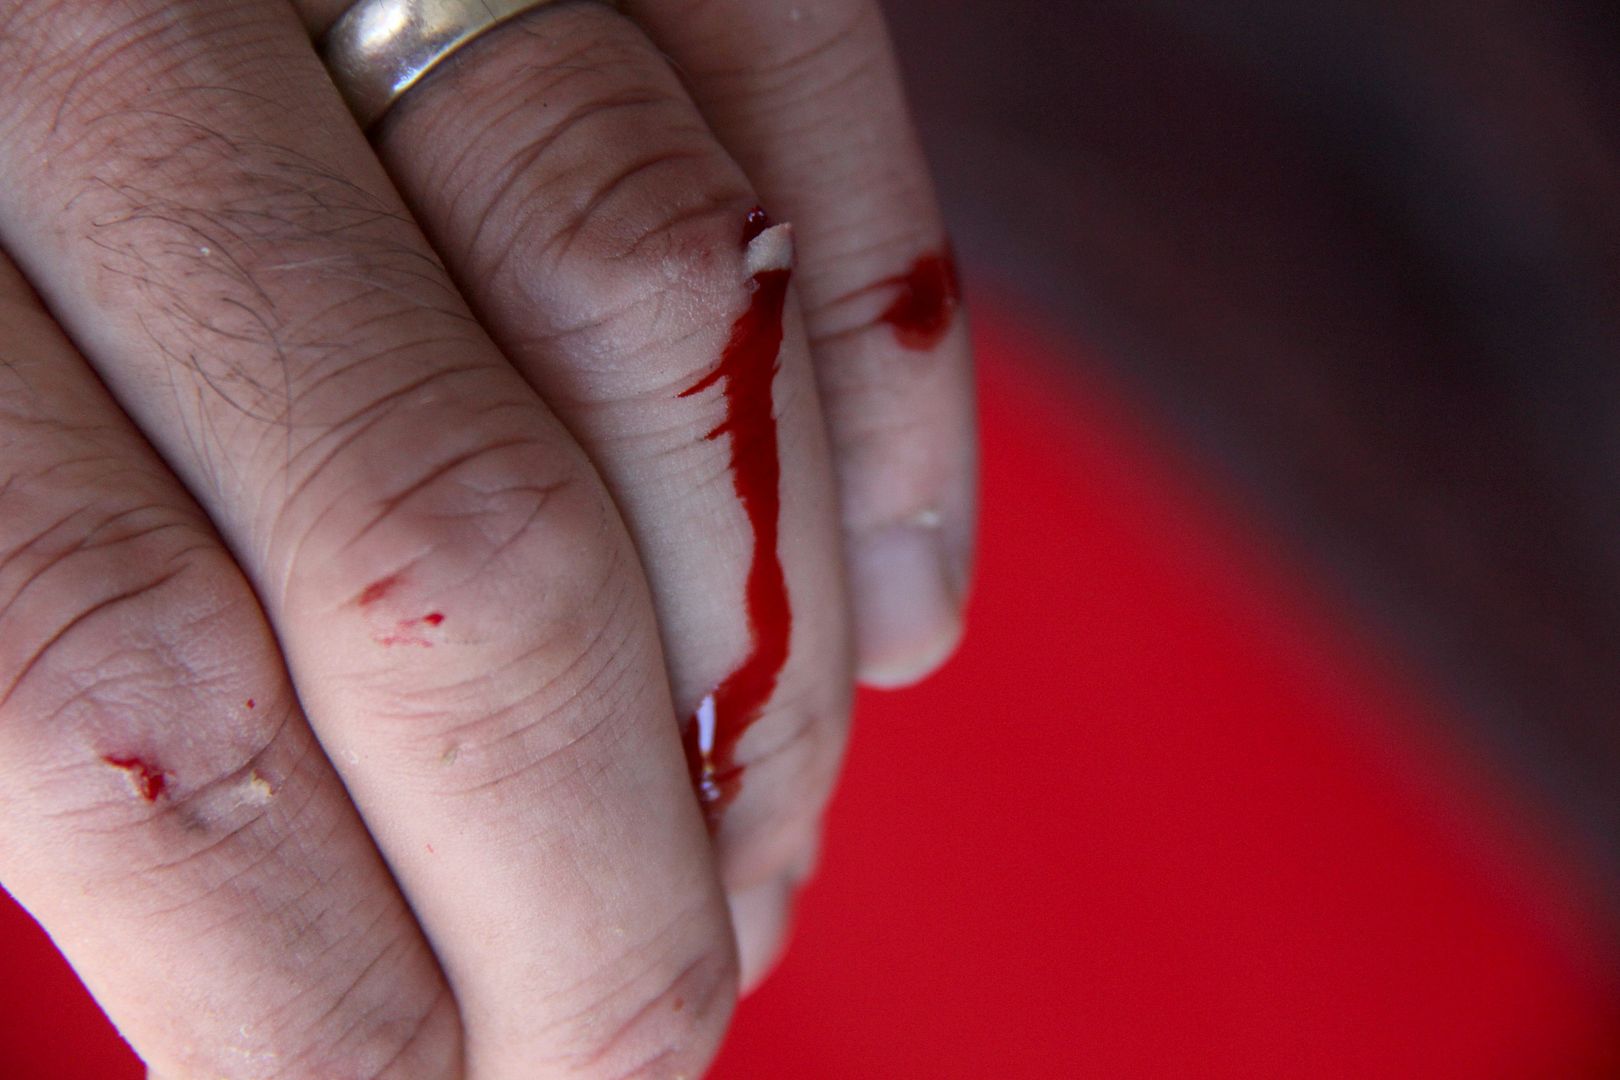
Ta-da. Much neater. I also discovered that the only trouble with stud extractors is that when they slip, it tends to be in a narrow space with lots of sticky-out sharp bits in the way. This is therefore the end result. Doh!
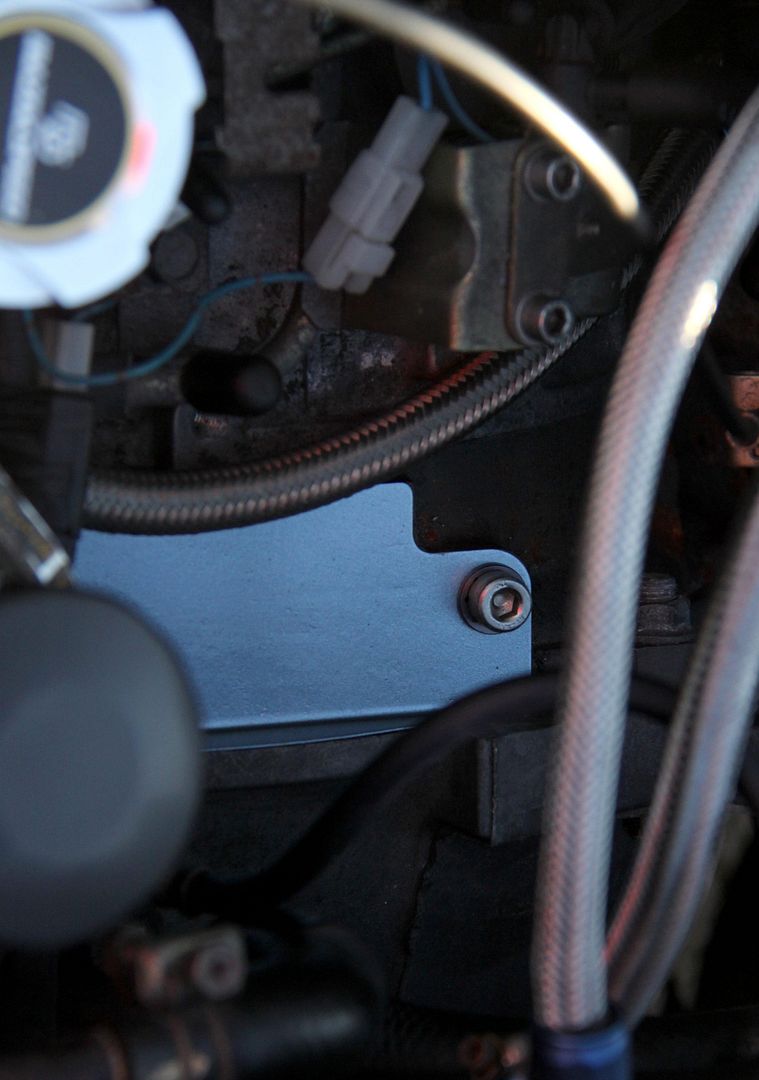
Next on the list was the inspection plate thing on top of the flywheel;
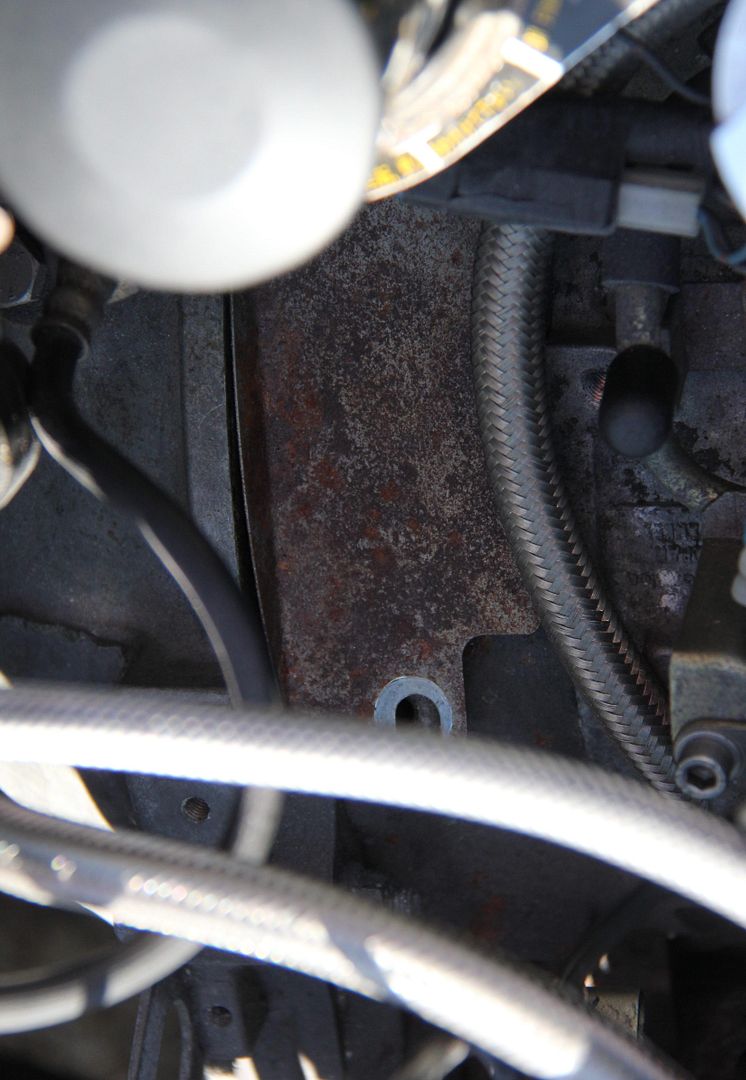
Horrible manky rusty ol' thing annoyed me every time I opened the bonnet, so I sanded it back, primered it
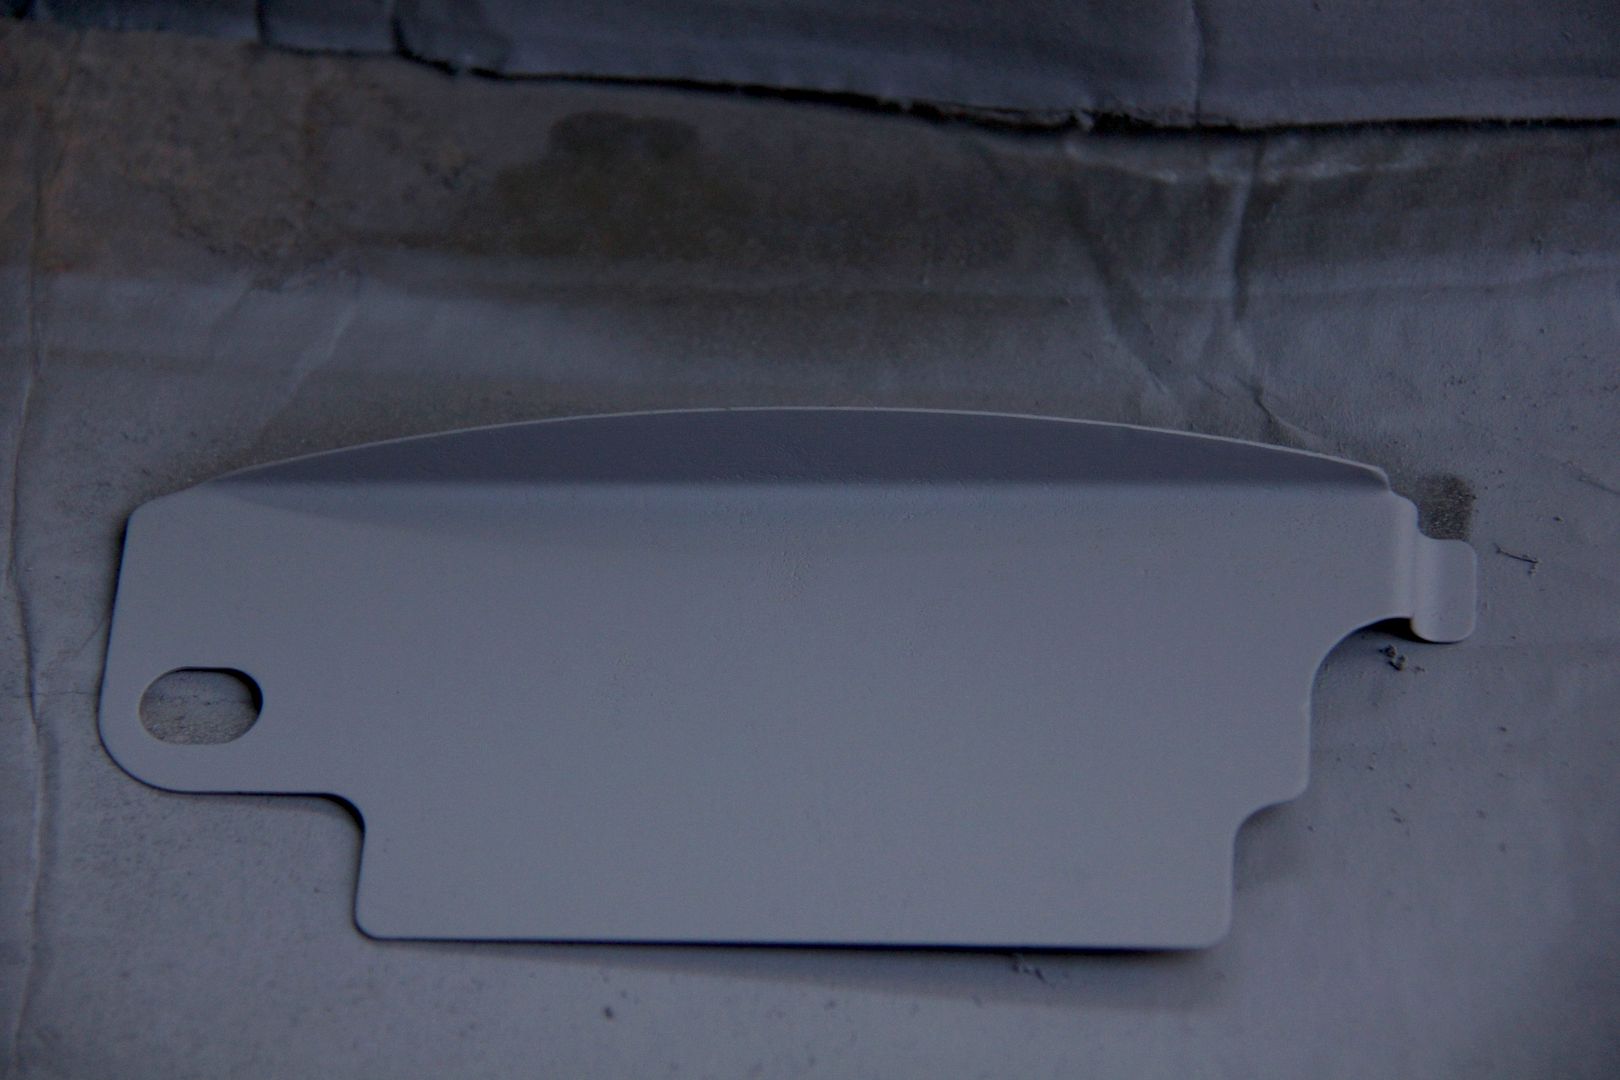
..and since I had a can of Halfrauds allegedly-colour-matched-tender-blue I sprayed it over with that. It's not a great match, to be fair, but good enough so long as you don't actually put it near the bodywork!
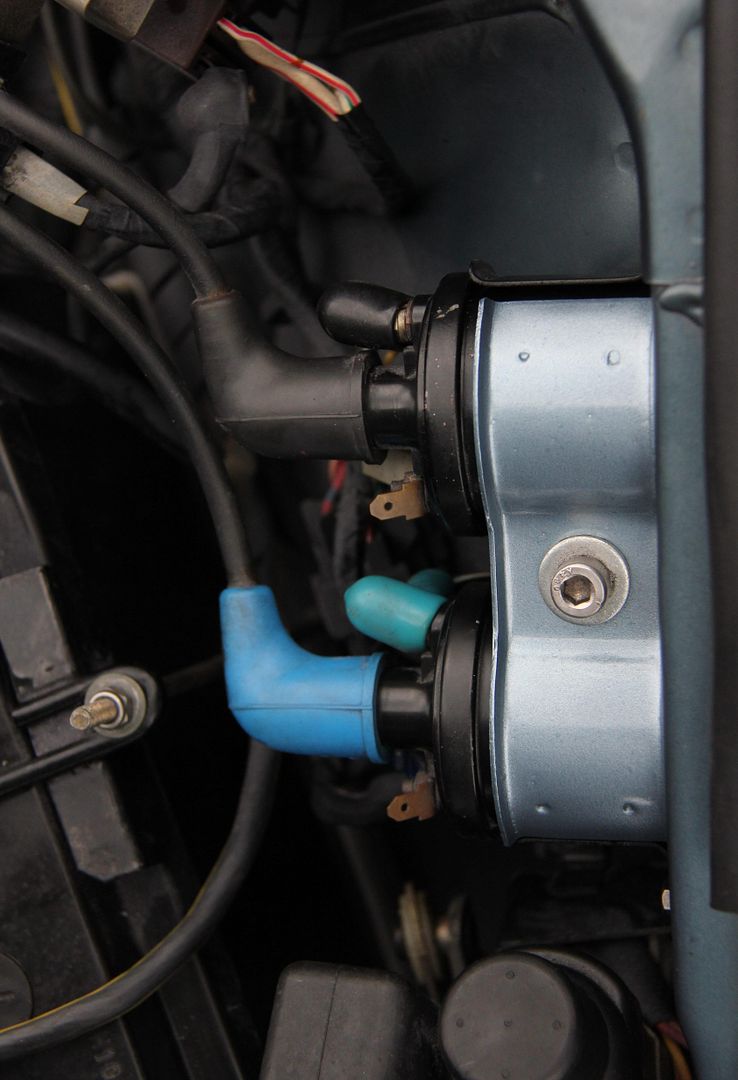
Buoyed along by this minor success I turned my attention to the coil bracket
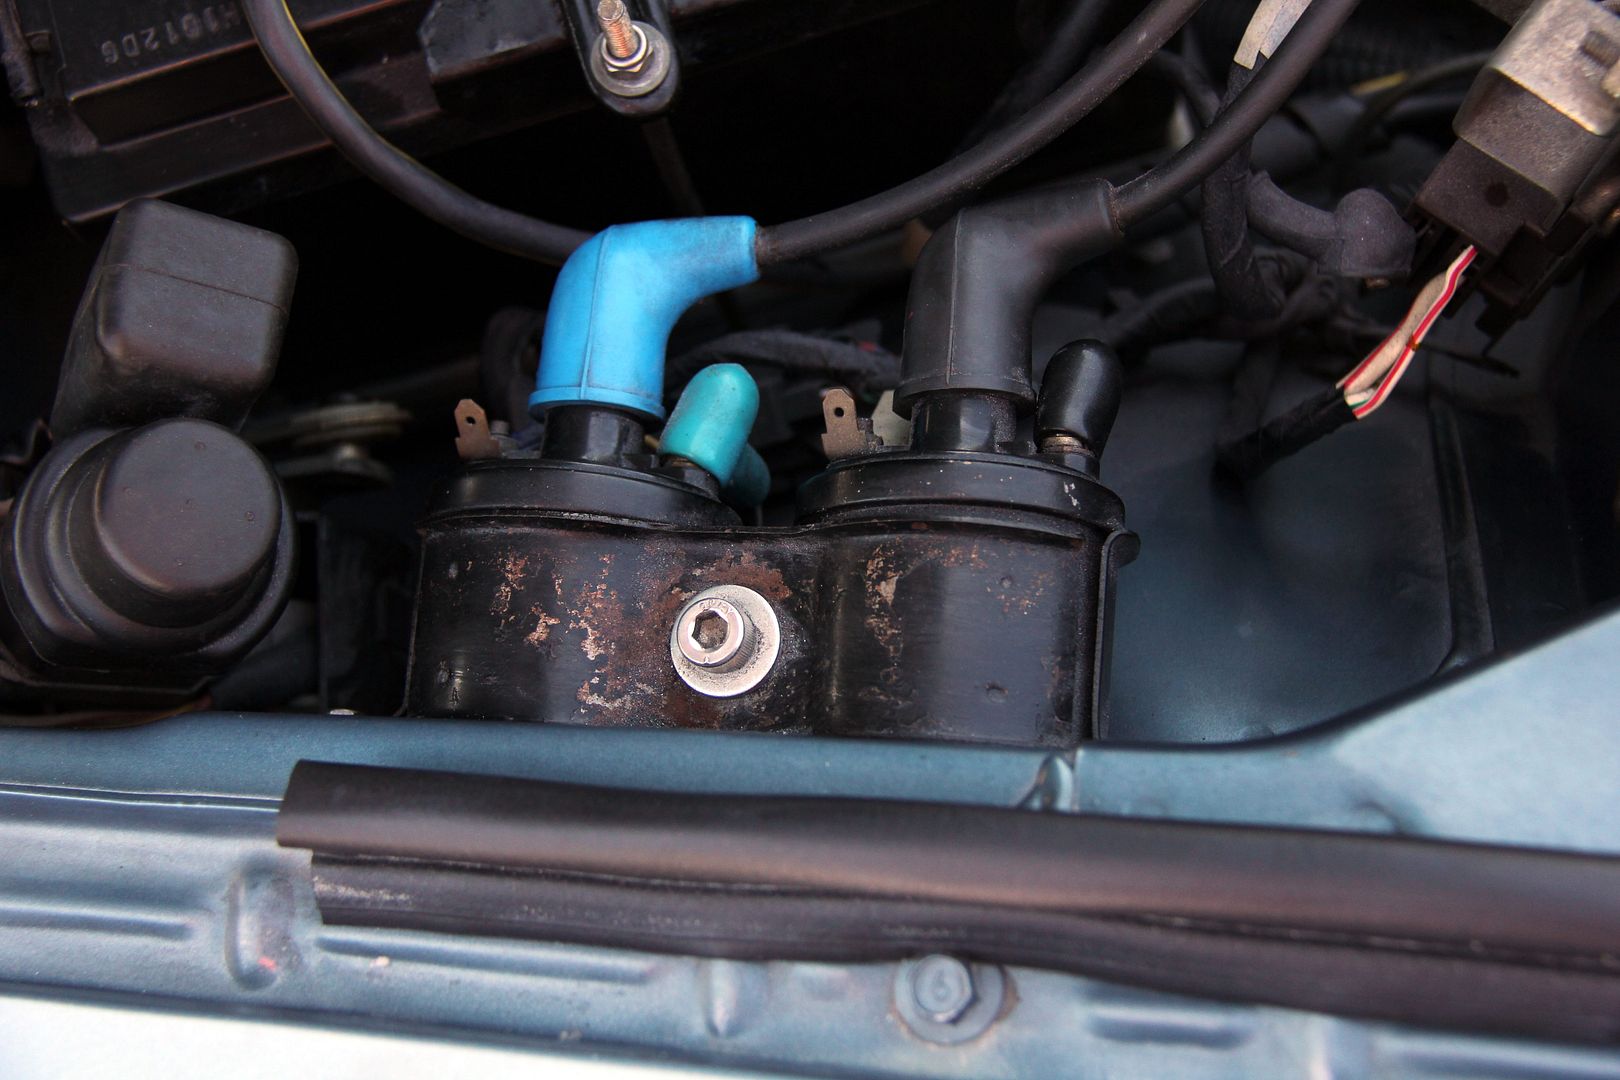
For some strange reason only the top plate of this had gone manky, so that got the Dremel treatment, just in time since the "paint" turned out to be a big sheet covering total rust!
Done. Maybe I should have done it black but I think it's nice to have a little bit of relief to the otherwise rather dour engine bay
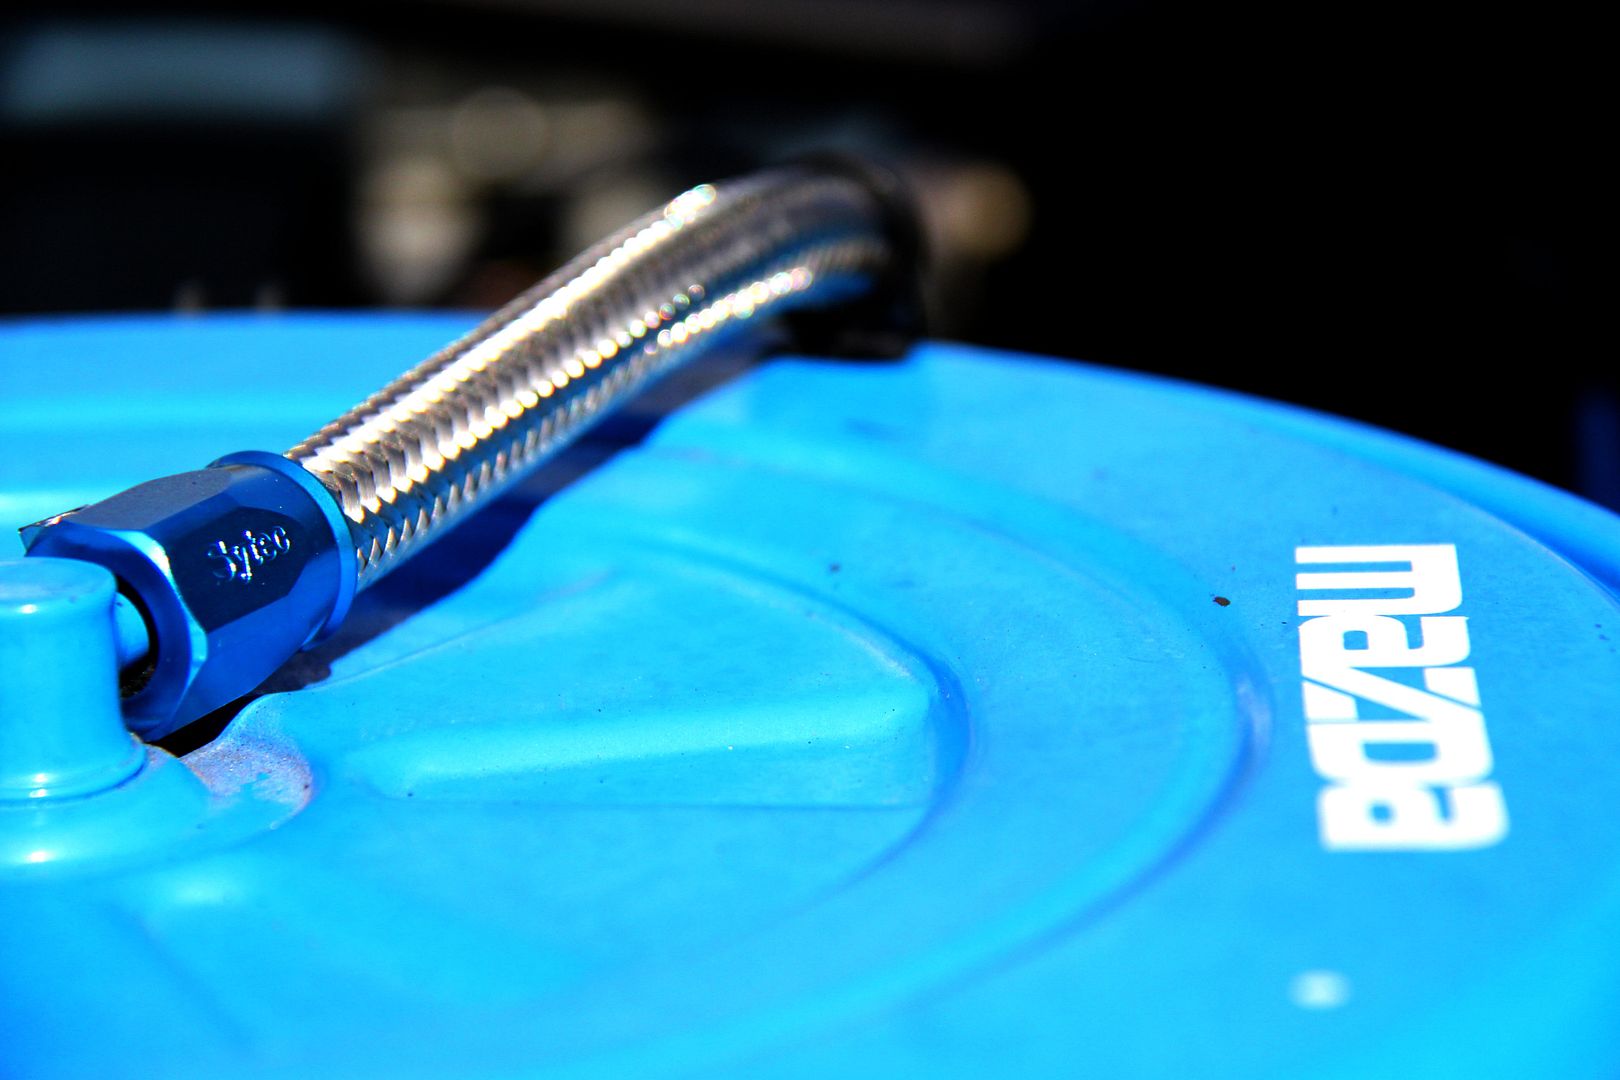
While I was under the bonnet, I took the opportunity to replace the aircleaner top hose. No real reason, the original was black rubber that had cracked a bit but was perfectly serviceable. I just happened to have some braided line and hose finishers left over from a previous job that were the right size.
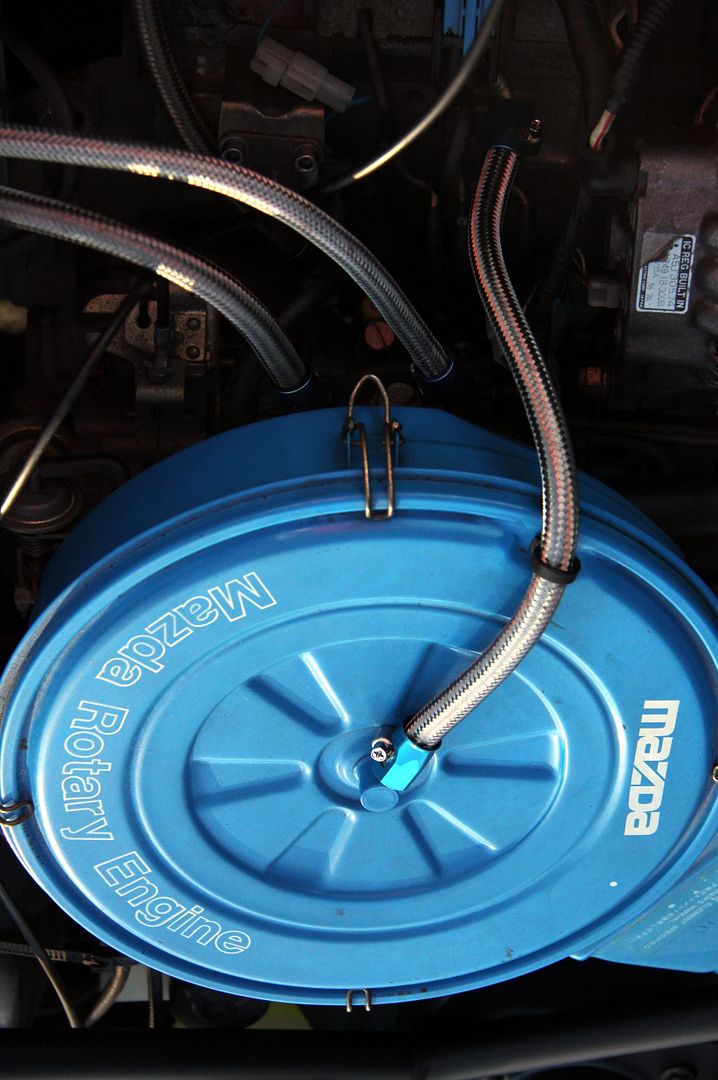
and it looks nicer. So there
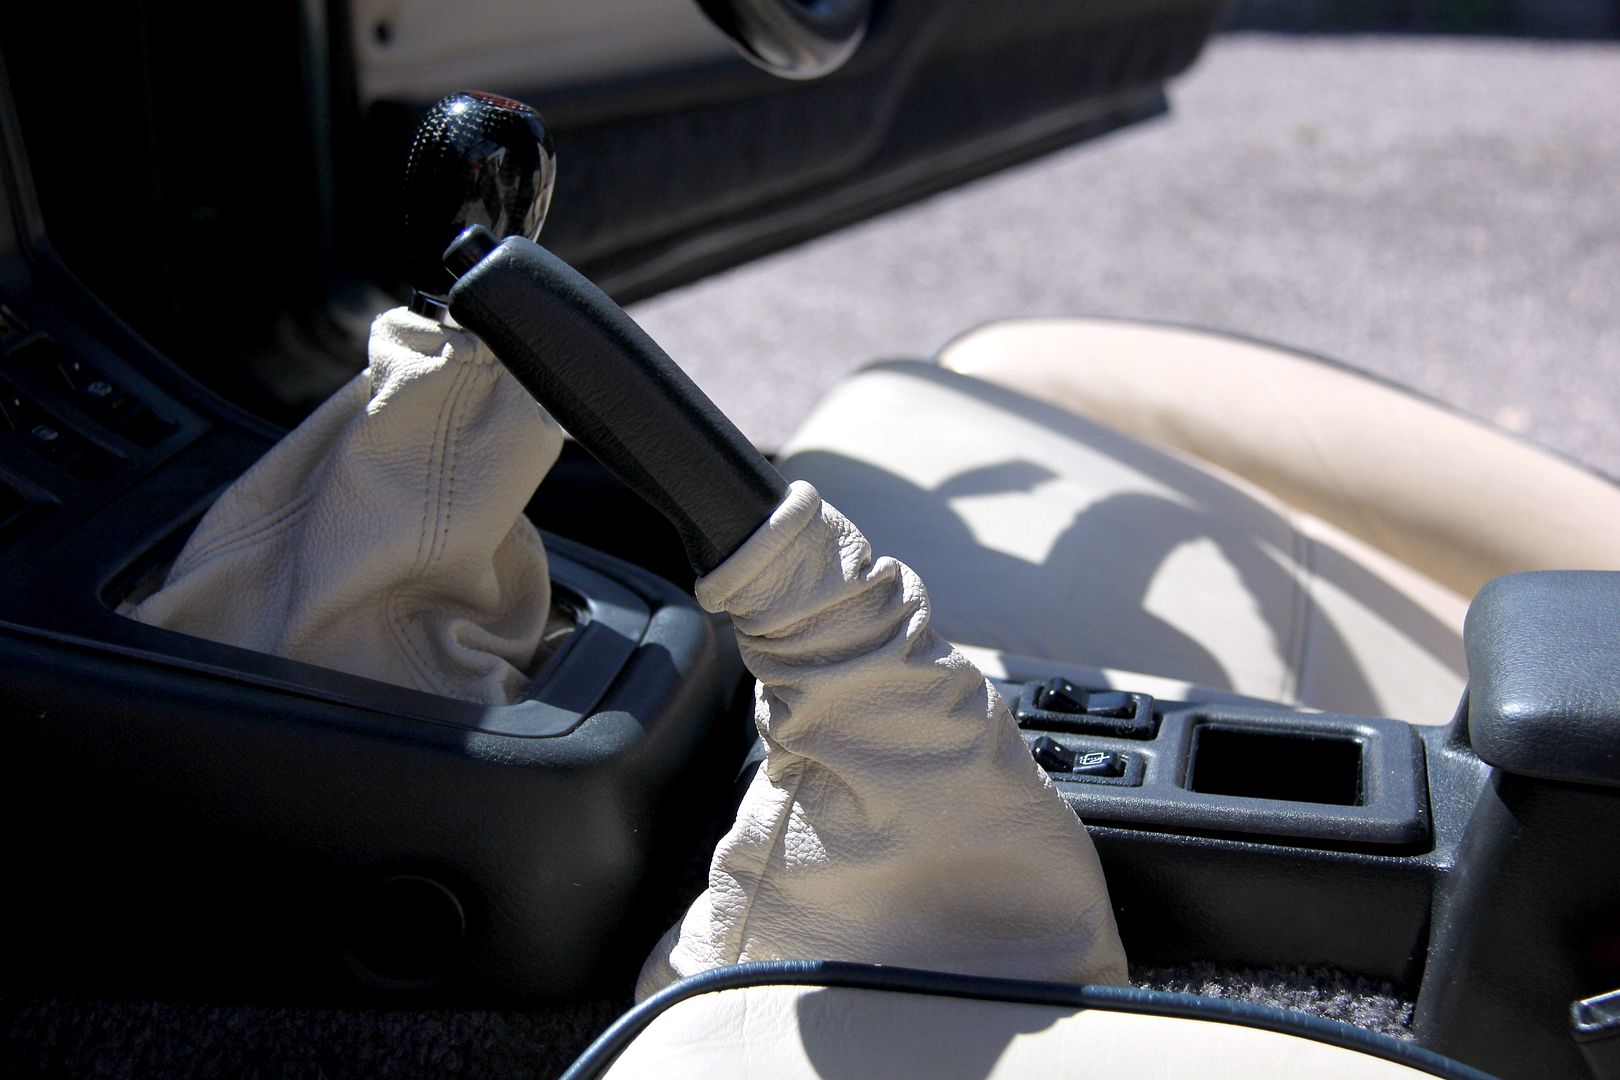
Speaking of looking nicer, I got a pair of gaiters from a Vauxhall Corsa off ebay a few months back. Purely because they were cheap (six quid including post) and looked like they'd be big enough. They weren't quite the right colour, but since I'd sent an interior panel away for colour-matching a bespoke leather treatment pack this wasn't a massive problem;
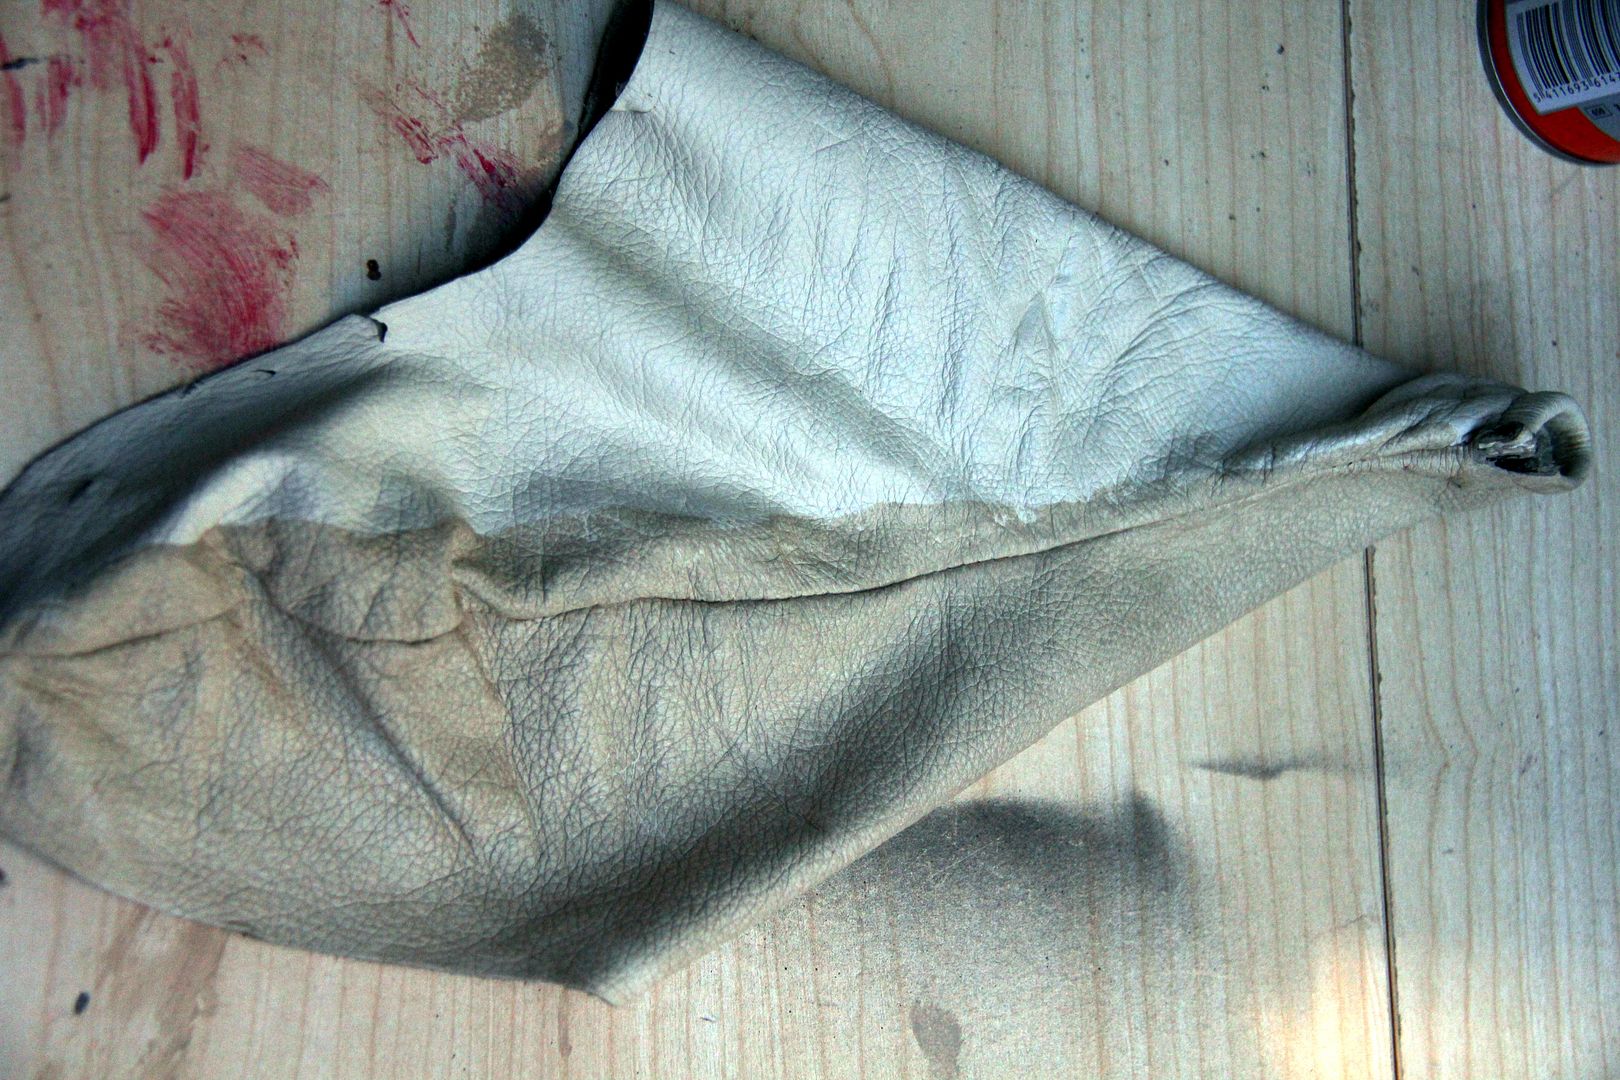
The white colour is the Corsa original, the more beigey colour the treatment. As per previous posts, I'd already replaced the gear gaiter with a Jaguar one, so I took that out and colour matched it as well. The standard Series 3 handbrake is a total disgrace in nasty grey plastic;
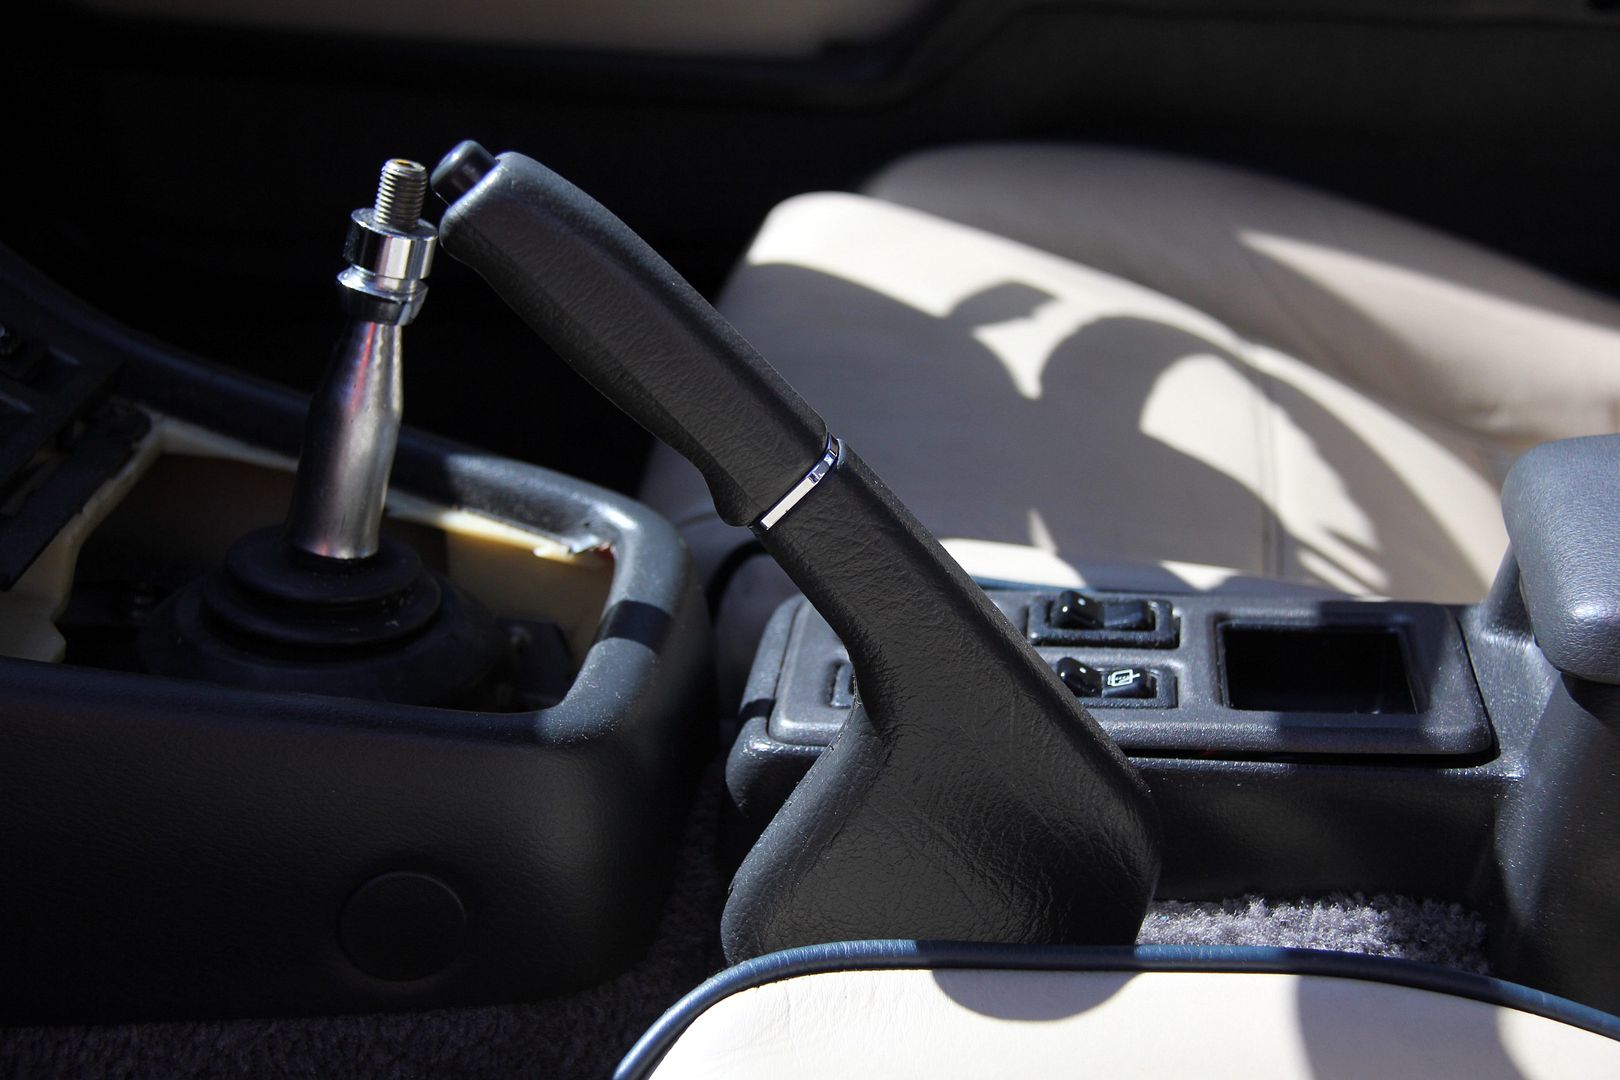
so a nice bit of leather to hide it away makes a world of difference;
In between all these jobs that required waiting for paint to dry, I took the opportunity to sort out a load of problems with wiring on the car. Such as why my foglight didn't work (like, how did that pass an MOT then?). The reason for this was half the wires being pulled out and just dangling loose Didn't get any photos cos it's hard to solder and use a camera at the same time. In addition, when putting that right, I found this;
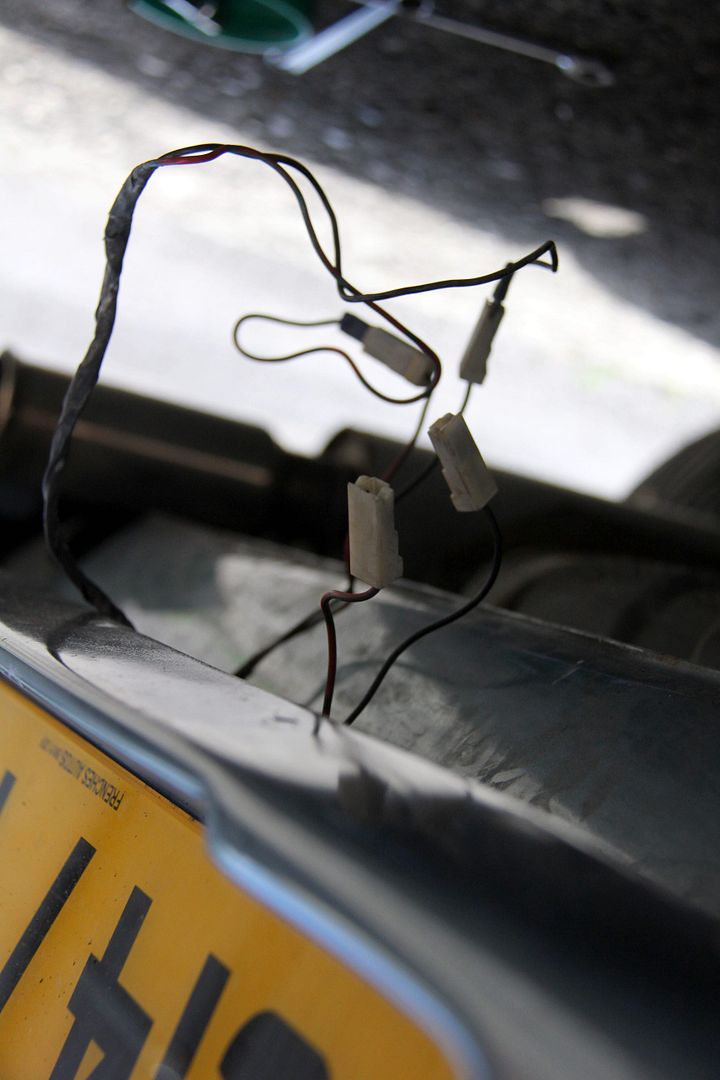
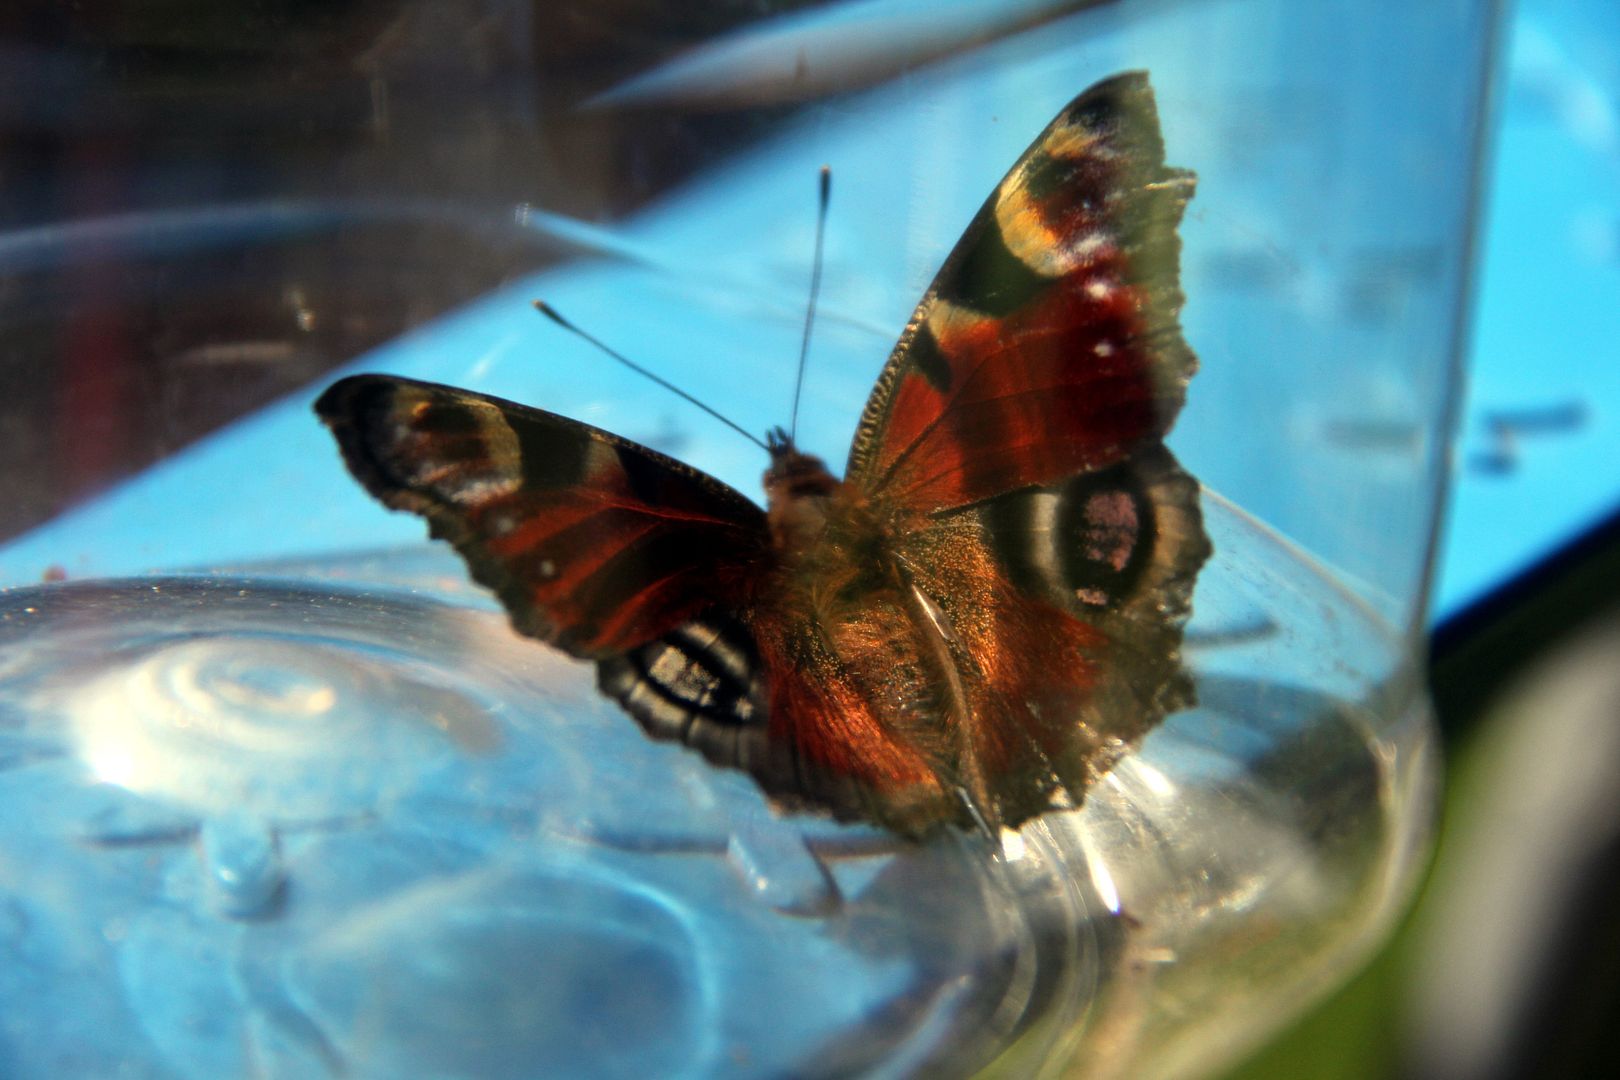
The old bumper used two number-plate lights, the new one uses one. The redundant wiring and about a foot of still-used-wiring were just balled up into a tangle and stuffed into one of the apertures in the chassis webs So I shortened and streamlined that particular lash-up, too. I also managed to save this daft fella from where he'd blundered into a giant spider's web in the garage (as made by giant spiders, lol)
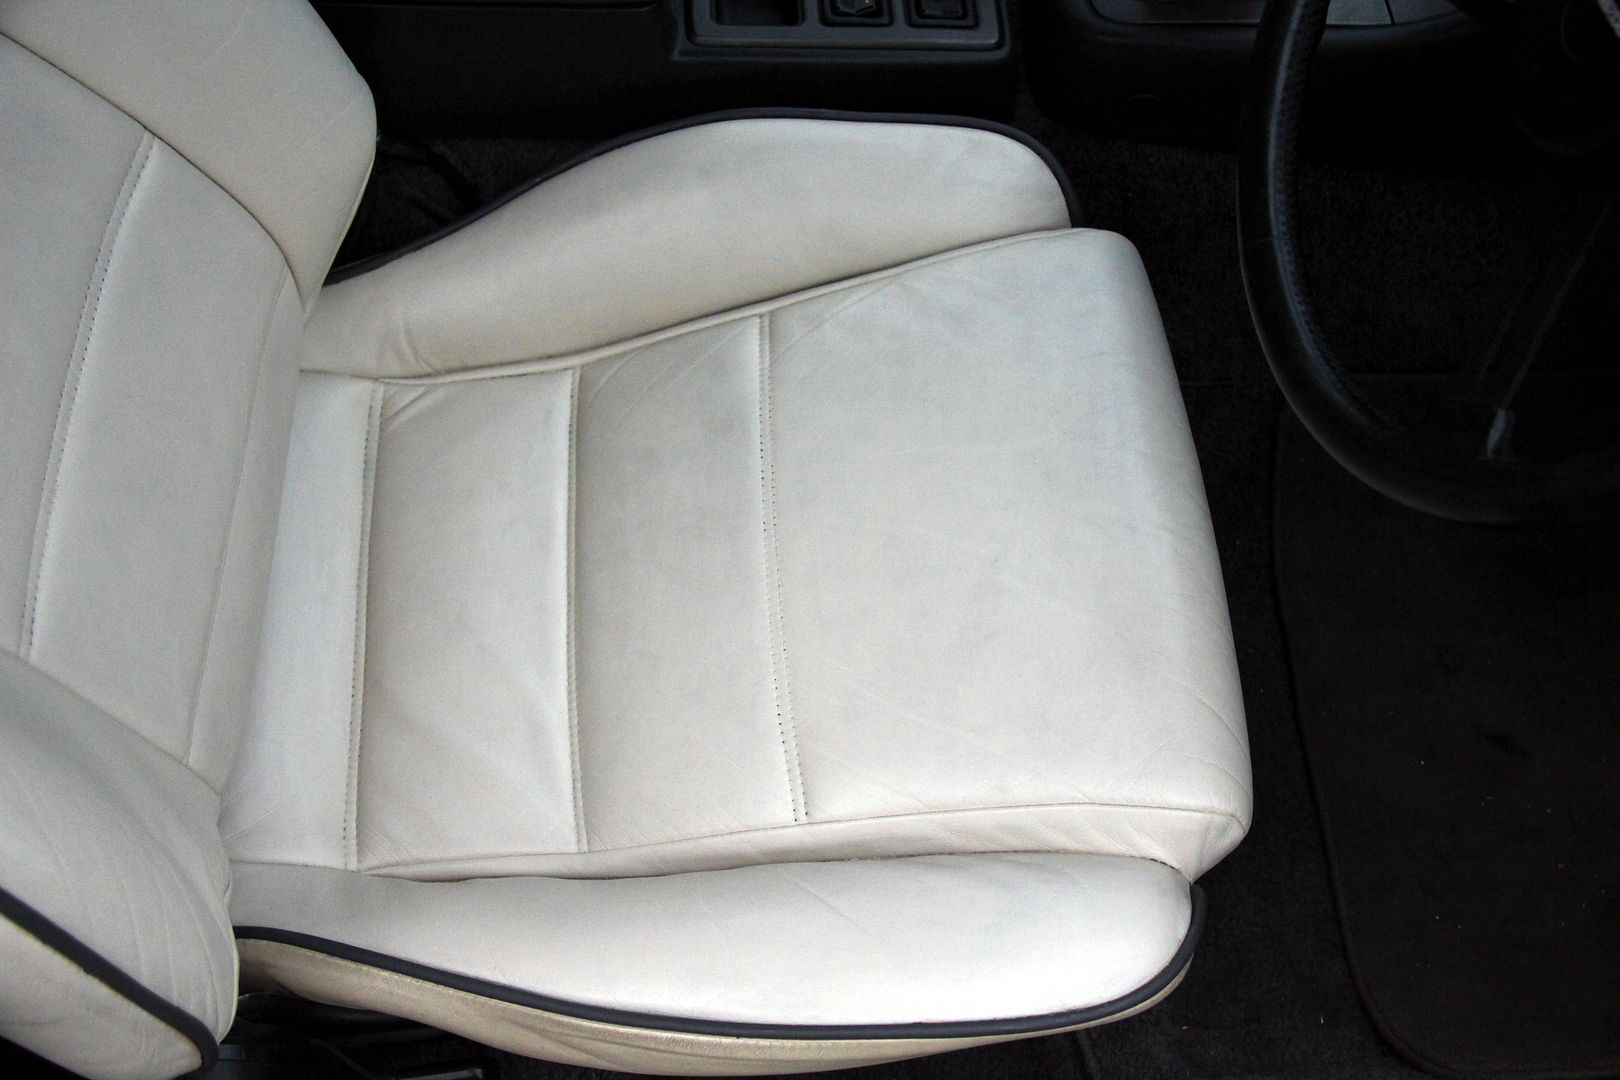
The handbrake gaiter looked like a good match, and the doorcard I also treated did too so I got on with doing the worn leather on the drivers' seat. This was the main reason for getting the leather treatment. However, the colour-matching isn't quit perfect, and on the seat it's come out a lot whiter than the original. Which is a shame, although possibly I'm being a bit picky. It looks OK, but in these pics you can see where I didn't treat the headrest and it's quite clearly a deeper tone in certain lights. Anyway, it had to be done to halt the wear on the seat, so I'll just have to live with it, just a slight shame. Especially when the company did such a superb job of matching the colour of the FD seats.
Anyhoo, here's some before and after shots of the seat;
Seat back before;
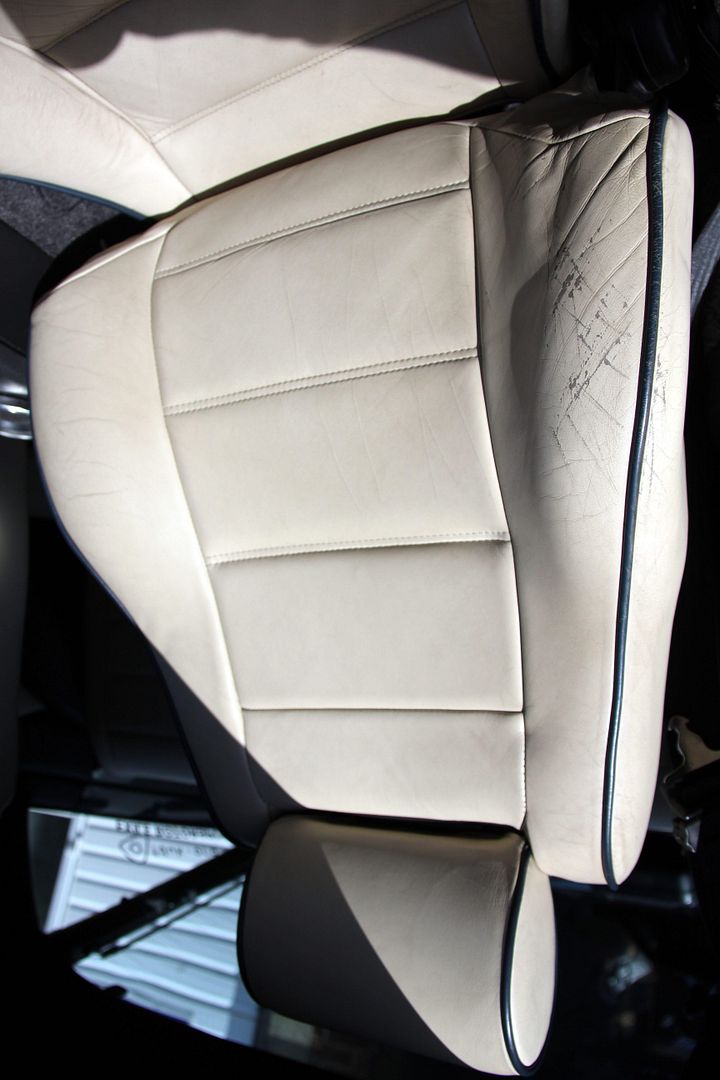
and after (you can see the miss-match in this one);
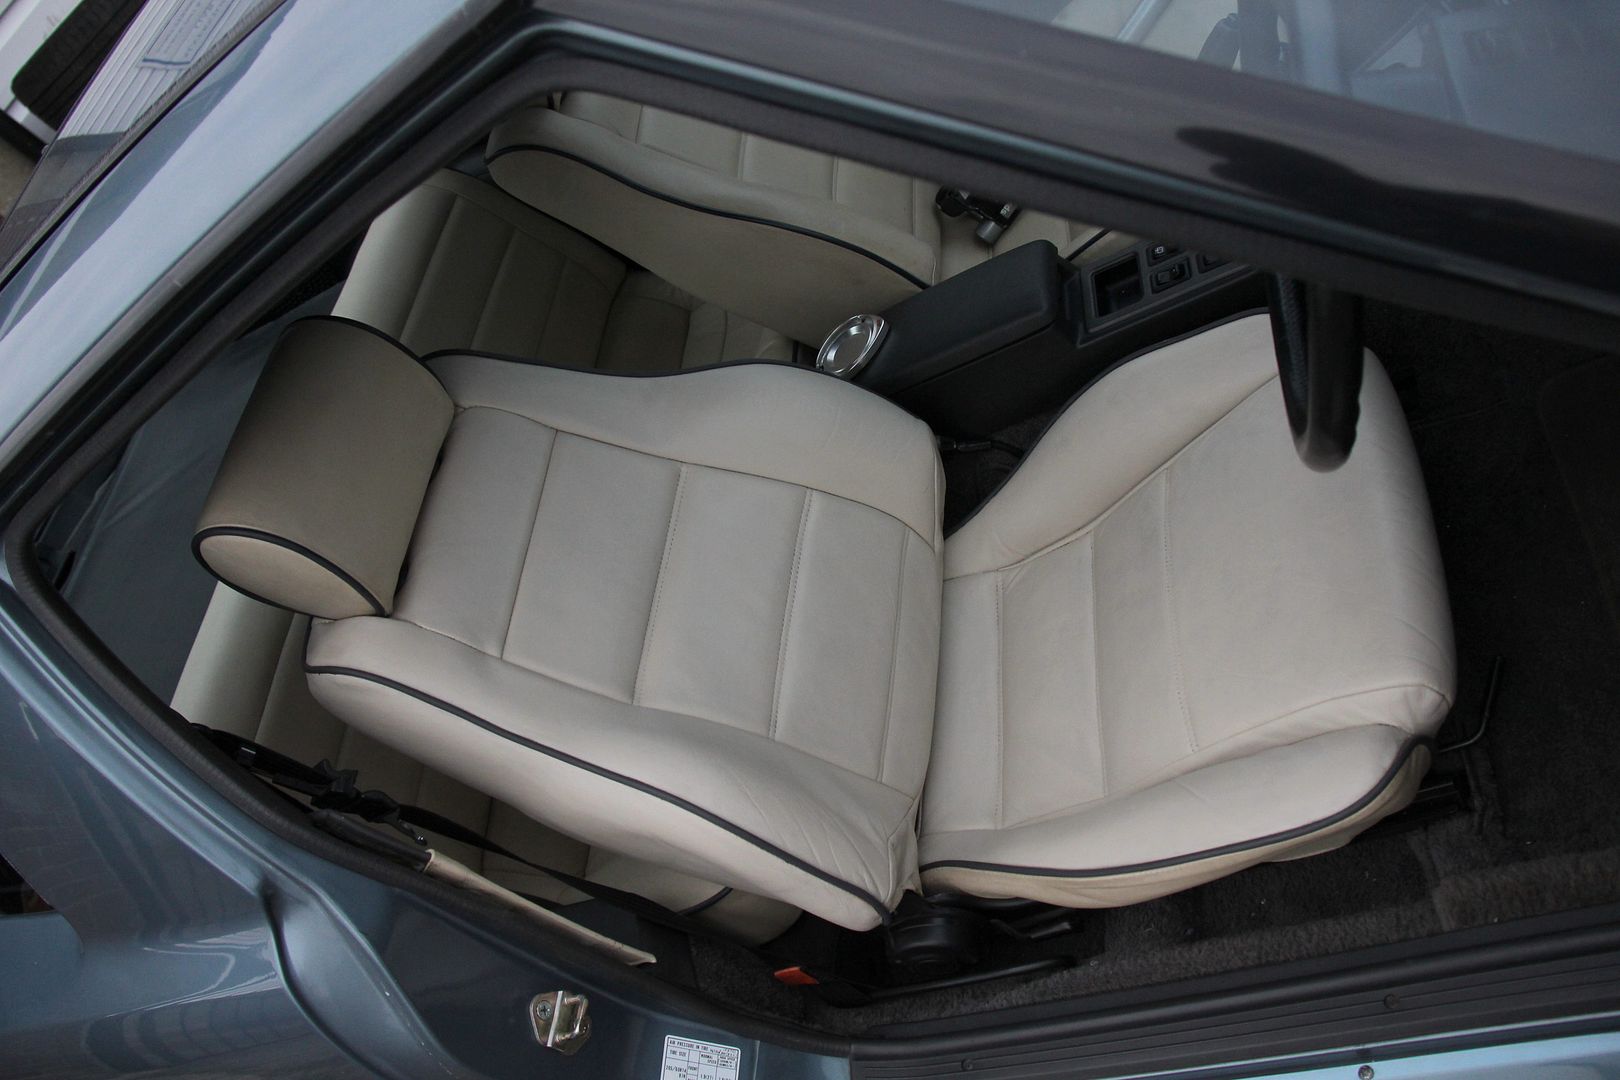
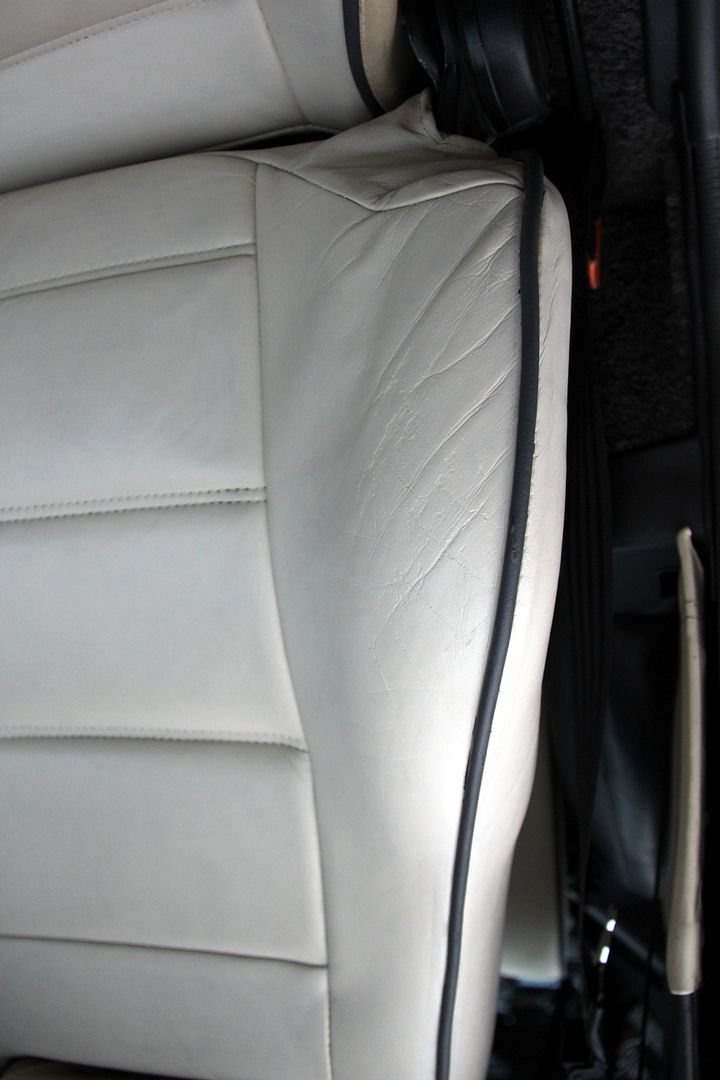
Side bolster before;
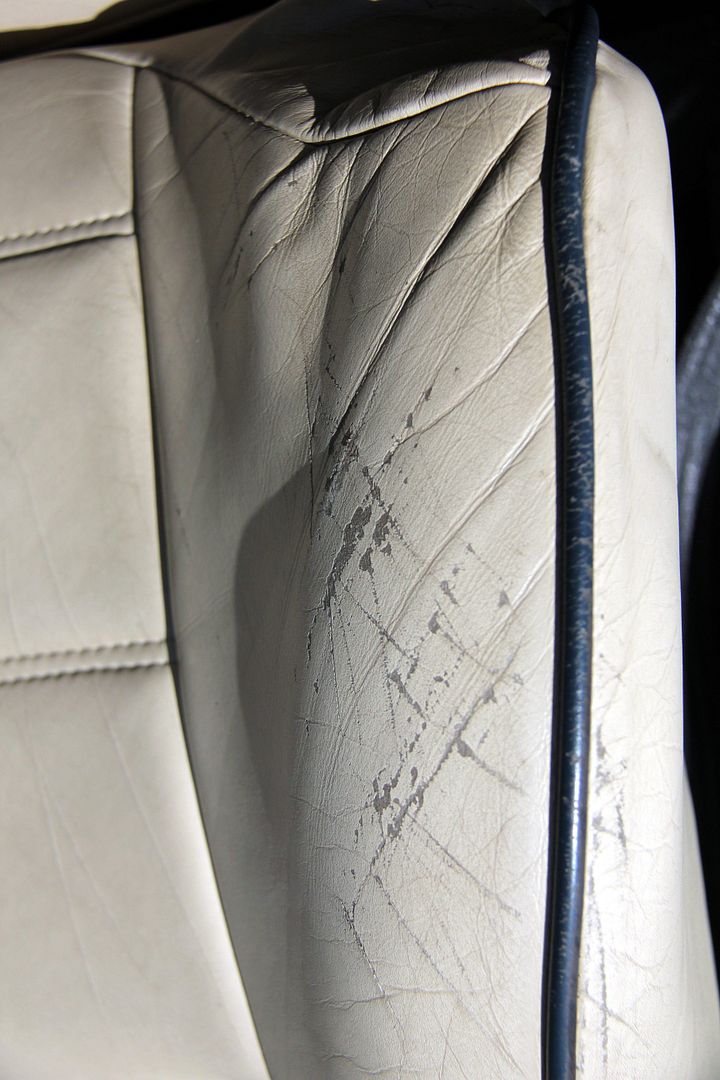
and after;
seat squab before;
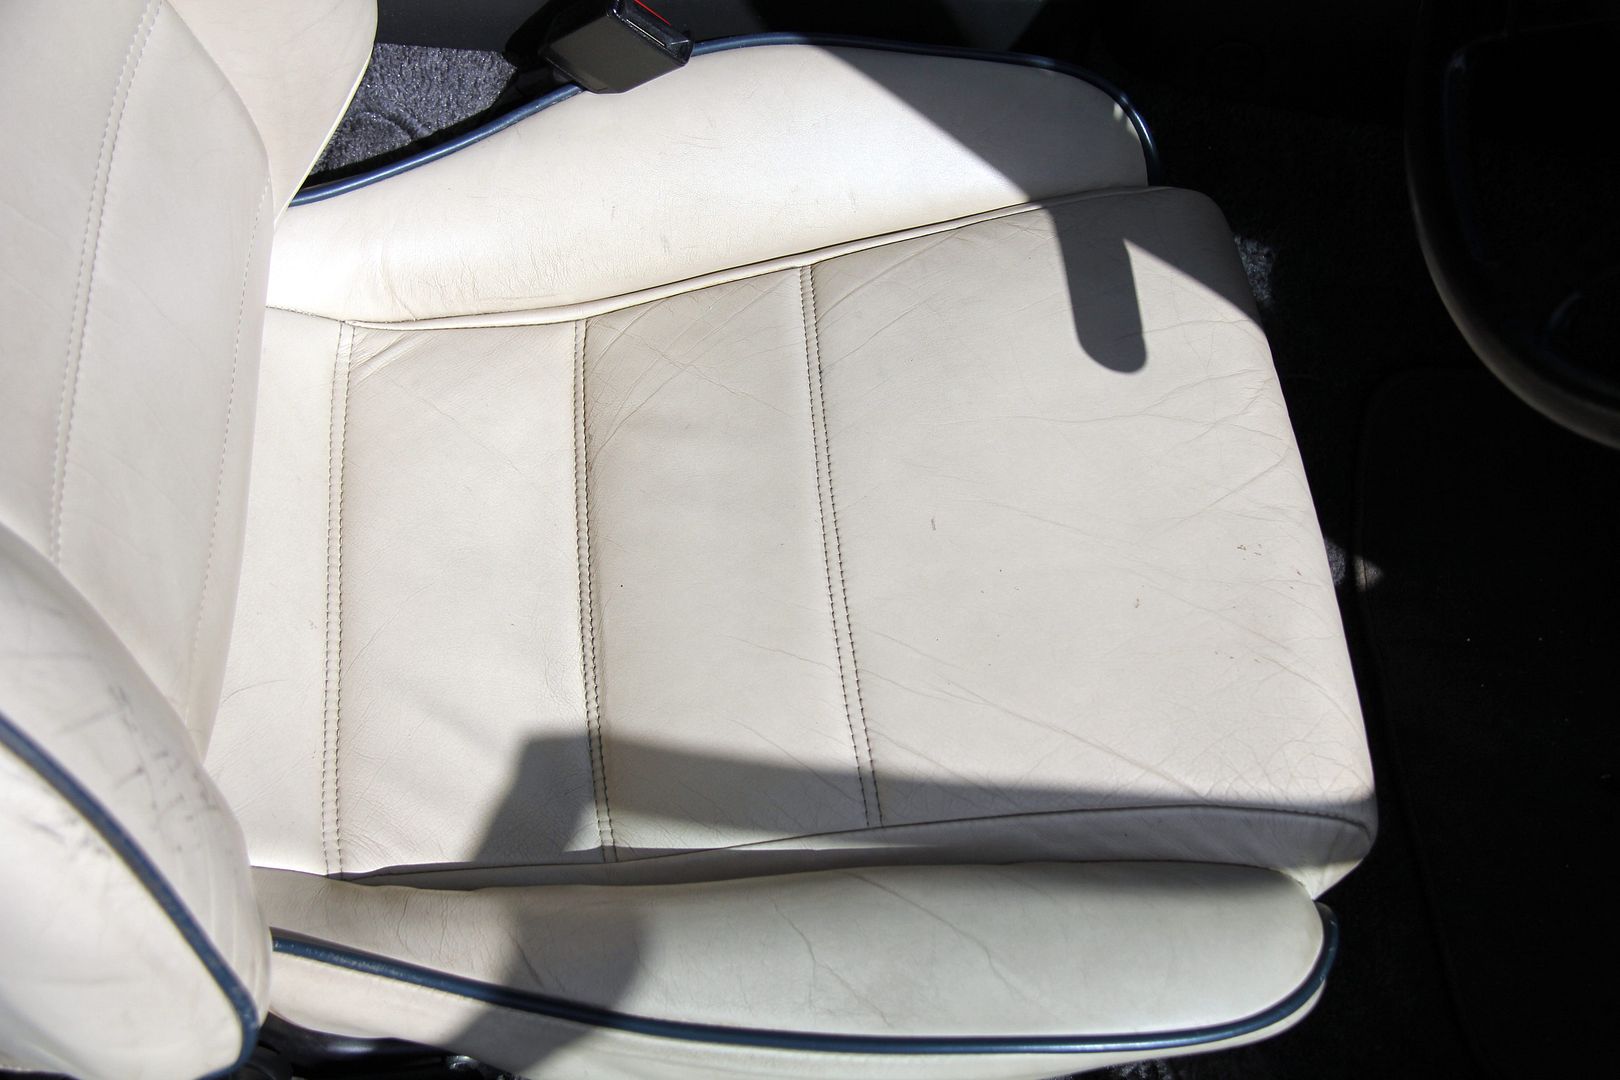
and after;
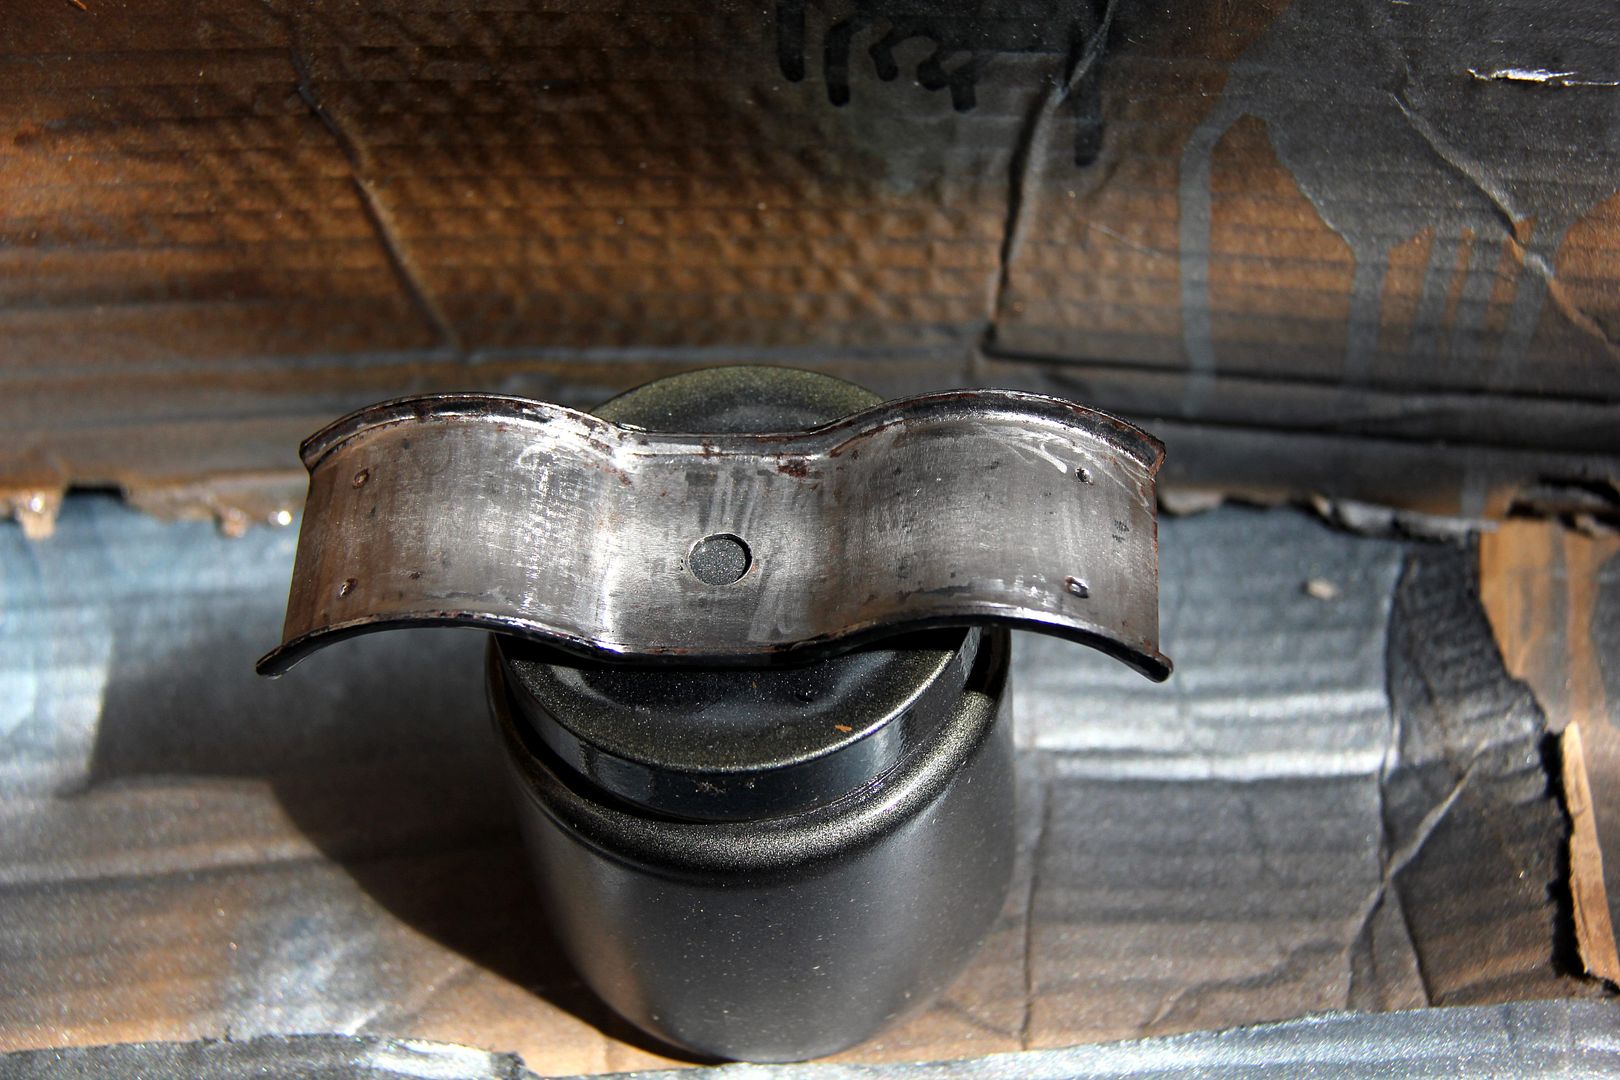
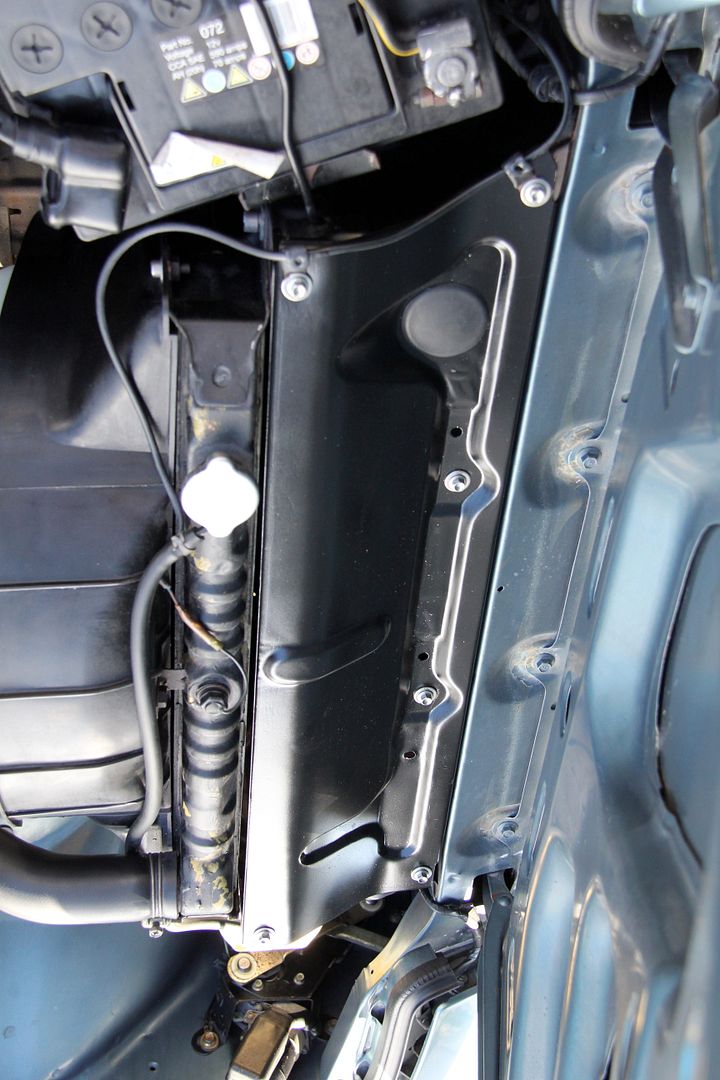
I think I call that a qualified success Next chunk of rusty iron that needed tidying was the radiator airguide plate thing. These, as you most likely are well aware, rust like there's no tomorrow. Mine had only just started to go, so I thought I'd catch it before it was mullered;
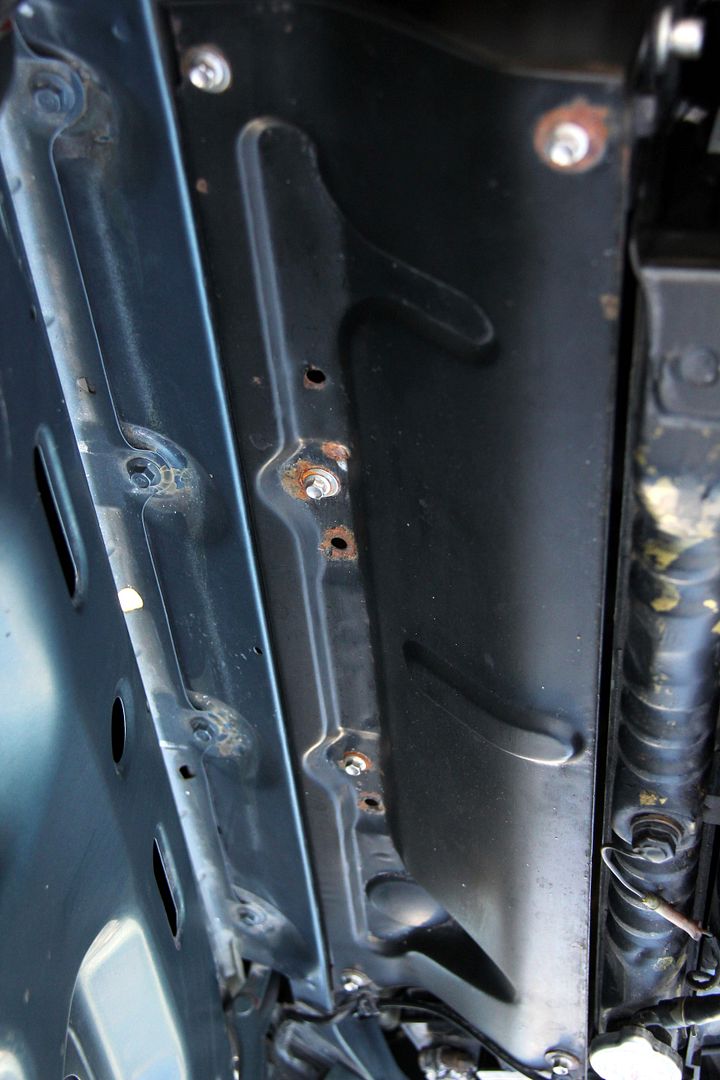
Lots of sanding, since this has to be nice and smooth or it'll look cack, being a long, mostly flat surface
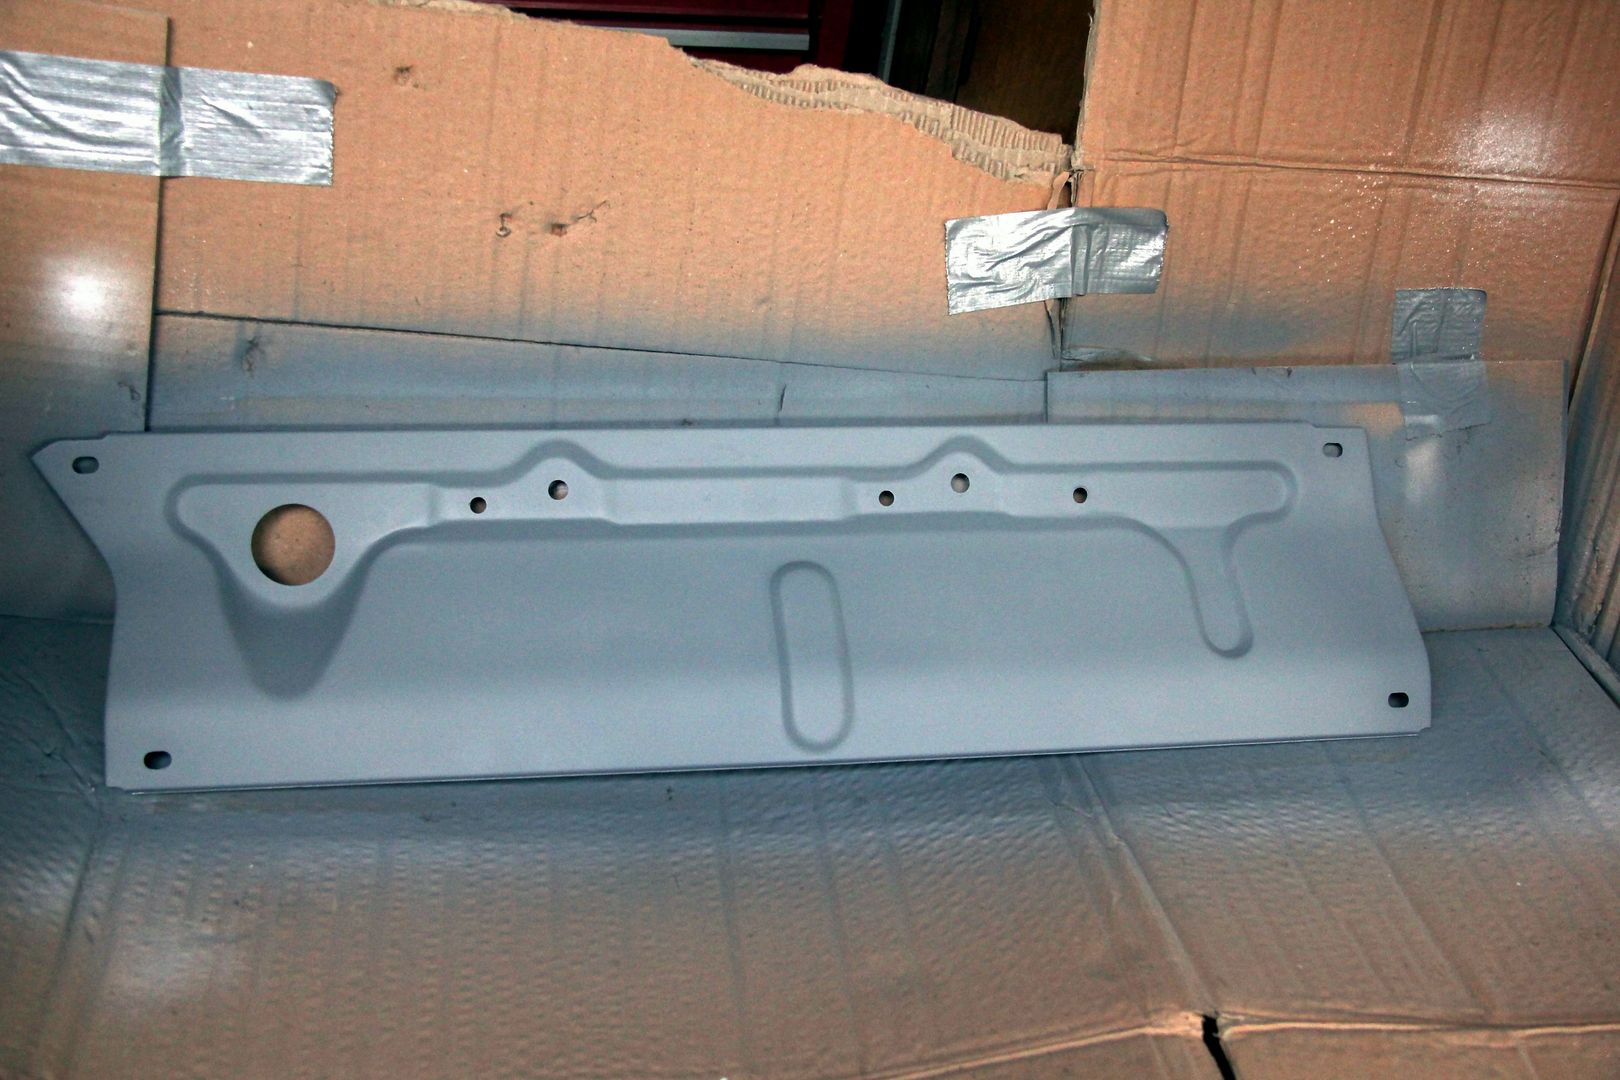
Plenty of satin black, and new stainless washers to replace the old rusty ones
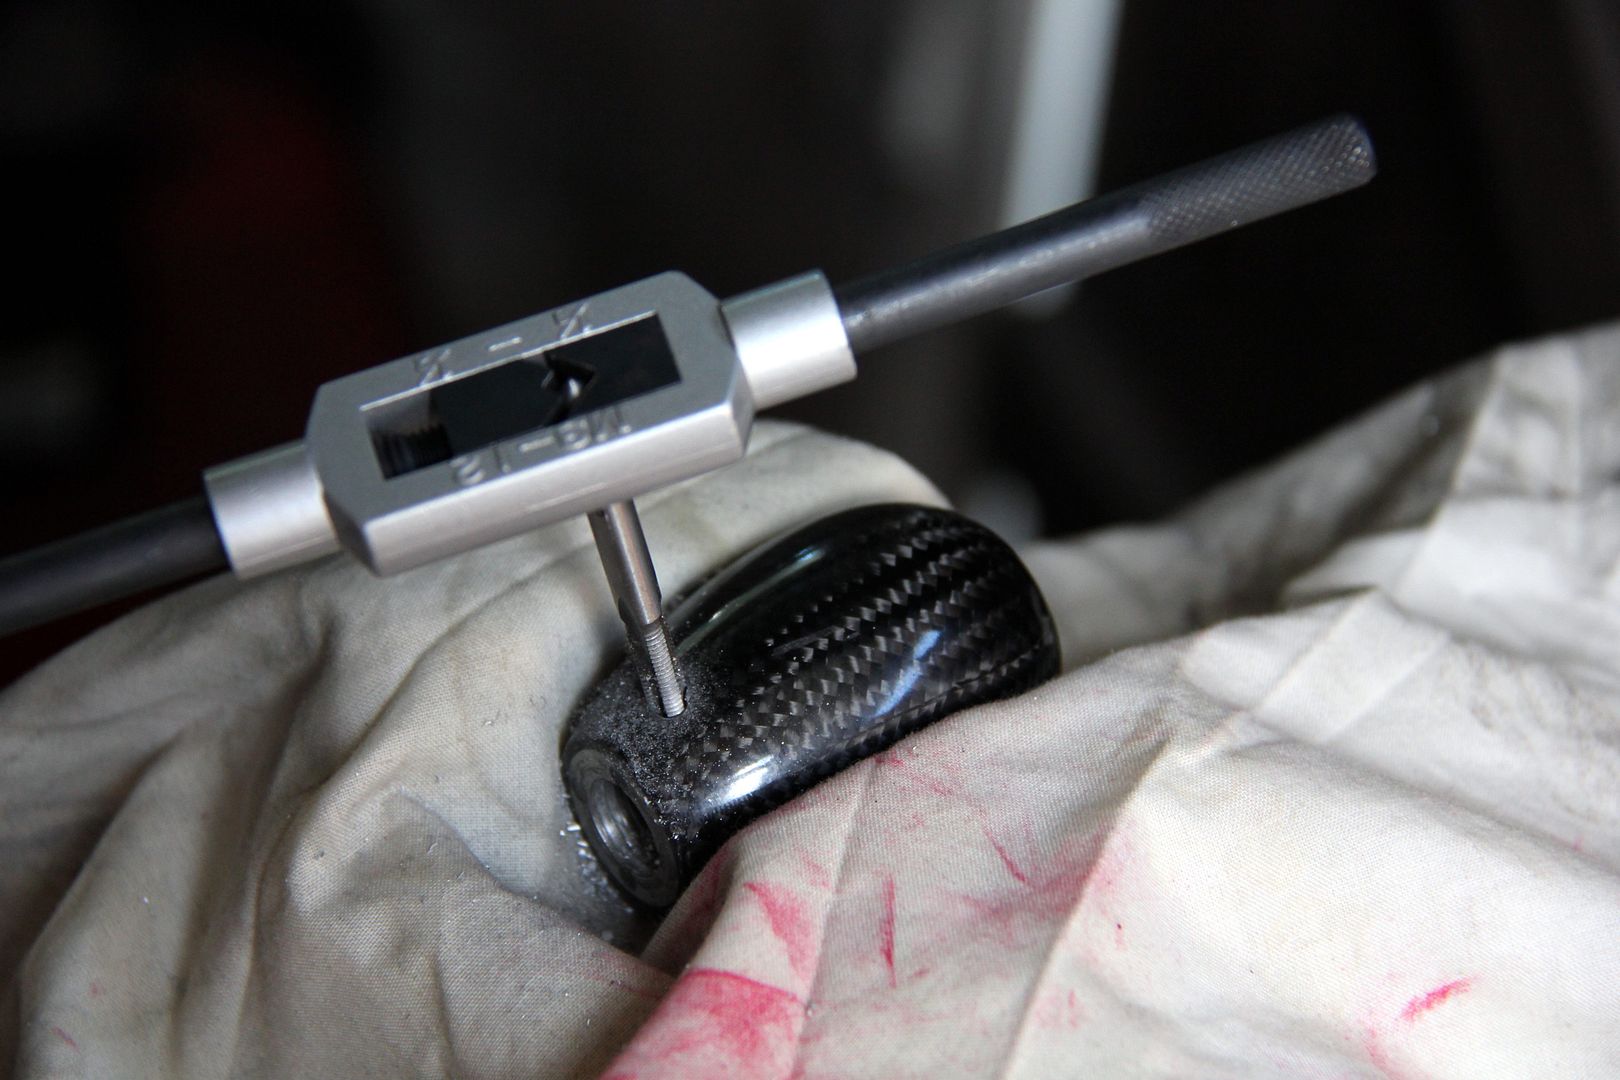
In between (more) paint drying, I set to the gearknob. Oooer. Despite having been advertised as having thread inserts to fit just about any Japanese car, including Mazdas, it didn't. None of them fitted, in fact all the inserts it came with were too small and the thread in the actual knob was too large. So I drilled a couple of 5mm holes in from the side, and tapped them to hold grub screws. Then bulked out the thread with some heatshrink just for some grip on the gearstick, tighten up the grubscrews et voila... one non-rotatey gearknob
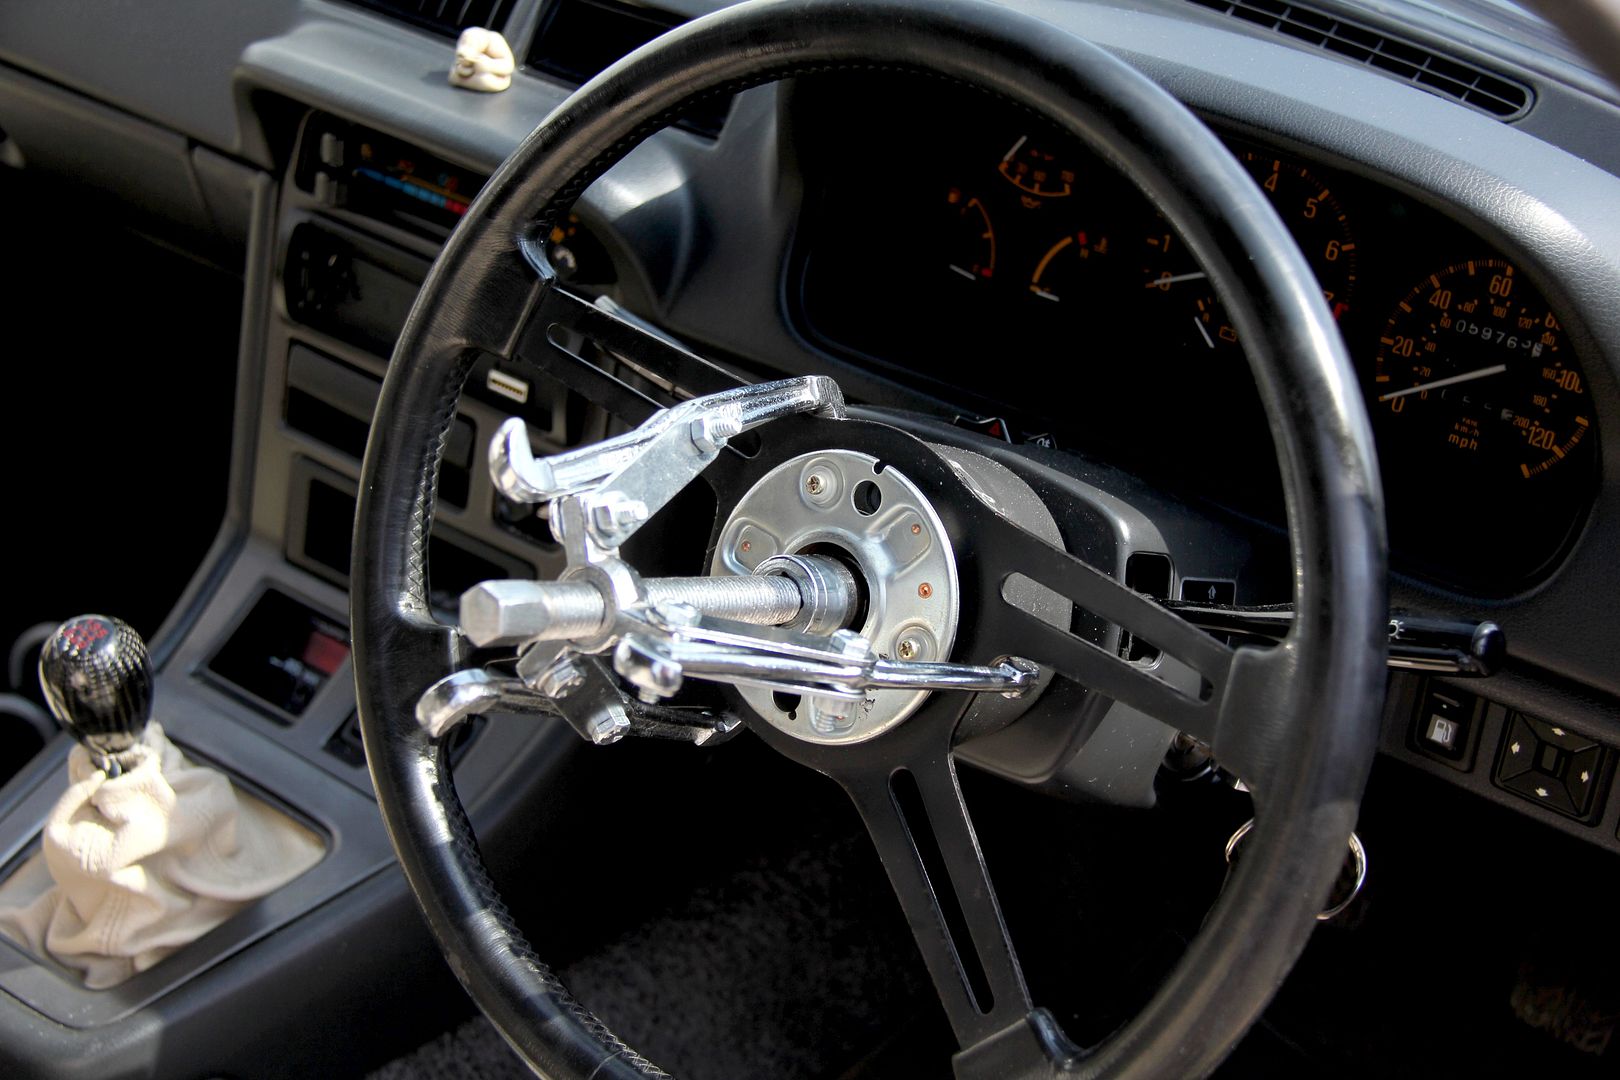
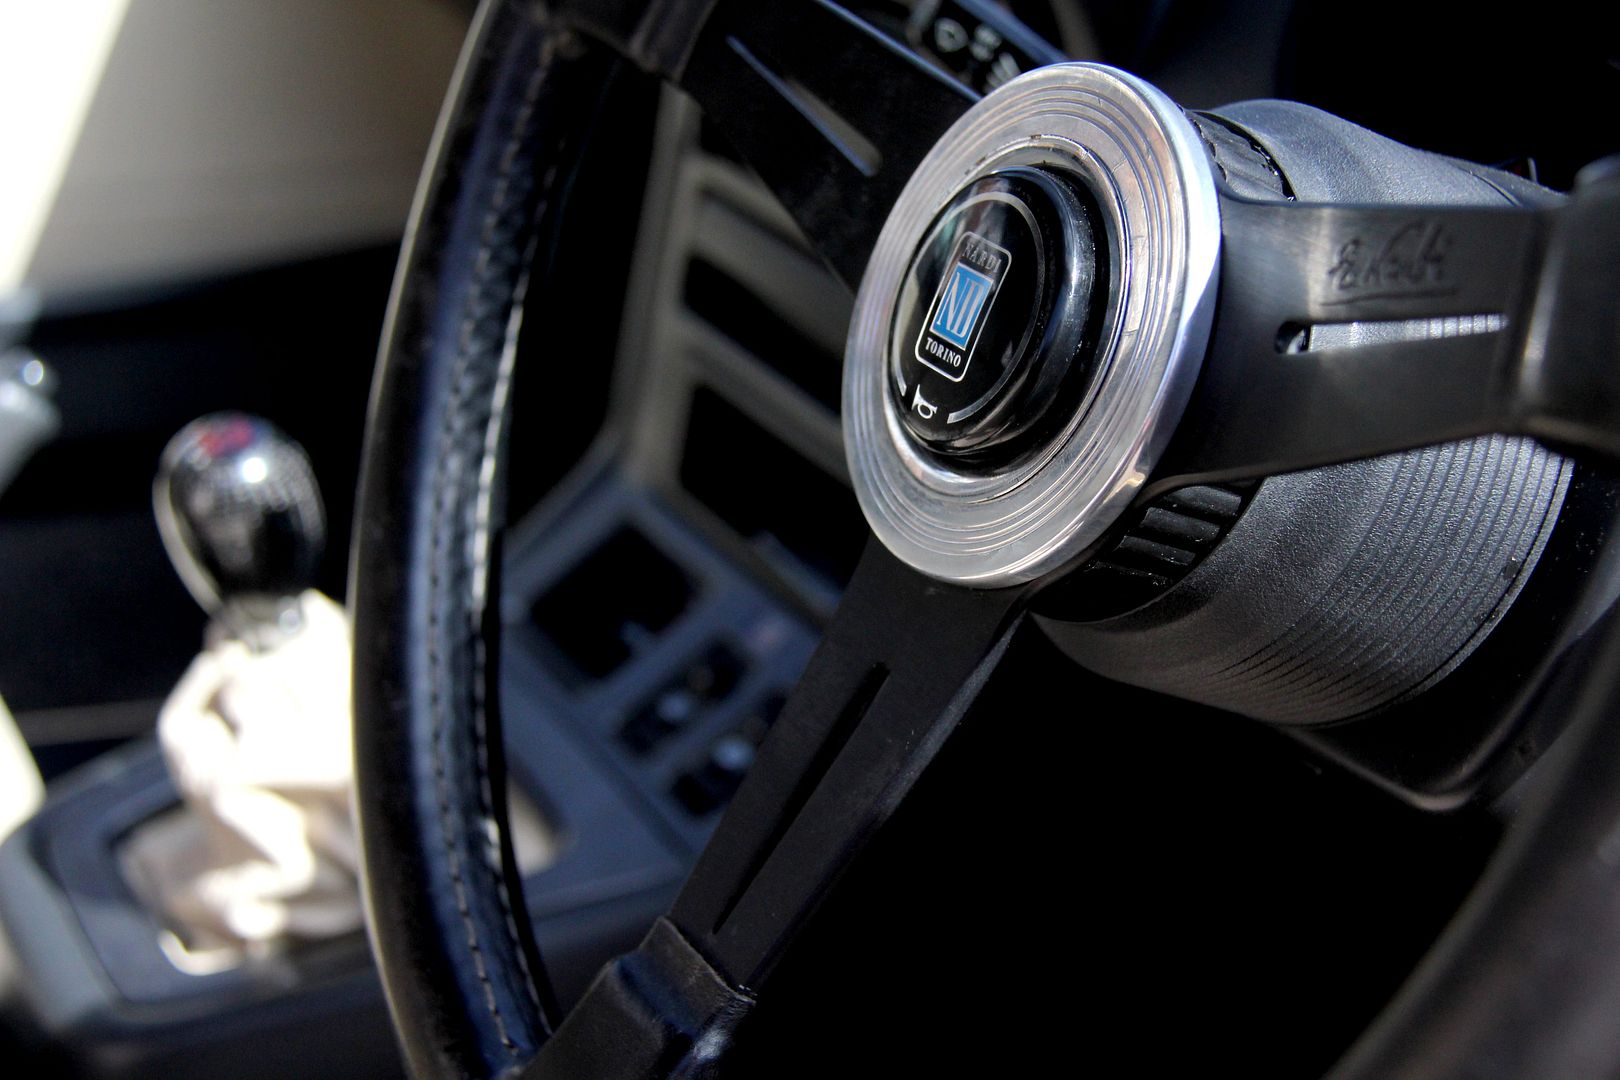
Final task of the moment was to put my lovely Nardi steering wheel on. I had to order a new boss as the previous one was made out of cheese and stripped a thread when I was bolting up the wheel to it Strange thing was that despite me having changed the wheel quite recently, there was no damned way I could get it back off. I must have forgotten to copper-slip the splines, it was like it was welded on. In the end I had to buy a three-leg puller to get the sodding thing off!
after that it was easy enough to get the new boss on (even though the "TOP" marking is out by 90 degrees to the clockspring detents, and even then you have to move it round by one spline as the holes for the Nardi PCD then don't align straight up to 12-o'clock, if that makes sense)
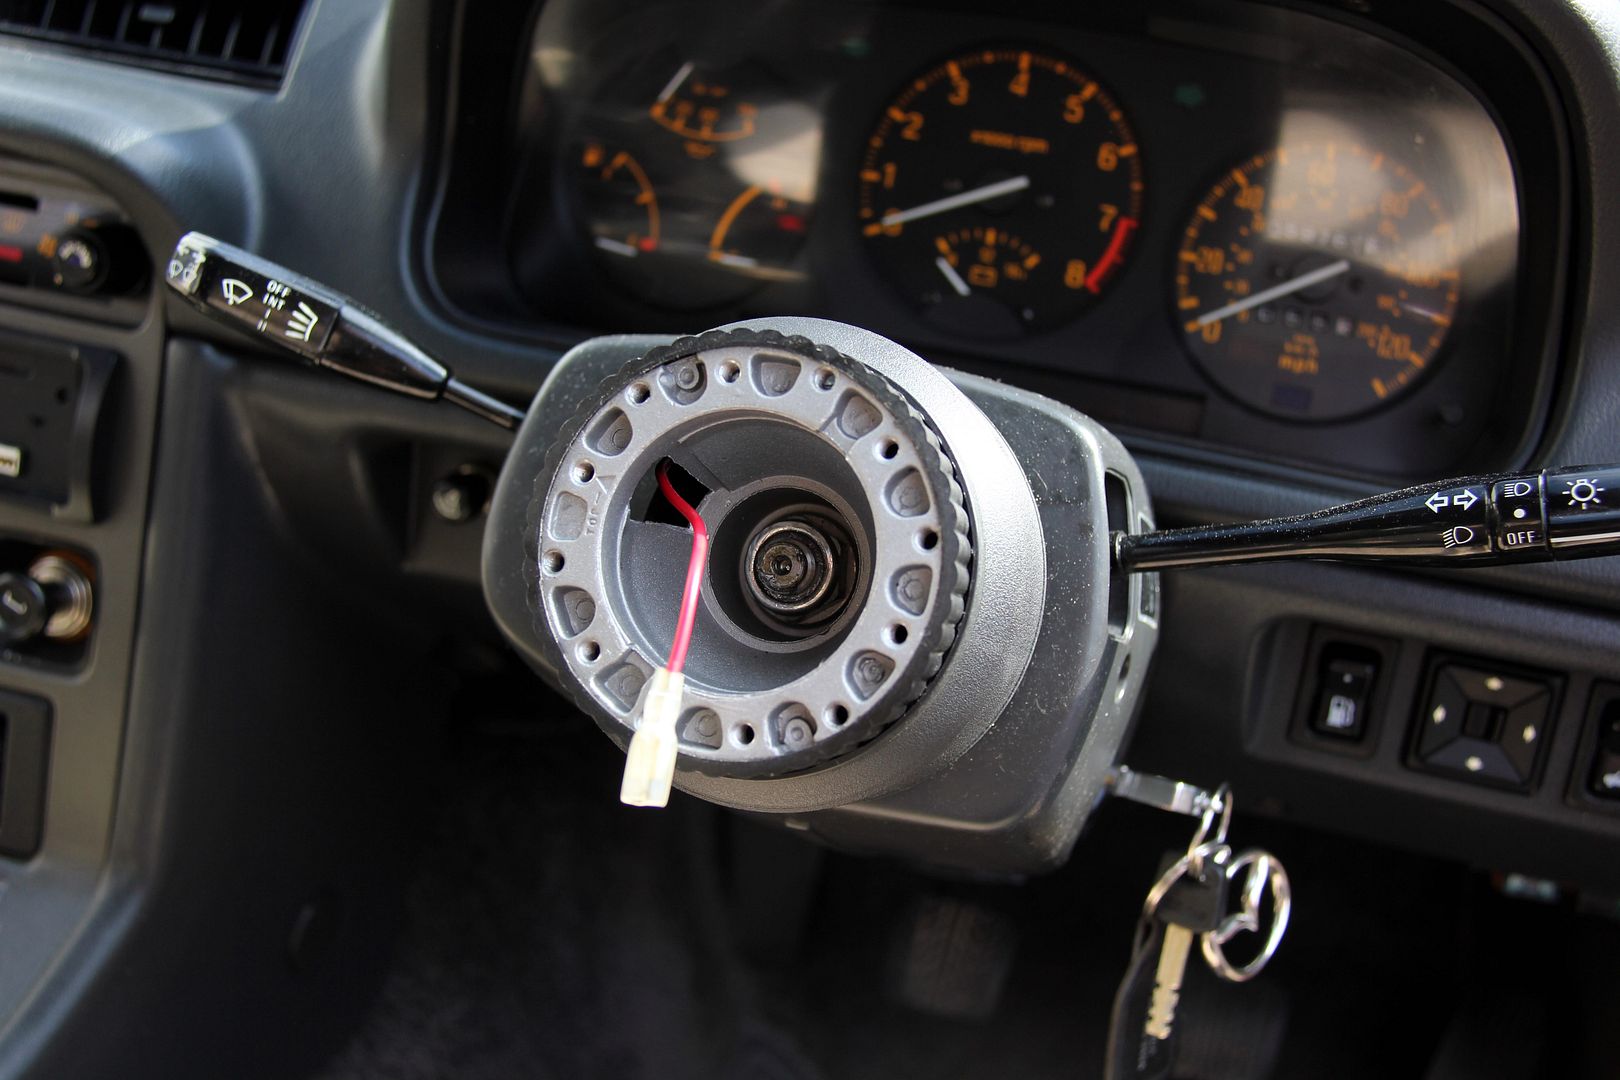
I had to use the horn trim ring, because otherwise the button stands proud of the wheel and looks cack, but I might spray it in satin black, I'm not sure if I like the shiny alloy look
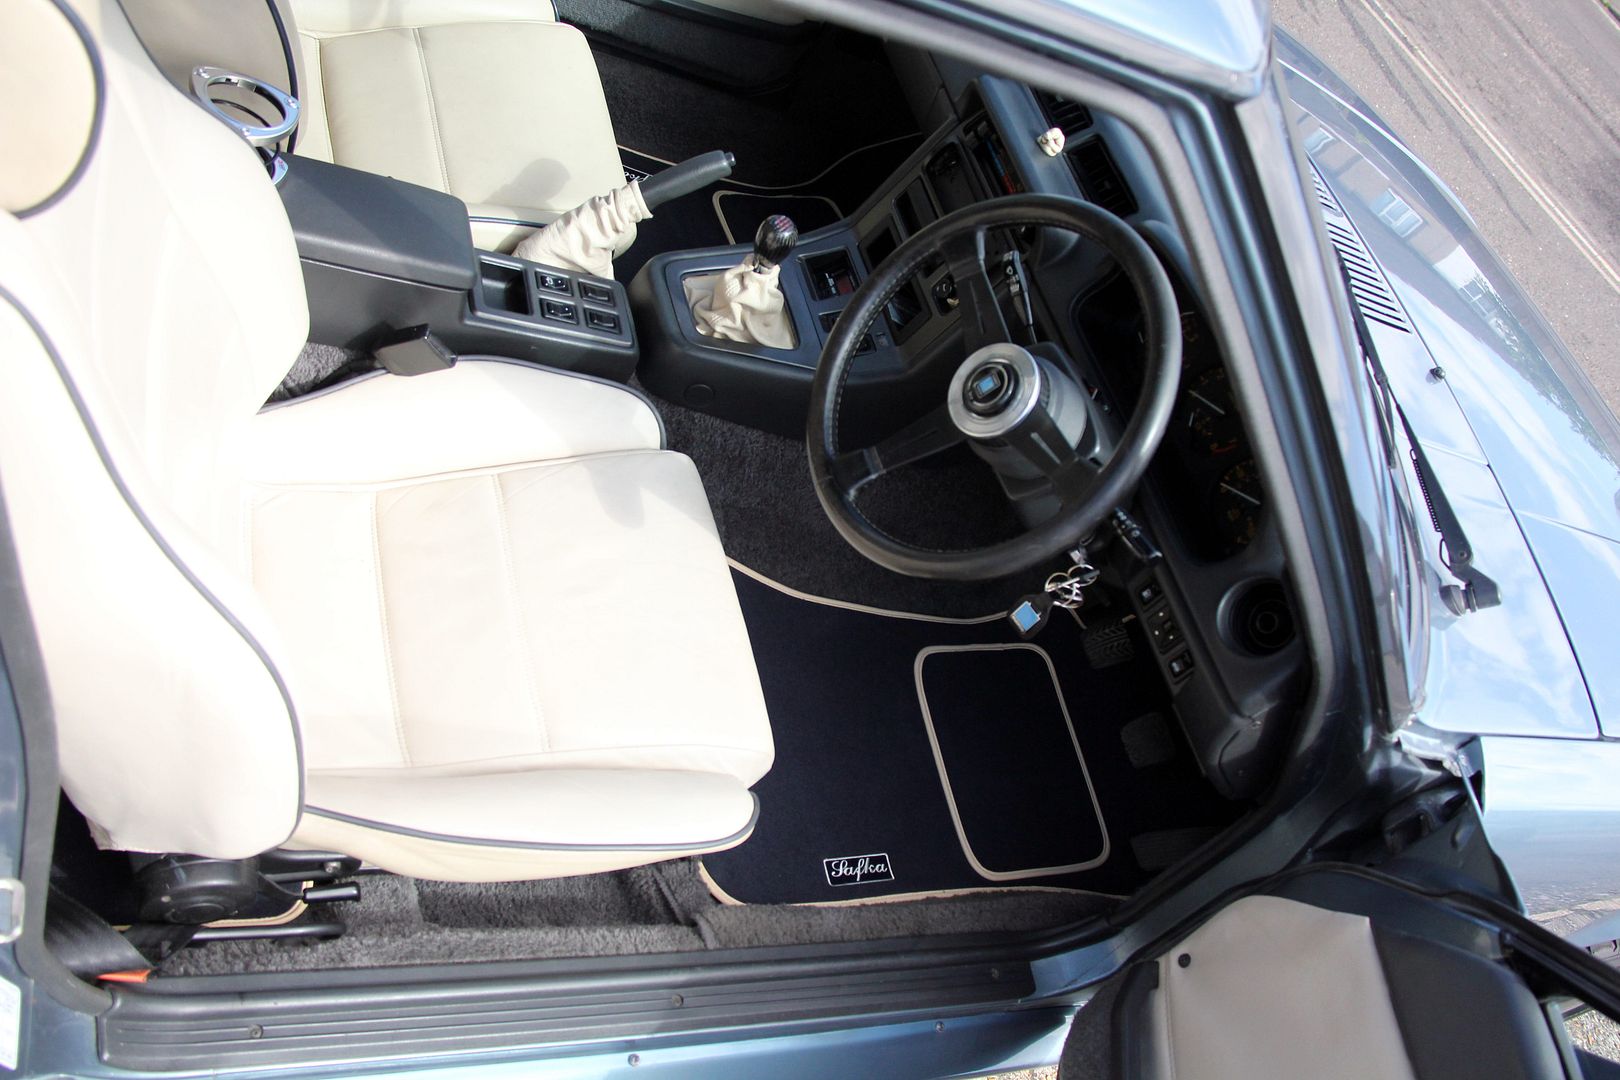
And finally, now all the grotty bits were done, I could lay out the bespoke mats I had made up what seems like an aeon ago. Even come with perfectly-fitting little rear mats, not that anyone will ever see them...
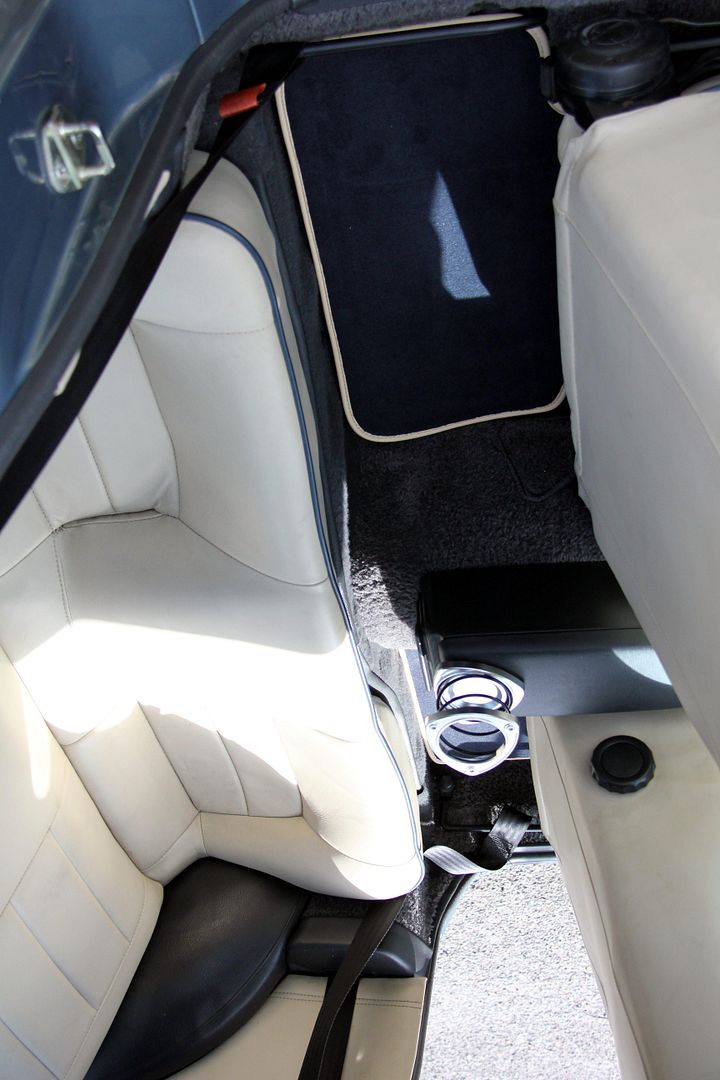
Passenger side;
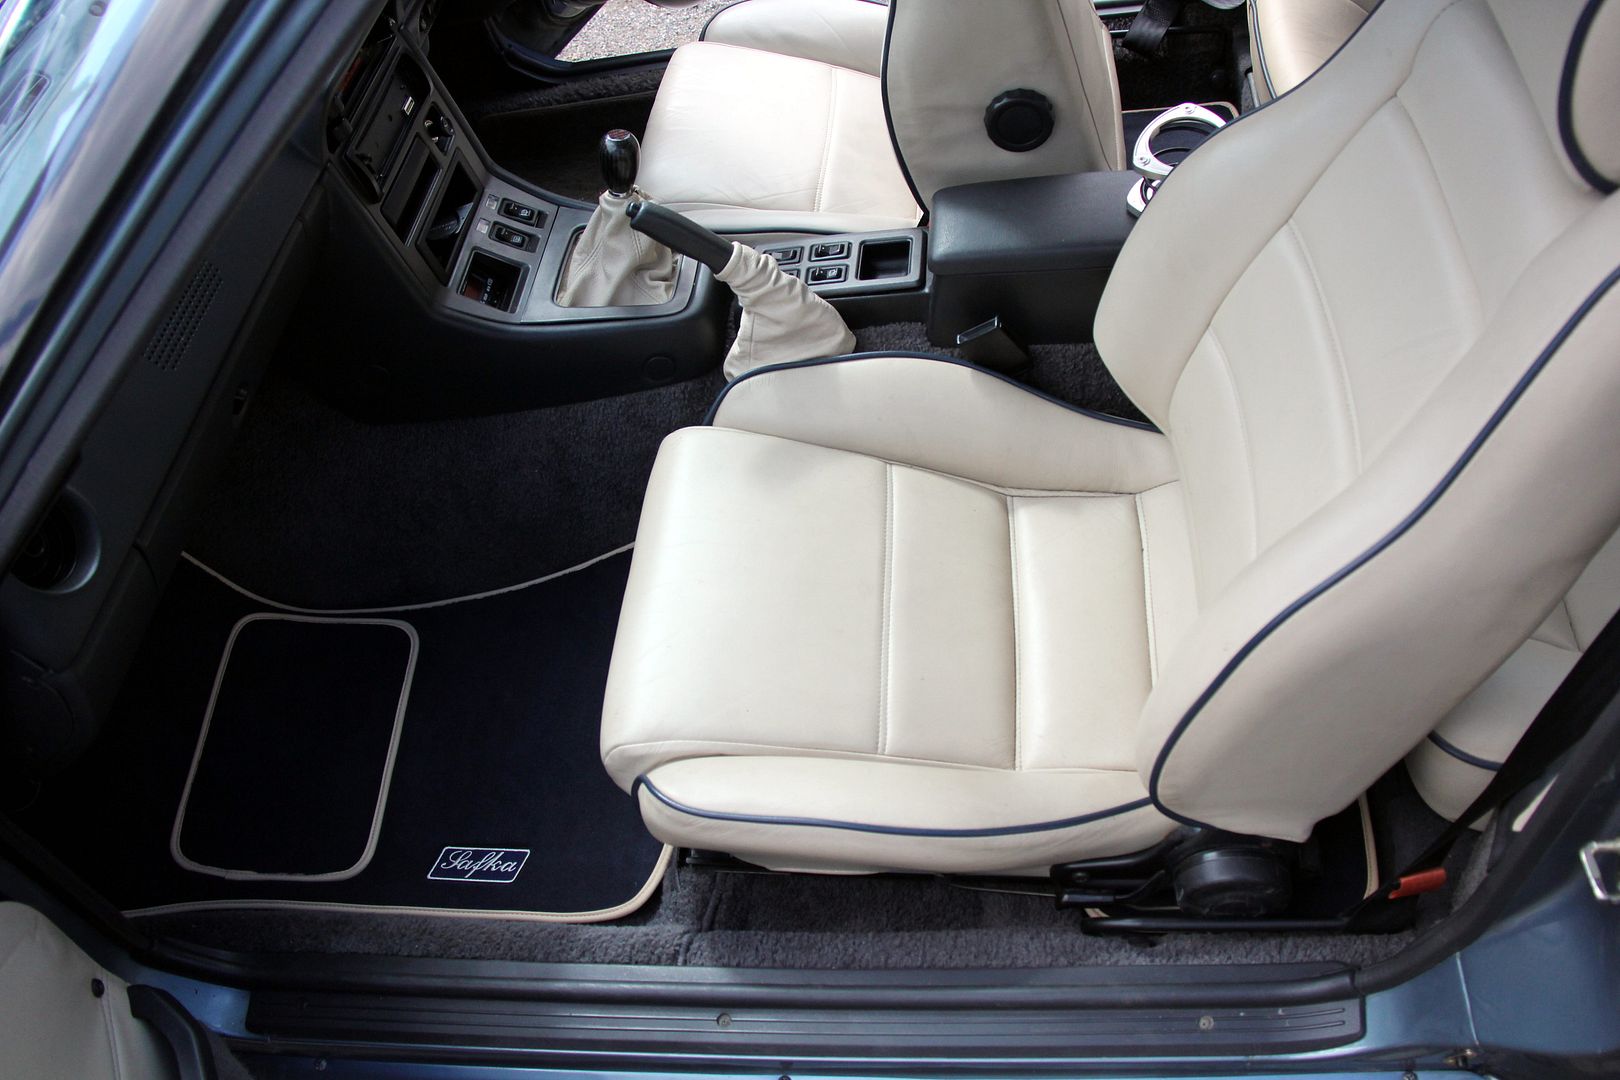
Driver's side;
Phew! And rest...
Loads more jobs still to do, but I didn't want to start anything I couldn't finish before Saturday, so they'll have to wait till I have a bit more time. Progress is made, though. Still to do; swap ludicrous humongous front numberplate for more sensible-size sticky (who knows, third time lucky? Maybe I'll even get it on straight this time!), change brake lines for braided, source electric fan to replace vicious one, get all the other air deflector plates out for rust treatment and re-painting... and on and on and....
such as; having bought a stud extractor for another reason, I thought I may as well delete the redundant studs that hold the air-con pump that we never got in the UK

Not particularly exciting, I grant you, but it's something that's always annoyed me. If they serve no purpose then there's no real point in having them there.

Ta-da. Much neater. I also discovered that the only trouble with stud extractors is that when they slip, it tends to be in a narrow space with lots of sticky-out sharp bits in the way. This is therefore the end result. Doh!

Next on the list was the inspection plate thing on top of the flywheel;

Horrible manky rusty ol' thing annoyed me every time I opened the bonnet, so I sanded it back, primered it

..and since I had a can of Halfrauds allegedly-colour-matched-tender-blue I sprayed it over with that. It's not a great match, to be fair, but good enough so long as you don't actually put it near the bodywork!

Buoyed along by this minor success I turned my attention to the coil bracket

For some strange reason only the top plate of this had gone manky, so that got the Dremel treatment, just in time since the "paint" turned out to be a big sheet covering total rust!

Done. Maybe I should have done it black but I think it's nice to have a little bit of relief to the otherwise rather dour engine bay

While I was under the bonnet, I took the opportunity to replace the aircleaner top hose. No real reason, the original was black rubber that had cracked a bit but was perfectly serviceable. I just happened to have some braided line and hose finishers left over from a previous job that were the right size.

and it looks nicer. So there

Speaking of looking nicer, I got a pair of gaiters from a Vauxhall Corsa off ebay a few months back. Purely because they were cheap (six quid including post) and looked like they'd be big enough. They weren't quite the right colour, but since I'd sent an interior panel away for colour-matching a bespoke leather treatment pack this wasn't a massive problem;

The white colour is the Corsa original, the more beigey colour the treatment. As per previous posts, I'd already replaced the gear gaiter with a Jaguar one, so I took that out and colour matched it as well. The standard Series 3 handbrake is a total disgrace in nasty grey plastic;

so a nice bit of leather to hide it away makes a world of difference;

In between all these jobs that required waiting for paint to dry, I took the opportunity to sort out a load of problems with wiring on the car. Such as why my foglight didn't work (like, how did that pass an MOT then?). The reason for this was half the wires being pulled out and just dangling loose

The old bumper used two number-plate lights, the new one uses one. The redundant wiring and about a foot of still-used-wiring were just balled up into a tangle and stuffed into one of the apertures in the chassis webs

The handbrake gaiter looked like a good match, and the doorcard I also treated did too so I got on with doing the worn leather on the drivers' seat. This was the main reason for getting the leather treatment. However, the colour-matching isn't quit perfect, and on the seat it's come out a lot whiter than the original. Which is a shame, although possibly I'm being a bit picky. It looks OK, but in these pics you can see where I didn't treat the headrest and it's quite clearly a deeper tone in certain lights. Anyway, it had to be done to halt the wear on the seat, so I'll just have to live with it, just a slight shame. Especially when the company did such a superb job of matching the colour of the FD seats.
Anyhoo, here's some before and after shots of the seat;
Seat back before;

and after (you can see the miss-match in this one);

Side bolster before;

and after;

seat squab before;

and after;

I think I call that a qualified success

Lots of sanding, since this has to be nice and smooth or it'll look cack, being a long, mostly flat surface

Plenty of satin black, and new stainless washers to replace the old rusty ones

In between (more) paint drying, I set to the gearknob. Oooer. Despite having been advertised as having thread inserts to fit just about any Japanese car, including Mazdas, it didn't. None of them fitted, in fact all the inserts it came with were too small and the thread in the actual knob was too large. So I drilled a couple of 5mm holes in from the side, and tapped them to hold grub screws. Then bulked out the thread with some heatshrink just for some grip on the gearstick, tighten up the grubscrews et voila... one non-rotatey gearknob

Final task of the moment was to put my lovely Nardi steering wheel on. I had to order a new boss as the previous one was made out of cheese and stripped a thread when I was bolting up the wheel to it

after that it was easy enough to get the new boss on (even though the "TOP" marking is out by 90 degrees to the clockspring detents, and even then you have to move it round by one spline as the holes for the Nardi PCD then don't align straight up to 12-o'clock, if that makes sense)

I had to use the horn trim ring, because otherwise the button stands proud of the wheel and looks cack, but I might spray it in satin black, I'm not sure if I like the shiny alloy look

And finally, now all the grotty bits were done, I could lay out the bespoke mats I had made up what seems like an aeon ago. Even come with perfectly-fitting little rear mats, not that anyone will ever see them...

Passenger side;

Driver's side;

Phew! And rest...
Loads more jobs still to do, but I didn't want to start anything I couldn't finish before Saturday, so they'll have to wait till I have a bit more time. Progress is made, though. Still to do; swap ludicrous humongous front numberplate for more sensible-size sticky (who knows, third time lucky? Maybe I'll even get it on straight this time!), change brake lines for braided, source electric fan to replace vicious one, get all the other air deflector plates out for rust treatment and re-painting... and on and on and....
-
Hobbawobba

- VIP User
- Posts: 1938
- Joined: Tue Nov 01, 2011 9:44 pm
- Location: Worcester - UK
- Has thanked: 628 times
- Been thanked: 218 times
Re: Lucky's Series 3
All the small things seem to make a lot of difference! The removal of the studs has made me want to do the same with mine haha. Maybe one day
Are you going to go for the mr2 e-fan route? Or got something else in mind?
Are you going to go for the mr2 e-fan route? Or got something else in mind?

 ......
 Re: Lucky's Series 3
Blimey, you have been busy! Great work there fella
If you want some, I have some proper Tender Blue - I can't use it...my car isn't the right colour
If you want some, I have some proper Tender Blue - I can't use it...my car isn't the right colour

-
Lucky
- VIP User
- Posts: 2685
- Joined: Mon Nov 07, 2011 8:30 pm
- Location: Worthing, UK
- Been thanked: 5 times
Re: Lucky's Series 3
I've nearly run out of bits to paint now Those studs irritated me out of all proportion from the very first time I saw them. Strange but true. I can sleep easy at last now they're gone
For the fan I was planning on getting the most biggerest Kenlowe one that'll fit the radiator and bodging that on
For the fan I was planning on getting the most biggerest Kenlowe one that'll fit the radiator and bodging that on