Lucky's Series 3

Restoring, modifying, fettling or just enjoying your RX7 ? Share it with us here...
Lucky
VIP User
VIP User
Posts: 2685
Joined: Mon Nov 07, 2011 8:30 pm
Location: Worthing, UK
Been thanked: 5 times

Re: Lucky's Series 3

Post by Lucky »

Marc S wrote:wouldn't triangular bits be more resistant to flex though? we all know triangles are better :D
Yeah, they would. But without being able to weld it up, I dunno how to find off-the shelf triangular steel bits to use :? This is the Cusco one on the FD. To be fair it's a bit more neater but I dunno how to come close to that without being able to glue metal

Image
Lucky
VIP User
VIP User
Posts: 2685
Joined: Mon Nov 07, 2011 8:30 pm
Location: Worthing, UK
Been thanked: 5 times

Re: Lucky's Series 3

Post by Lucky »

Show season is most definitely upon us, and despite spending a good deal of time actually driving the car, I've still managed to find some things to mess about with in the garage. For instance...

I think I've been spoilt by the alloy pedals in the FD, because I've never much liked the rubber ones in every other car since. I guess it's a feel thing; much like every bike I ever owned the first thing I changed was the footrests for proper alloy rearsets. Anyhoo, it just so happened that the incomparable JDK of the FDUK manor was selling a set of slightly soiled Project μ pedals from his FD. I've always liked Mu stuff because I think it's a clever name, Mu being the scientific shorthand for coefficient of friction and braking coefficient in aviation, and I like to imagine the boardmeeting when several very sensible Japanese engineers lost their inscrutability quotient completely and started whooping and high-fiving each other when they came up with the name.

Anyway, despite JDK being kind enough to furnish the packaging with drawings of sexy mermaids (which I'm keeping in case his artistic genius is recognised in our lifetime, in which case they'll be on eBay) the actual pedals looked a bit... well, secondhand. Which of course they were, but you know what I mean

Image

Took me a while to work out which was the brake and clutch, but eventually judging by the wear I figured this was the brake

Image

and the clutch

Image

I liked all the funny shapes, and bolts and stuff but it wasn't until ages after getting them I realised they were actually sculpted so when put in place together they made up the shape of one of the Project μ calipers! At first I thought the bolts and fittings were just to prevent too much wear, but they actually replicate the fasteners that hold the two halves of the caliper together and the cross-over and bleed nipples. Groovy! Some of the bolts actually have a dual function, as on the reverse of the pedal they screw into little steel claws that grip the cars pedals and fix these covers in place. Which is much preferable to drilling through your pedals!

Image

And they also had one of the cutest little Japlish/Engrish slogans on them

Image

However, they were properly crusty, the paint was worn and peeling and iconic though the Project μ livery colour is, it's actually a bit nasty and would stick out like ... well, something nasty. See? Grim;

Image

So the first step was to strip them back, which proved surprisingly tough in places. It seemed that in areas where the paint was stuck, it was really stuck and the best I could do was rough it up for primer

Image

Some of the decorative fasteners were seized too, and rather than faff about drilling and tapping and ricking mullering the relatively fragile alloy, I just left them in place and sprayed over them like a pikey boss

Image

Some acid-etch ought to sort the remaining alloy fur and then a blow-over with Mazda Tender Blue, which is wot the car is

Image

...and then I could scrape away the paint from the seized fasteners and the raised lettering (since the paint will wear off there anyway whether I want it to or not) before lacquer. And then more lacquer. And some more for luck. It's gonna chafe through eventually anyway, but might as well give it a fighting chance

Image

The next stage was to replace the knackered anti-slip inserts that were mullered and beyond saving. At least I could do this inside. So I did one night after everyone else was in bed, I sat and finished my pedals off while half watching As Above So Below on Sky which I found surprisingly enjoyable. Ahem. Anyway, templates;

Image

made from humble masking tape. The wobbly bit is where the weird ghost bird with the dead baby appeared out of the darkness unexpectedly and made me jump, lol. Once I had my templates, I transferred them to a roll of non-slip floor stair edging tape I'd got from eBay

Image

and by being cunning and sticking them on the reverse for one set, I got the mirror image for the other pedal. I also made a set for the gas pedal, even though originally it didn't have any. But then, I didn't want my foot slipping off all that shiny lacquer, did I?

Image

And I thought about it, I guessed even the lacquer wasn't going to be man enough, and I didn't want to do this every other month. So I raided the garage for an old unused roll of paint protection film from another project (haven't I always told you everything proves useful if you keep it long enough?). Then some elementary brass rubbing with a crayon stolen from the kids

Image

and I could make another template to cut the clear film to. The oval cut-out was needed to let the raised lettering come through because if I'd tried to stick film over that it would have been lumpy, looked cack and peeled off in days

Image

Bit fiddly but we got there in the end

Image

And once all the film was in place, I could apply the non-slip bits and you'd (almost) never even know it's there

Image

And that was that. At the end of a productive evening I'd watched (most) of a jolly good horror flick and my righteous JDM y0 Project μ pedal covers were refurbished in colour-matched Tender Blue loveliness. Accelerator;

Image

Clutch

Image

and brake

Image

And here they are... after much swearing and fiddling around with tiny, feeble M4 fasteners whilst lying upside-down in the footwell with all the blood pooling in my swede till I must have looked like Pumpkinhead the Demon... in the car. Lovely

Image

Two good things have come from this; a) my pedals feel much nicer and somehow more positive underfoot and b) I felt motivated to hoover out the gruesomeness that was the interior of my car. Winning
KiwiDave
VIP User
VIP User
Posts: 2268
Joined: Sat Nov 05, 2011 8:07 pm
Location: Feltham, Southwest London
Has thanked: 482 times
Been thanked: 192 times

Re: Lucky's Series 3

Post by KiwiDave »

Oh my .... what big feet you have ;)
1985 Sunrise Red S3 TWR
2006 Mercedes CLK 280 Sport AMG
Lucky
VIP User
VIP User
Posts: 2685
Joined: Mon Nov 07, 2011 8:30 pm
Location: Worthing, UK
Been thanked: 5 times

Re: Lucky's Series 3

Post by Lucky »

So, I haz done more stuff.

First up, I managed to get hold of a couple of alternators. Annoyingly, the Series 3 had a unique alternator not only completely different to the S1 & 2 version (which has an external bacon-slicer fan as the most obvious difference) but also different to the EGi FC that followed. So they're a bit hard to get hold of. Finally I got hold of a couple, one from MR TOOL and one refurbished one from Mr Biznatch. Many moons ago I stripped down and polished the housings on my FD alternator (yep, different again) and I remember it as one of those jobs I swore "never again" over. Actually, I swore a lot more than that...

So, how to make my new/old alternator look nicer? since the entire point of this exercise was to bring the alternator up to the standards of the rest of the bay, something needed to be done... and whatever it was, I didn't want to do it to my only working one, hence the couple of spares. In the end, a perfect solution presented itself. I split them both, gave one set of housings to bezzy mate Ada to polish, because he's very good at that, and kept the other for myself to paint. Because I'm lazy. Then I'd have the best of both worlds; I could pop the painted one on for the time being and swap the polished one as and when it was finished. Idiotically, I kept TOOL's one to paint and gave Biznatch's to Ada to polish, which was the wrong way round really as the latter was already painted and would have been easier to re-paint as it was just a bit scruffy. Never mind. eventually I ended up going from this
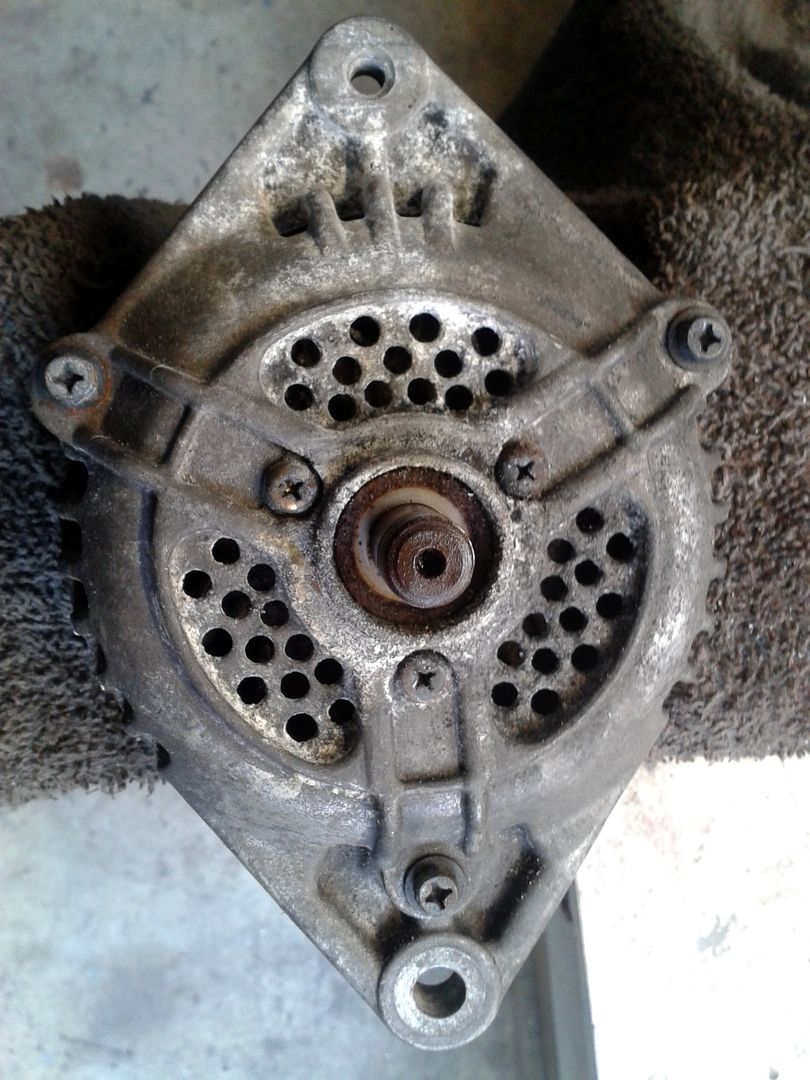
Image

To this...

Image

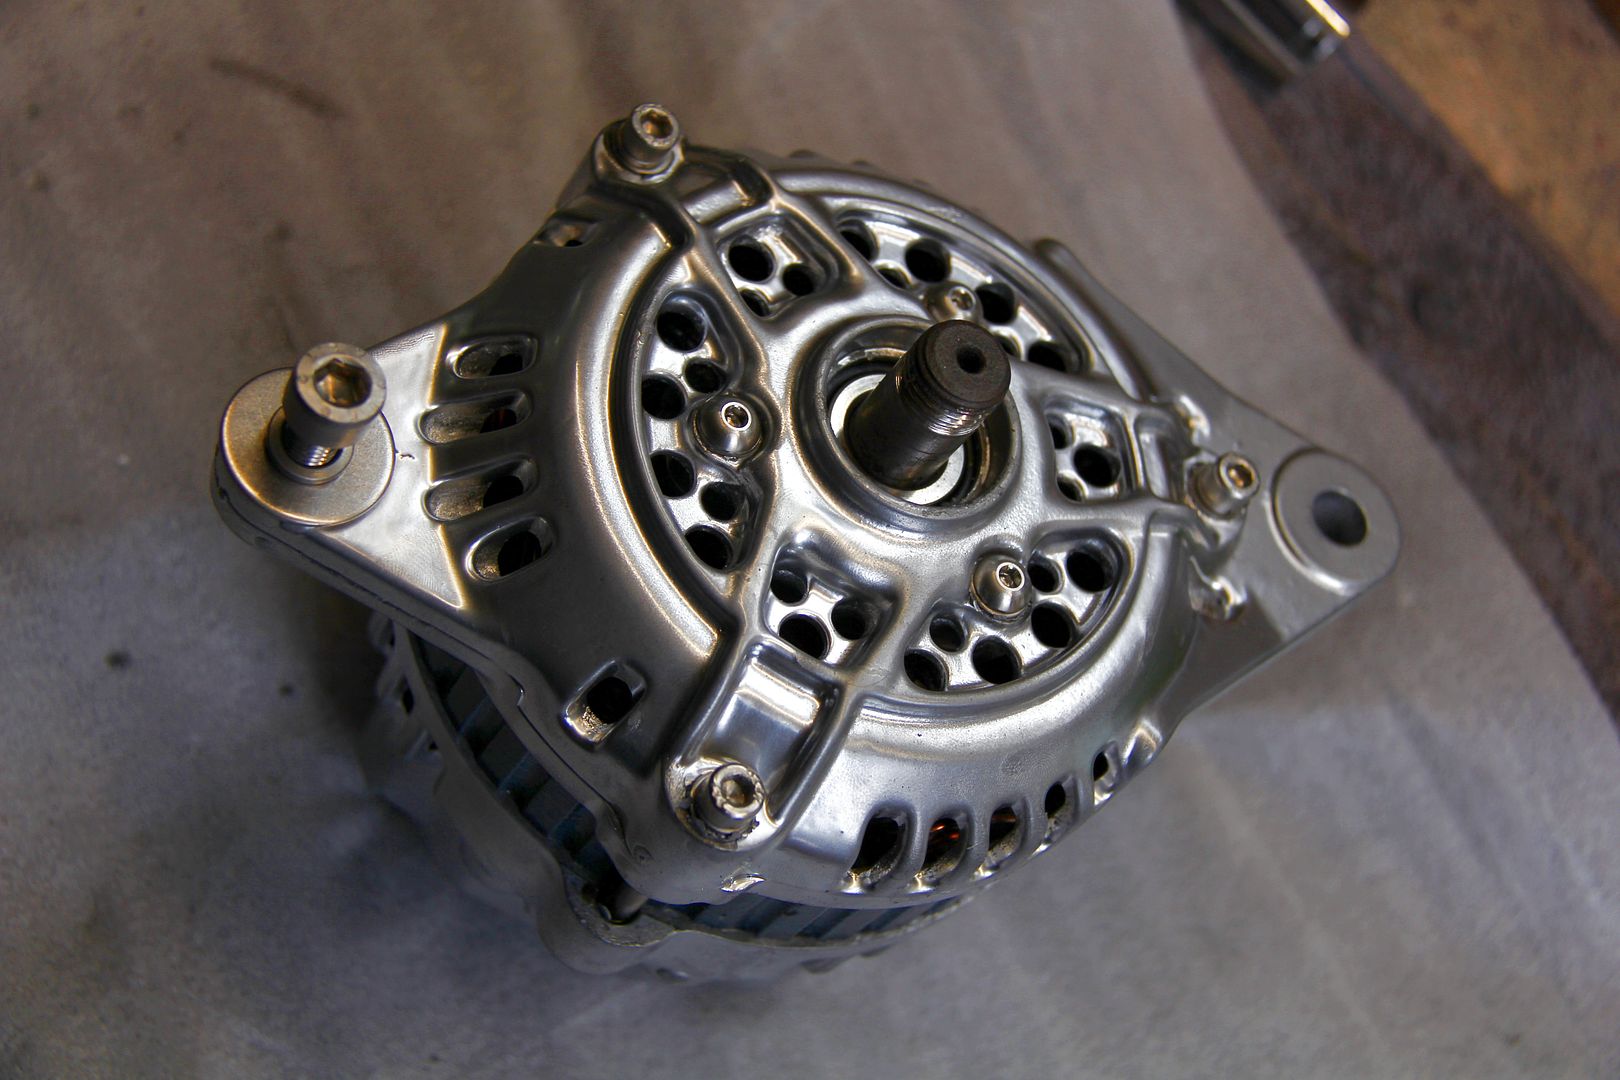
And once I've finished here I'll whizz together a quick How To thread for anyone interested in refurbing their own alternator, cause there are a couple of little tricks to bear in mind if you fancy it. And if you're wondering "why would I bother just to make it a bit shinier?" well, it's a good question. Apart from the obvious answer that shiny ones are just better, my old one I took off was working perfectly well and would average around 13.8 volts when the engine was running, plus or minus a bit for revs, loading, etc. The refurbished one with years of clag and carbon build-up cleaned out averages 14.2. That's why. And that's using no new parts whatsoever. Best kind of upgrade; free :D

Right, moving along. I've been to a few shows recently which has given me an unparalleled opportunity to get stuck in some really tedious traffic jams, and this has shown up just how hot the car can get. The problem seems to be the radiator shroud/fan mount, which we suspected might prove an obstacle when the weather got warmer. It's fine as long as the car's moving and even when in short traffic jams, but over a few minutes it seems once it gets hot the fan struggles to dissipate the heat even when I got on the move again. It's almost like the air through the rad would build up against the shrouding and then equalise pressure with the nose side so that no more air could pass through, and it just couldn't ditch the accumulated heat

It didn't help in the queues out of Goodwood that the bloody fan fuse blew and the car was climbing north of 120 degrees :shock: I had no choice but to pull over, and with no tools to get the slam panel off to get to the fuse I was knackered until a useful coach driver... who couldn't easily get past me anyway... let me borrow an 8mm spanner. As I was changing the fuse, leaning into the depths of the radiator front cavity, I wondered idly "what's that cooking pork sorta smell" and after a short time the pain reached my brain a while after the smell did. Yep, it was me, cooking on the top of the radiator

Image

Doh. Scarred for life. Literally :roll:

Something had to be done, so after giving the nice coach driver his spanner back and trying not to let the pain show too much... cos I is a MAN... I went home and got the drill out. As you can see, the shrouding looks nice and gives the fan a firm mount, but it's occluding a large percentage of the radiator's overall area

Image

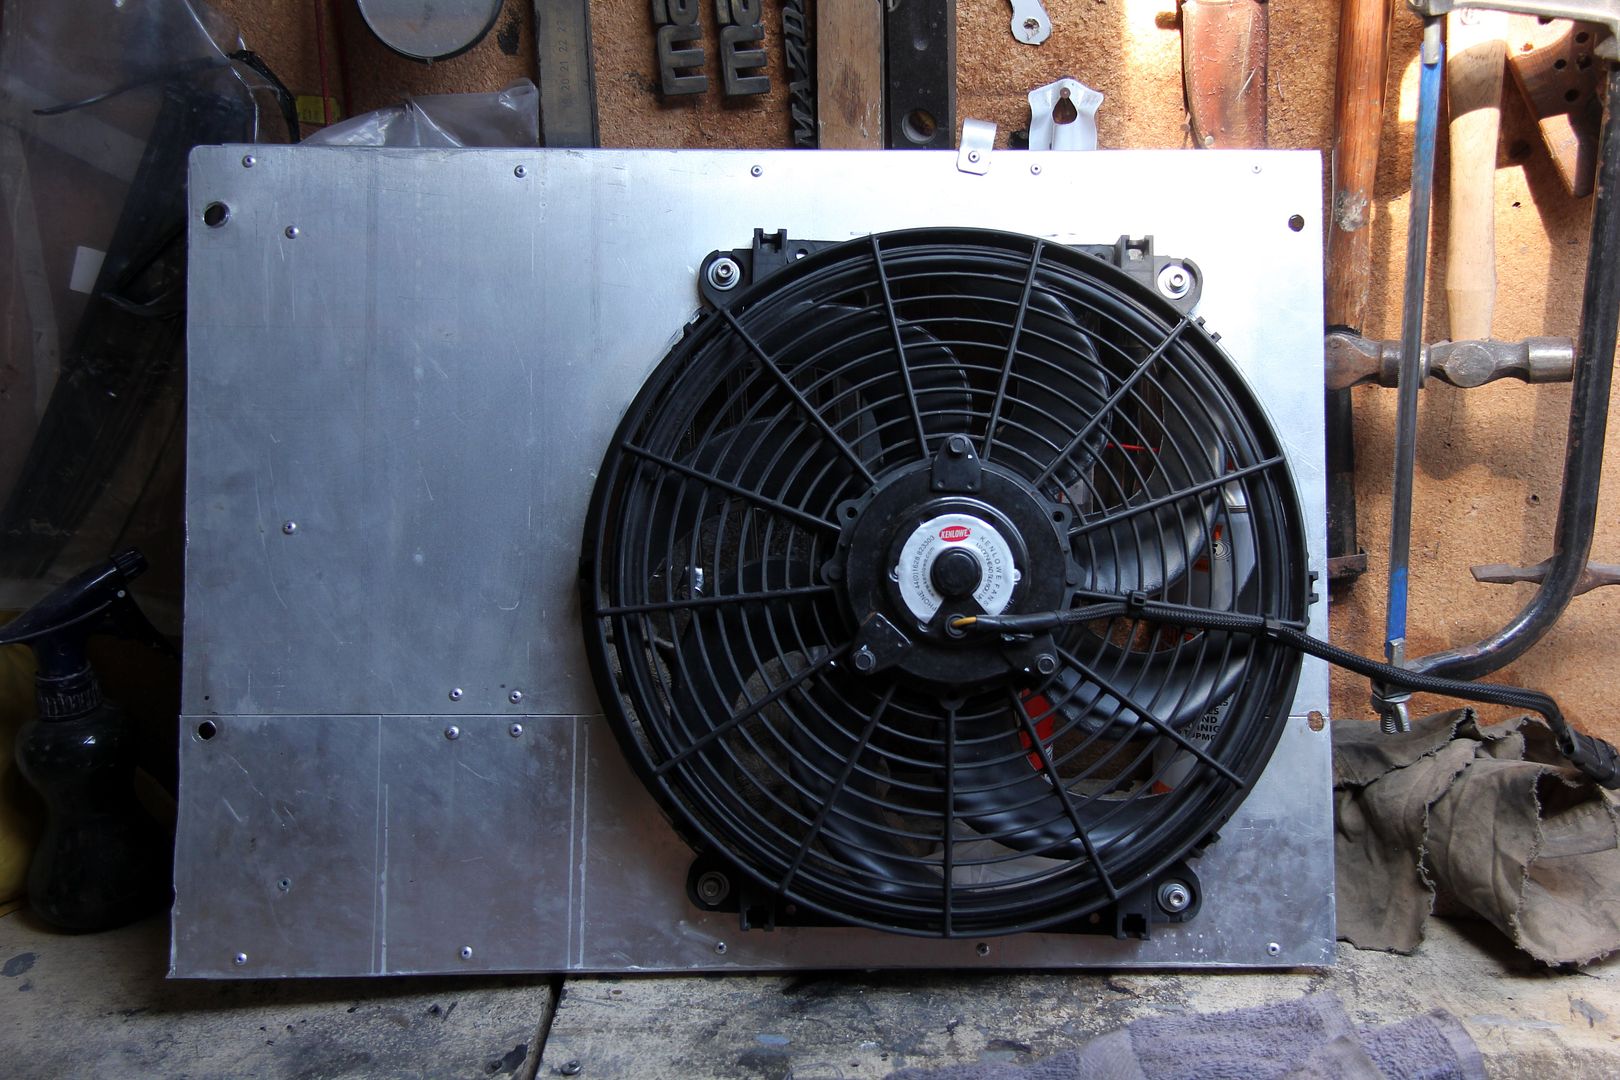
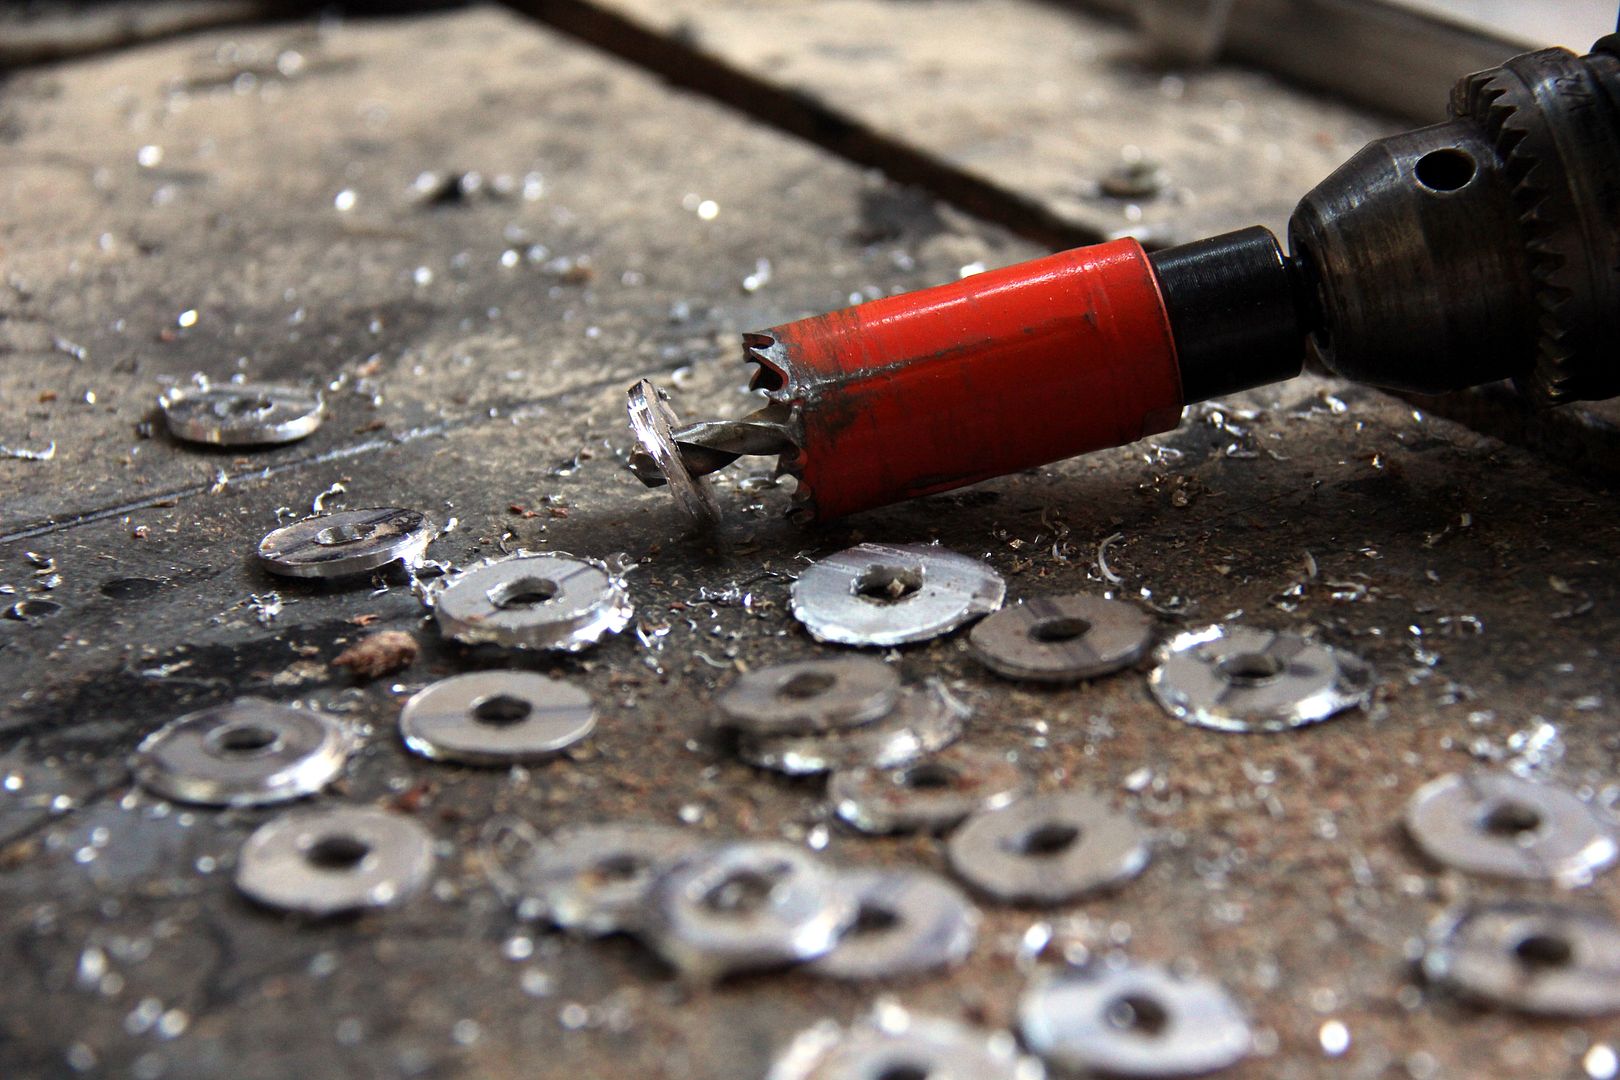
I figured some nice big slats cut in would hopefully mean the radiator never got so hot in the first place, but would also provide a better cooling path to shed the heat once it did. So I did some drawing and got cutting

Image

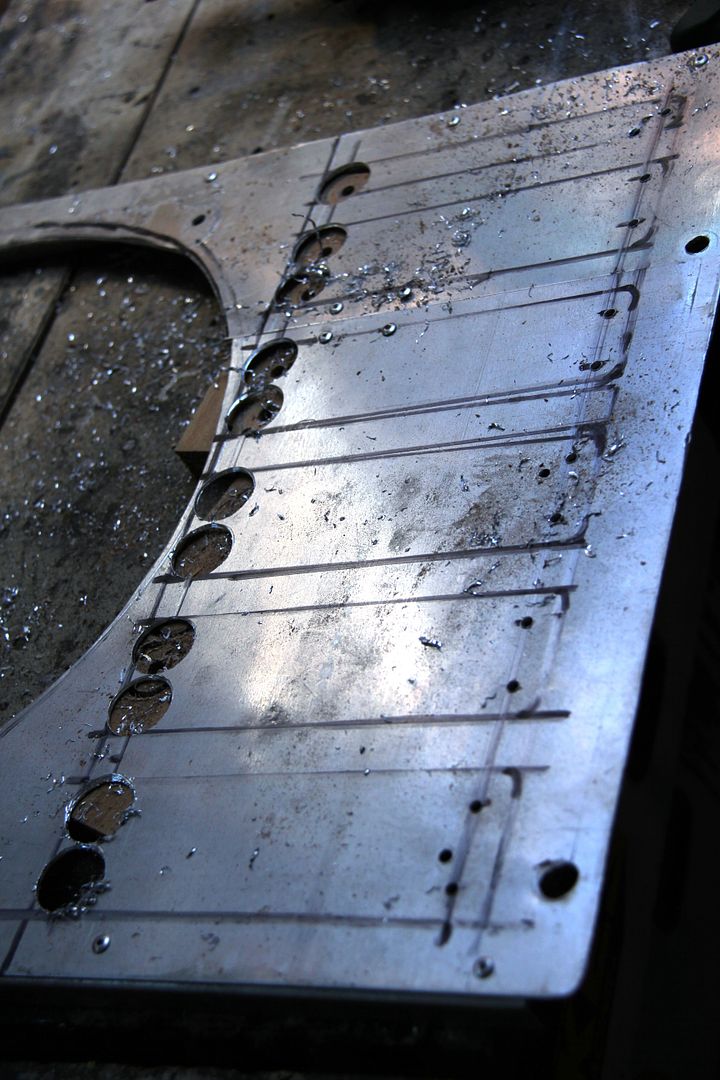
And once I'd ended up with hundreds of anti-holes (if matter and anti-matter cancel each other out when they come in contact then the opposite of a hole must be an anti-hole. Put these together with a hole and it disappears, see) I could join up the dots with a saw

Image

Not the most desperately neat job ever, but it's done by hand and I was in a hurry so it'll do for now

Image

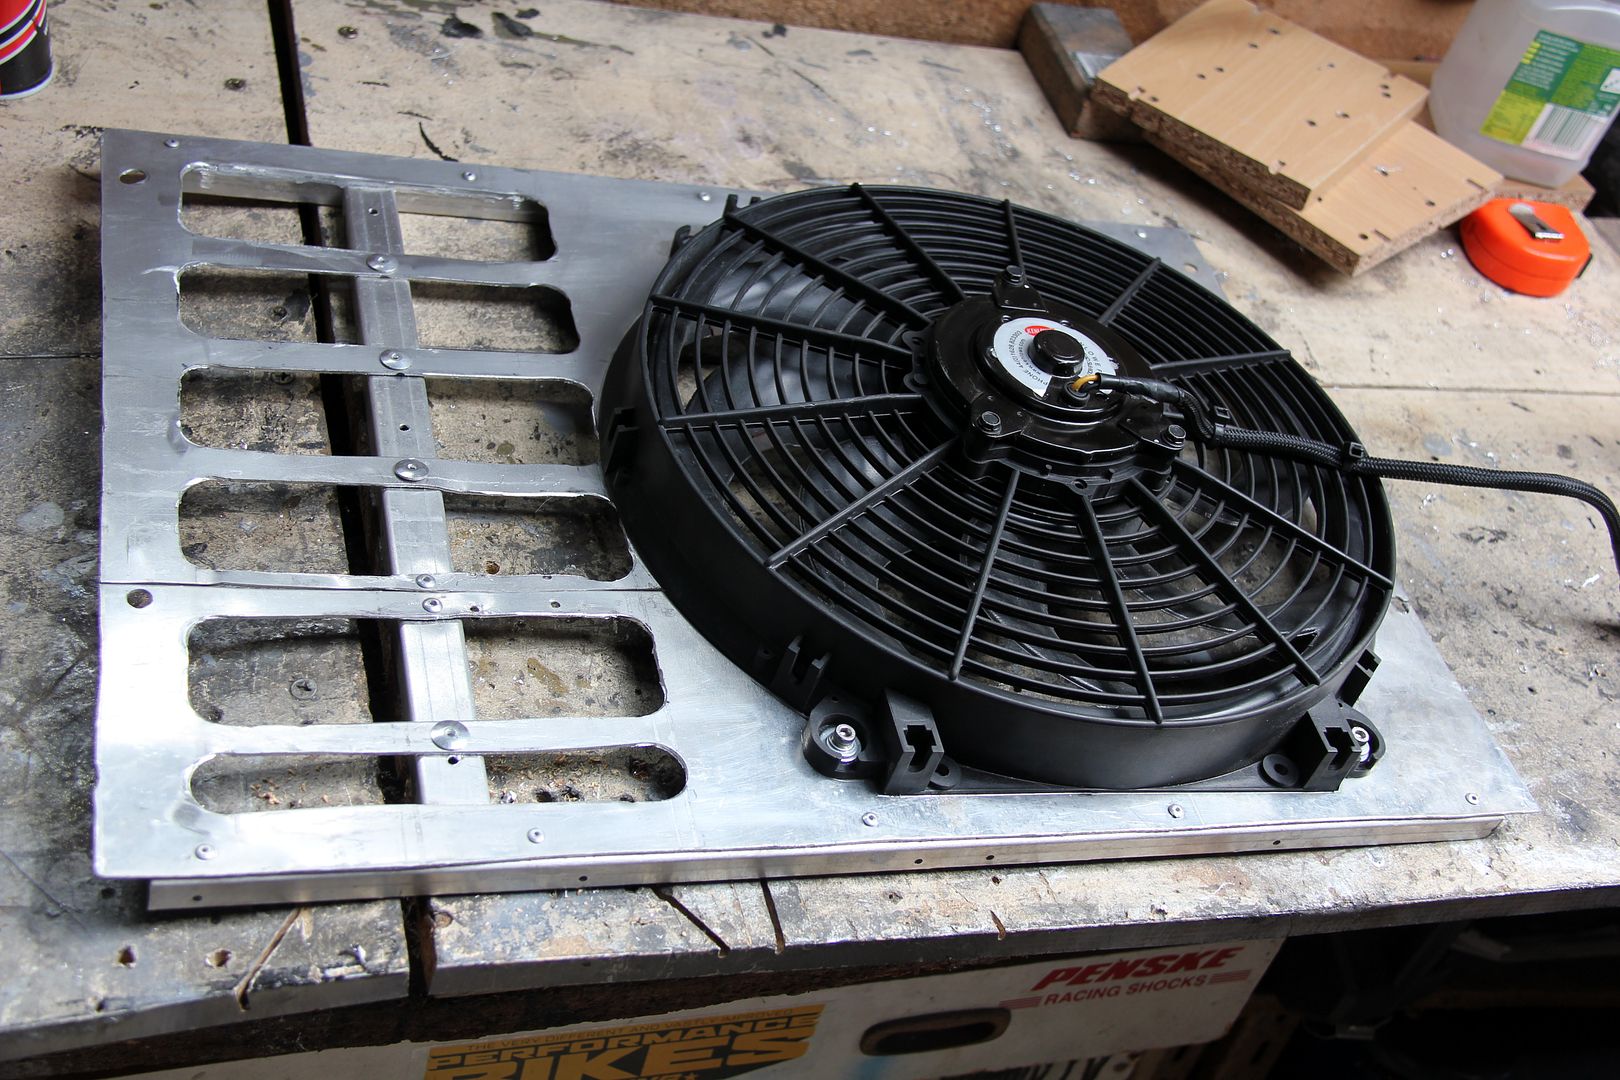
It's a bit experimental for now, I'll have to see how it performs. The only worry is that when the fan does kick in, it may now draw air through the path of least resistance in the new slots rather than draw it through the rad itself. I might need to add hinged lightweight flaps that cover the slots. The air pressure when the car's moving will push them open, but when the fan comes on it'll suck them shut against the shroud and thus cool the radiator. we'll see how it goes, that might not actually be necessary in which case I'll make up a slightly neater shroud to replace this one that's now a bit secondhand

Looks alright enough once fitted, anyway

Image

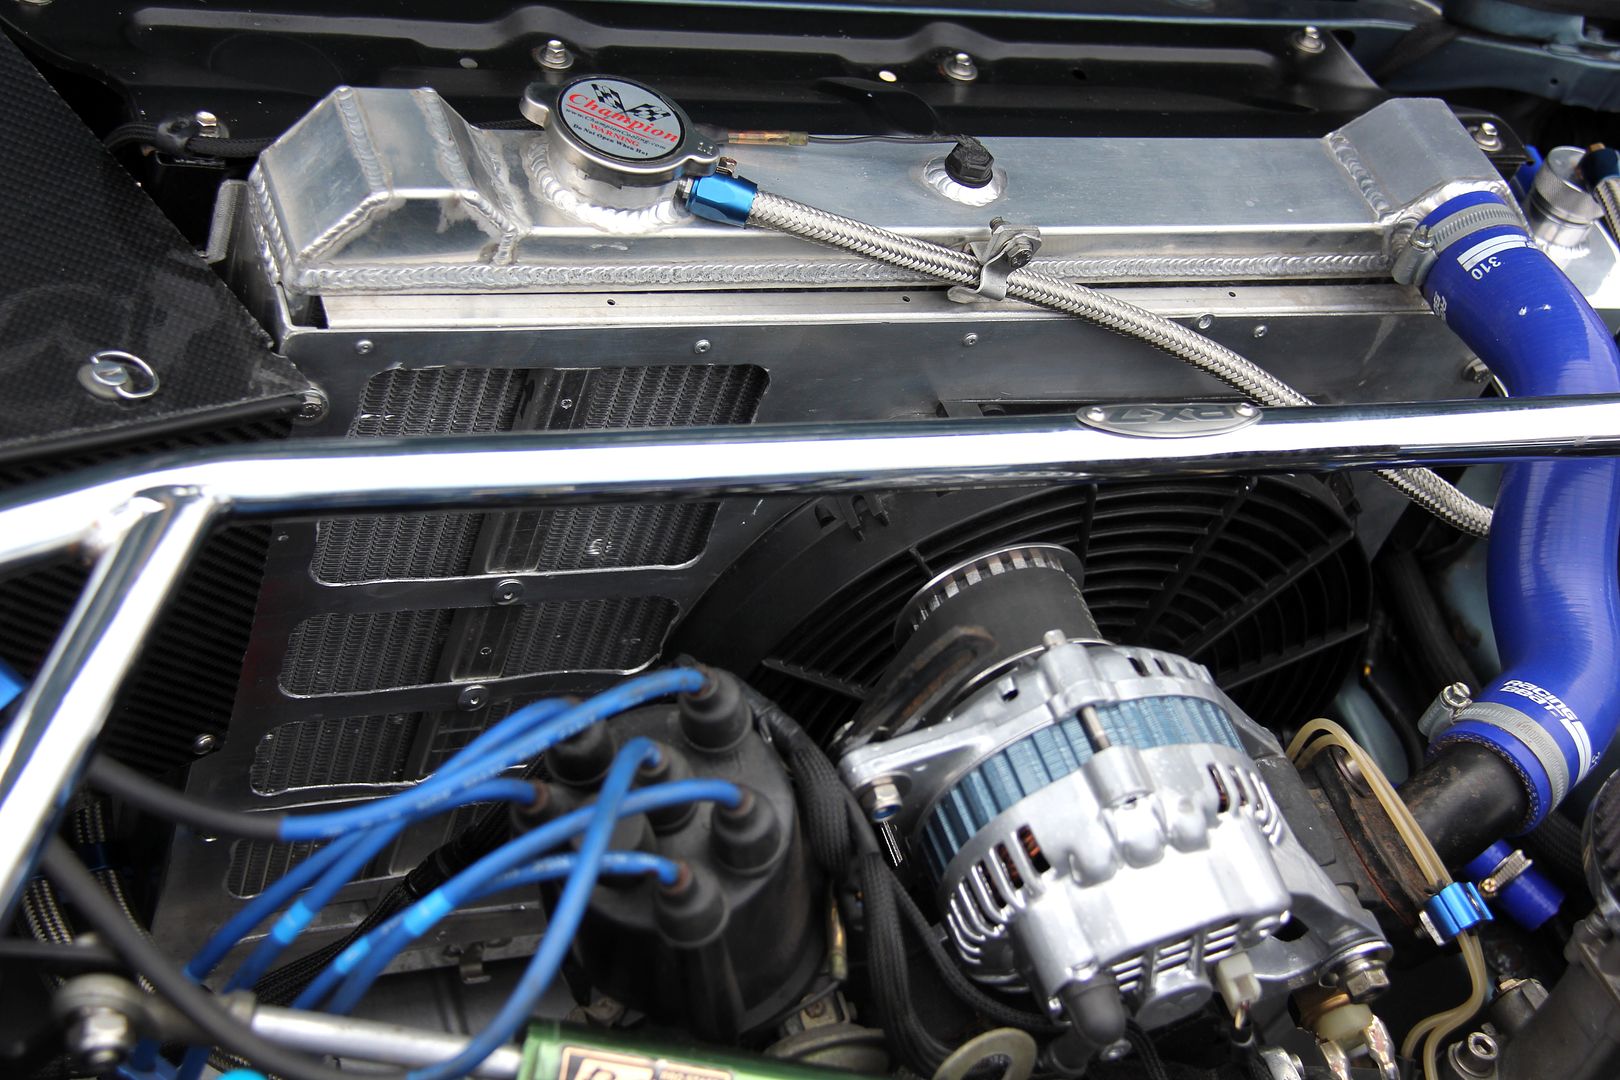
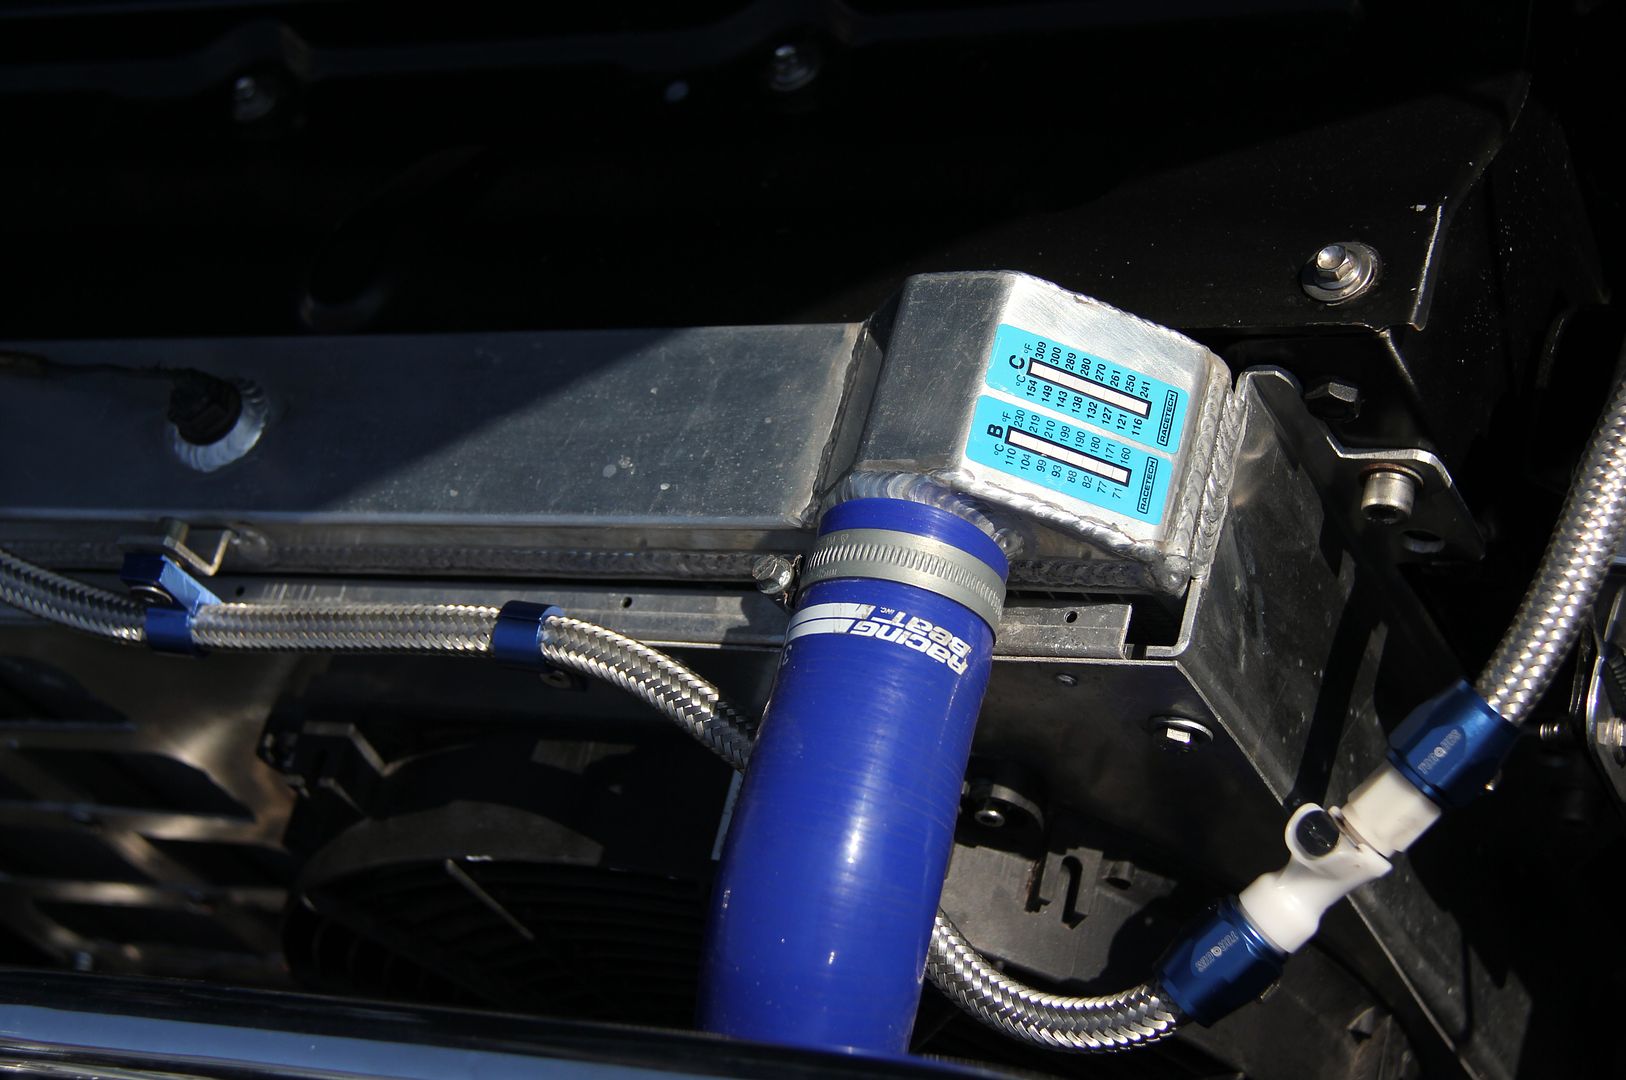
And just for belt and braces to keep an eye on what's actually happening temperature-wise to the radiator as well as just the coolant, I bunged on a couple of temperature-reactive strips (like what Mazda used on their Le Mans cars, as it happens. How cool is that?)#

Image

Soooooo, another thing that's always annoyed me about the car was the healdiner. Specifically the bit on the sunroof. I dunno if it was condensation or what, but there were several patches where the grey fabric had kinda "blown" away from the foam liner and it hung down in a tatty and unsightly way. I had a spare sunroof for ages that had a sort of vinyl liner that was much nicer (to my mind, anyway) but it was in Series 2 blue, so didn't match my car on the outside. And it seemed a lot of effort and expense to re-paint the sunroof.

Yeah, missing the bleeding obvious here :oops: It was only when I was cleaning the car for Japshow that I lifted out the sunroof... and realised I could get my fingertips under the liner. Yep, it just clipped into place. Dunce. So a few seconds later, I whipped it off with only a couple of broken clips

Image

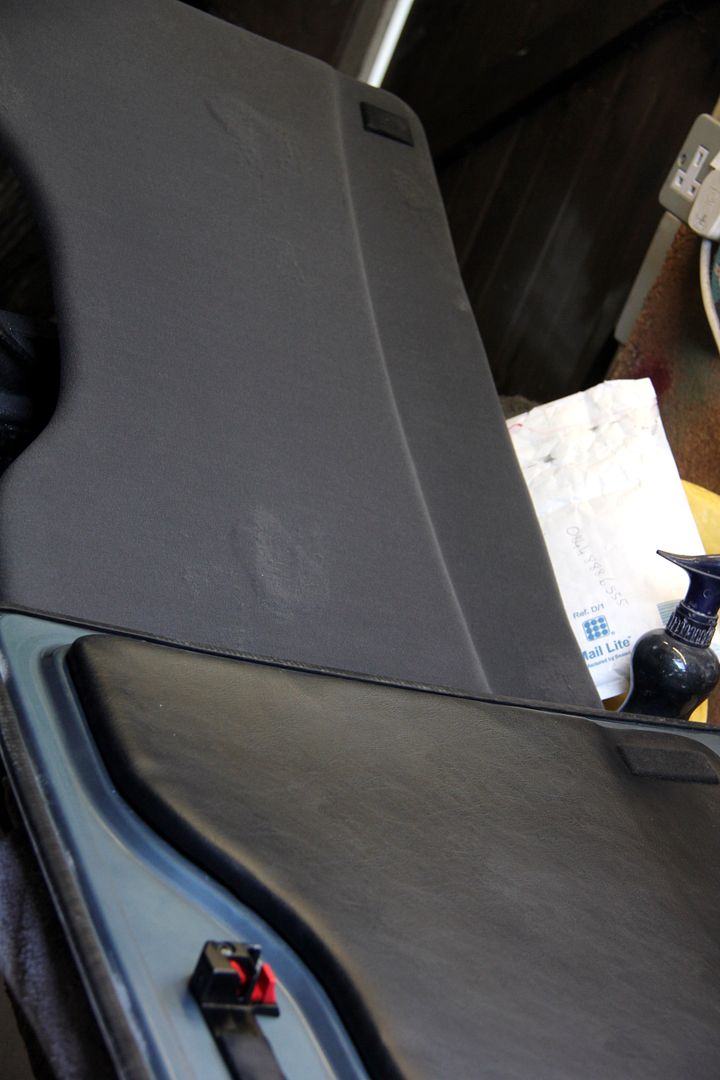
Not a million miles away in colour, but the vinyl is so much nicer. In this side-by-side comparison, you can see where the fabric's gone all baggy and rubbish

Image

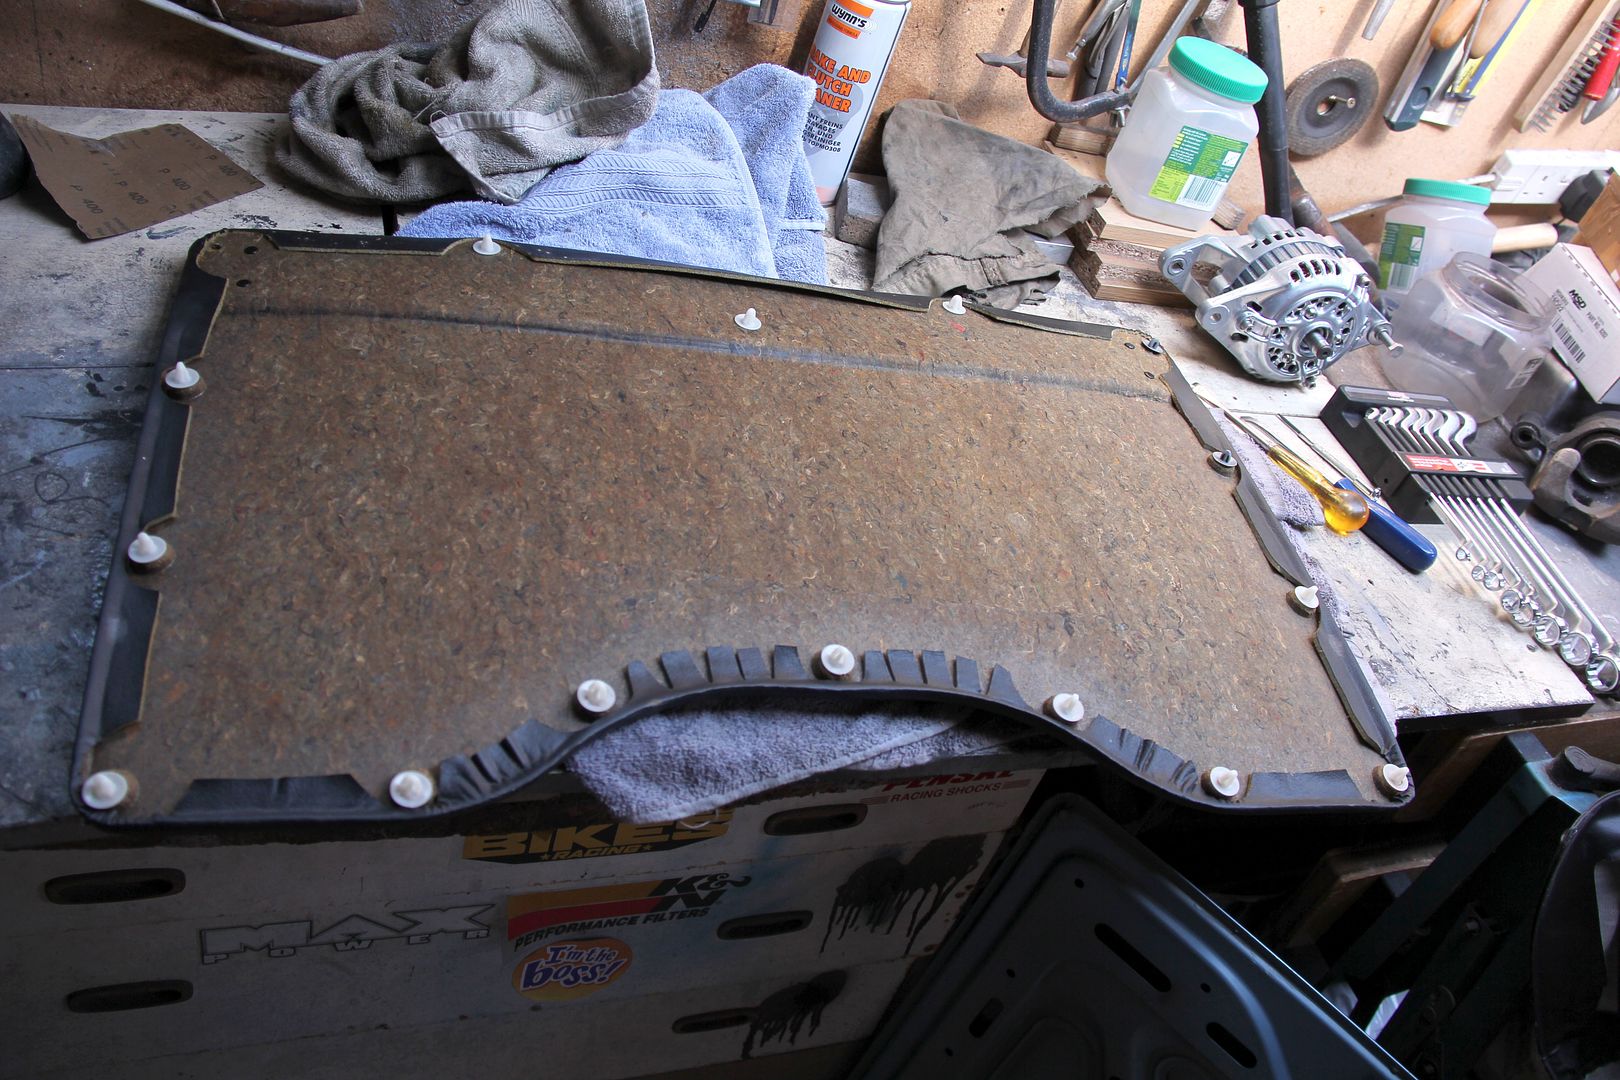
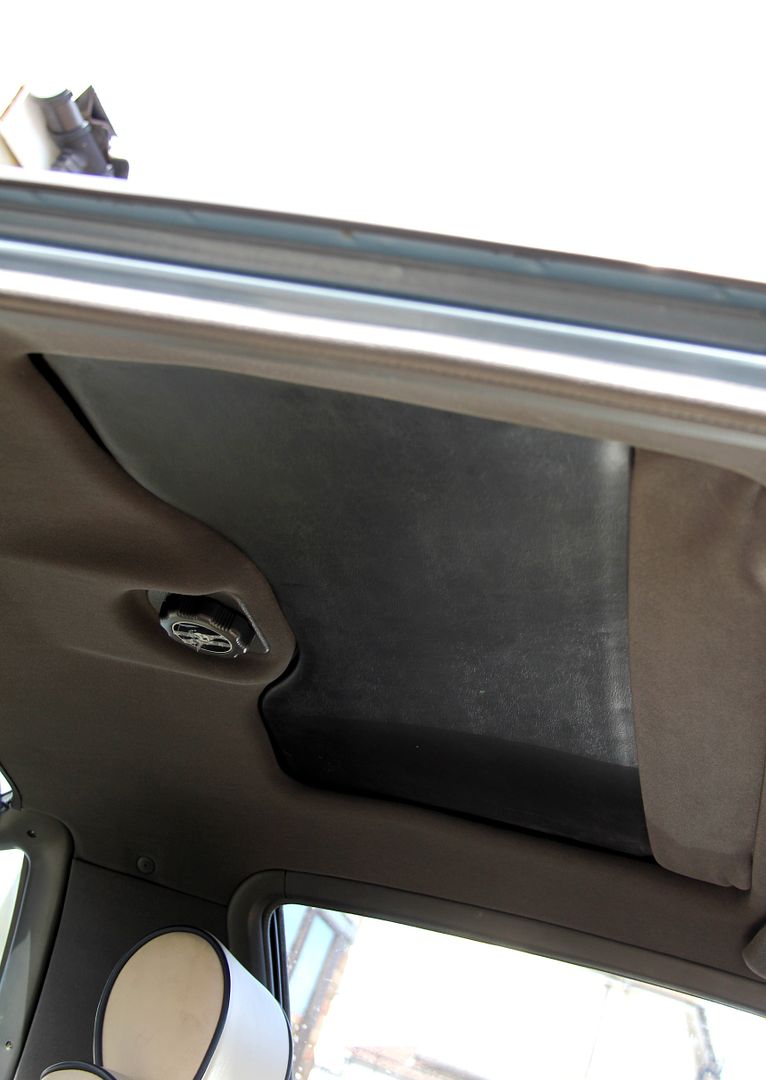
And should anyone be interested, this is what the inside of the sunroof looks like sans liner, for future reference

Image

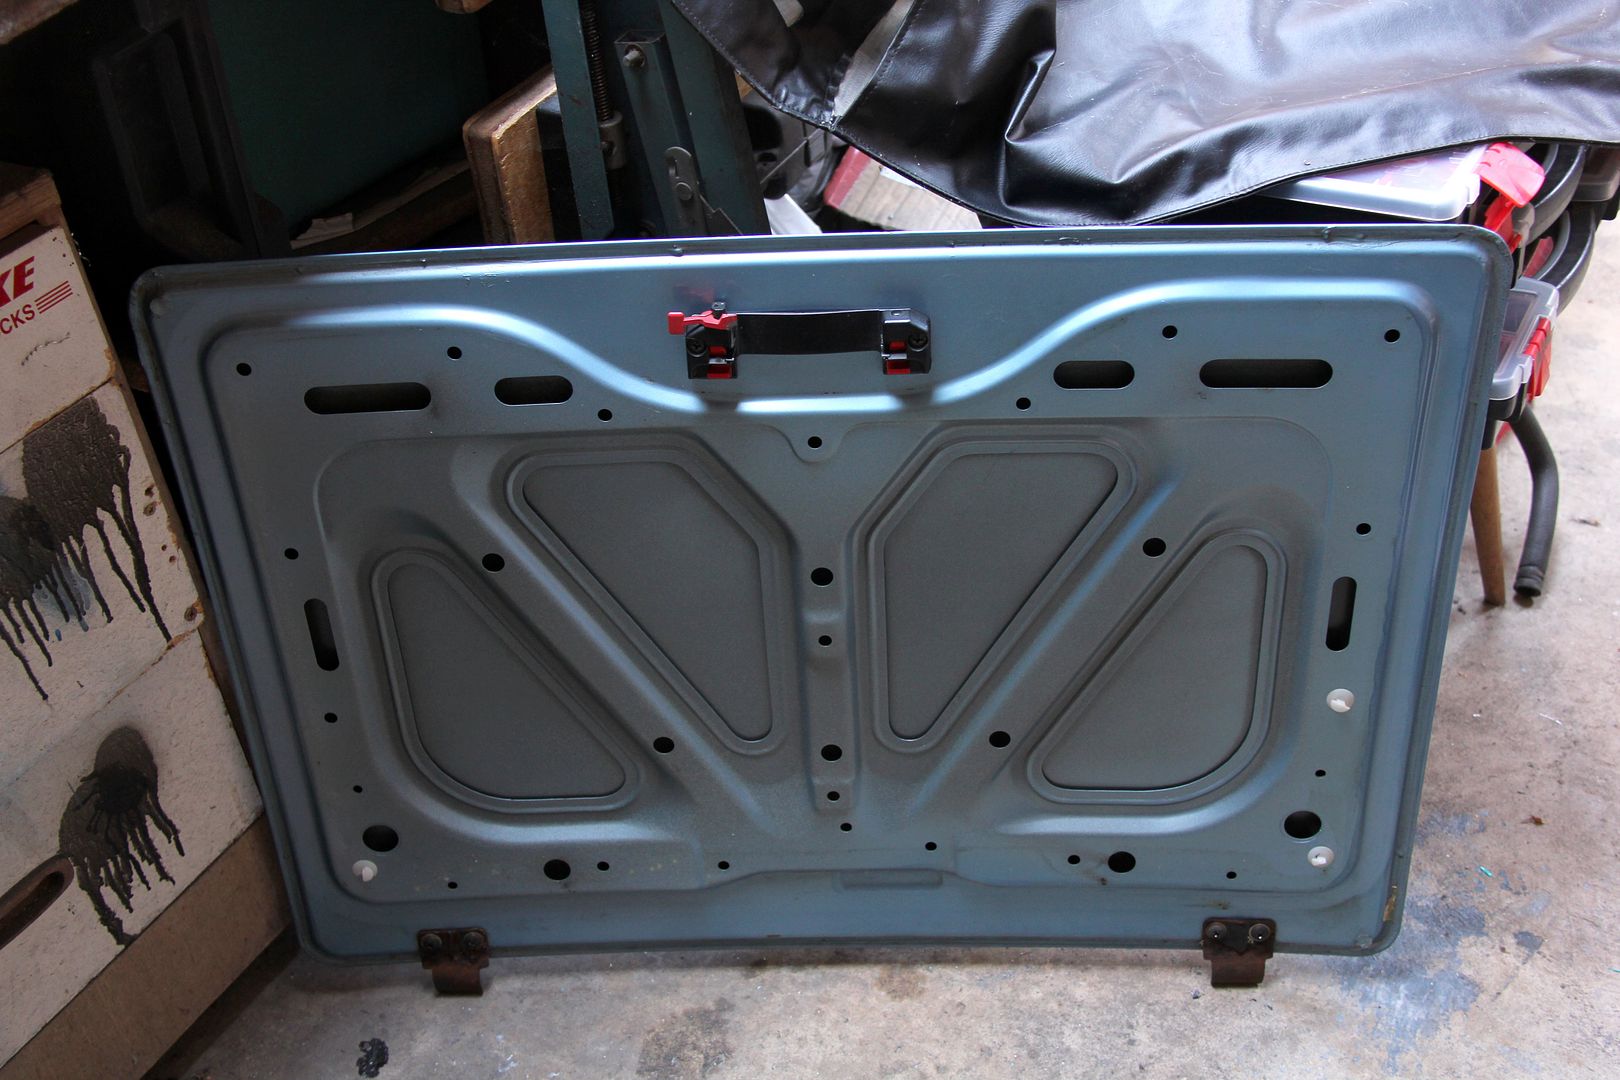
and this is it fitted. Much better. Slightly embarrassing it's taken me about four years to twig it was this easy to mod.

Image


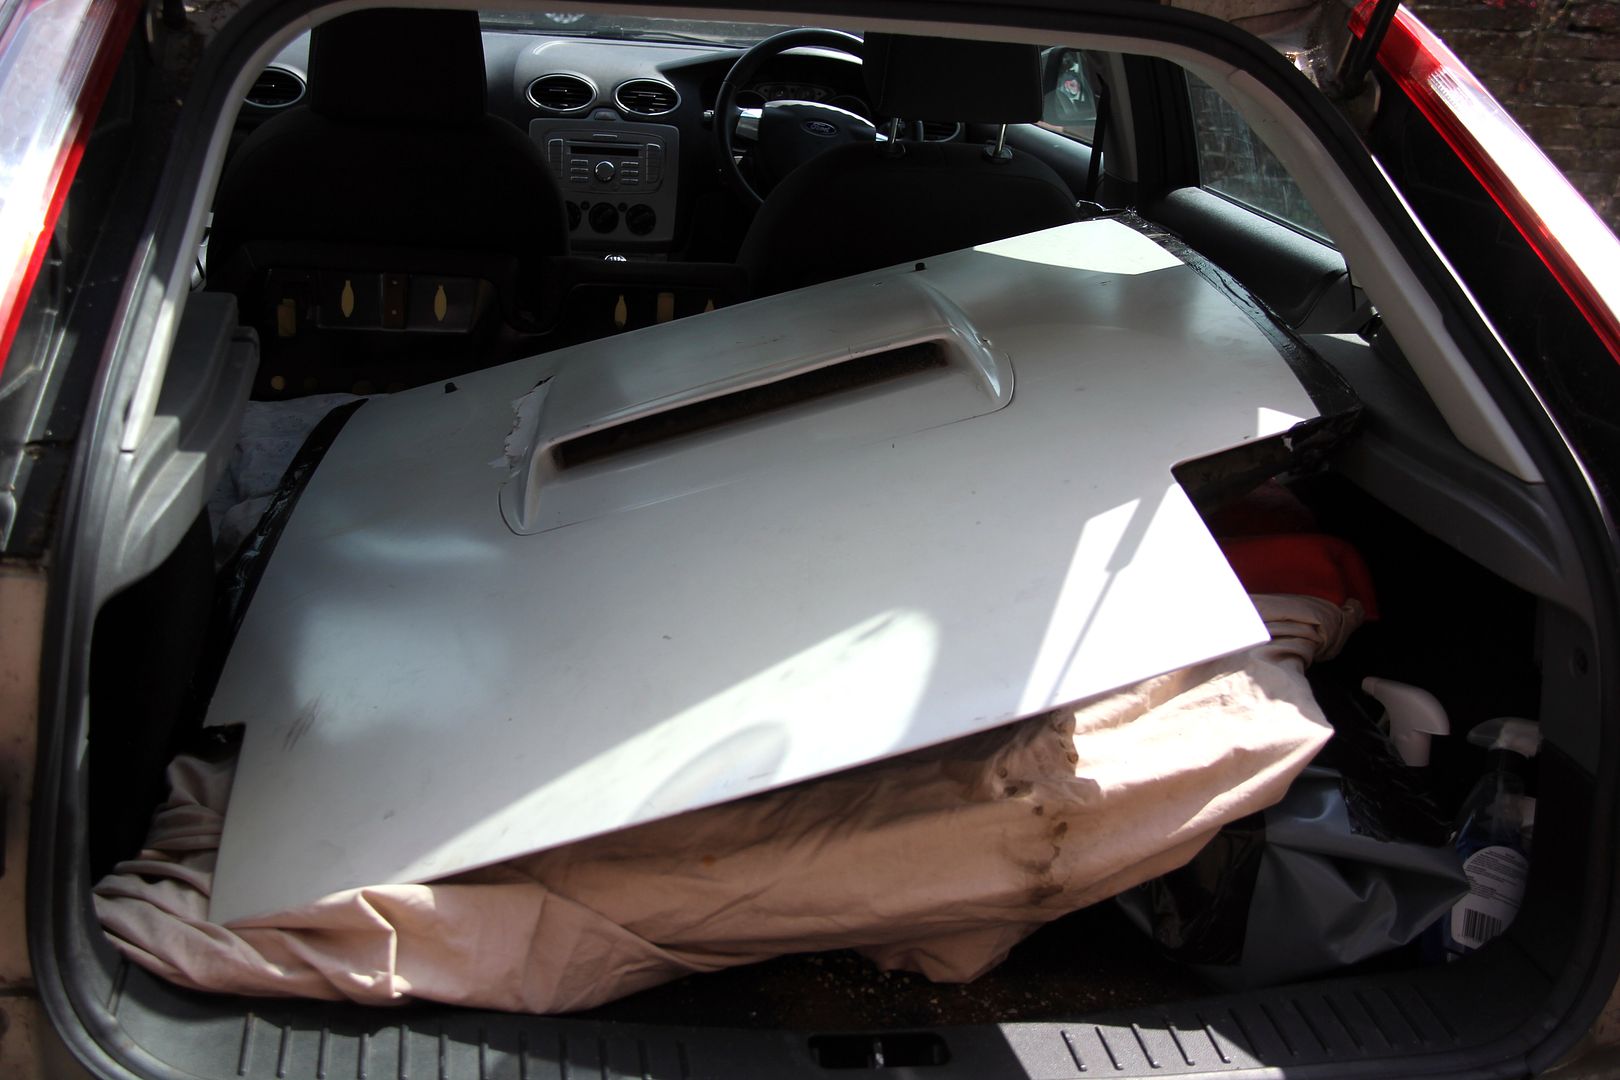
and finally, a jaunt up to Ian's where he'd very kindly been holding on to some parts for me resulted in a car-load of stuff for the next round of project nonsense. And no, an FC bonnet doesn't fit in the boot of a Focus but personally I think Ian had secretly been itching to take his petrol-powered brick cutter to it for ages anyway :twisted:

Image
User avatar
ian65
Admin
Admin
Posts: 6402
Joined: Wed Mar 30, 2011 12:11 am
Has thanked: 315 times
Been thanked: 376 times

Re: Lucky's Series 3

Post by ian65 »

can't beat a bit of carnage with a Sthil saw :twisted: .................................. at least, until Sally saw the grooves I'd cut in the back lawn while carving this up :o :cry:
I reckon you're right about your new shroud needing flaps Nik.... my Jaguar has a similar setup on it and that has flaps to prevent the fans drawing from inside the engine bay.
Interested to see how you get on with this.... it certainly looks much neater and professional than the horrible factory fitted plastic thing.

1999 Jaguar XJR V8 Supercharged

1992 Peugeot 205 1.9 GTI
2003 Mercedes SLK 200 Kompressor
User avatar
DKWW2000
VIP User
VIP User
Posts: 1625
Joined: Sun Jul 06, 2014 10:16 pm
Location: English Riviera - South Devon
Has thanked: 183 times
Been thanked: 187 times

Re: Lucky's Series 3

Post by DKWW2000 »

I had the flaps on a Jensen. they needed replacing, the part was cost prohibitive to me so I found the same woven rubber type material in a upholstery shop which was used for the cross supports in chairs @ a fraction of the cost, it is flexible and heavy/subtle, it worked a treat :idea:
RX7 FB S3 - RX7 FC TII Vert
Rotaries Previously Owned:-
2 x NSU Ro 80s - 2 x S2 RX7s - Suzuki RE 5 - DKW(Hercules) W2000 - Norton (Krauser) Commander
KiwiDave
VIP User
VIP User
Posts: 2268
Joined: Sat Nov 05, 2011 8:07 pm
Location: Feltham, Southwest London
Has thanked: 482 times
Been thanked: 192 times

Re: Lucky's Series 3

Post by KiwiDave »

Radiator shroud flaps a la Volvo 700 / 900 series

Image

I owned a 940 turbo for a while and thought that this flap arrangement was quite a good idea. A FB owner has done the mod amd fitted said shroud and fan to his car ... it's almost a straight swap, 3 out of four holes IIRC.
1985 Sunrise Red S3 TWR
2006 Mercedes CLK 280 Sport AMG
User avatar
MelloYello
VIP User
VIP User
Posts: 1151
Joined: Wed Jun 01, 2011 8:42 pm
Location: London, England.
Has thanked: 22 times
Been thanked: 52 times

Re: Lucky's Series 3

Post by MelloYello »

Is safka going to be appearing in the pages of Retro Cars sometime soon?
Lucky
VIP User
VIP User
Posts: 2685
Joined: Mon Nov 07, 2011 8:30 pm
Location: Worthing, UK
Been thanked: 5 times

Re: Lucky's Series 3

Post by Lucky »

MelloYello wrote:Is safka going to be appearing in the pages of Retro Cars sometime soon?
Not that I know of, dude. The editor chatted to me for a bit at Japshow, and looked round the car, said he'd like to feature it. Then I told him if he really wanted a cool rotary he ought to look over Ralph the RX-4. He took my email addy but I've heard nothing back :roll:
User avatar
Exeon
Posts: 15
Joined: Sun Jul 12, 2015 12:01 pm

Re: Lucky's Series 3

Post by Exeon »

Love the car and color, Lucky! Looks great! 0-0
-Exeon 0-0
1984 Rx-7 GSL 3.8L Swap
Post Reply

Return to “RX7 Rides and projects”