
Thanks for the replies!
The reason I'm considering dropping the engine is the subframe would be getting removed too and all suspension etc, that with the extra height of the car would possibly make more sense removing from below?
But I also agree from above is the traditional route and gives no problems...
I'll get the car high first, and see what the clearance is I think. Axel stands and sleepers will give me about 600mm height raised I think.
Rich
White Fc Convertible
-
richrx

- VIP User

- Posts: 569
- Joined: Thu Feb 14, 2013 9:46 am
- Location: Glasgow
- Has thanked: 31 times
- Been thanked: 31 times
Re: White Fc Convertible
Why do Mazda make the bumper removal so hard! Snapped bolts aside and the fact the top two bolts are so corroded that I'll struggle to remove them... Oh and the wing to.bumper bolts were so corroded and tight it's impossible to get to them and they just spin and spin...
Not a good day..
Rich
Not a good day..
Rich
-
KiwiDave
- VIP User
- Posts: 2268
- Joined: Sat Nov 05, 2011 8:07 pm
- Location: Feltham, Southwest London
- Has thanked: 482 times
- Been thanked: 192 times
-
richrx
- VIP User
- Posts: 569
- Joined: Thu Feb 14, 2013 9:46 am
- Location: Glasgow
- Has thanked: 31 times
- Been thanked: 31 times
Re: White Fc Convertible
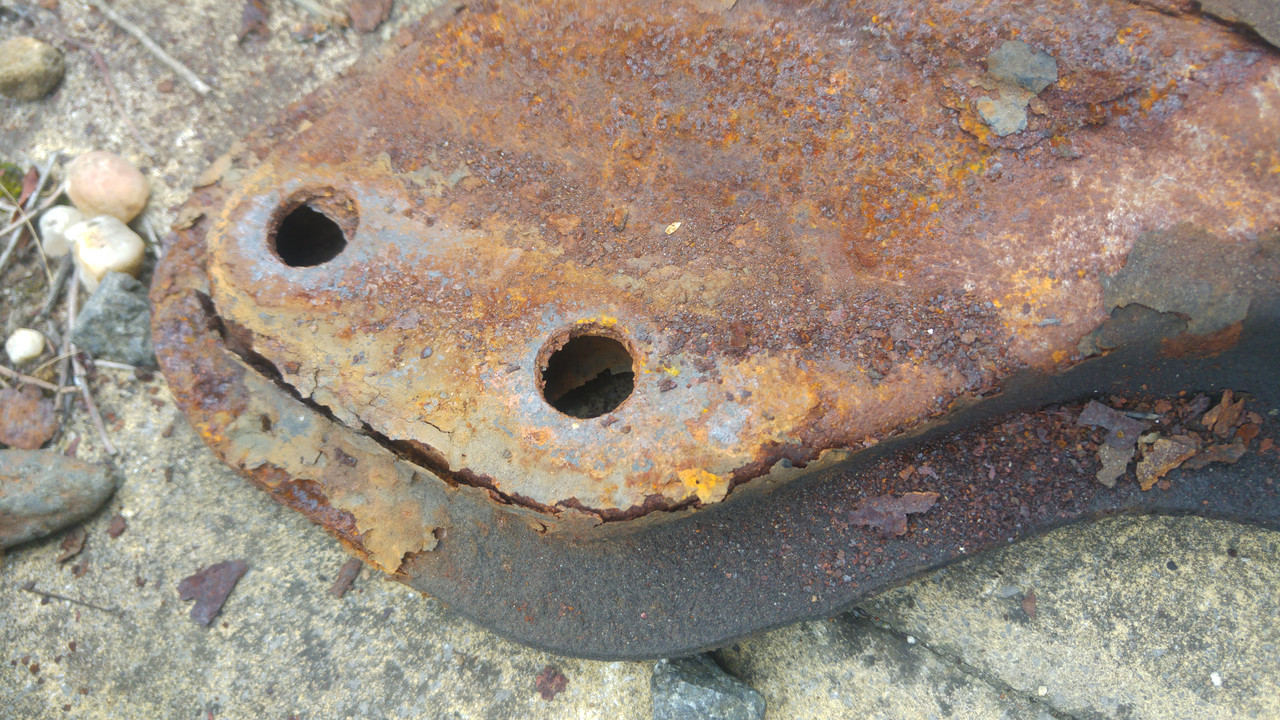
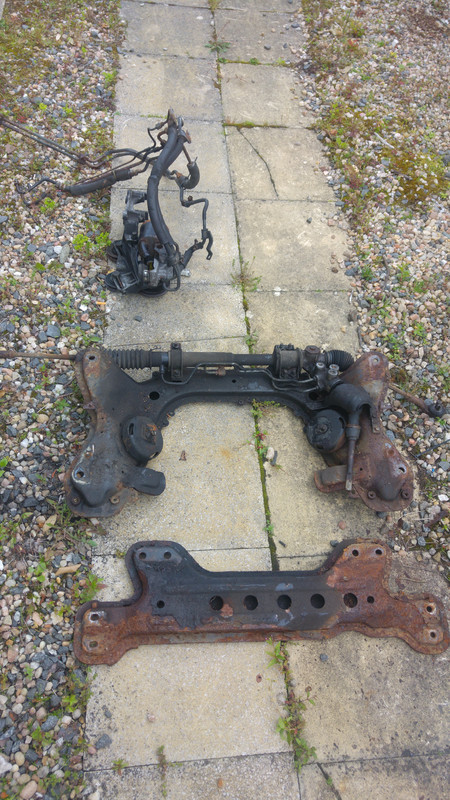
Ok so a brief update, I have 1 stubborn nut on the subframe... Recessed and rounded. Otherwise the subframe would be out too. But slow progress is still progress.
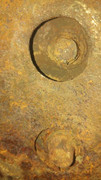
I apologise for the dull pics of my rusted nut. But a U.S pro Bolt extractor sockets have failed on it. I don't want to drill into it but was considering an impact wrench and flat headed screw bit and cut a line through the bolt , if I can access it as it's recessed... I tried Weld however it didn't stick to it either. Any other ideas, it'll be under alot of torque to I guess alot of the options are ruled out like using a chisel? But I've very little experience of rounded nut removal... So all the advice is welcome.
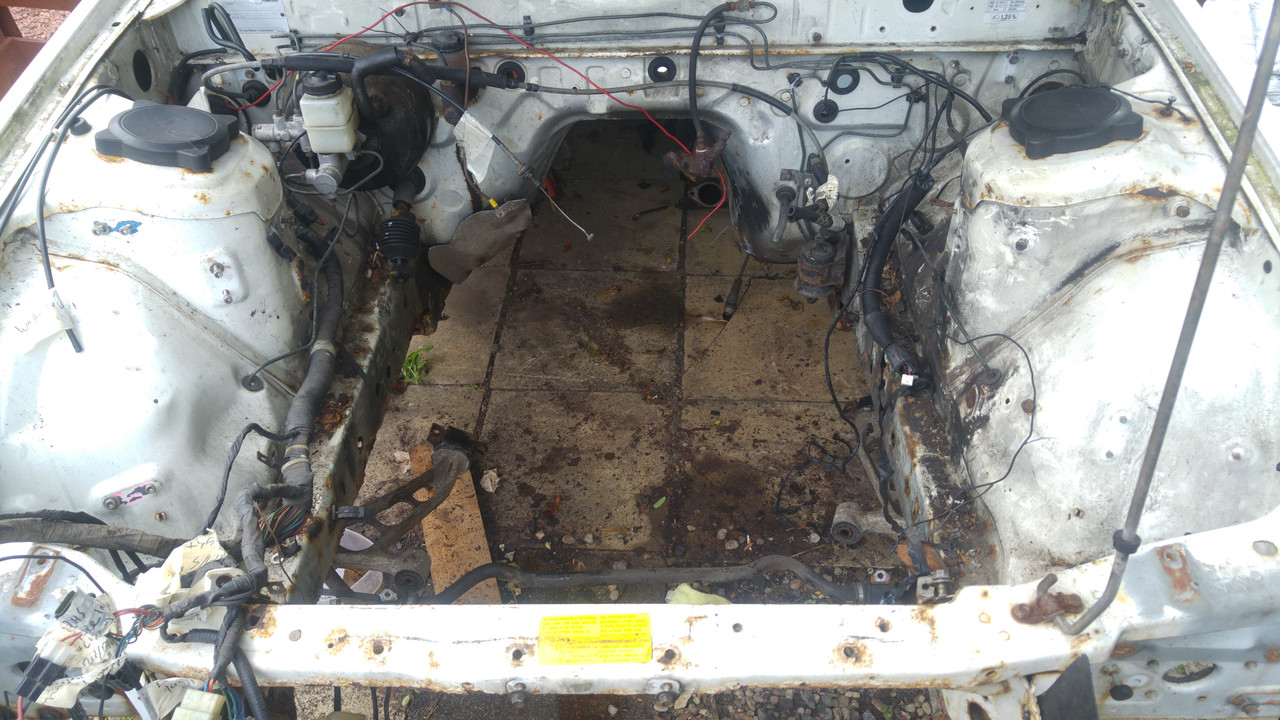
Some pics, and the wiring loom looks like it might be an issue long term, nightmare to remove and looks fragile ... Still no rust repair either all very mundane and so.old so far.... :roll
Lanzaroze looms next week so progress will remain slow.
Rich
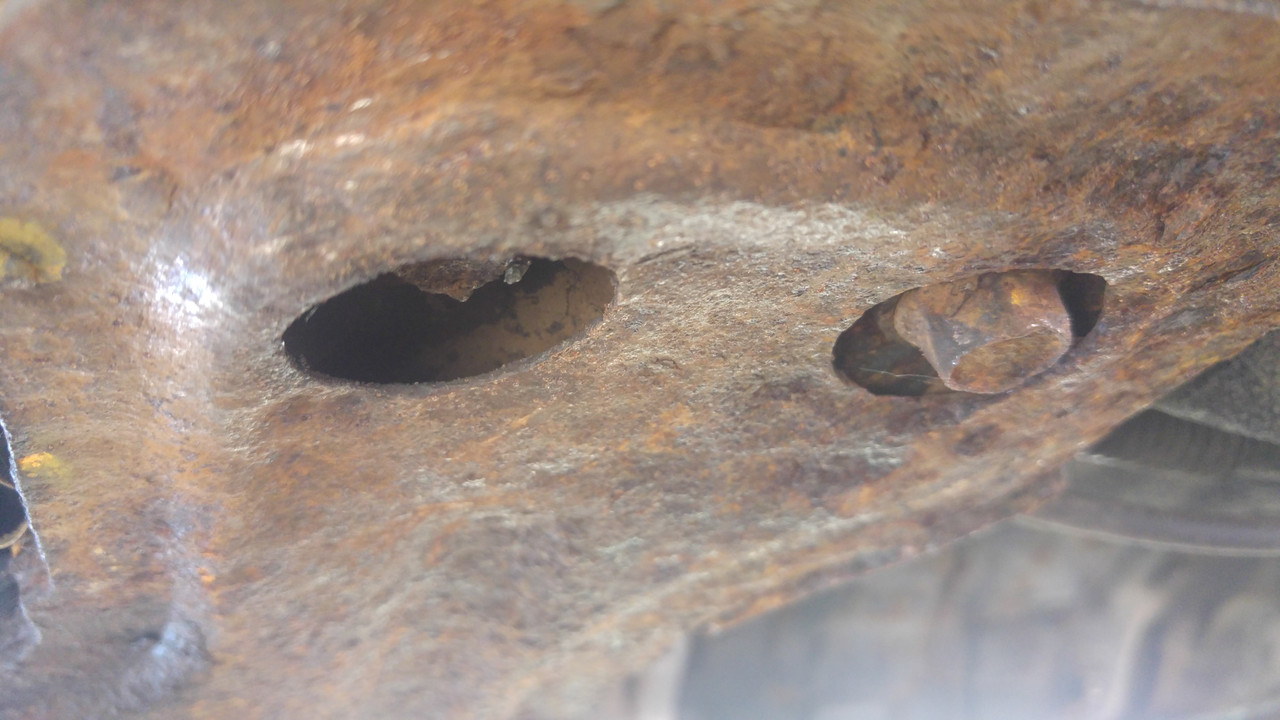
Its the recessed nut...
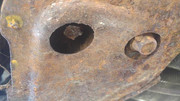
Top nut in this pic...
I apologise for the dull pics of my rusted nut. But a U.S pro Bolt extractor sockets have failed on it. I don't want to drill into it but was considering an impact wrench and flat headed screw bit and cut a line through the bolt , if I can access it as it's recessed... I tried Weld however it didn't stick to it either. Any other ideas, it'll be under alot of torque to I guess alot of the options are ruled out like using a chisel? But I've very little experience of rounded nut removal... So all the advice is welcome.
Some pics, and the wiring loom looks like it might be an issue long term, nightmare to remove and looks fragile ... Still no rust repair either all very mundane and so.old so far.... :roll
Lanzaroze looms next week so progress will remain slow.
Rich
Its the recessed nut...
Top nut in this pic...


Re: White Fc Convertible
I would drill a hole in the head of that bolt, just a few mm. Then weld another bolt into the hole you made. This way you make a stronger weld. Chances are that the tightened bolt will already come loose due to the heat of the weld. Try it out, i did this more than once. Make sure that the welding surface is free of rust, otherwise it will not stick.
-
richrx
- VIP User
- Posts: 569
- Joined: Thu Feb 14, 2013 9:46 am
- Location: Glasgow
- Has thanked: 31 times
- Been thanked: 31 times
Re: White Fc Convertible
A last minute effort to release the bolt today before a weeks holiday was a success. Meant is I can truly relax for the next 7 days .. With a baby and 4 year old  ..
..
No exciting pics this time, but a ruined bolt and socket done it .
Rich
No exciting pics this time, but a ruined bolt and socket done it .
Rich
-
richrx
- VIP User
- Posts: 569
- Joined: Thu Feb 14, 2013 9:46 am
- Location: Glasgow
- Has thanked: 31 times
- Been thanked: 31 times
Re: White Fc Convertible
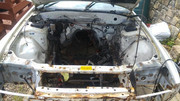
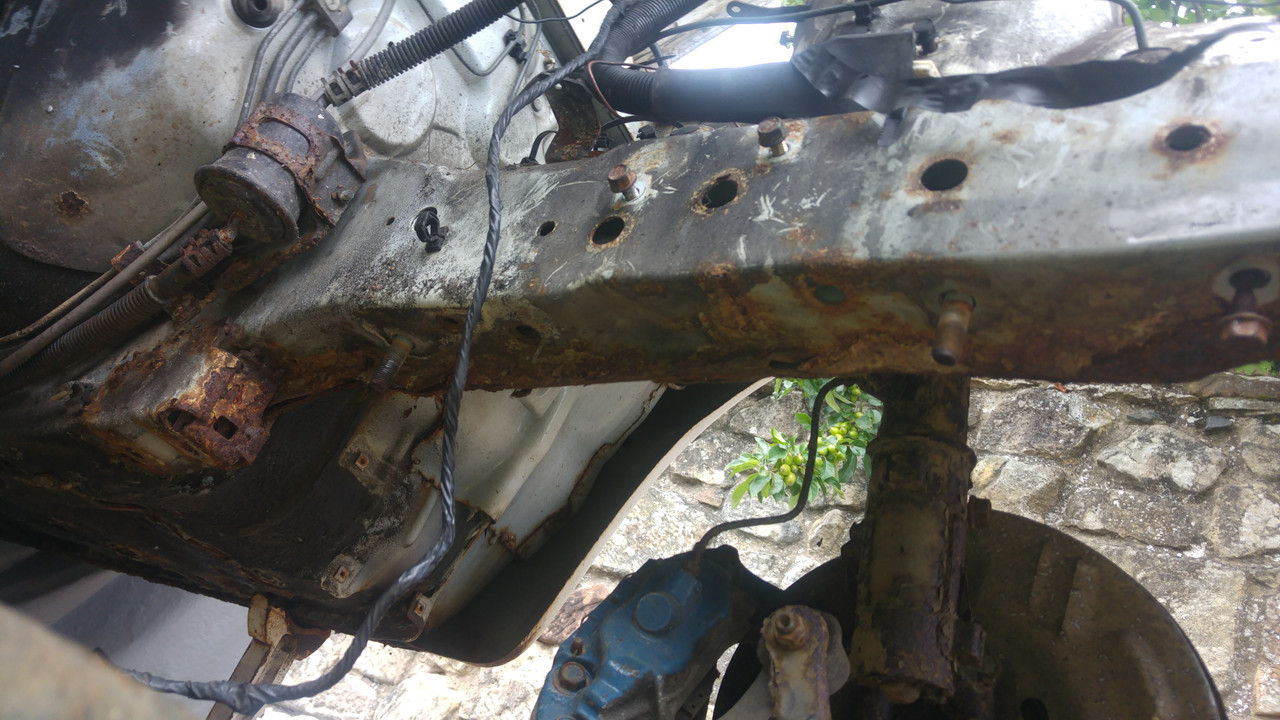
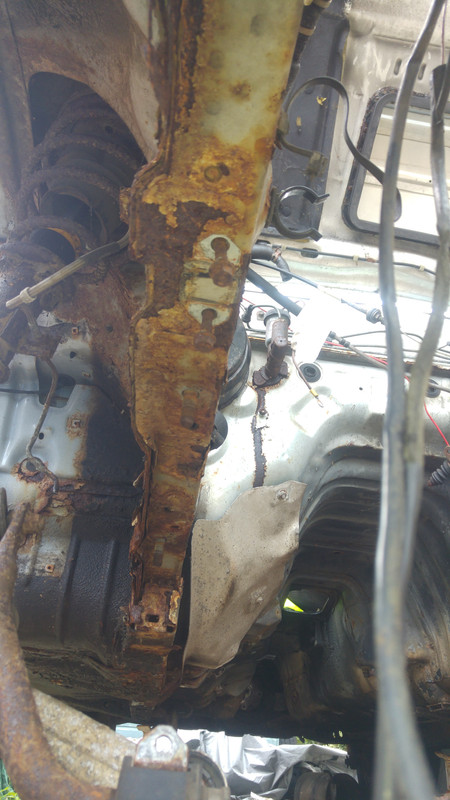
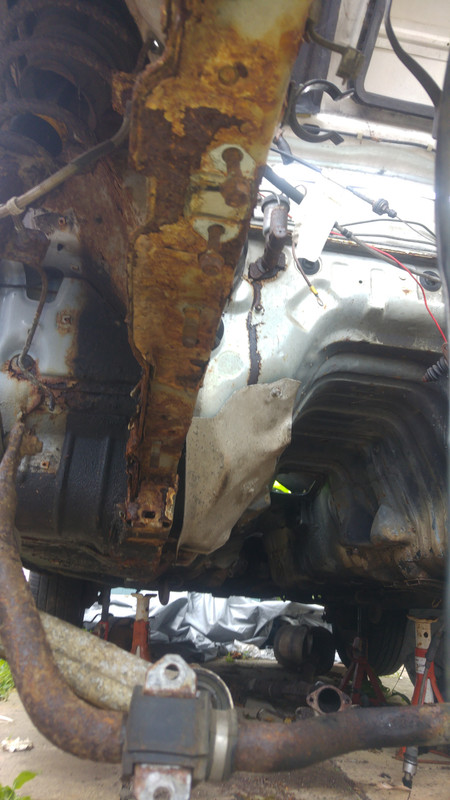
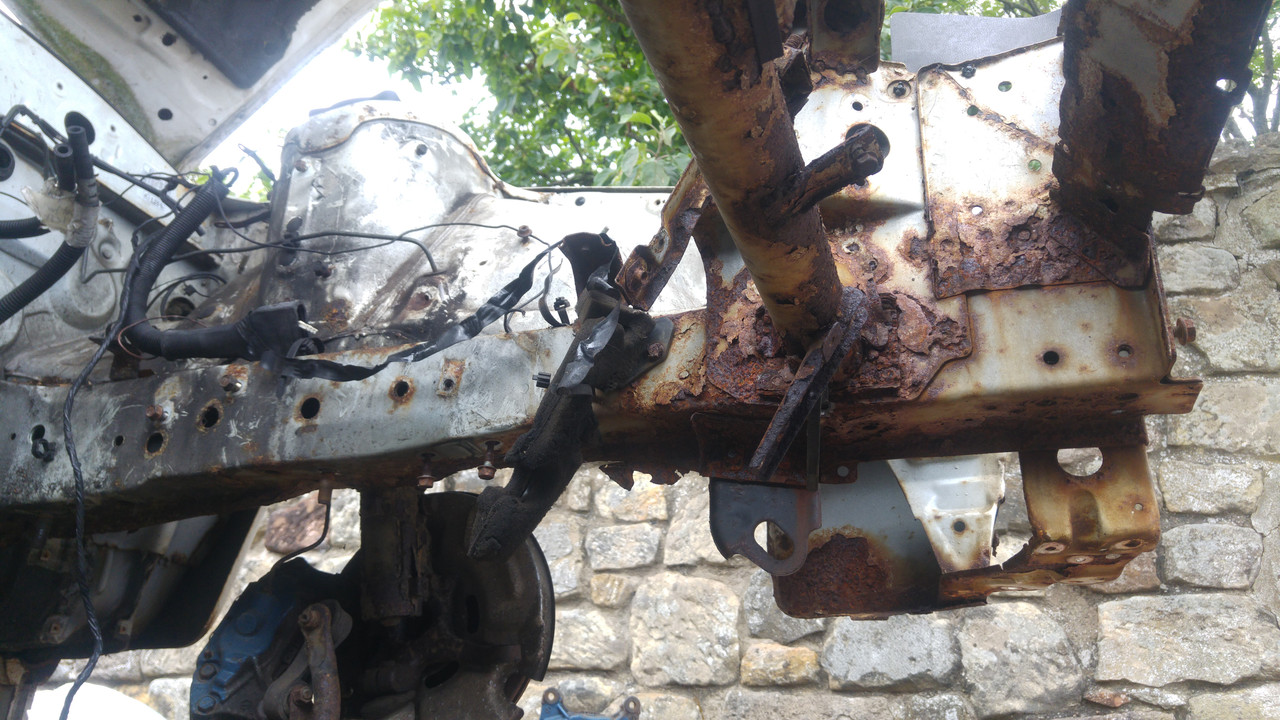
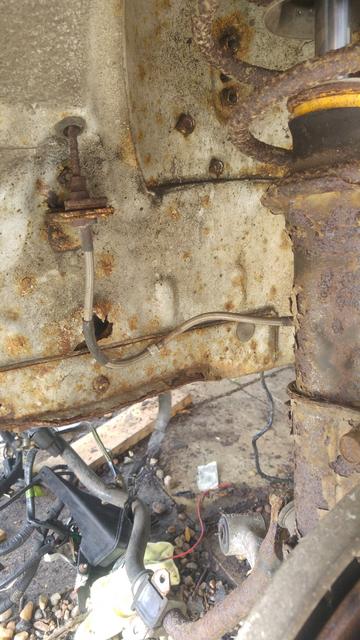
So I'm really running out of excuses not to get the grinder out now. This is the part I've been most approhensive about, the amount of rust on the front I really fear how much metal will be left. Come of the rust doesn't bother me too much even I can see how to remove and repair it.
But the inner arches at the corners and the bottom outside edge of the chassis rail give me the fear ... I think I'll pull the shocks on each side next then the wings and work with an empty arch.
I also think I'll go with Billet Hamber products they seem to have a good reputation and are always up there on the tests I've seen.
As for the progress so far, I'll post some pics as it's just more parts removed, there's really not much left on the front end .
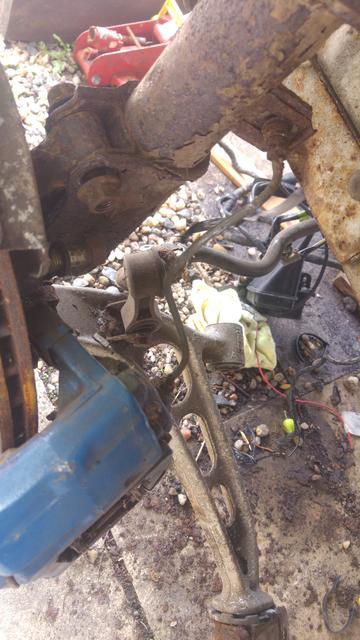
The only drama was the O/S caliper breaking free, looks like the pipe to the caliper was corroded and it's sheared through. N/S isn't looking too smart either. Lucky escape...Oh are hard brake lines to the brake calipers correct, I would have thought rubber lines would be the correct meathod between the caliper and suspension shock where it should be a hard line from this position back to brake booster ?
Thanks
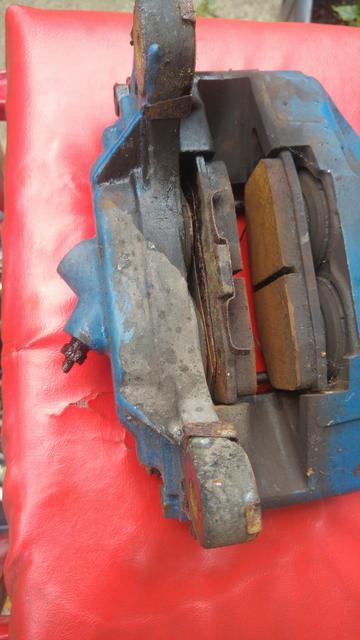
Is this correct on an FC? Seems opposite to any brake system I've ever seen... Ever ..
Rich
But the inner arches at the corners and the bottom outside edge of the chassis rail give me the fear ... I think I'll pull the shocks on each side next then the wings and work with an empty arch.
I also think I'll go with Billet Hamber products they seem to have a good reputation and are always up there on the tests I've seen.
As for the progress so far, I'll post some pics as it's just more parts removed, there's really not much left on the front end .
The only drama was the O/S caliper breaking free, looks like the pipe to the caliper was corroded and it's sheared through. N/S isn't looking too smart either. Lucky escape...Oh are hard brake lines to the brake calipers correct, I would have thought rubber lines would be the correct meathod between the caliper and suspension shock where it should be a hard line from this position back to brake booster ?
Thanks
Is this correct on an FC? Seems opposite to any brake system I've ever seen... Ever ..
Rich