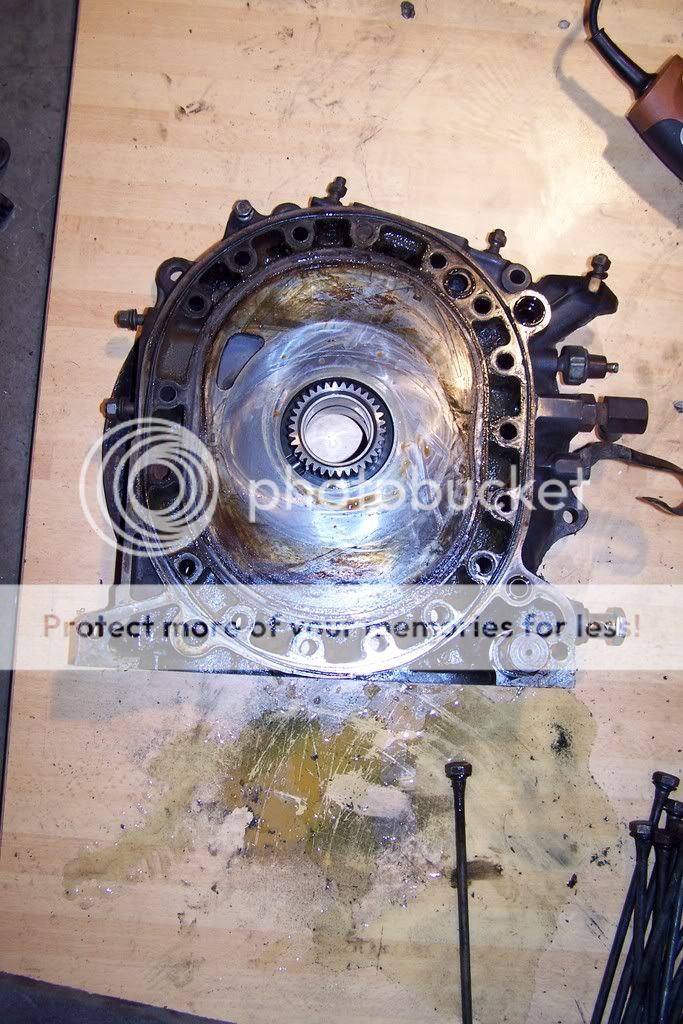
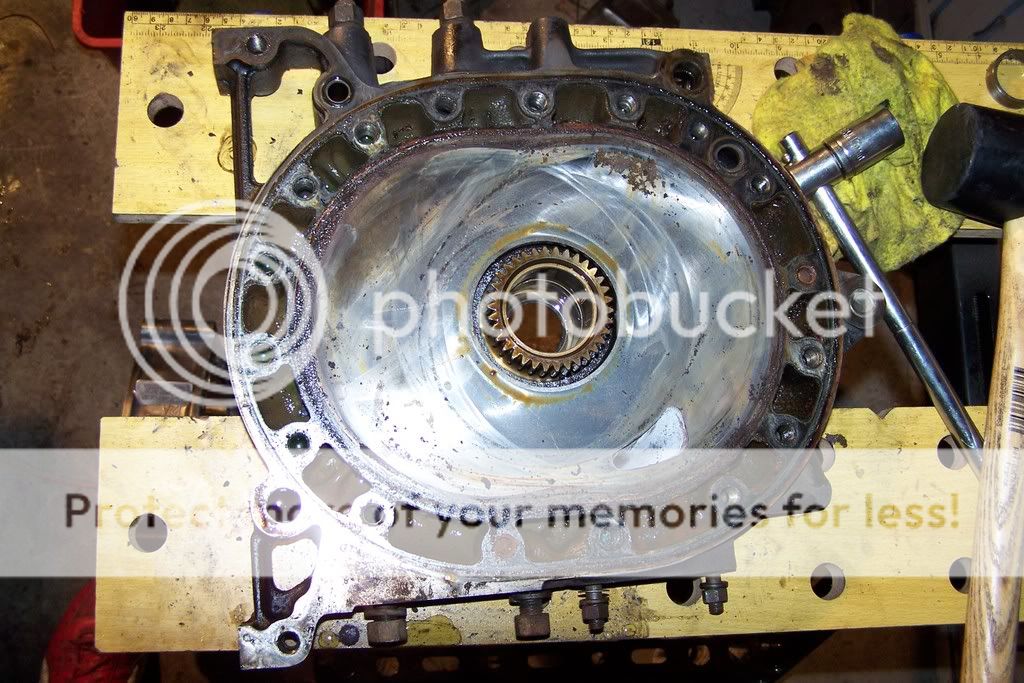
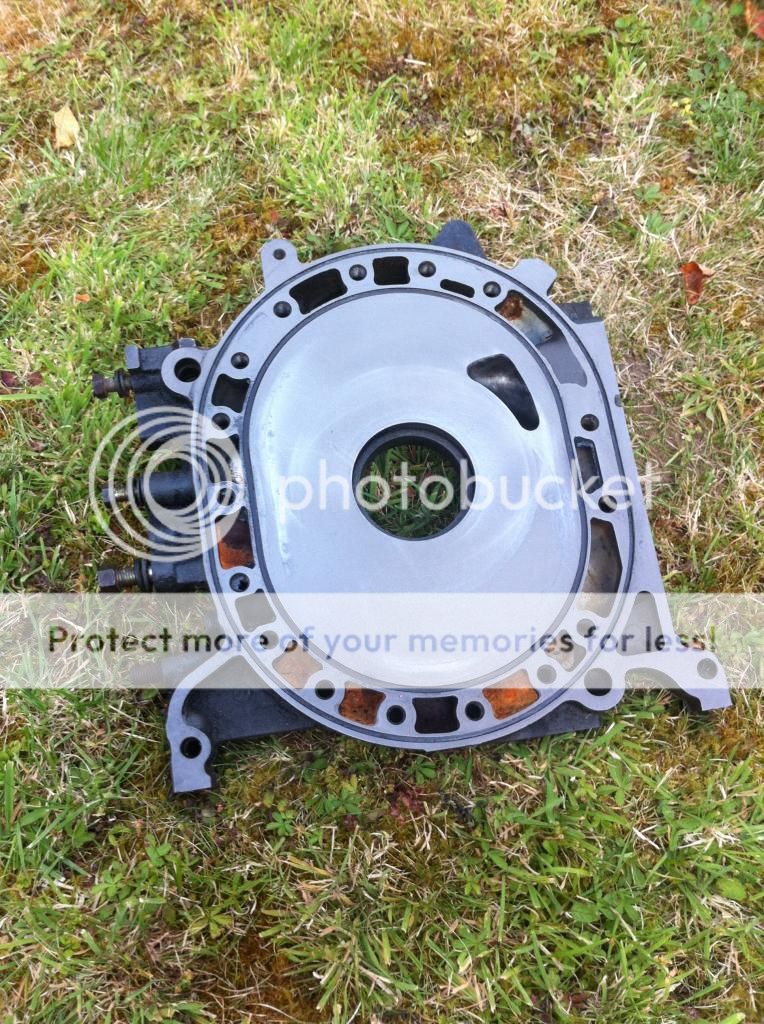
Here is another thing I've been wanting to try out; hand lapping of cast iron side plates.
Again, this isn't something I could find out a lot about on the interweb, and I don't know anyone who has done it. I've done this as a little project, to see how hard it would be, what you need to use and what sort of result can be achieved.
Take a set of used cast iron side plates. These are some 12A S2 or S3 side plates (all N plates) with a reasonable amount of wear on them. I took the worst set of plates I had, with the deepest groove from the corner seals on the combustion side. Still useable imo.
Remove any dowel pins, orings, bolts, stat gears etc. so that you have a completely flat surface and nothing is sitting proud of the running surface. Give the plates a good clean so that crud in the water galleries won’t fall out while you’re grinding and get the worst of the rust etc. off the water seal area with a box knife blade or similar.
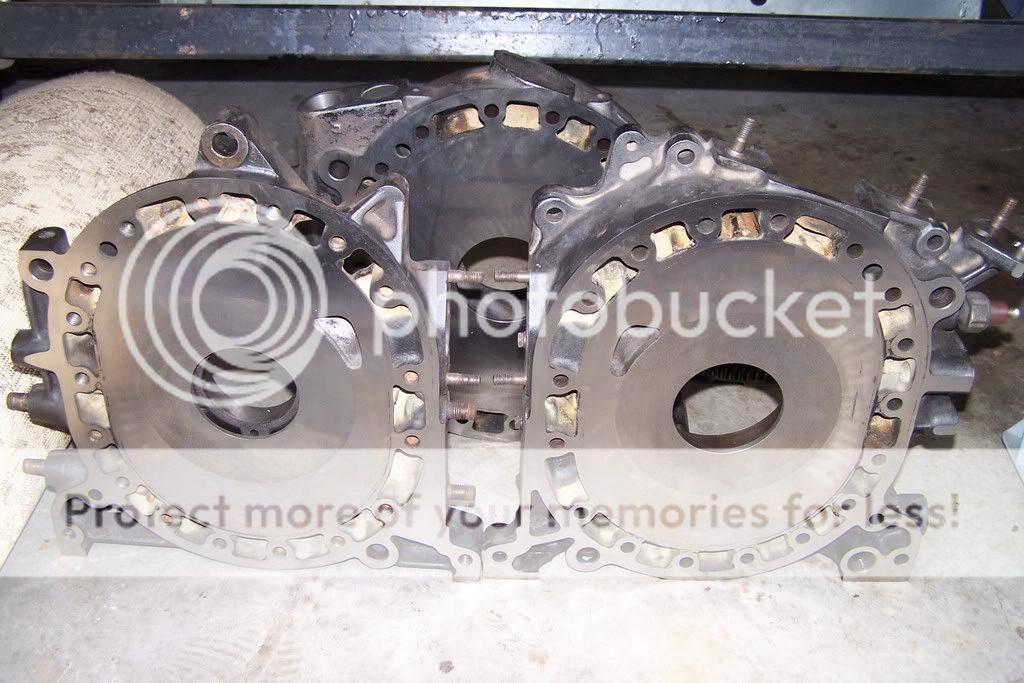
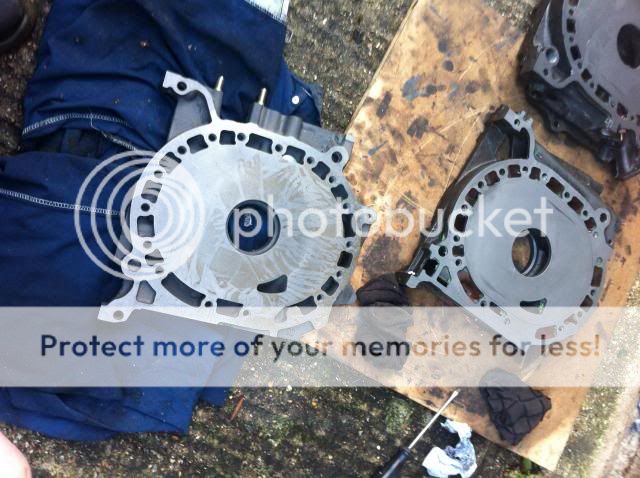
The front plate which has not been touched:
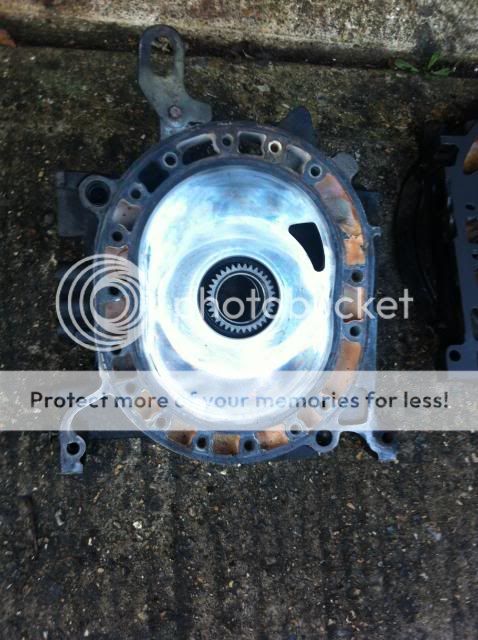
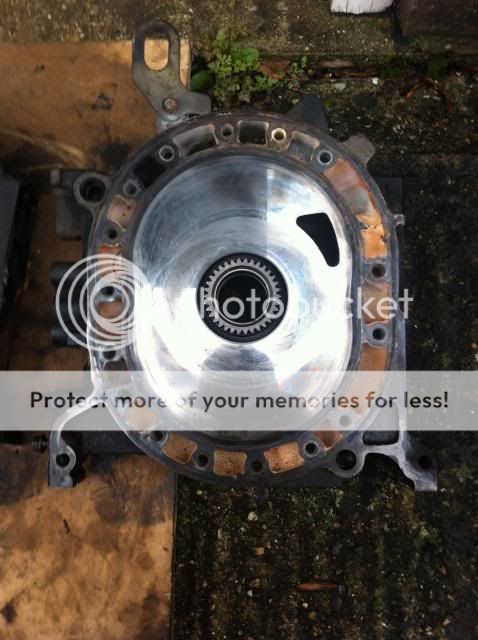
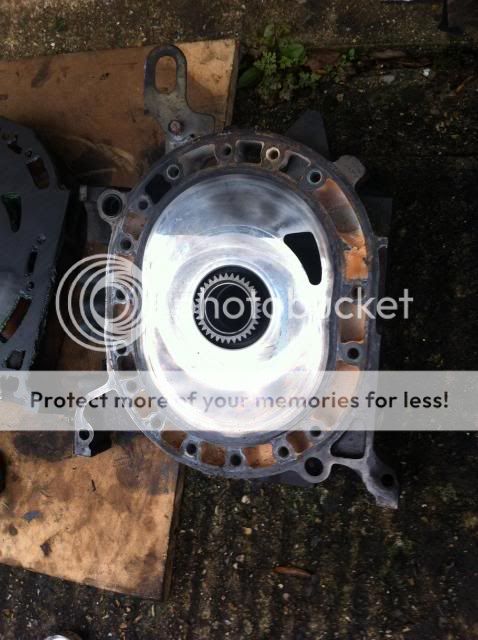
You can see how blackened the metal is around the water galleries, some rust on the face and especially how shiny the seal surface is.
Secure the middle plate to something. I’ve used a piece of board with 2 bolts stuck through it that fit snugly in the dowel pin holes. The plate is not held down, it just can’t wriggle around.
Get yourself some grinding paste and place an amount on the plate. This is where the trial and error comes in. The first paste I used was too fine. It worked, but it was very slow. I took a coarser paste and it worked much better. You can them go back to the finer paste at the end once you’ve got your desired surface.
Take a second plate and place it on top. Grind the plates together (lapping the surface of the 2 plates at the same time), making you sure you rotate them regularly and you cover all the plates surface, including the legs. The plates are the flattest surfaces available so it makes sense to use them against each other.
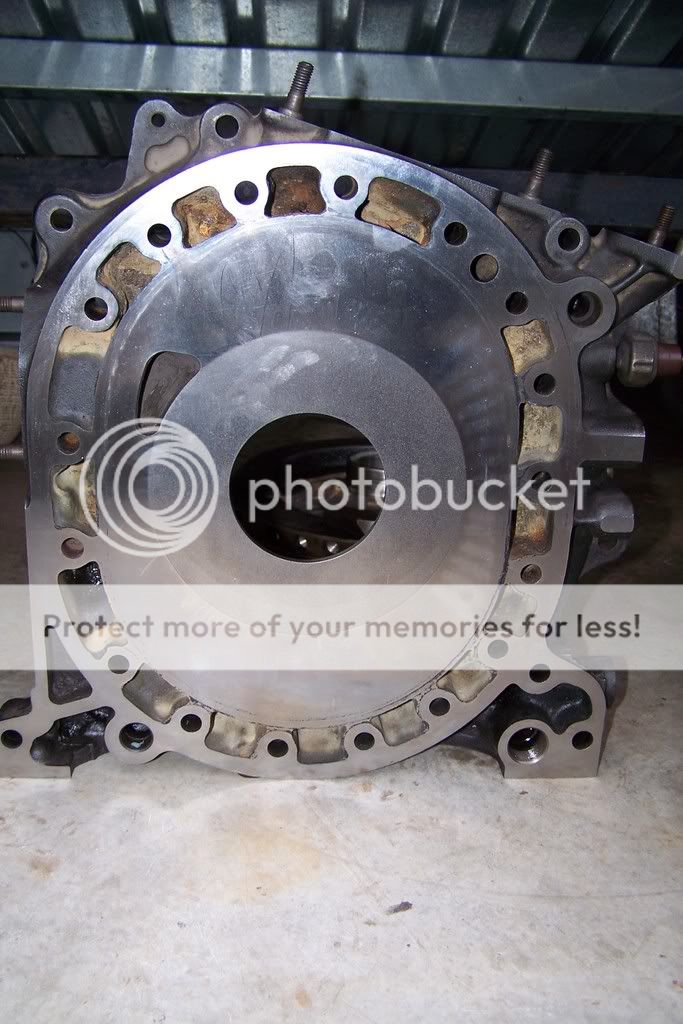
After about 45 minutes working the plates together they looked like this.
Here is the plate with the grinding paste on it:
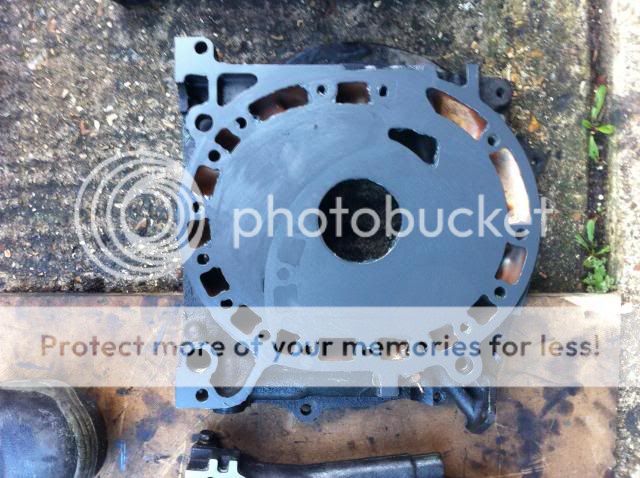
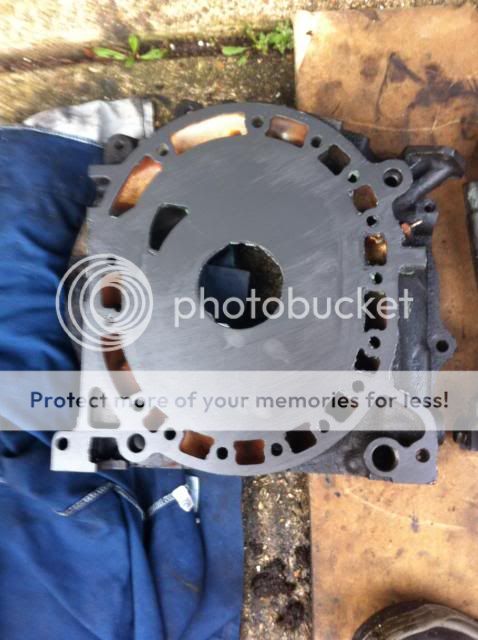
Here is the middle plate, showing the grinding paste and the plate surface with the paste removed. You can see the low spots (the shiny bits) on the combustion stroke.
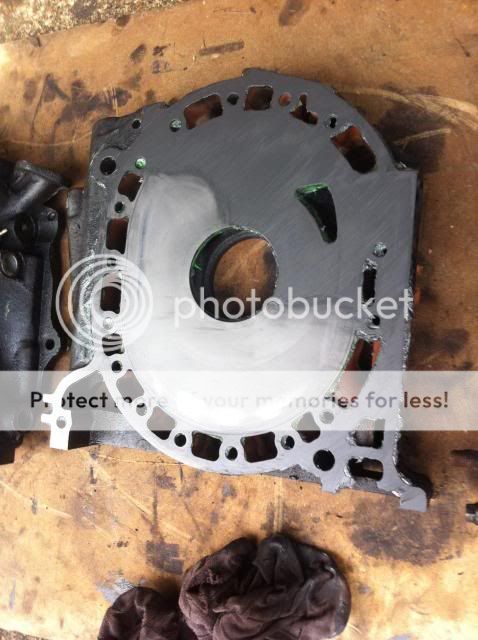
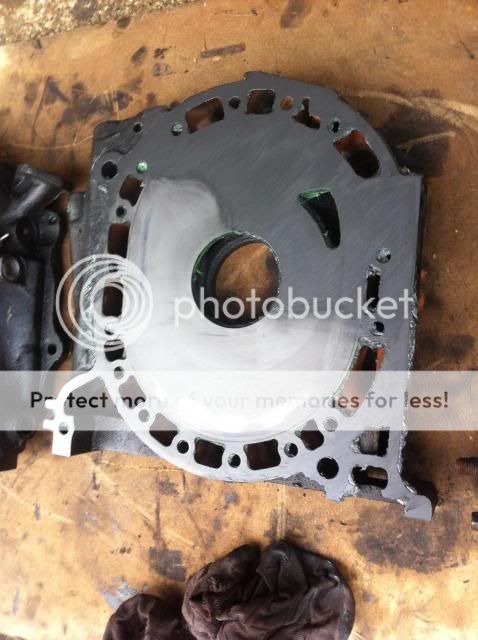
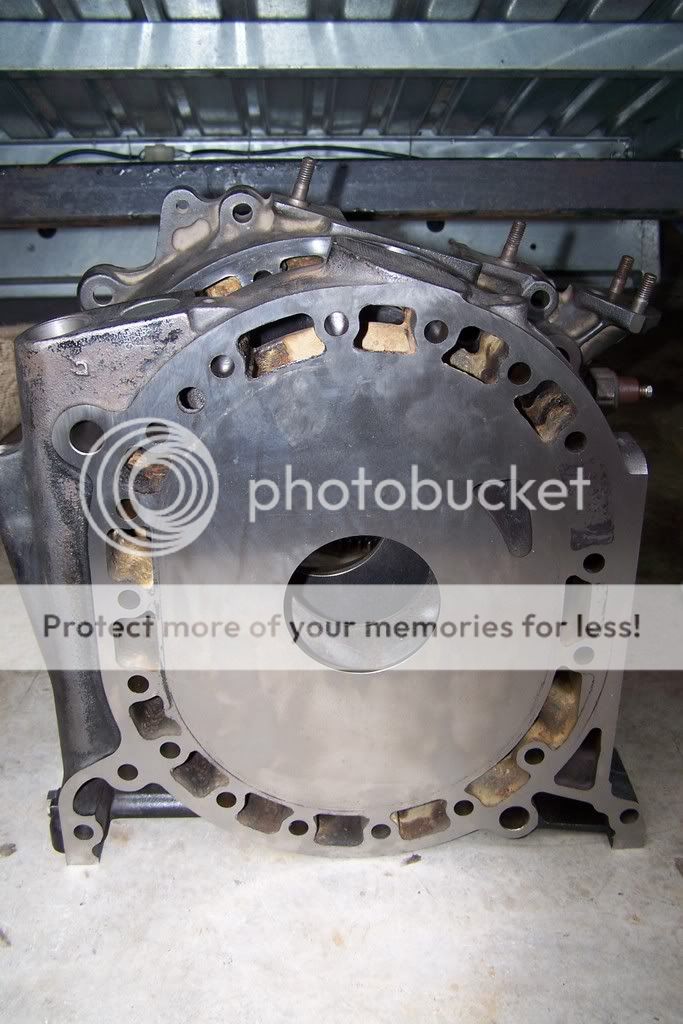
Here is the untouched front plate in the background with the middle plate in the foreground. You can see the low spots (the shiny bits) on the plate:
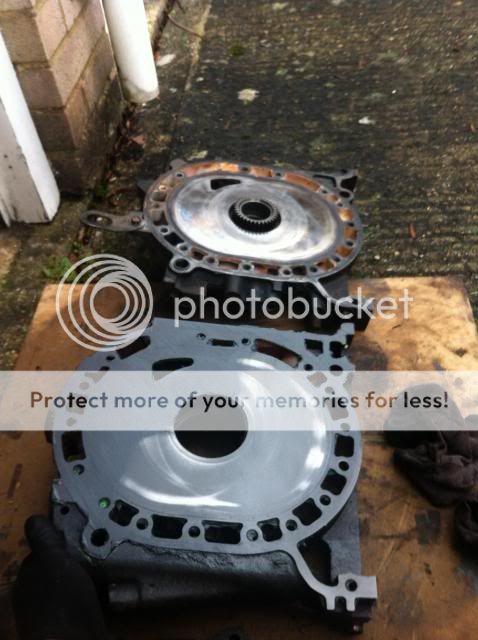
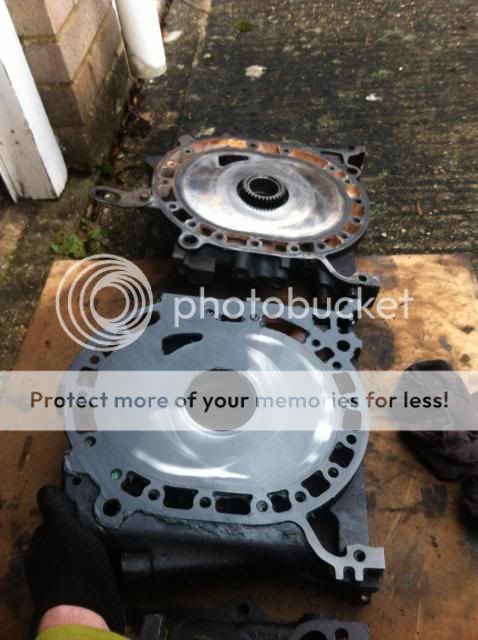
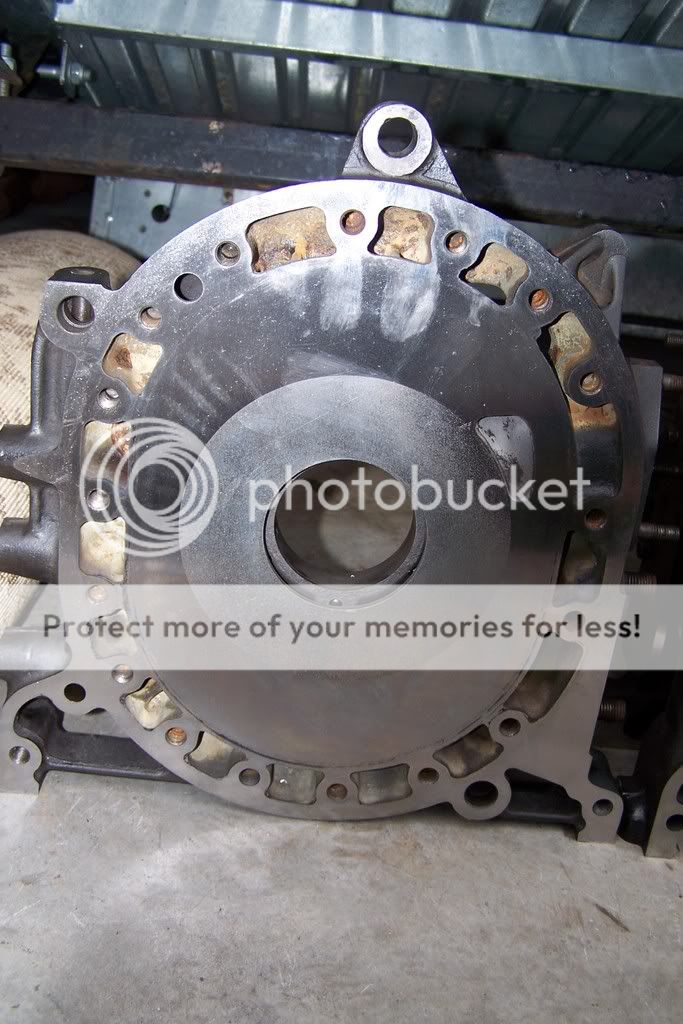
After about another 30 minutes using the coarser grinding paste, the middle plate came out like this (I haven’t removed the paste from the rear plate yet, and I haven’t used the finer paste on either plate):
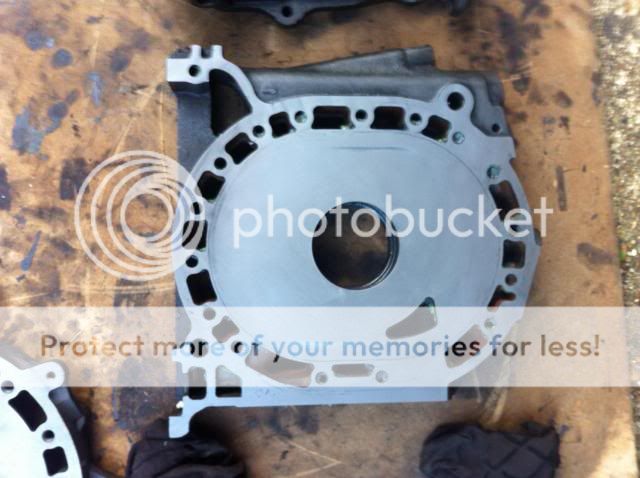
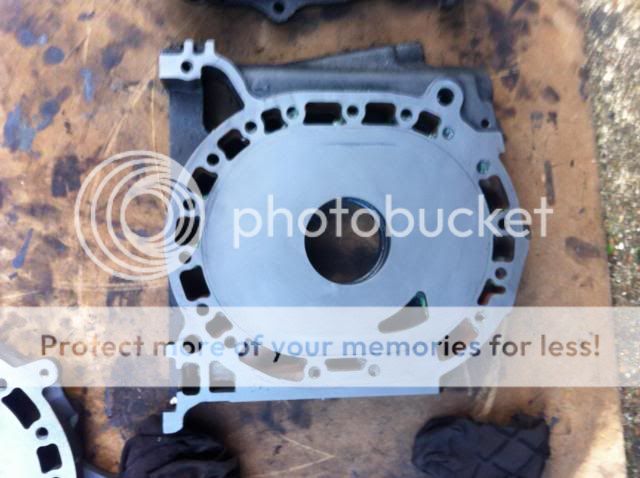
You can see the low spots at the top and bottom (the sides) of the plate and the corrosion where the water seals have been pressed against the plates. You don’t necessarily want to remove so much material that it is perfectly flat.
You can also see that the shine has been removed from the plate, meaning that you have a much better surface for bedding in new seals, making break in easier.
To highlight the improvement, here is a NOS 12A plate for comparison:
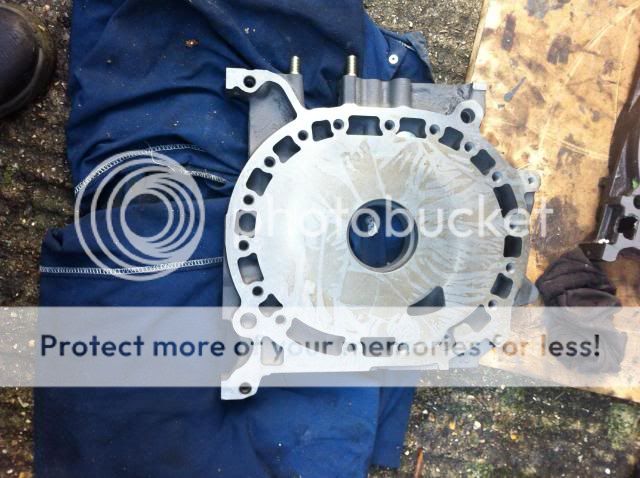
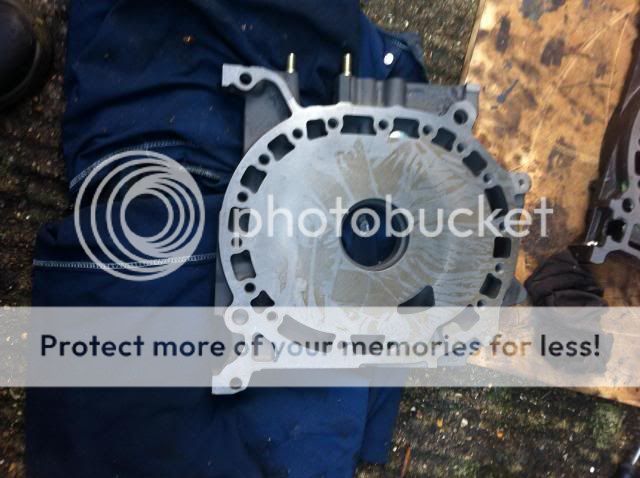
The NOS plate has some marks on it from the protective coating Mazda used, but this has only been removed from the packet and box for the photo. You can see the difference in the metal from where Mazda hardened the centre for the oils control rings to run on.
Here are the NOS plate and lapped plate side by side for comparison:
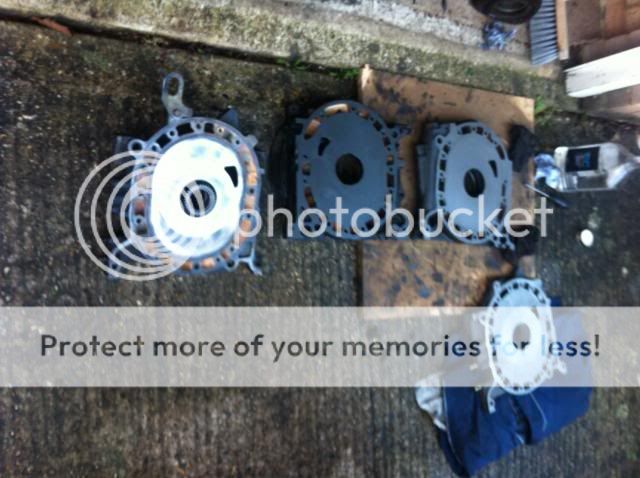
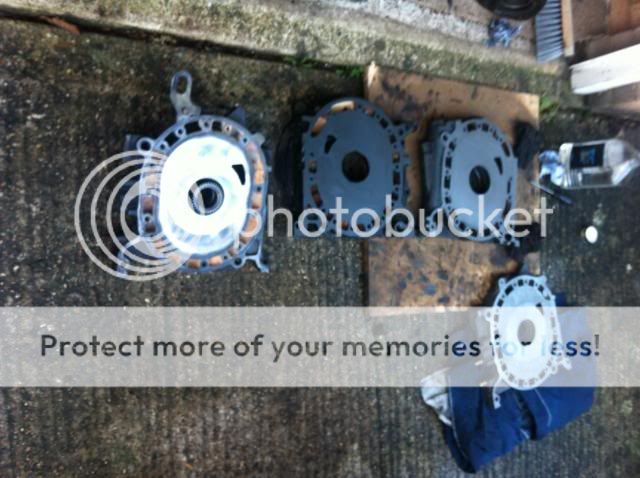
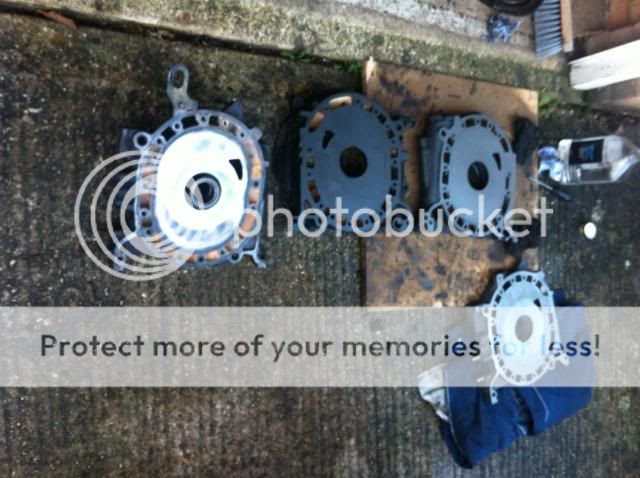
Here’s all 4 plates together; from left to right untouched front plate, rear plate with grinding paste on it, lapped middle plate and the NOS plate bottom right):
It’s a pretty tiring doing the lapping, but you can get good results and you can control how far you take it, rather than hunting around trying to find someone you trust to lap your plates.
Before using the plates, they will need to be very well cleaned to get all the paste off otherwise it will cause severe damage in your motor. This is no different to when you port a motor or simply assemble a stock engine.


